ASTM F1617-98
(Test Method)Standard Test Method for Measuring Surface Sodium, Aluminum, Potassium, and Iron on Silicon and EPI Substrates by Secondary Ion Mass Spectrometry
Standard Test Method for Measuring Surface Sodium, Aluminum, Potassium, and Iron on Silicon and EPI Substrates by Secondary Ion Mass Spectrometry
SCOPE
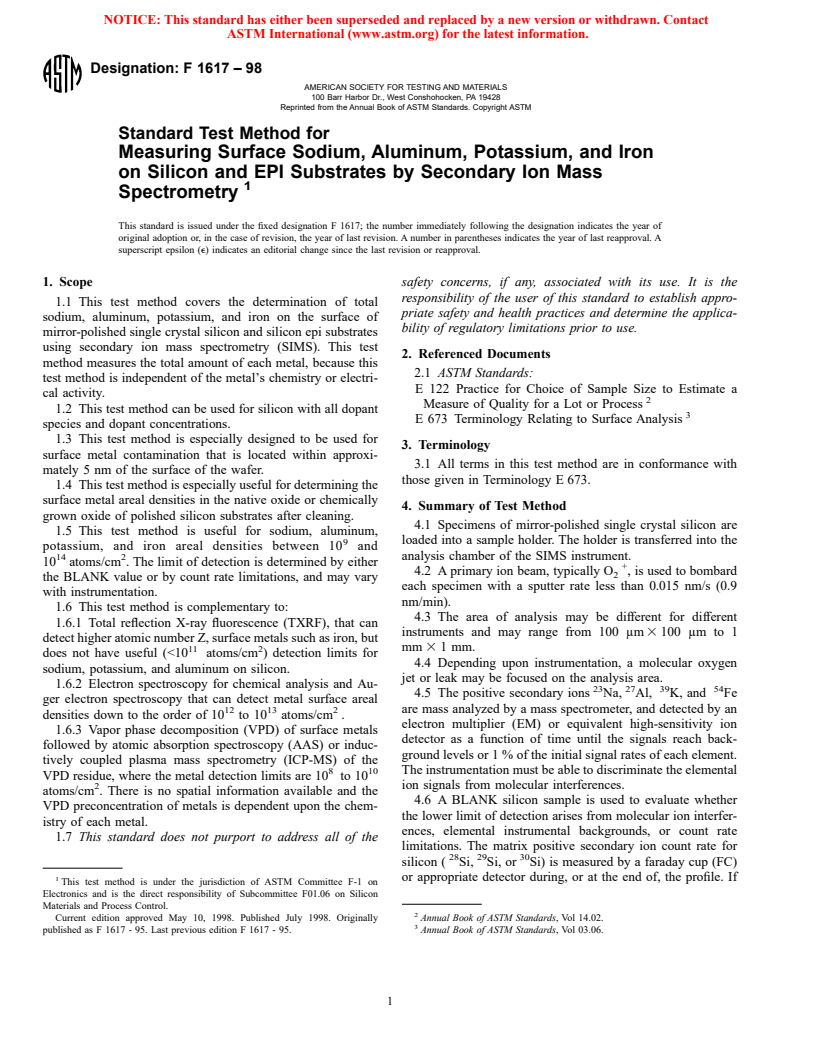
1.1 This test method covers the determination of total sodium, aluminum, and potassium on the surface of mirror-polished single crystal silicon and silicon epi substrates using secondary ion mass spectrometry (SIMS). This test method measures the total amount of each metal, because this test method is independent of the metal's chemistry or electrical activity.
1.2 This test method can be used for silicon with all dopant species and dopant concentrations.
1.3 This test method is especially designed to be used for surface metal contamination that is located within approximately 5 nm of the surface of the wafer.
1.4 This test method is especially useful for determining the surface metal areal densities in the native oxide or chemically grown oxide of polished silicon substrates after cleaning.
1.5 This test method is useful for sodium, aluminum, and potassium areal densities between 10 and 10 14 atoms/cm . The limit of detection is determined by either the BLANK value or by count rate limitations, and may vary with instrumentation.
1.6 This test method is complementary to:
1.6.1 Total reflection X-ray fluorescence (TXRF), that can detect higher atomic number Z, surface metals but does not have useful (∧lt;10 11 atoms/cm ) detection limits for sodium, potassium, and aluminum on silicon.
1.6.2 Electron spectroscopy for chemical analysis and Auger electron spectroscopy that can detect metal surface areal densities down to the order of 10 12 to 10 13 atoms/cm .
1.6.3 Vapor phase decomposition (VPD) of surface metals followed by atomic absorption spectroscopy (AAS) or inductively coupled plasma mass spectrometry (ICP-MS) of the VPD residue, where the metal detection limits are 10 to 10 10 atoms/cm . There is no spatial information available and the VPD preconcentration of metals is dependent upon the chemistry of each metal.
1.7 This standard does not purport to address all of the safety concerns, if any, associated with its use. It is the responsibility of the user of this standard to establish appropriate safety and health practices and determine the applicability of regulatory limitations prior to use.
General Information
Relations
Standards Content (Sample)
NOTICE: This standard has either been superseded and replaced by a new version or withdrawn. Contact
ASTM International (www.astm.org) for the latest information.
Designation: F 1617 – 98
AMERICAN SOCIETY FOR TESTING AND MATERIALS
100 Barr Harbor Dr., West Conshohocken, PA 19428
Reprinted from the Annual Book of ASTM Standards. Copyright ASTM
Standard Test Method for
Measuring Surface Sodium, Aluminum, Potassium, and Iron
on Silicon and EPI Substrates by Secondary Ion Mass
1
Spectrometry
This standard is issued under the fixed designation F 1617; the number immediately following the designation indicates the year of
original adoption or, in the case of revision, the year of last revision. A number in parentheses indicates the year of last reapproval. A
superscript epsilon (e) indicates an editorial change since the last revision or reapproval.
1. Scope safety concerns, if any, associated with its use. It is the
responsibility of the user of this standard to establish appro-
1.1 This test method covers the determination of total
priate safety and health practices and determine the applica-
sodium, aluminum, potassium, and iron on the surface of
bility of regulatory limitations prior to use.
mirror-polished single crystal silicon and silicon epi substrates
using secondary ion mass spectrometry (SIMS). This test
2. Referenced Documents
method measures the total amount of each metal, because this
2.1 ASTM Standards:
test method is independent of the metal’s chemistry or electri-
E 122 Practice for Choice of Sample Size to Estimate a
cal activity.
2
Measure of Quality for a Lot or Process
1.2 This test method can be used for silicon with all dopant
3
E 673 Terminology Relating to Surface Analysis
species and dopant concentrations.
1.3 This test method is especially designed to be used for
3. Terminology
surface metal contamination that is located within approxi-
3.1 All terms in this test method are in conformance with
mately 5 nm of the surface of the wafer.
those given in Terminology E 673.
1.4 This test method is especially useful for determining the
surface metal areal densities in the native oxide or chemically
4. Summary of Test Method
grown oxide of polished silicon substrates after cleaning.
4.1 Specimens of mirror-polished single crystal silicon are
1.5 This test method is useful for sodium, aluminum,
9 loaded into a sample holder. The holder is transferred into the
potassium, and iron areal densities between 10 and
14 2 analysis chamber of the SIMS instrument.
10 atoms/cm . The limit of detection is determined by either
+
4.2 A primary ion beam, typically O , is used to bombard
2
the BLANK value or by count rate limitations, and may vary
each specimen with a sputter rate less than 0.015 nm/s (0.9
with instrumentation.
nm/min).
1.6 This test method is complementary to:
4.3 The area of analysis may be different for different
1.6.1 Total reflection X-ray fluorescence (TXRF), that can
instruments and may range from 100 μm 3 100 μm to 1
detect higher atomic number Z, surface metals such as iron, but
11 2 mm 3 1 mm.
does not have useful (<10 atoms/cm ) detection limits for
4.4 Depending upon instrumentation, a molecular oxygen
sodium, potassium, and aluminum on silicon.
jet or leak may be focused on the analysis area.
1.6.2 Electron spectroscopy for chemical analysis and Au-
23 27 39 54
4.5 The positive secondary ions Na, Al, K, and Fe
ger electron spectroscopy that can detect metal surface areal
12 13 2 are mass analyzed by a mass spectrometer, and detected by an
densities down to the order of 10 to 10 atoms/cm .
electron multiplier (EM) or equivalent high-sensitivity ion
1.6.3 Vapor phase decomposition (VPD) of surface metals
detector as a function of time until the signals reach back-
followed by atomic absorption spectroscopy (AAS) or induc-
ground levels or 1 % of the initial signal rates of each element.
tively coupled plasma mass spectrometry (ICP-MS) of the
8 10 The instrumentation must be able to discriminate the elemental
VPD residue, where the metal detection limits are 10 to 10
ion signals from molecular interferences.
2
atoms/cm . There is no spatial information available and the
4.6 A BLANK silicon sample is used to evaluate whether
VPD preconcentration of metals is dependent upon the chem-
the lower limit of detection arises from molecular ion interfer-
istry of each metal.
ences, elemental instrumental backgrounds, or count rate
1.7 This standard does not purport to address all of the
limitations. The matrix positive secondary ion count rate for
28 29 30
silicon ( Si, Si, or Si) is measured by a faraday cup (FC)
1 or appropriate detector during, or at the end of, the profile. If
This test method is under the jurisdiction of ASTM Committee F-1 on
Electronics and is the direct responsibility of Subcommittee F01.06 on Silicon
Materials and Process Control.
2
Current edition approved May 10, 1998. Published July 1998. Originally Annual Book of ASTM Standards, Vol 14.02.
3
published as F 1617 - 95.
...


Questions, Comments and Discussion
Ask us and Technical Secretary will try to provide an answer. You can facilitate discussion about the standard in here.