ASTM E164-08
(Practice)Standard Practice for Contact Ultrasonic Testing of Weldments
Standard Practice for Contact Ultrasonic Testing of Weldments
SIGNIFICANCE AND USE
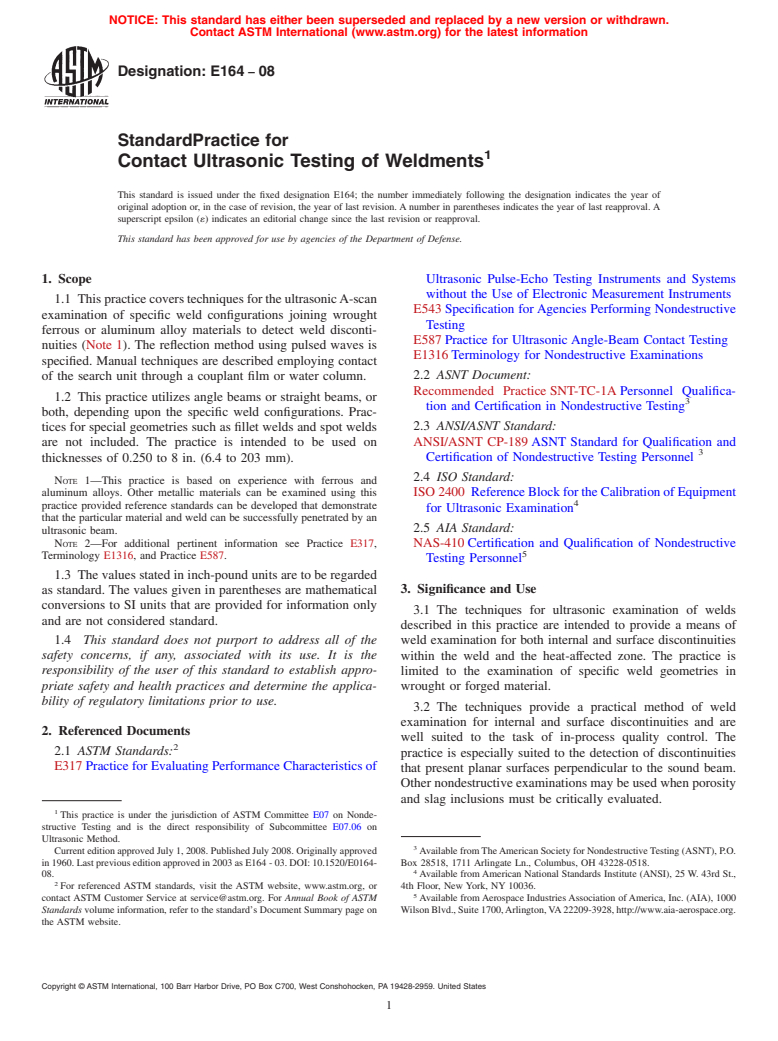
The techniques for ultrasonic examination of welds described in this practice are intended to provide a means of weld examination for both internal and surface discontinuities within the weld and the heat-affected zone. The practice is limited to the examination of specific weld geometries in wrought or forged material.
The techniques provide a practical method of weld examination for internal and surface discontinuities and are well suited to the task of in-process quality control. The practice is especially suited to the detection of discontinuities that present planar surfaces perpendicular to the sound beam. Other nondestructive examinations may be used when porosity and slag inclusions must be critically evaluated.
When ultrasonic examination is used as a basis of acceptance of welds, there should be agreement between the manufacturer and the purchaser as to the specific reference standards and limits to be used. Examples of reference standards are given in Section 7. A detailed procedure for weld examination describing allowable discontinuity limits should be written and agreed upon.
SCOPE
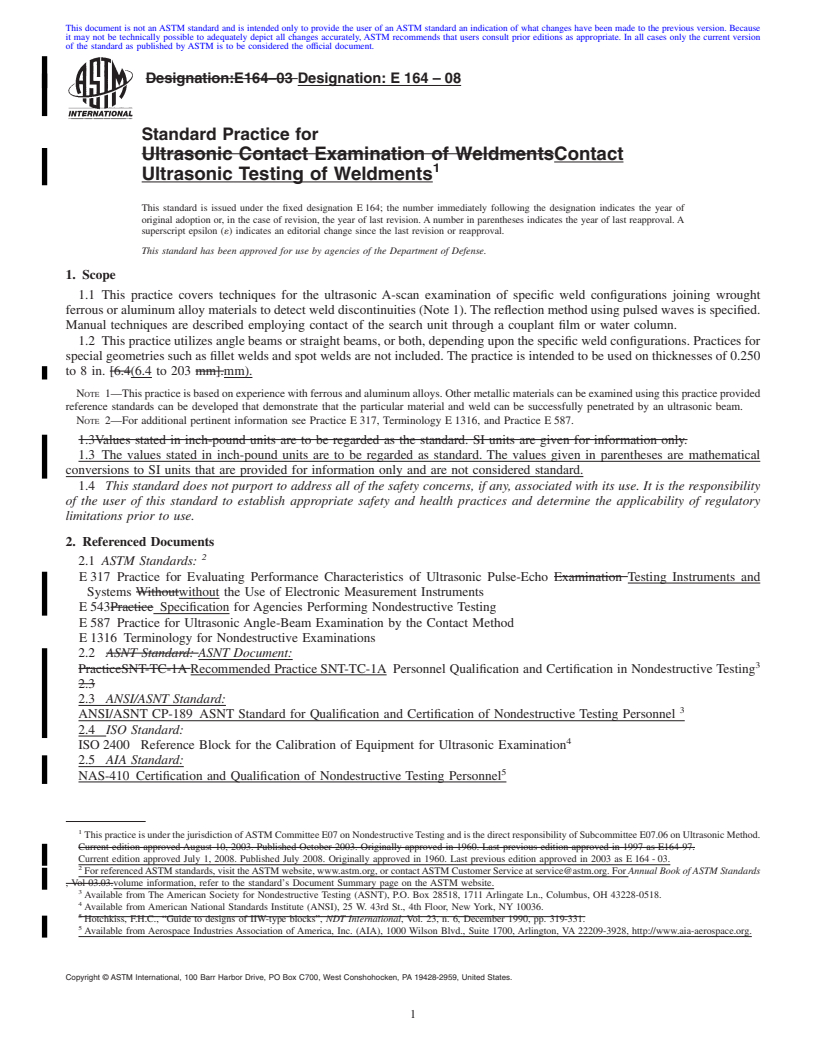
1.1 This practice covers techniques for the ultrasonic A-scan examination of specific weld configurations joining wrought ferrous or aluminum alloy materials to detect weld discontinuities (Note 1). The reflection method using pulsed waves is specified. Manual techniques are described employing contact of the search unit through a couplant film or water column.
1.2 This practice utilizes angle beams or straight beams, or both, depending upon the specific weld configurations. Practices for special geometries such as fillet welds and spot welds are not included. The practice is intended to be used on thicknesses of 0.250 to 8 in. (6.4 to 203 mm).
Note 1—This practice is based on experience with ferrous and aluminum alloys. Other metallic materials can be examined using this practice provided reference standards can be developed that demonstrate that the particular material and weld can be successfully penetrated by an ultrasonic beam.
Note 2—For additional pertinent information see Practice E 317, Terminology E 1316, and Practice E 587.
1.3 The values stated in inch-pound units are to be regarded as standard. The values given in parentheses are mathematical conversions to SI units that are provided for information only and are not considered standard.
1.4 This standard does not purport to address all of the safety concerns, if any, associated with its use. It is the responsibility of the user of this standard to establish appropriate safety and health practices and determine the applicability of regulatory limitations prior to use.
General Information
Relations
Buy Standard
Standards Content (Sample)
NOTICE: This standard has either been superseded and replaced by a new version or withdrawn.
Contact ASTM International (www.astm.org) for the latest information
Designation: E164 − 08
StandardPractice for
1
Contact Ultrasonic Testing of Weldments
This standard is issued under the fixed designation E164; the number immediately following the designation indicates the year of
original adoption or, in the case of revision, the year of last revision.Anumber in parentheses indicates the year of last reapproval.A
superscript epsilon (´) indicates an editorial change since the last revision or reapproval.
This standard has been approved for use by agencies of the Department of Defense.
1. Scope Ultrasonic Pulse-Echo Testing Instruments and Systems
without the Use of Electronic Measurement Instruments
1.1 ThispracticecoverstechniquesfortheultrasonicA-scan
E543Specification forAgencies Performing Nondestructive
examination of specific weld configurations joining wrought
Testing
ferrous or aluminum alloy materials to detect weld disconti-
E587Practice for Ultrasonic Angle-Beam Contact Testing
nuities (Note 1). The reflection method using pulsed waves is
E1316Terminology for Nondestructive Examinations
specified. Manual techniques are described employing contact
of the search unit through a couplant film or water column. 2.2 ASNT Document:
Recommended PracticeSNT-TC-1APersonnel Qualifica-
1.2 This practice utilizes angle beams or straight beams, or
3
tion and Certification in Nondestructive Testing
both, depending upon the specific weld configurations. Prac-
tices for special geometries such as fillet welds and spot welds 2.3 ANSI/ASNT Standard:
ANSI/ASNT CP-189ASNT Standard for Qualification and
are not included. The practice is intended to be used on
3
thicknesses of 0.250 to 8 in. (6.4 to 203 mm). Certification of Nondestructive Testing Personnel
2.4 ISO Standard:
NOTE 1—This practice is based on experience with ferrous and
aluminum alloys. Other metallic materials can be examined using this ISO2400 ReferenceBlockfortheCalibrationofEquipment
4
practice provided reference standards can be developed that demonstrate
for Ultrasonic Examination
that the particular material and weld can be successfully penetrated by an
2.5 AIA Standard:
ultrasonic beam.
NOTE 2—For additional pertinent information see Practice E317, NAS-410Certification and Qualification of Nondestructive
5
Terminology E1316, and Practice E587.
Testing Personnel
1.3 Thevaluesstatedininch-poundunitsaretoberegarded
3. Significance and Use
as standard. The values given in parentheses are mathematical
conversions to SI units that are provided for information only
3.1 The techniques for ultrasonic examination of welds
and are not considered standard.
described in this practice are intended to provide a means of
1.4 This standard does not purport to address all of the weld examination for both internal and surface discontinuities
safety concerns, if any, associated with its use. It is the
within the weld and the heat-affected zone. The practice is
responsibility of the user of this standard to establish appro- limited to the examination of specific weld geometries in
priate safety and health practices and determine the applica-
wrought or forged material.
bility of regulatory limitations prior to use.
3.2 The techniques provide a practical method of weld
examination for internal and surface discontinuities and are
2. Referenced Documents
well suited to the task of in-process quality control. The
2
2.1 ASTM Standards:
practice is especially suited to the detection of discontinuities
E317PracticeforEvaluatingPerformanceCharacteristicsof
that present planar surfaces perpendicular to the sound beam.
Othernondestructiveexaminationsmaybeusedwhenporosity
and slag inclusions must be critically evaluated.
1
This practice is under the jurisdiction of ASTM Committee E07 on Nonde-
structive Testing and is the direct responsibility of Subcommittee E07.06 on
Ultrasonic Method.
3
CurrenteditionapprovedJuly1,2008.PublishedJuly2008.Originallyapproved AvailablefromTheAmericanSocietyforNondestructiveTesting(ASNT),P.O.
in1960.Lastpreviouseditionapprovedin2003asE164-03.DOI:10.1520/E0164- Box 28518, 1711 Arlingate Ln., Columbus, OH 43228-0518.
4
08. Available fromAmerican National Standards Institute (ANSI), 25 W. 43rd St.,
2
For referenced ASTM standards, visit the ASTM website, www.astm.org, or 4th Floor, New York, NY 10036.
5
contact ASTM Customer Service at service@astm.org. For Annual Book of ASTM Available fromAerospace IndustriesAssociation ofAmerica, Inc. (AIA), 1000
Standards volume information, refer to the standard’s Document Summary page on WilsonBlvd.,Suite1700,Arlington,VA22209-3928,http://www.aia-aerospace.org.
the ASTM website.
Copyright © ASTM International, 100 Barr Harbor Drive, PO Box C700, West Conshohocken, PA 19428-2959. United States
1
---------------------- Page: 1 ----------------------
E164 − 08
3.3 When ultrasonic examination is used as a basis of wave) examination a
...
This document is not anASTM standard and is intended only to provide the user of anASTM standard an indication of what changes have been made to the previous version. Because
it may not be technically possible to adequately depict all changes accurately, ASTM recommends that users consult prior editions as appropriate. In all cases only the current version
of the standard as published by ASTM is to be considered the official document.
Designation:E164–03 Designation: E 164 – 08
Standard Practice for
Ultrasonic Contact Examination of WeldmentsContact
1
Ultrasonic Testing of Weldments
This standard is issued under the fixed designation E 164; the number immediately following the designation indicates the year of
original adoption or, in the case of revision, the year of last revision. A number in parentheses indicates the year of last reapproval. A
superscript epsilon (´) indicates an editorial change since the last revision or reapproval.
This standard has been approved for use by agencies of the Department of Defense.
1. Scope
1.1 This practice covers techniques for the ultrasonic A-scan examination of specific weld configurations joining wrought
ferrous or aluminum alloy materials to detect weld discontinuities (Note 1).The reflection method using pulsed waves is specified.
Manual techniques are described employing contact of the search unit through a couplant film or water column.
1.2 This practice utilizes angle beams or straight beams, or both, depending upon the specific weld configurations. Practices for
special geometries such as fillet welds and spot welds are not included.The practice is intended to be used on thicknesses of 0.250
to 8 in. [6.4(6.4 to 203 mm].mm).
NOTE 1—Thispracticeisbasedonexperiencewithferrousandaluminumalloys.Othermetallicmaterialscanbeexaminedusingthispracticeprovided
reference standards can be developed that demonstrate that the particular material and weld can be successfully penetrated by an ultrasonic beam.
NOTE 2—For additional pertinent information see Practice E 317, Terminology E 1316, and Practice E 587.
1.3Values stated in inch-pound units are to be regarded as the standard. SI units are given for information only.
1.3 The values stated in inch-pound units are to be regarded as standard. The values given in parentheses are mathematical
conversions to SI units that are provided for information only and are not considered standard.
1.4 This standard does not purport to address all of the safety concerns, if any, associated with its use. It is the responsibility
of the user of this standard to establish appropriate safety and health practices and determine the applicability of regulatory
limitations prior to use.
2. Referenced Documents
2
2.1 ASTM Standards:
E 317 Practice for Evaluating Performance Characteristics of Ultrasonic Pulse-Echo Examination Testing Instruments and
Systems Withoutwithout the Use of Electronic Measurement Instruments
E 543Practice Specification for Agencies Performing Nondestructive Testing
E 587 Practice for Ultrasonic Angle-Beam Examination by the Contact Method
E 1316 Terminology for Nondestructive Examinations
2.2 ASNT Standard: ASNT Document:
3
PracticeSNT-TC-1A Recommended Practice SNT-TC-1A Personnel Qualification and Certification in Nondestructive Testing
2.3
2.3 ANSI/ASNT Standard:
3
ANSI/ASNT CP-189 ASNT Standard for Qualification and Certification of Nondestructive Testing Personnel
2.4 ISO Standard:
4
ISO 2400 Reference Block for the Calibration of Equipment for Ultrasonic Examination
2.5 AIA Standard:
5
NAS-410 Certification and Qualification of Nondestructive Testing Personnel
1
ThispracticeisunderthejurisdictionofASTMCommitteeE07onNondestructiveTestingandisthedirectresponsibilityofSubcommitteeE07.06onUltrasonicMethod.
Current edition approved August 10, 2003. Published October 2003. Originally approved in 1960. Last previous edition approved in 1997 as E164-97.
Current edition approved July 1, 2008. Published July 2008. Originally approved in 1960. Last previous edition approved in 2003 as E 164 - 03.
2
For referencedASTM standards, visit theASTM website, www.astm.org, or contactASTM Customer Service at service@astm.org. For Annual Book of ASTM Standards
, Vol 03.03.volume information, refer to the standard’s Document Summary page on the ASTM website.
3
Available from The American Society for Nondestructive Testing (ASNT), P.O. Box 28518, 1711 Arlingate Ln., Columbus, OH 43228-0518.
4
Available from American National Standards Institute (ANSI), 25 W. 43rd St., 4th Floor, New York, NY 10036.
5
Hotchkiss, F.H.C., “Guide to designs of IIW-type blocks”, NDT International, Vol. 23, n. 6, December 1990, pp. 319-331.
5
Available from Aerospace Industries Association of America, Inc. (AIA), 1000 Wilson Blvd., Suite 1700, Arlington, VA 22209-3928, http://www.aia-aerospace.org.
Copyright © ASTM International, 100 Barr Harbor Drive, PO Box C700, West Conshohocken, PA 19428-2959, United States.
1
---------------------- Page: 1 ----------------------
E
...


Questions, Comments and Discussion
Ask us and Technical Secretary will try to provide an answer. You can facilitate discussion about the standard in here.