ASTM E691-08
(Practice)Standard Practice for Conducting an Interlaboratory Study to Determine the Precision of a Test Method
Standard Practice for Conducting an Interlaboratory Study to Determine the Precision of a Test Method
SIGNIFICANCE AND USE
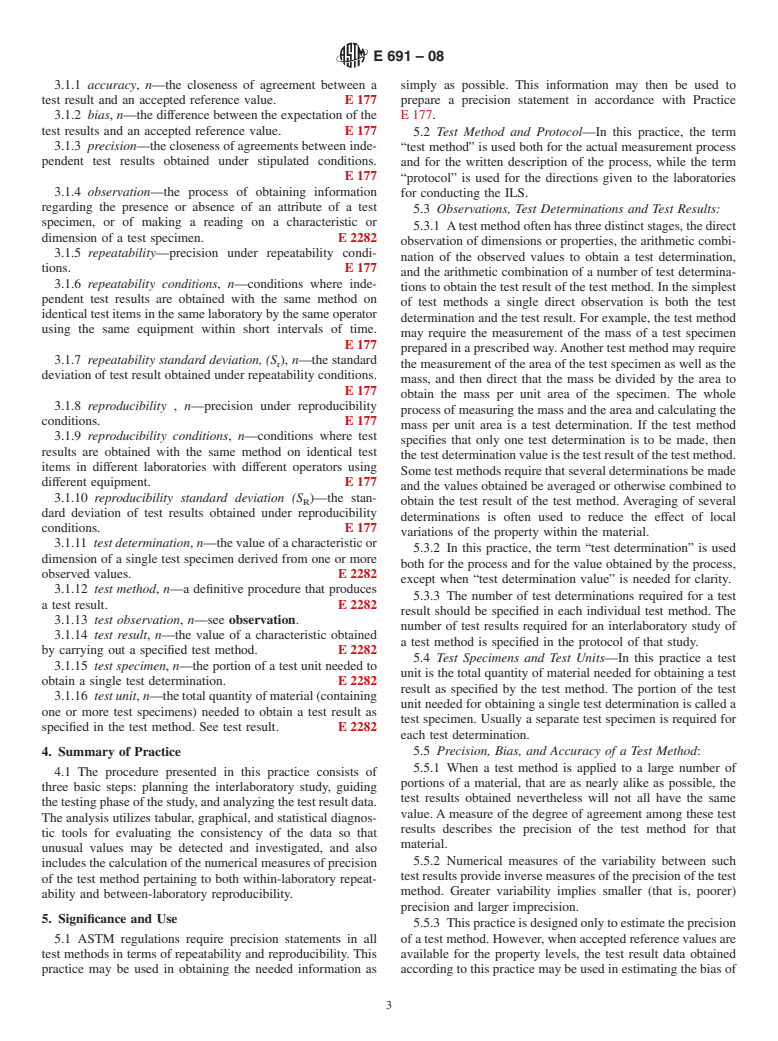
ASTM regulations require precision statements in all test methods in terms of repeatability and reproducibility. This practice may be used in obtaining the needed information as simply as possible. This information may then be used to prepare a precision statement in accordance with Practice E 177.
Test Method and Protocol—In this practice, the term “test method” is used both for the actual measurement process and for the written description of the process, while the term “protocol” is used for the directions given to the laboratories for conducting the ILS.
Observations, Test Determinations and Test Results:
5.3.1 A test method often has three distinct stages, the direct observation of dimensions or properties, the arithmetic combination of the observed values to obtain a test determination, and the arithmetic combination of a number of test determinations to obtain the test result of the test method. In the simplest of test methods a single direct observation is both the test determination and the test result. For example, the test method may require the measurement of the mass of a test specimen prepared in a prescribed way. Another test method may require the measurement of the area of the test specimen as well as the mass, and then direct that the mass be divided by the area to obtain the mass per unit area of the specimen. The whole process of measuring the mass and the area and calculating the mass per unit area is a test determination. If the test method specifies that only one test determination is to be made, then the test determination value is the test result of the test method. Some test methods require that several determinations be made and the values obtained be averaged or otherwise combined to obtain the test result of the test method. Averaging of several determinations is often used to reduce the effect of local variations of the property within the material.
In this practice, the term “test determination” is used both for the process a...
SCOPE
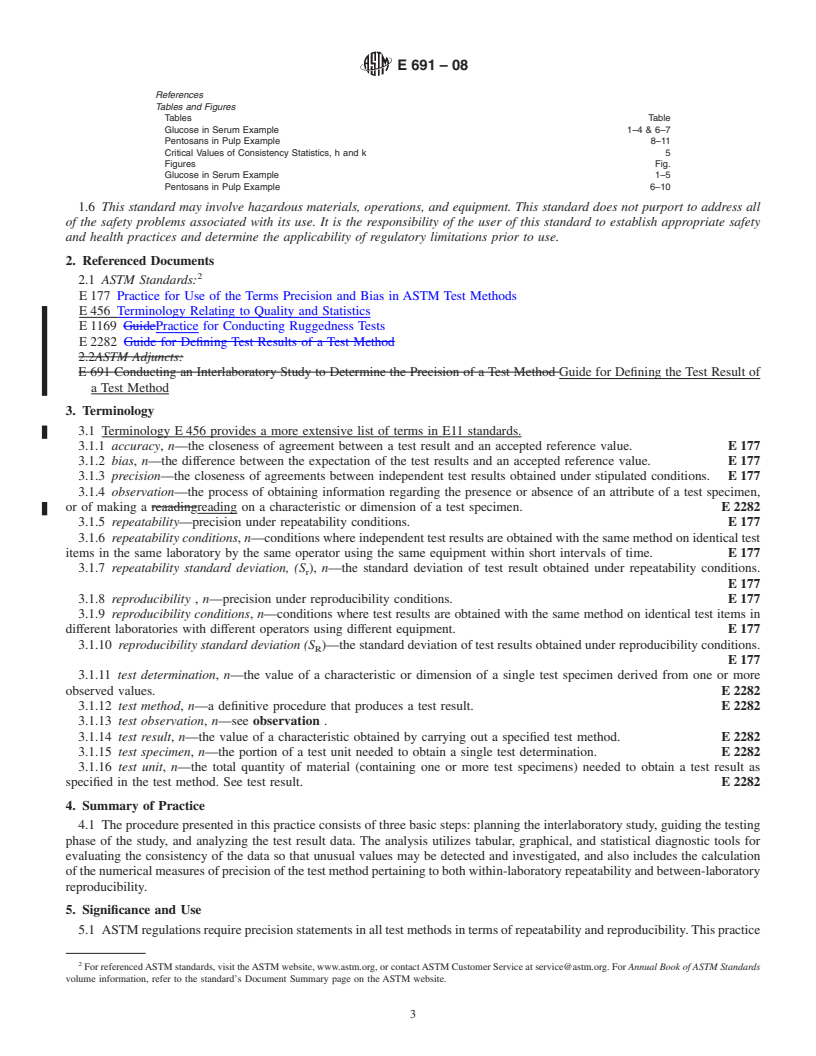
1.1 This practice describes the techniques for planning, conducting, analyzing, and treating the results of an interlaboratory study (ILS) of a test method. The statistical techniques described in this practice provide adequate information for formulating the precision statement of a test method.
1.2 This practice does not concern itself with the development of test methods but rather with gathering the information needed for a test method precision statement after the development stage has been successfully completed. The data obtained in the interlaboratory study may indicate, however, that further effort is needed to improve the test method.
1.3 Since the primary purpose of this practice is the development of the information needed for a precision statement, the experimental design in this practice may not be optimum for evaluating materials, apparatus, or individual laboratories.
1.4 Field of Application—This practice is concerned exclusively with test methods which yield a single numerical figure as the test result, although the single figure may be the outcome of a calculation from a set of measurements.
1.4.1 This practice does not cover methods in which the measurement is a categorization, such as a go-no-go allocation (two categories) or a sorting scheme into two or more categories. For practical purposes, the discontinuous nature of measurements of these types may be ignored when a test result is defined as an average of several individual measurements. Then, this practice may be applicable, but caution is required and a statistician should be consulted.
1.5 The information in this practice is arranged as follows:
Section Scope1 Referenced Documents2 Terminology3 Summary of Practice4 Significance and Use5 Planning the Interlaboratory Study (ILS)
ILS Membership6 Basic Design7 Test Method8 Laboratories9 Section Materials10 Number of Test Results per Material11 Protocol12 Conducting the Te...
General Information
Relations
Buy Standard
Standards Content (Sample)
NOTICE: This standard has either been superseded and replaced by a new version or withdrawn.
Contact ASTM International (www.astm.org) for the latest information
An American National Standard
Designation: E 691 – 08
Standard Practice for
Conducting an Interlaboratory Study to Determine the
1
Precision of a Test Method
This standard is issued under the fixed designation E691; the number immediately following the designation indicates the year of
original adoption or, in the case of revision, the year of last revision.Anumber in parentheses indicates the year of last reapproval.A
superscript epsilon (´) indicates an editorial change since the last revision or reapproval.
This standard has been approved for use by agencies of the Department of Defense.
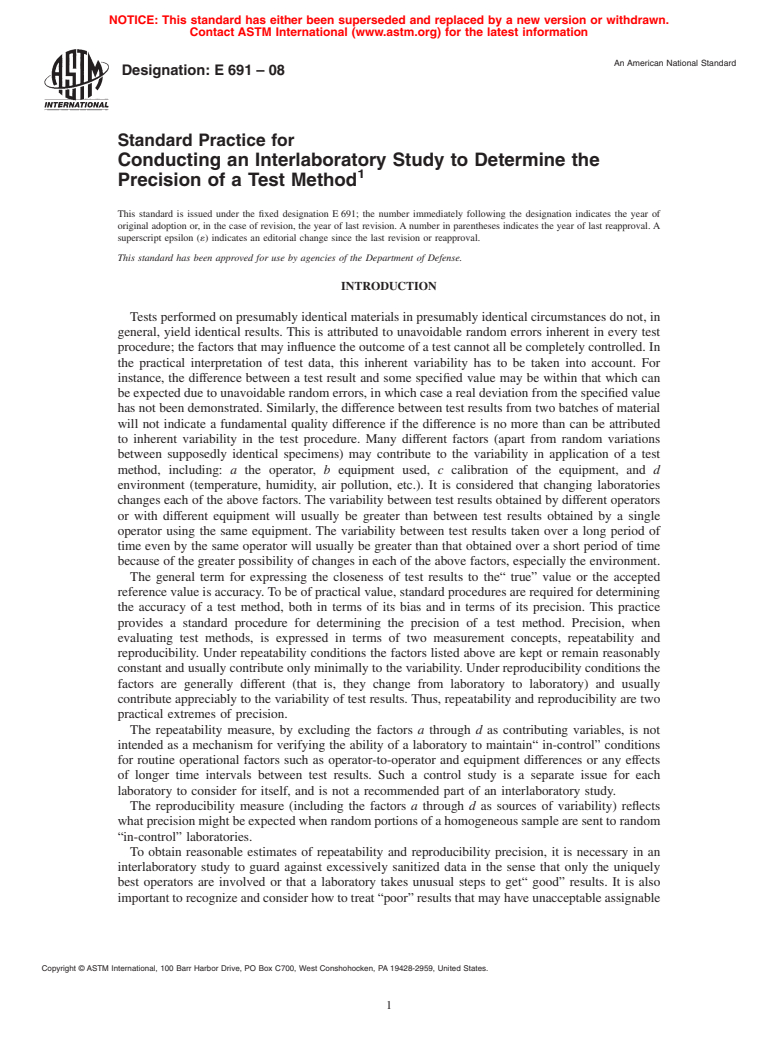
INTRODUCTION
Testsperformedonpresumablyidenticalmaterialsinpresumablyidenticalcircumstancesdonot,in
general, yield identical results. This is attributed to unavoidable random errors inherent in every test
procedure;thefactorsthatmayinfluencetheoutcomeofatestcannotallbecompletelycontrolled.In
the practical interpretation of test data, this inherent variability has to be taken into account. For
instance, the difference between a test result and some specified value may be within that which can
beexpectedduetounavoidablerandomerrors,inwhichcasearealdeviationfromthespecifiedvalue
hasnotbeendemonstrated.Similarly,thedifferencebetweentestresultsfromtwobatchesofmaterial
will not indicate a fundamental quality difference if the difference is no more than can be attributed
to inherent variability in the test procedure. Many different factors (apart from random variations
between supposedly identical specimens) may contribute to the variability in application of a test
method, including: a the operator, b equipment used, c calibration of the equipment, and d
environment (temperature, humidity, air pollution, etc.). It is considered that changing laboratories
changes each of the above factors.The variability between test results obtained by different operators
or with different equipment will usually be greater than between test results obtained by a single
operator using the same equipment. The variability between test results taken over a long period of
time even by the same operator will usually be greater than that obtained over a short period of time
because of the greater possibility of changes in each of the above factors, especially the environment.
The general term for expressing the closeness of test results to the“ true” value or the accepted
referencevalueisaccuracy.Tobeofpracticalvalue,standardproceduresarerequiredfordetermining
the accuracy of a test method, both in terms of its bias and in terms of its precision. This practice
provides a standard procedure for determining the precision of a test method. Precision, when
evaluating test methods, is expressed in terms of two measurement concepts, repeatability and
reproducibility. Under repeatability conditions the factors listed above are kept or remain reasonably
constantandusuallycontributeonlyminimallytothevariability.Underreproducibilityconditionsthe
factors are generally different (that is, they change from laboratory to laboratory) and usually
contribute appreciably to the variability of test results.Thus, repeatability and reproducibility are two
practical extremes of precision.
The repeatability measure, by excluding the factors a through d as contributing variables, is not
intended as a mechanism for verifying the ability of a laboratory to maintain“ in-control” conditions
for routine operational factors such as operator-to-operator and equipment differences or any effects
of longer time intervals between test results. Such a control study is a separate issue for each
laboratory to consider for itself, and is not a recommended part of an interlaboratory study.
The reproducibility measure (including the factors a through d as sources of variability) reflects
whatprecisionmightbeexpectedwhenrandomportionsofahomogeneoussamplearesenttorandom
“in-control” laboratories.
To obtain reasonable estimates of repeatability and reproducibility precision, it is necessary in an
interlaboratory study to guard against excessively sanitized data in the sense that only the uniquely
best operators are involved or that a laboratory takes unusual steps to get“ good” results. It is also
importanttorecognizeandconsiderhowtotreat“poor”resultsthatmayhaveunacceptableassignable
Copyright © ASTM International, 100 Barr Harbor Drive, PO Box C700, West Conshohocken, PA 19428-2959, United States.
1
---------------------- Page: 1 ----------------------
E691–08
causes (for example, departures from the prescribed procedure). The inclusion of such results in the
final precision estimates might be questioned.
Anessentialaspectofcollectingusefulconsistentdataiscarefulplanningandconductofthestudy.
Questionsconcerningthenumberoflaboratoriesrequiredforasuccessfulstudyaswellasthenumber
oftestresultsperlaboratoryaffecttheconfidenceintheprecision
...
This document is not anASTM standard and is intended only to provide the user of anASTM standard an indication of what changes have been made to the previous version. Because
it may not be technically possible to adequately depict all changes accurately, ASTM recommends that users consult prior editions as appropriate. In all cases only the current version
of the standard as published by ASTM is to be considered the official document.
An American National Standard
Designation:E691–05 Designation: E 691 – 08
Standard Practice for
Conducting an Interlaboratory Study to Determine the
1
Precision of a Test Method
This standard is issued under the fixed designation E691; the number immediately following the designation indicates the year of
original adoption or, in the case of revision, the year of last revision.Anumber in parentheses indicates the year of last reapproval.A
superscript epsilon (´) indicates an editorial change since the last revision or reapproval.
This standard has been approved for use by agencies of the Department of Defense.
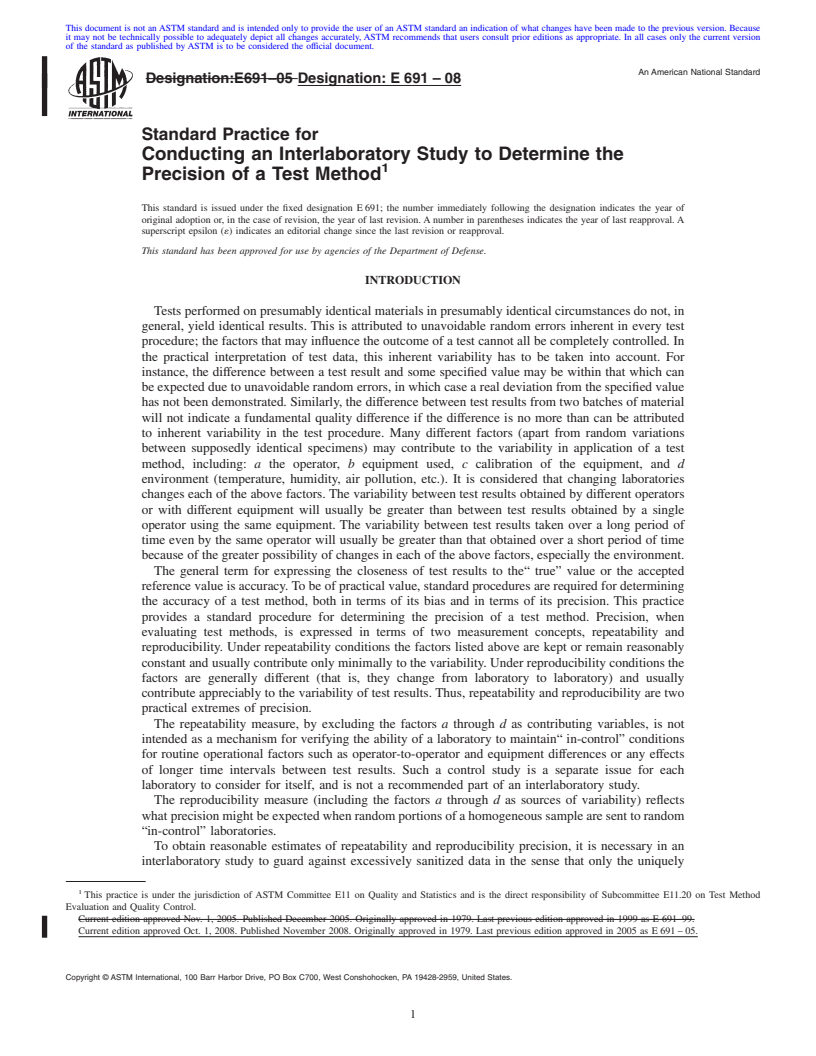
INTRODUCTION
Testsperformedonpresumablyidenticalmaterialsinpresumablyidenticalcircumstancesdonot,in
general, yield identical results. This is attributed to unavoidable random errors inherent in every test
procedure;thefactorsthatmayinfluencetheoutcomeofatestcannotallbecompletelycontrolled.In
the practical interpretation of test data, this inherent variability has to be taken into account. For
instance, the difference between a test result and some specified value may be within that which can
beexpectedduetounavoidablerandomerrors,inwhichcasearealdeviationfromthespecifiedvalue
hasnotbeendemonstrated.Similarly,thedifferencebetweentestresultsfromtwobatchesofmaterial
will not indicate a fundamental quality difference if the difference is no more than can be attributed
to inherent variability in the test procedure. Many different factors (apart from random variations
between supposedly identical specimens) may contribute to the variability in application of a test
method, including: a the operator, b equipment used, c calibration of the equipment, and d
environment (temperature, humidity, air pollution, etc.). It is considered that changing laboratories
changes each of the above factors.The variability between test results obtained by different operators
or with different equipment will usually be greater than between test results obtained by a single
operator using the same equipment. The variability between test results taken over a long period of
time even by the same operator will usually be greater than that obtained over a short period of time
because of the greater possibility of changes in each of the above factors, especially the environment.
The general term for expressing the closeness of test results to the“ true” value or the accepted
referencevalueisaccuracy.Tobeofpracticalvalue,standardproceduresarerequiredfordetermining
the accuracy of a test method, both in terms of its bias and in terms of its precision. This practice
provides a standard procedure for determining the precision of a test method. Precision, when
evaluating test methods, is expressed in terms of two measurement concepts, repeatability and
reproducibility. Under repeatability conditions the factors listed above are kept or remain reasonably
constantandusuallycontributeonlyminimallytothevariability.Underreproducibilityconditionsthe
factors are generally different (that is, they change from laboratory to laboratory) and usually
contribute appreciably to the variability of test results.Thus, repeatability and reproducibility are two
practical extremes of precision.
The repeatability measure, by excluding the factors a through d as contributing variables, is not
intended as a mechanism for verifying the ability of a laboratory to maintain“ in-control” conditions
for routine operational factors such as operator-to-operator and equipment differences or any effects
of longer time intervals between test results. Such a control study is a separate issue for each
laboratory to consider for itself, and is not a recommended part of an interlaboratory study.
The reproducibility measure (including the factors a through d as sources of variability) reflects
whatprecisionmightbeexpectedwhenrandomportionsofahomogeneoussamplearesenttorandom
“in-control” laboratories.
To obtain reasonable estimates of repeatability and reproducibility precision, it is necessary in an
interlaboratory study to guard against excessively sanitized data in the sense that only the uniquely
1
This practice is under the jurisdiction of ASTM Committee E11 on Quality and Statistics and is the direct responsibility of Subcommittee E11.20 on Test Method
Evaluation and Quality Control.
Current edition approved Nov. 1, 2005. Published December 2005. Originally approved in 1979. Last previous edition approved in 1999 as E 691–99.
Current edition approved Oct. 1, 2008. Published November 2008. Originally approved in 1979. Last previous edition approv
...



Questions, Comments and Discussion
Ask us and Technical Secretary will try to provide an answer. You can facilitate discussion about the standard in here.