ASTM F386-11
(Test Method)Standard Test Method for Thickness of Resilient Flooring Materials Having Flat Surfaces
Standard Test Method for Thickness of Resilient Flooring Materials Having Flat Surfaces
SIGNIFICANCE AND USE
Measurement of the thickness of the product may be required for quality control purposes or to ensure compliance with applicable specifications.
SCOPE
1.1 This test method covers the determination of thickness of resilient nontextile floor coverings including tile and sheet having flat surfaces. This test method should not be used on materials having a foamed layer.
1.2 The values stated in inch-pound units are to be regarded as standard. The values given in parentheses are mathematical conversions to SI units that are provided for information only and are not considered standard.
1.3 This standard does not purport to address all of the safety concerns, if any, associated with its use. It is the responsibility of the user of this standard to establish appropriate safety and health practices and determine the applicability of regulatory limitations prior to use.
General Information
Relations
Buy Standard
Standards Content (Sample)
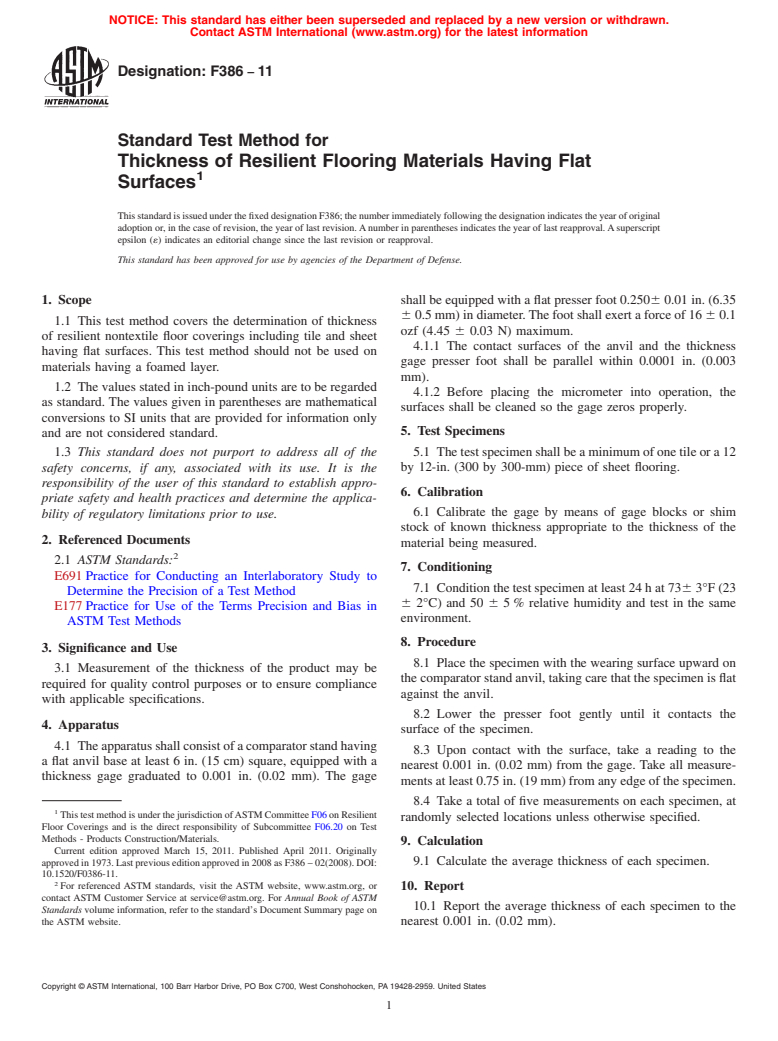
NOTICE: This standard has either been superseded and replaced by a new version or withdrawn.
Contact ASTM International (www.astm.org) for the latest information
Designation: F386 − 11
Standard Test Method for
Thickness of Resilient Flooring Materials Having Flat
1
Surfaces
ThisstandardisissuedunderthefixeddesignationF386;thenumberimmediatelyfollowingthedesignationindicatestheyearoforiginal
adoption or, in the case of revision, the year of last revision.Anumber in parentheses indicates the year of last reapproval.Asuperscript
epsilon (´) indicates an editorial change since the last revision or reapproval.
This standard has been approved for use by agencies of the Department of Defense.
1. Scope shall be equipped with a flat presser foot 0.2506 0.01 in. (6.35
6 0.5 mm) in diameter.The foot shall exert a force of 16 6 0.1
1.1 This test method covers the determination of thickness
ozf (4.45 6 0.03 N) maximum.
of resilient nontextile floor coverings including tile and sheet
4.1.1 The contact surfaces of the anvil and the thickness
having flat surfaces. This test method should not be used on
gage presser foot shall be parallel within 0.0001 in. (0.003
materials having a foamed layer.
mm).
1.2 The values stated in inch-pound units are to be regarded
4.1.2 Before placing the micrometer into operation, the
as standard. The values given in parentheses are mathematical
surfaces shall be cleaned so the gage zeros properly.
conversions to SI units that are provided for information only
5. Test Specimens
and are not considered standard.
1.3 This standard does not purport to address all of the 5.1 The test specimen shall be a minimum of one tile or a 12
safety concerns, if any, associated with its use. It is the by 12-in. (300 by 300-mm) piece of sheet flooring.
responsibility of the user of this standard to establish appro-
6. Calibration
priate safety and health practices and determine the applica-
6.1 Calibrate the gage by means of gage blocks or shim
bility of regulatory limitations prior to use.
stock of known thickness appropriate to the thickness of the
2. Referenced Documents
material being measured.
2
2.1 ASTM Standards:
7. Conditioning
E691 Practice for Conducting an Interlaboratory Study to
7.1 Condition the test specimen at least 24 h at 736 3°F (23
Determine the Precision of a Test Method
6 2°C) and 50 6 5 % relative humidity and test in the same
E177 Practice for Use of the Terms Precision and Bias in
environment.
ASTM Test Methods
8. Procedure
3. Significance and Use
8.1 Place the specimen with the wearing surface upward on
3.1 Measurement of the thickness of the product may be
the comparator stand anvil, taking care that the specimen is flat
required for quality control purposes or to ensure compliance
against the anvil.
with applicable specifications.
8.2 Lower the presser foot gently until it contacts the
4. Apparatus
surface of the specimen.
4.1 Theapparatusshallconsistofacomparatorstandhaving
8.3 Upon contact with the surface, take a reading to the
a flat anvil base at least 6 in. (15 cm) square, equipped with a
nearest 0.001 in. (0.02 mm) from the gage. Take all measure-
thickness gage graduated to 0.001 in. (0.02 mm). The gage
ments at least 0.75 in. (19 mm) from any edge of the specimen.
8.4 Take a total of five measurements on each specimen, at
1
ThistestmethodisunderthejurisdictionofASTMCommitteeF06onResilient
randomly selected locations unless otherwise specified.
Floor Coverings and is the direct responsibility of Subcommittee F06.20 on Test
Methods - Products Construction/Materials.
9. Calculation
Current edition approved March 15, 2011. Published April 2011. Originally
approved in 1973. Last previous edition approved in 2008 as F386 – 02(2008). DOI: 9.1 Calculate the average thickness of each specimen.
10.1520/F0386-11.
2
For referenced ASTM standards, visit the ASTM website, www.astm.org, or 10. Report
contact ASTM Customer Service at service@astm.org. For Annual Book of ASTM
10.1 Report the average thickness of each specimen to the
Standards volume information, refer to the standard’s Document Summary page on
the ASTM website. nearest 0.001 in. (0.02 mm).
Copyright © ASTM International, 100 Barr Harbor Drive, PO Box C700, West Conshohocken, PA 19428-2959. United States
1
---------------------- Page: 1 ----------------------
F386 − 11
TABLE 1 Thickness (inches)
A
Material Average Repeatability Reproducibility Repeatability Reproducibility
x¯ Standard Standard Limit Limit
Deviation Deviation r R
S S
r R
“A” 0.079 in. (2 mm) 0.07880 0.00048 0.00114 0.00135 0.00320
“B” 0.118 in. (3 mm) 0.11808 0.00052 0.00086 0.00145 0.00242
“C” 0.138 in. (3.5 mm) 0.13824 0.00056 0.00141 0.00156 0.00395
“D” 0.125 in. 0.10468 0.00395 0.00395 0.01105 0.01105
“E” 0.130 in. 0.13382 0.00082 0.00225 0.00230 0.00629
“F” 0.100 in. 0.10391 0.00079 0.00116 0.00221 0.00324
“G” 0.0984 in. 0.09520 0.00106 0.00252 0.00296 0.00706
“H” 0.08 in. 0.08211 0.00192 0.00257 0.00538 0.00721
“I” 0.125 in. 0.11947 0.00135 0.00180 0.00377 0.0
...
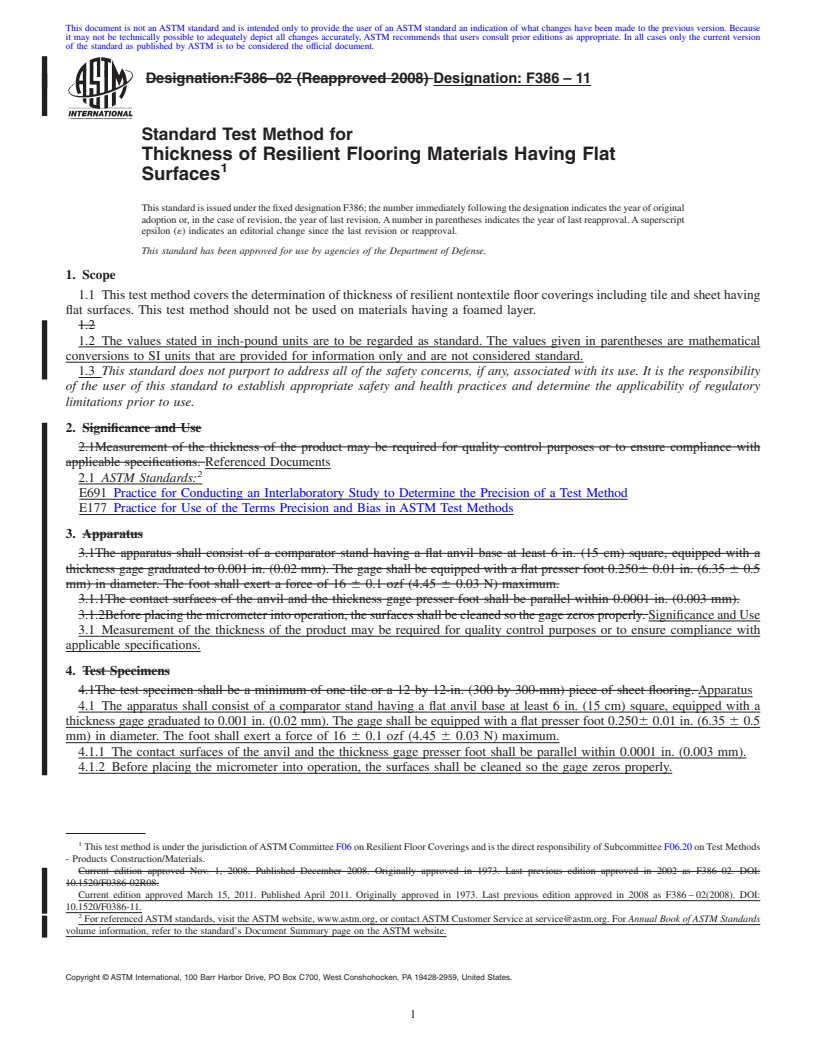
This document is not an ASTM standard and is intended only to provide the user of an ASTM standard an indication of what changes have been made to the previous version. Because
it may not be technically possible to adequately depict all changes accurately, ASTM recommends that users consult prior editions as appropriate. In all cases only the current version
of the standard as published by ASTM is to be considered the official document.
Designation:F386–02 (Reapproved 2008) Designation:F386–11
Standard Test Method for
Thickness of Resilient Flooring Materials Having Flat
1
Surfaces
ThisstandardisissuedunderthefixeddesignationF386;thenumberimmediatelyfollowingthedesignationindicatestheyearoforiginal
adoption or, in the case of revision, the year of last revision.Anumber in parentheses indicates the year of last reapproval.Asuperscript
epsilon (´) indicates an editorial change since the last revision or reapproval.
This standard has been approved for use by agencies of the Department of Defense.
1. Scope
1.1 This test method covers the determination of thickness of resilient nontextile floor coverings including tile and sheet having
flat surfaces. This test method should not be used on materials having a foamed layer.
1.2
1.2 The values stated in inch-pound units are to be regarded as standard. The values given in parentheses are mathematical
conversions to SI units that are provided for information only and are not considered standard.
1.3 This standard does not purport to address all of the safety concerns, if any, associated with its use. It is the responsibility
of the user of this standard to establish appropriate safety and health practices and determine the applicability of regulatory
limitations prior to use.
2. Significance and Use
2.1Measurement of the thickness of the product may be required for quality control purposes or to ensure compliance with
applicable specifications. Referenced Documents
2
2.1 ASTM Standards:
E691 Practice for Conducting an Interlaboratory Study to Determine the Precision of a Test Method
E177 Practice for Use of the Terms Precision and Bias in ASTM Test Methods
3. Apparatus
3.1The apparatus shall consist of a comparator stand having a flat anvil base at least 6 in. (15 cm) square, equipped with a
thickness gage graduated to 0.001 in. (0.02 mm). The gage shall be equipped with a flat presser foot 0.2506 0.01 in. (6.35 6 0.5
mm) in diameter. The foot shall exert a force of 16 6 0.1 ozf (4.45 6 0.03 N) maximum.
3.1.1The contact surfaces of the anvil and the thickness gage presser foot shall be parallel within 0.0001 in. (0.003 mm).
3.1.2Beforeplacingthemicrometerintooperation,thesurfacesshallbecleanedsothegagezerosproperly.SignificanceandUse
3.1 Measurement of the thickness of the product may be required for quality control purposes or to ensure compliance with
applicable specifications.
4. Test Specimens
4.1The test specimen shall be a minimum of one tile or a 12 by 12-in. (300 by 300-mm) piece of sheet flooring. Apparatus
4.1 The apparatus shall consist of a comparator stand having a flat anvil base at least 6 in. (15 cm) square, equipped with a
thickness gage graduated to 0.001 in. (0.02 mm). The gage shall be equipped with a flat presser foot 0.2506 0.01 in. (6.35 6 0.5
mm) in diameter. The foot shall exert a force of 16 6 0.1 ozf (4.45 6 0.03 N) maximum.
4.1.1 The contact surfaces of the anvil and the thickness gage presser foot shall be parallel within 0.0001 in. (0.003 mm).
4.1.2 Before placing the micrometer into operation, the surfaces shall be cleaned so the gage zeros properly.
1
This test method is under the jurisdiction ofASTM Committee F06 on Resilient Floor Coverings and is the direct responsibility of Subcommittee F06.20 onTest Methods
- Products Construction/Materials.
Current edition approved Nov. 1, 2008. Published December 2008. Originally approved in 1973. Last previous edition approved in 2002 as F386–02. DOI:
10.1520/F0386-02R08.
Current edition approved March 15, 2011. Published April 2011. Originally approved in 1973. Last previous edition approved in 2008 as F386 – 02(2008). DOI:
10.1520/F0386-11.
2
For referencedASTM standards, visit theASTM website, www.astm.org, or contactASTM Customer Service at service@astm.org. For Annual Book ofASTM Standards
volume information, refer to the standard’s Document Summary page on the ASTM website.
Copyright © ASTM International, 100 Barr Harbor Drive, PO Box C700, West Conshohocken, PA 19428-2959, United States.
1
---------------------- Page: 1 ----------------------
F386–11
5. Calibration
5.1Calibrate the gage by means of gage blocks or shim stock of known thickness appropriate to the thickness of the material
being measured. Test Specimens
5.1 The test specimen shall be a minimum of one tile or a 12 by 12-in. (300 by 300-mm) piece of sheet flooring.
6. Conditioning
6.1Condition the test specimen at least 24 h at 736 3°F (23 6 2°C) and 50 6 5% relative humidity and test in the same
environment. Calibration
6.1 Calibrate
...


Questions, Comments and Discussion
Ask us and Technical Secretary will try to provide an answer. You can facilitate discussion about the standard in here.