ASTM E177-14
(Practice)Standard Practice for Use of the Terms Precision and Bias in ASTM Test Methods
Standard Practice for Use of the Terms Precision and Bias in ASTM Test Methods
SIGNIFICANCE AND USE
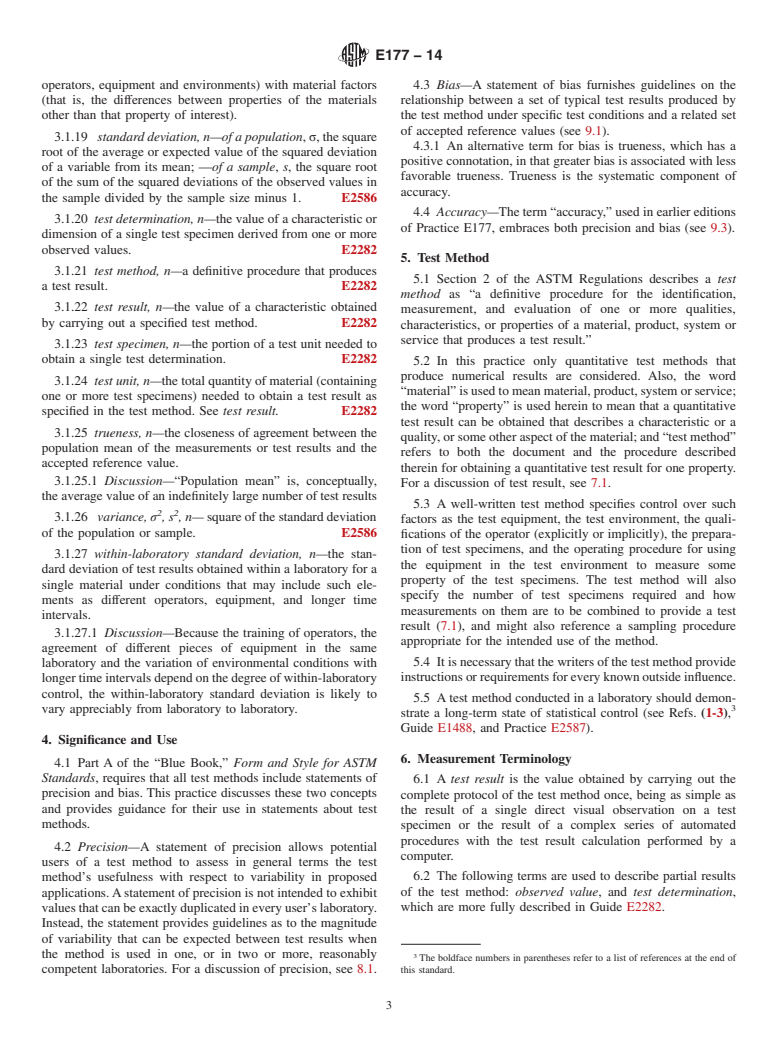
4.1 Part A of the “Blue Book,” Form and Style for ASTM Standards, requires that all test methods include statements of precision and bias. This practice discusses these two concepts and provides guidance for their use in statements about test methods.
4.2 Precision—A statement of precision allows potential users of a test method to assess in general terms the test method's usefulness with respect to variability in proposed applications. A statement of precision is not intended to exhibit values that can be exactly duplicated in every user's laboratory. Instead, the statement provides guidelines as to the magnitude of variability that can be expected between test results when the method is used in one, or in two or more, reasonably competent laboratories. For a discussion of precision, see 8.1.
4.3 Bias—A statement of bias furnishes guidelines on the relationship between a set of typical test results produced by the test method under specific test conditions and a related set of accepted reference values (see 9.1).
4.3.1 An alternative term for bias is trueness, which has a positive connotation, in that greater bias is associated with less favorable trueness. Trueness is the systematic component of accuracy.
4.4 Accuracy—The term “accuracy,” used in earlier editions of Practice E177, embraces both precision and bias (see 9.3).
SCOPE
1.1 The purpose of this practice is to present concepts necessary to the understanding of the terms “precision” and “bias” as used in quantitative test methods. This practice also describes methods of expressing precision and bias and, in a final section, gives examples of how statements on precision and bias may be written for ASTM test methods.
1.2 This standard does not purport to address all of the safety concerns, if any, associated with its use. It is the responsibility of the user of this standard to establish appropriate safety and health practices and determine the applicability of regulatory requirements prior to use.
General Information
Relations
Buy Standard
Standards Content (Sample)
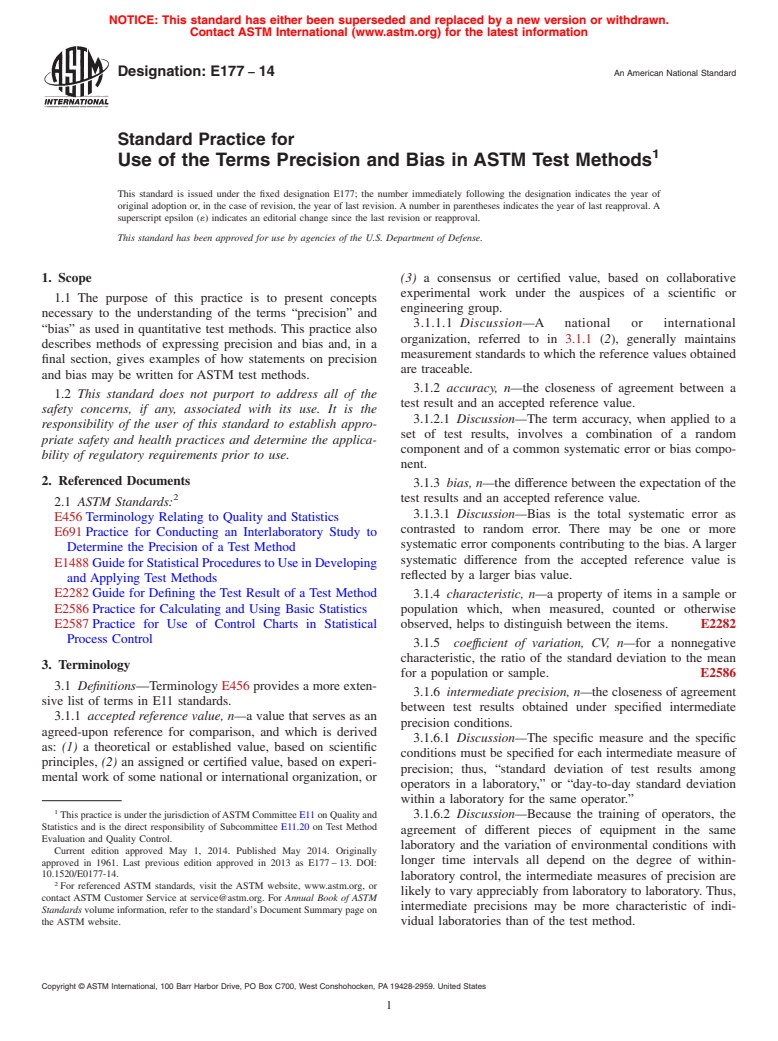
NOTICE: This standard has either been superseded and replaced by a new version or withdrawn.
Contact ASTM International (www.astm.org) for the latest information
Designation: E177 − 14 An American National Standard
Standard Practice for
1
Use of the Terms Precision and Bias in ASTM Test Methods
This standard is issued under the fixed designation E177; the number immediately following the designation indicates the year of
original adoption or, in the case of revision, the year of last revision. A number in parentheses indicates the year of last reapproval. A
superscript epsilon (´) indicates an editorial change since the last revision or reapproval.
This standard has been approved for use by agencies of the U.S. Department of Defense.
1. Scope (3) a consensus or certified value, based on collaborative
experimental work under the auspices of a scientific or
1.1 The purpose of this practice is to present concepts
engineering group.
necessary to the understanding of the terms “precision” and
3.1.1.1 Discussion—A national or international
“bias” as used in quantitative test methods. This practice also
organization, referred to in 3.1.1 (2), generally maintains
describes methods of expressing precision and bias and, in a
measurement standards to which the reference values obtained
final section, gives examples of how statements on precision
are traceable.
and bias may be written for ASTM test methods.
3.1.2 accuracy, n—the closeness of agreement between a
1.2 This standard does not purport to address all of the
test result and an accepted reference value.
safety concerns, if any, associated with its use. It is the
3.1.2.1 Discussion—The term accuracy, when applied to a
responsibility of the user of this standard to establish appro-
set of test results, involves a combination of a random
priate safety and health practices and determine the applica-
component and of a common systematic error or bias compo-
bility of regulatory requirements prior to use.
nent.
2. Referenced Documents
3.1.3 bias, n—the difference between the expectation of the
2
test results and an accepted reference value.
2.1 ASTM Standards:
3.1.3.1 Discussion—Bias is the total systematic error as
E456 Terminology Relating to Quality and Statistics
contrasted to random error. There may be one or more
E691 Practice for Conducting an Interlaboratory Study to
systematic error components contributing to the bias. A larger
Determine the Precision of a Test Method
systematic difference from the accepted reference value is
E1488 GuideforStatisticalProcedurestoUseinDeveloping
reflected by a larger bias value.
and Applying Test Methods
E2282 Guide for Defining the Test Result of a Test Method 3.1.4 characteristic, n—a property of items in a sample or
E2586 Practice for Calculating and Using Basic Statistics
population which, when measured, counted or otherwise
E2587 Practice for Use of Control Charts in Statistical observed, helps to distinguish between the items. E2282
Process Control
3.1.5 coeffıcient of variation, CV, n—for a nonnegative
characteristic, the ratio of the standard deviation to the mean
3. Terminology
for a population or sample. E2586
3.1 Definitions—Terminology E456 provides a more exten-
3.1.6 intermediate precision, n—the closeness of agreement
sive list of terms in E11 standards.
between test results obtained under specified intermediate
3.1.1 accepted reference value, n—a value that serves as an
precision conditions.
agreed-upon reference for comparison, and which is derived
3.1.6.1 Discussion—The specific measure and the specific
as: (1) a theoretical or established value, based on scientific
conditions must be specified for each intermediate measure of
principles, (2) an assigned or certified value, based on experi-
precision; thus, “standard deviation of test results among
mental work of some national or international organization, or
operators in a laboratory,” or “day-to-day standard deviation
within a laboratory for the same operator.”
1
This practice is under the jurisdiction ofASTM Committee E11 on Quality and
3.1.6.2 Discussion—Because the training of operators, the
Statistics and is the direct responsibility of Subcommittee E11.20 on Test Method
agreement of different pieces of equipment in the same
Evaluation and Quality Control.
laboratory and the variation of environmental conditions with
Current edition approved May 1, 2014. Published May 2014. Originally
longer time intervals all depend on the degree of within-
approved in 1961. Last previous edition approved in 2013 as E177 – 13. DOI:
10.1520/E0177-14.
laboratory control, the intermediate measures of precision are
2
For referenced ASTM standards, visit the ASTM website, www.astm.org, or
likely to vary appreciably from laboratory to laboratory. Thus,
contact ASTM Customer Service at service@astm.org. For Annual Book of ASTM
intermediate precisions may be more characteristic of indi-
Standards volume information, refer to the standard’s Document Summary page on
the ASTM website. vidu
...
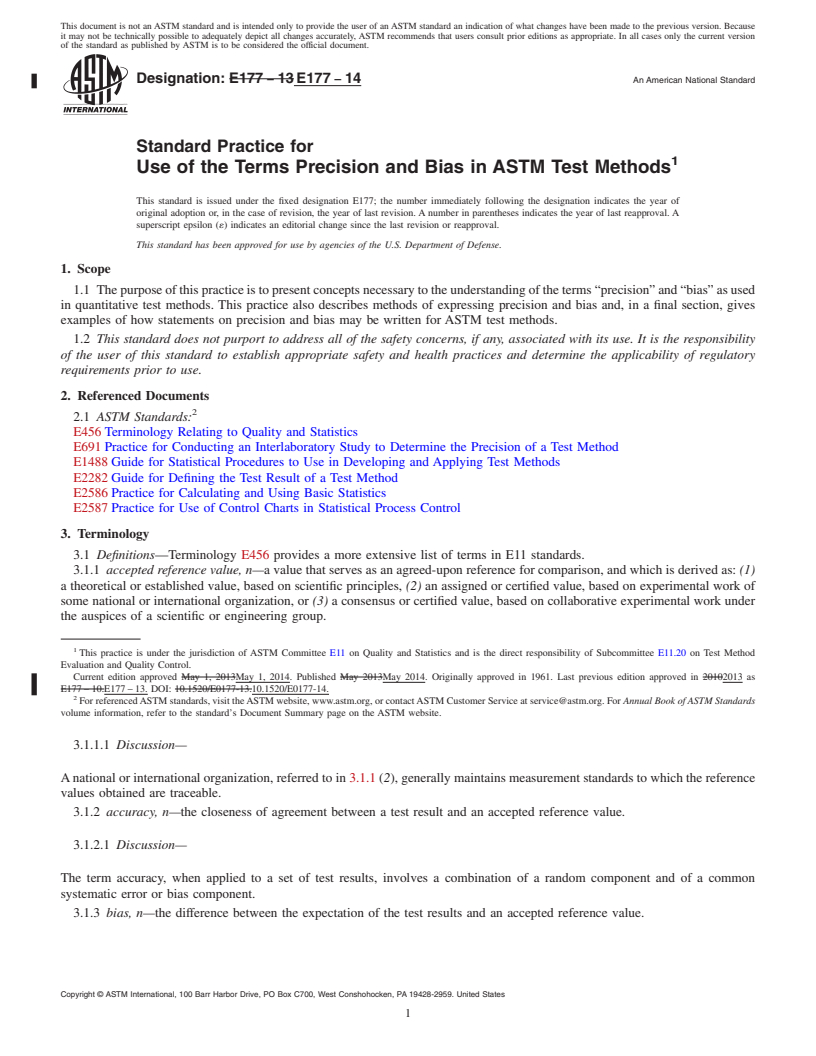
This document is not an ASTM standard and is intended only to provide the user of an ASTM standard an indication of what changes have been made to the previous version. Because
it may not be technically possible to adequately depict all changes accurately, ASTM recommends that users consult prior editions as appropriate. In all cases only the current version
of the standard as published by ASTM is to be considered the official document.
Designation: E177 − 13 E177 − 14 An American National Standard
Standard Practice for
1
Use of the Terms Precision and Bias in ASTM Test Methods
This standard is issued under the fixed designation E177; the number immediately following the designation indicates the year of
original adoption or, in the case of revision, the year of last revision. A number in parentheses indicates the year of last reapproval. A
superscript epsilon (´) indicates an editorial change since the last revision or reapproval.
This standard has been approved for use by agencies of the U.S. Department of Defense.
1. Scope
1.1 The purpose of this practice is to present concepts necessary to the understanding of the terms “precision” and “bias” as used
in quantitative test methods. This practice also describes methods of expressing precision and bias and, in a final section, gives
examples of how statements on precision and bias may be written for ASTM test methods.
1.2 This standard does not purport to address all of the safety concerns, if any, associated with its use. It is the responsibility
of the user of this standard to establish appropriate safety and health practices and determine the applicability of regulatory
requirements prior to use.
2. Referenced Documents
2
2.1 ASTM Standards:
E456 Terminology Relating to Quality and Statistics
E691 Practice for Conducting an Interlaboratory Study to Determine the Precision of a Test Method
E1488 Guide for Statistical Procedures to Use in Developing and Applying Test Methods
E2282 Guide for Defining the Test Result of a Test Method
E2586 Practice for Calculating and Using Basic Statistics
E2587 Practice for Use of Control Charts in Statistical Process Control
3. Terminology
3.1 Definitions—Terminology E456 provides a more extensive list of terms in E11 standards.
3.1.1 accepted reference value, n—a value that serves as an agreed-upon reference for comparison, and which is derived as: (1)
a theoretical or established value, based on scientific principles, (2) an assigned or certified value, based on experimental work of
some national or international organization, or (3) a consensus or certified value, based on collaborative experimental work under
the auspices of a scientific or engineering group.
1
This practice is under the jurisdiction of ASTM Committee E11 on Quality and Statistics and is the direct responsibility of Subcommittee E11.20 on Test Method
Evaluation and Quality Control.
Current edition approved May 1, 2013May 1, 2014. Published May 2013May 2014. Originally approved in 1961. Last previous edition approved in 20102013 as
E177 – 10.E177 – 13. DOI: 10.1520/E0177-13.10.1520/E0177-14.
2
For referenced ASTM standards, visit the ASTM website, www.astm.org, or contact ASTM Customer Service at service@astm.org. For Annual Book of ASTM Standards
volume information, refer to the standard’s Document Summary page on the ASTM website.
3.1.1.1 Discussion—
A national or international organization, referred to in 3.1.1 (2), generally maintains measurement standards to which the reference
values obtained are traceable.
3.1.2 accuracy, n—the closeness of agreement between a test result and an accepted reference value.
3.1.2.1 Discussion—
The term accuracy, when applied to a set of test results, involves a combination of a random component and of a common
systematic error or bias component.
3.1.3 bias, n—the difference between the expectation of the test results and an accepted reference value.
Copyright © ASTM International, 100 Barr Harbor Drive, PO Box C700, West Conshohocken, PA 19428-2959. United States
1
---------------------- Page: 1 ----------------------
E177 − 14
3.1.3.1 Discussion—
Bias is the total systematic error as contrasted to random error. There may be one or more systematic error components contributing
to the bias. A larger systematic difference from the accepted reference value is reflected by a larger bias value.
3.1.4 characteristic, n—a property of items in a sample or population which, when measured, counted or otherwise observed,
helps to distinguish between the items. E2282
3.1.5 coeffıcient of variation, CV, n—for a nonnegative characteristic, the ratio of the standard deviation to the mean for a
population or sample. E2586
3.1.6 intermediate precision, n—the closeness of agreement between test results obtained under specified intermediate precision
conditions.
3.1.6.1 Discussion—
The specific measure and the specific conditions must be specified for each intermediate measure of precision; thus, “standard
deviation of test results among ope
...


Questions, Comments and Discussion
Ask us and Technical Secretary will try to provide an answer. You can facilitate discussion about the standard in here.