ASTM D2583-13
(Test Method)Standard Test Method for Indentation Hardness of Rigid Plastics by Means of a Barcol Impressor
Standard Test Method for Indentation Hardness of Rigid Plastics by Means of a Barcol Impressor
SIGNIFICANCE AND USE
5.1 The Barcol Impressor is portable and therefore suitable for testing the hardness of fabricated parts and individual test specimens for production control purposes.
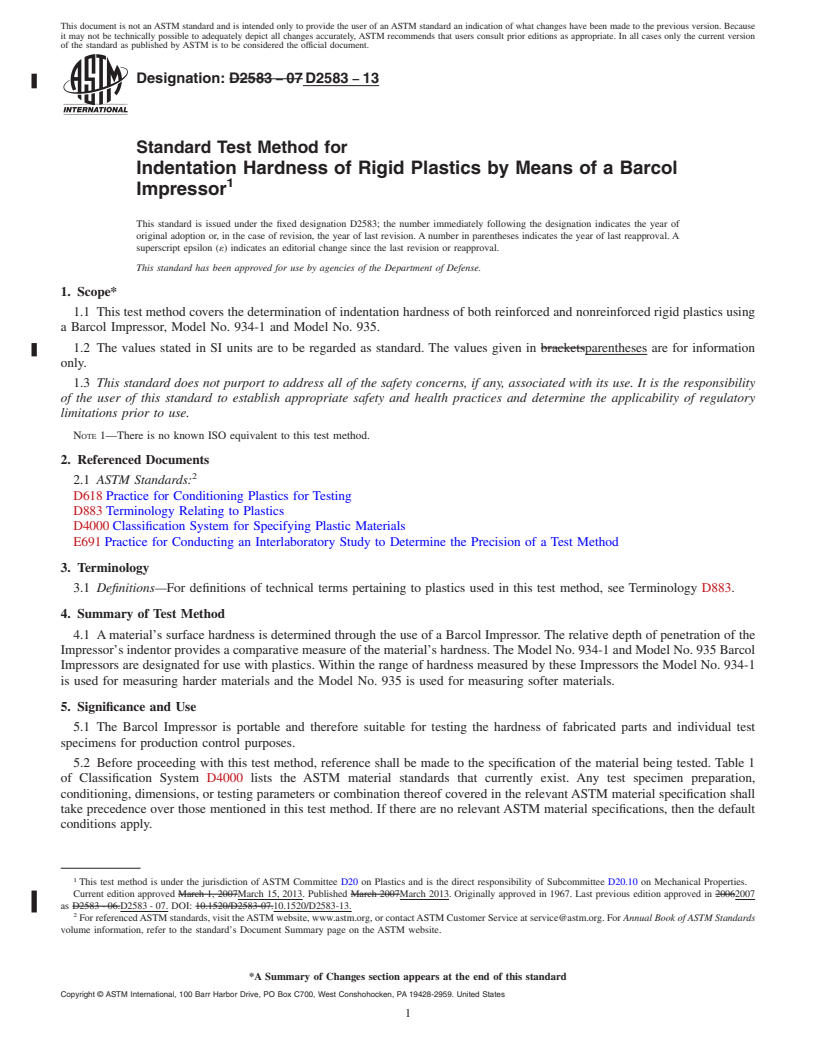
5.2 Before proceeding with this test method, reference shall be made to the specification of the material being tested. Table 1 of Classification System D4000 lists the ASTM material standards that currently exist. Any test specimen preparation, conditioning, dimensions, or testing parameters or combination thereof covered in the relevant ASTM material specification shall take precedence over those mentioned in this test method. If there are no relevant ASTM material specifications, then the default conditions apply.
SCOPE
1.1 This test method covers the determination of indentation hardness of both reinforced and nonreinforced rigid plastics using a Barcol Impressor, Model No. 934-1 and Model No. 935.
1.2 The values stated in SI units are to be regarded as standard. The values given in parentheses are for information only.
1.3 This standard does not purport to address all of the safety concerns, if any, associated with its use. It is the responsibility of the user of this standard to establish appropriate safety and health practices and determine the applicability of regulatory limitations prior to use. Note 1—There is no known ISO equivalent to this test method.
General Information
Relations
Buy Standard
Standards Content (Sample)
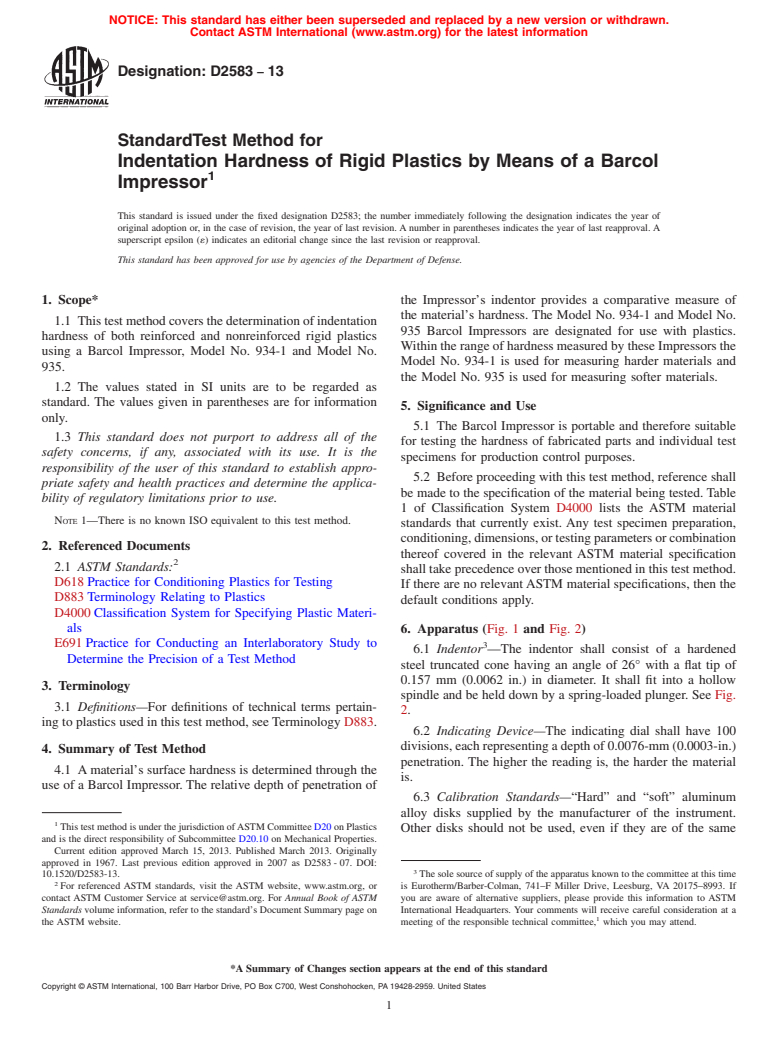
NOTICE: This standard has either been superseded and replaced by a new version or withdrawn.
Contact ASTM International (www.astm.org) for the latest information
Designation: D2583 − 13
StandardTest Method for
Indentation Hardness of Rigid Plastics by Means of a Barcol
1
Impressor
This standard is issued under the fixed designation D2583; the number immediately following the designation indicates the year of
original adoption or, in the case of revision, the year of last revision. A number in parentheses indicates the year of last reapproval. A
superscript epsilon (´) indicates an editorial change since the last revision or reapproval.
This standard has been approved for use by agencies of the Department of Defense.
1. Scope* the Impressor’s indentor provides a comparative measure of
the material’s hardness. The Model No. 934-1 and Model No.
1.1 Thistestmethodcoversthedeterminationofindentation
935 Barcol Impressors are designated for use with plastics.
hardness of both reinforced and nonreinforced rigid plastics
Within the range of hardness measured by these Impressors the
using a Barcol Impressor, Model No. 934-1 and Model No.
Model No. 934-1 is used for measuring harder materials and
935.
the Model No. 935 is used for measuring softer materials.
1.2 The values stated in SI units are to be regarded as
standard. The values given in parentheses are for information
5. Significance and Use
only.
5.1 The Barcol Impressor is portable and therefore suitable
1.3 This standard does not purport to address all of the
for testing the hardness of fabricated parts and individual test
safety concerns, if any, associated with its use. It is the
specimens for production control purposes.
responsibility of the user of this standard to establish appro-
5.2 Before proceeding with this test method, reference shall
priate safety and health practices and determine the applica-
be made to the specification of the material being tested. Table
bility of regulatory limitations prior to use.
1 of Classification System D4000 lists the ASTM material
NOTE 1—There is no known ISO equivalent to this test method.
standards that currently exist. Any test specimen preparation,
conditioning,dimensions,ortestingparametersorcombination
2. Referenced Documents
thereof covered in the relevant ASTM material specification
2
2.1 ASTM Standards:
shall take precedence over those mentioned in this test method.
D618 Practice for Conditioning Plastics for Testing
If there are no relevantASTM material specifications, then the
D883 Terminology Relating to Plastics
default conditions apply.
D4000 Classification System for Specifying Plastic Materi-
als
6. Apparatus (Fig. 1 and Fig. 2)
E691 Practice for Conducting an Interlaboratory Study to 3
6.1 Indentor —The indentor shall consist of a hardened
Determine the Precision of a Test Method
steel truncated cone having an angle of 26° with a flat tip of
0.157 mm (0.0062 in.) in diameter. It shall fit into a hollow
3. Terminology
spindle and be held down by a spring-loaded plunger. See Fig.
3.1 Definitions—For definitions of technical terms pertain-
2.
ing to plastics used in this test method, see Terminology D883.
6.2 Indicating Device—The indicating dial shall have 100
divisions,eachrepresentingadepthof0.0076-mm(0.0003-in.)
4. Summary of Test Method
penetration. The higher the reading is, the harder the material
4.1 Amaterial’s surface hardness is determined through the
is.
use of a Barcol Impressor. The relative depth of penetration of
6.3 Calibration Standards—“Hard” and “soft” aluminum
alloy disks supplied by the manufacturer of the instrument.
1
This test method is under the jurisdiction ofASTM Committee D20 on Plastics
Other disks should not be used, even if they are of the same
and is the direct responsibility of Subcommittee D20.10 on Mechanical Properties.
Current edition approved March 15, 2013. Published March 2013. Originally
approved in 1967. Last previous edition approved in 2007 as D2583 - 07. DOI:
3
10.1520/D2583-13. The sole source of supply of the apparatus known to the committee at this time
2
For referenced ASTM standards, visit the ASTM website, www.astm.org, or is Eurotherm/Barber-Colman, 741–F Miller Drive, Leesburg, VA 20175–8993. If
contact ASTM Customer Service at service@astm.org. For Annual Book of ASTM you are aware of alternative suppliers, please provide this information to ASTM
Standards volume information, refer to the standard’s Document Summary page on International Headquarters. Your comments will receive careful consideration at a
1
the ASTM website. meeting of the responsible technical committee, which you may attend.
*A Summary of Changes section appears at the end of this standard
Copyright © ASTM International, 100 Barr Harbor Drive, PO Box C700, West Conshohocken, PA 19428-2959. United States
1
---------------------- Page: 1 ----------------------
D2583 − 13
lower plunger guide. The indicator should now read 100. If it
does not, loosen the lock-nut and turn the lower plunger
...
This document is not an ASTM standard and is intended only to provide the user of an ASTM standard an indication of what changes have been made to the previous version. Because
it may not be technically possible to adequately depict all changes accurately, ASTM recommends that users consult prior editions as appropriate. In all cases only the current version
of the standard as published by ASTM is to be considered the official document.
Designation: D2583 − 07 D2583 − 13
Standard Test Method for
Indentation Hardness of Rigid Plastics by Means of a Barcol
1
Impressor
This standard is issued under the fixed designation D2583; the number immediately following the designation indicates the year of
original adoption or, in the case of revision, the year of last revision. A number in parentheses indicates the year of last reapproval. A
superscript epsilon (´) indicates an editorial change since the last revision or reapproval.
This standard has been approved for use by agencies of the Department of Defense.
1. Scope*
1.1 This test method covers the determination of indentation hardness of both reinforced and nonreinforced rigid plastics using
a Barcol Impressor, Model No. 934-1 and Model No. 935.
1.2 The values stated in SI units are to be regarded as standard. The values given in bracketsparentheses are for information
only.
1.3 This standard does not purport to address all of the safety concerns, if any, associated with its use. It is the responsibility
of the user of this standard to establish appropriate safety and health practices and determine the applicability of regulatory
limitations prior to use.
NOTE 1—There is no known ISO equivalent to this test method.
2. Referenced Documents
2
2.1 ASTM Standards:
D618 Practice for Conditioning Plastics for Testing
D883 Terminology Relating to Plastics
D4000 Classification System for Specifying Plastic Materials
E691 Practice for Conducting an Interlaboratory Study to Determine the Precision of a Test Method
3. Terminology
3.1 Definitions—For definitions of technical terms pertaining to plastics used in this test method, see Terminology D883.
4. Summary of Test Method
4.1 A material’s surface hardness is determined through the use of a Barcol Impressor. The relative depth of penetration of the
Impressor’s indentor provides a comparative measure of the material’s hardness. The Model No. 934-1 and Model No. 935 Barcol
Impressors are designated for use with plastics. Within the range of hardness measured by these Impressors the Model No. 934-1
is used for measuring harder materials and the Model No. 935 is used for measuring softer materials.
5. Significance and Use
5.1 The Barcol Impressor is portable and therefore suitable for testing the hardness of fabricated parts and individual test
specimens for production control purposes.
5.2 Before proceeding with this test method, reference shall be made to the specification of the material being tested. Table 1
of Classification System D4000 lists the ASTM material standards that currently exist. Any test specimen preparation,
conditioning, dimensions, or testing parameters or combination thereof covered in the relevant ASTM material specification shall
take precedence over those mentioned in this test method. If there are no relevant ASTM material specifications, then the default
conditions apply.
1
This test method is under the jurisdiction of ASTM Committee D20 on Plastics and is the direct responsibility of Subcommittee D20.10 on Mechanical Properties.
Current edition approved March 1, 2007March 15, 2013. Published March 2007March 2013. Originally approved in 1967. Last previous edition approved in 20062007
as D2583 - 06.D2583 - 07. DOI: 10.1520/D2583-07.10.1520/D2583-13.
2
For referenced ASTM standards, visit the ASTM website, www.astm.org, or contact ASTM Customer Service at service@astm.org. For Annual Book of ASTM Standards
volume information, refer to the standard’s Document Summary page on the ASTM website.
*A Summary of Changes section appears at the end of this standard
Copyright © ASTM International, 100 Barr Harbor Drive, PO Box C700, West Conshohocken, PA 19428-2959. United States
1
---------------------- Page: 1 ----------------------
D2583 − 13
FIG. 1 Barcol Impressor
6. Apparatus (Fig. 1 and Fig. 2)
3
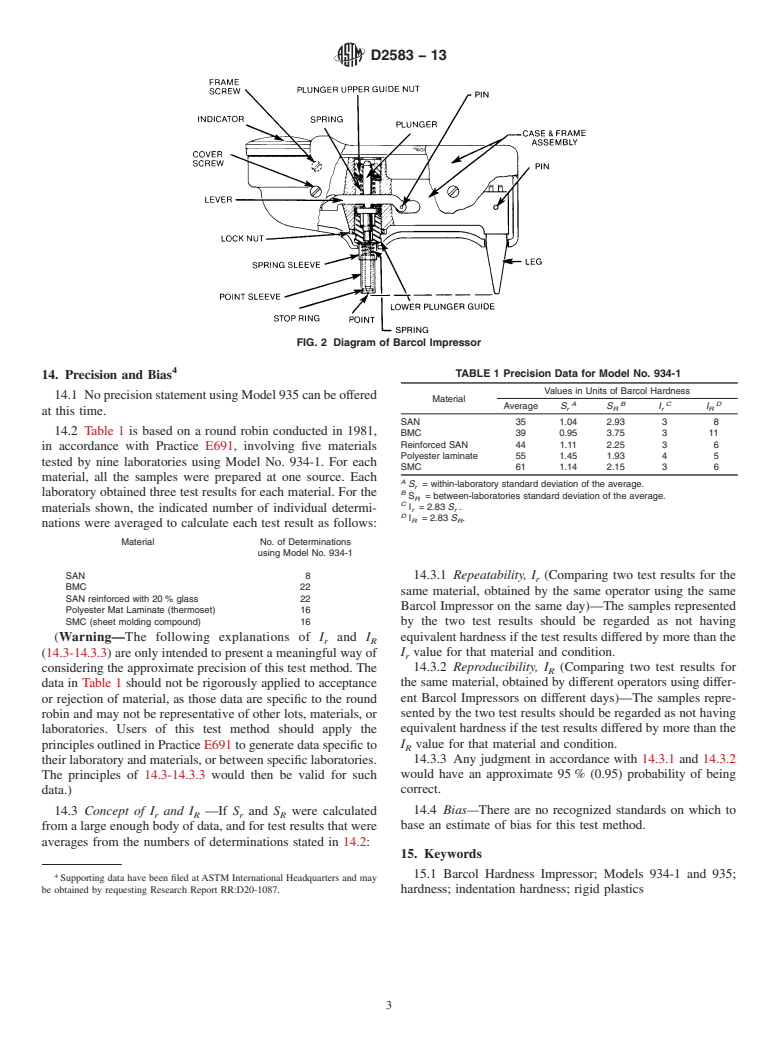
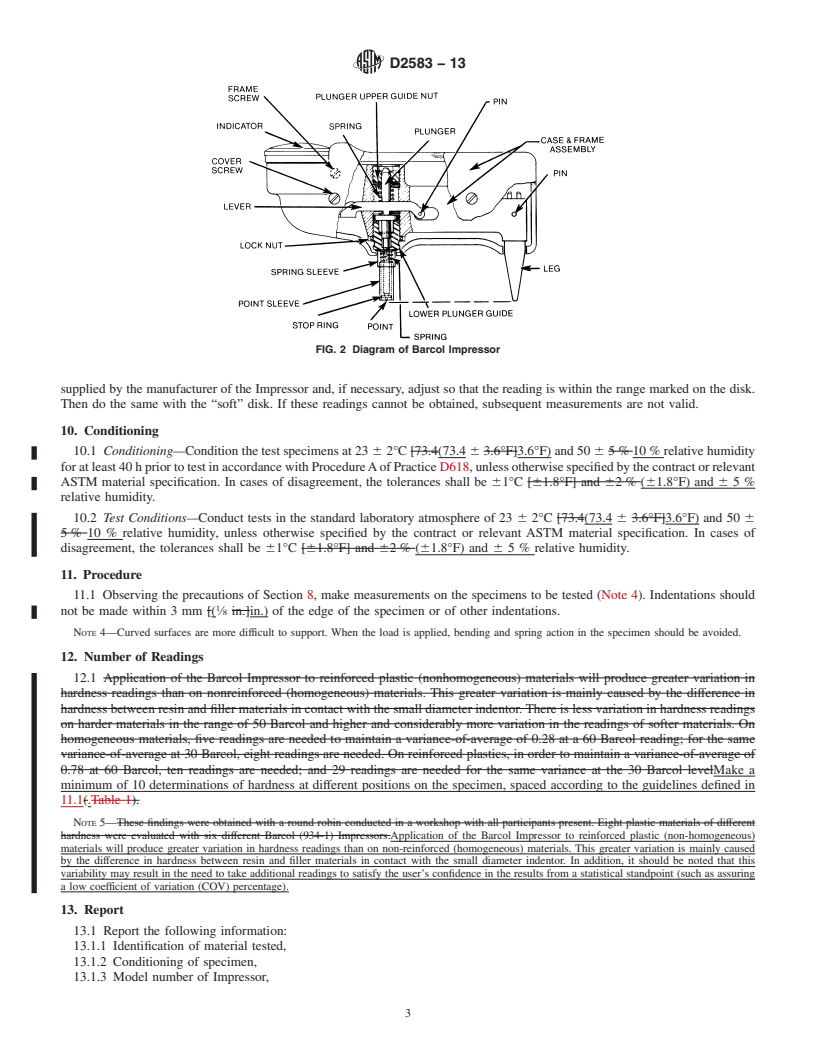
6.1 Indentor —The indentor shall consist of a hardened steel truncated cone having an angle of 26° with a flat tip of 0.157 mm
[0.0062 in.](0.0062 in.) in diameter. It shall fit into a hollow spindle and be held down by a spring-loaded plunger. See Fig. 2.
6.2 Indicating Device—The indicating dial shall have 100 divisions, each representing a depth of 0.0076-mm [0.0003-
in.](0.0003-in.) penetration. The higher the reading is, the harder the material is.
6.3 Calibration Standards—“Hard” and “soft” aluminum alloy disks supplied by the manufacturer of the instrument. Other
disks should not be used, even if they are of the same alloy and temper as the manufacturer’s disks, as the hardness of aluminum
varies within any
...


Questions, Comments and Discussion
Ask us and Technical Secretary will try to provide an answer. You can facilitate discussion about the standard in here.