ASTM E2113-13
(Test Method)Standard Test Method for Length Change Calibration of Thermomechanical Analyzers
Standard Test Method for Length Change Calibration of Thermomechanical Analyzers
SIGNIFICANCE AND USE
5.1 Performance verification or calibration is essential to the accurate determination of quantitative dimension change measurements.
5.2 This test method may be used for instrument performance validation, regulatory compliance, research and development and quality assurance purposes.
SCOPE
1.1 This test method describes calibration of the length change (deflection) measurement or thermal expansion of thermomechanical analyzers (TMAs) within the temperature range from –150 to 1000°C using the thermal expansion of a suitable reference material.
1.2 The values stated in SI units are to be regarded as standard. No other units of measurement are included in this standard.
1.3 This test method differs from ISO 11359-1 by providing an alternative calibration procedure.
1.4 This standard does not purport to address all of the safety concerns, if any, associated with its use. It is the responsibility of whoever uses this standard to consult and establish appropriate safety and health practices and determine the applicability of regulatory limitations prior to use.
General Information
Relations
Buy Standard
Standards Content (Sample)
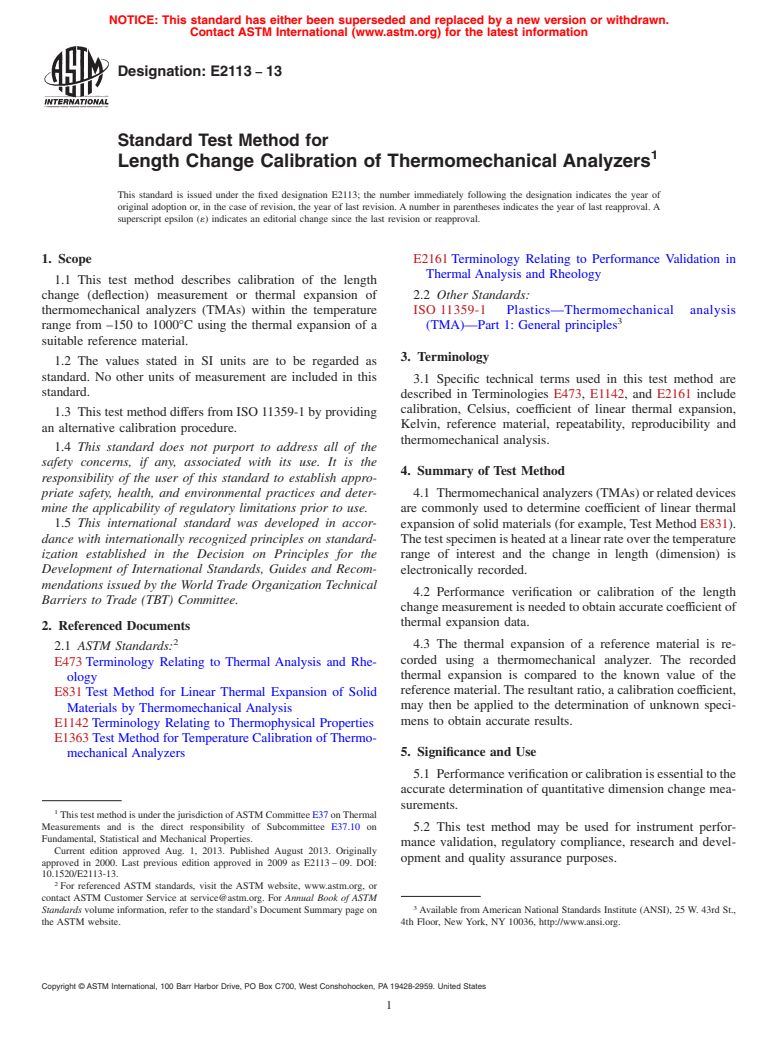
NOTICE: This standard has either been superseded and replaced by a new version or withdrawn.
Contact ASTM International (www.astm.org) for the latest information
Designation: E2113 − 13
Standard Test Method for
1
Length Change Calibration of Thermomechanical Analyzers
This standard is issued under the fixed designation E2113; the number immediately following the designation indicates the year of
original adoption or, in the case of revision, the year of last revision. A number in parentheses indicates the year of last reapproval. A
superscript epsilon (´) indicates an editorial change since the last revision or reapproval.
1. Scope E2161 Terminology Relating to Performance Validation in
Thermal Analysis and Rheology
1.1 This test method describes calibration of the length
change (deflection) measurement or thermal expansion of 2.2 Other Standards:
thermomechanical analyzers (TMAs) within the temperature ISO 11359-1 Plastics—Thermomechanical analysis
3
range from –150 to 1000°C using the thermal expansion of a (TMA)—Part 1: General principles
suitable reference material.
3. Terminology
1.2 The values stated in SI units are to be regarded as
standard. No other units of measurement are included in this
3.1 Specific technical terms used in this test method are
standard.
described in Terminologies E473, E1142, and E2161 include
calibration, Celsius, coefficient of linear thermal expansion,
1.3 This test method differs from ISO 11359-1 by providing
Kelvin, reference material, repeatability, reproducibility and
an alternative calibration procedure.
thermomechanical analysis.
1.4 This standard does not purport to address all of the
safety concerns, if any, associated with its use. It is the
4. Summary of Test Method
responsibility of the user of this standard to establish appro-
priate safety, health, and environmental practices and deter- 4.1 Thermomechanicalanalyzers(TMAs)orrelateddevices
mine the applicability of regulatory limitations prior to use. are commonly used to determine coefficient of linear thermal
1.5 This international standard was developed in accor- expansion of solid materials (for example, Test Method E831).
dance with internationally recognized principles on standard- Thetestspecimenisheatedatalinearrateoverthetemperature
ization established in the Decision on Principles for the range of interest and the change in length (dimension) is
Development of International Standards, Guides and Recom- electronically recorded.
mendations issued by the World Trade Organization Technical
4.2 Performance verification or calibration of the length
Barriers to Trade (TBT) Committee.
change measurement is needed to obtain accurate coefficient of
thermal expansion data.
2. Referenced Documents
2
4.3 The thermal expansion of a reference material is re-
2.1 ASTM Standards:
corded using a thermomechanical analyzer. The recorded
E473 Terminology Relating to Thermal Analysis and Rhe-
thermal expansion is compared to the known value of the
ology
reference material.The resultant ratio, a calibration coefficient,
E831 Test Method for Linear Thermal Expansion of Solid
may then be applied to the determination of unknown speci-
Materials by Thermomechanical Analysis
mens to obtain accurate results.
E1142 Terminology Relating to Thermophysical Properties
E1363 Test Method for Temperature Calibration of Thermo-
5. Significance and Use
mechanical Analyzers
5.1 Performanceverificationorcalibrationisessentialtothe
accurate determination of quantitative dimension change mea-
surements.
1
ThistestmethodisunderthejurisdictionofASTMCommitteeE37onThermal
Measurements and is the direct responsibility of Subcommittee E37.10 on
5.2 This test method may be used for instrument perfor-
Fundamental, Statistical and Mechanical Properties.
mance validation, regulatory compliance, research and devel-
Current edition approved Aug. 1, 2013. Published August 2013. Originally
opment and quality assurance purposes.
approved in 2000. Last previous edition approved in 2009 as E2113 – 09. DOI:
10.1520/E2113-13.
2
For referenced ASTM standards, visit the ASTM website, www.astm.org, or
contact ASTM Customer Service at service@astm.org. For Annual Book of ASTM
3
Standards volume information, refer to the standard’s Document Summary page on Available fromAmerican National Standards Institute (ANSI), 25 W. 43rd St.,
the ASTM website. 4th Floor, New York, NY 10036, http://www.ansi.org.
Copyright © ASTM International, 100 Barr Harbor Drive, PO Box C700, West Conshohocken, PA 19428-2959. United States
1
---------------------- Page: 1 ----------------------
E2113 − 13
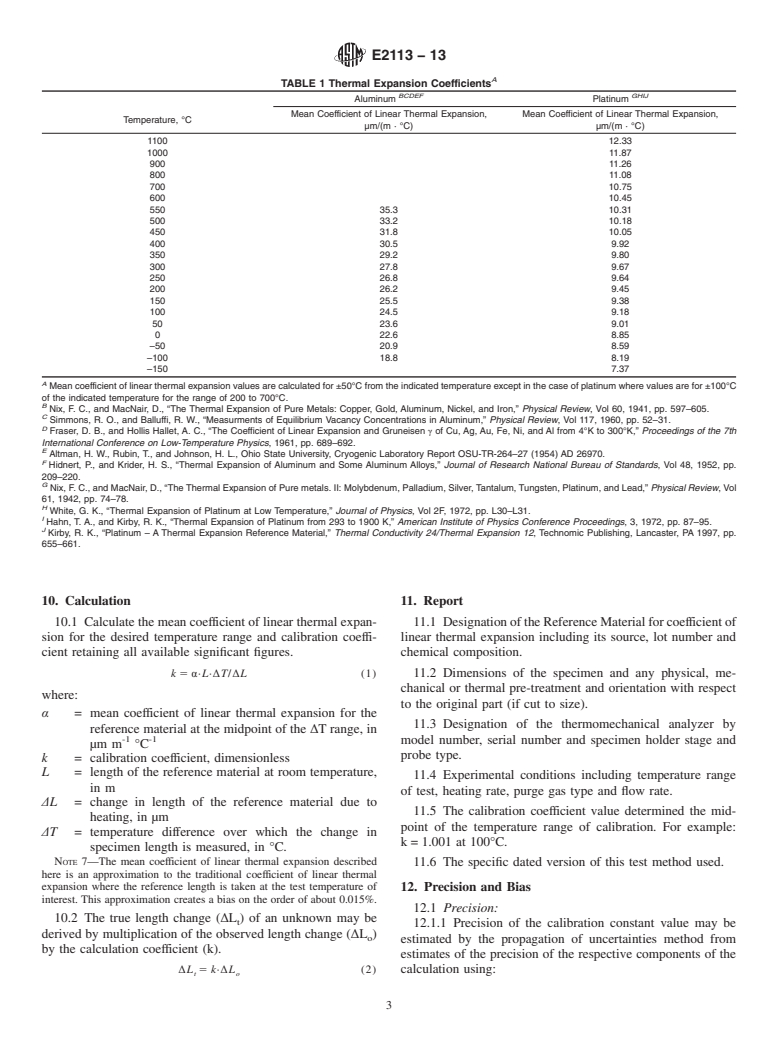
presented in Table 1 along with those for platinum.
6. Apparatus
6.1 Thermomechanical Analyzer (TMA)—The essential in-
7. Test Specimen
strumentation required to provide the minimum thermome-
7.1 Specimens shall be between 6 and 10 mm in length and
chanicalanalyticalorthermodilatometriccapabilityforthistest
have flat and parallel ends to within 625 µm. Lateral dimen-
method includes:
sions shall b
...
This document is not an ASTM standard and is intended only to provide the user of an ASTM standard an indication of what changes have been made to the previous version. Because
it may not be technically possible to adequately depict all changes accurately, ASTM recommends that users consult prior editions as appropriate. In all cases only the current version
of the standard as published by ASTM is to be considered the official document.
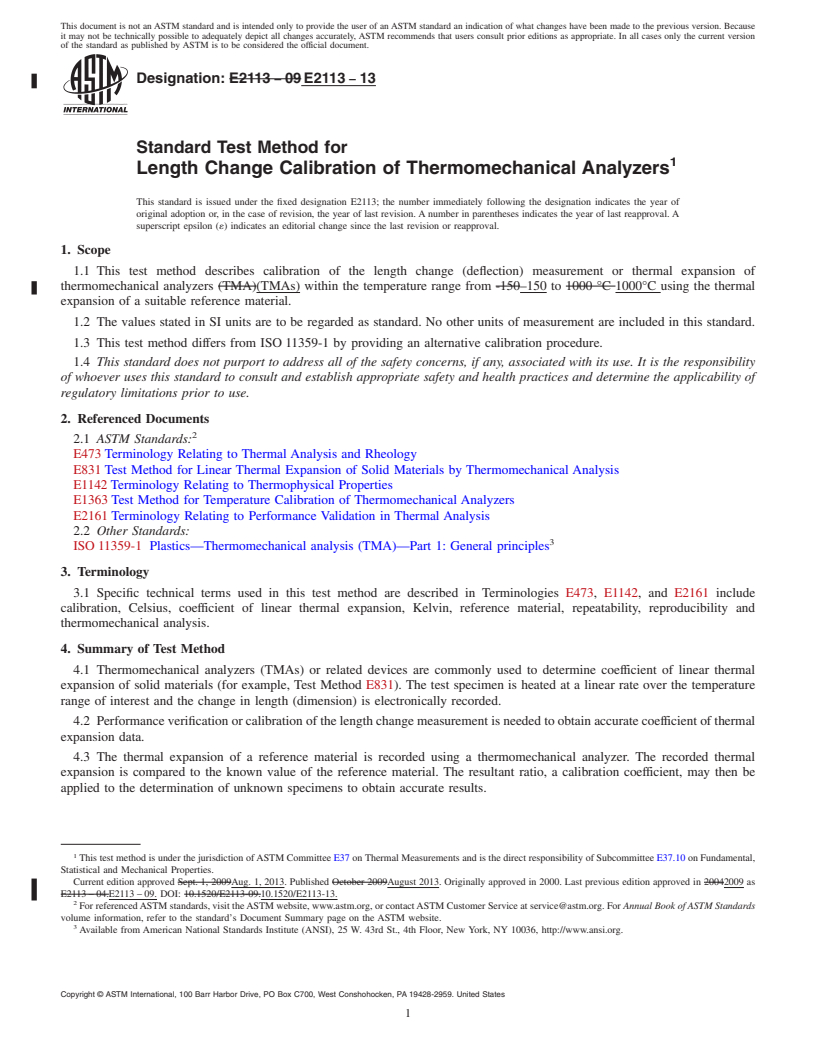
Designation: E2113 − 09 E2113 − 13
Standard Test Method for
1
Length Change Calibration of Thermomechanical Analyzers
This standard is issued under the fixed designation E2113; the number immediately following the designation indicates the year of
original adoption or, in the case of revision, the year of last revision. A number in parentheses indicates the year of last reapproval. A
superscript epsilon (´) indicates an editorial change since the last revision or reapproval.
1. Scope
1.1 This test method describes calibration of the length change (deflection) measurement or thermal expansion of
thermomechanical analyzers (TMA)(TMAs) within the temperature range from -150–150 to 1000 °C 1000°C using the thermal
expansion of a suitable reference material.
1.2 The values stated in SI units are to be regarded as standard. No other units of measurement are included in this standard.
1.3 This test method differs from ISO 11359-1 by providing an alternative calibration procedure.
1.4 This standard does not purport to address all of the safety concerns, if any, associated with its use. It is the responsibility
of whoever uses this standard to consult and establish appropriate safety and health practices and determine the applicability of
regulatory limitations prior to use.
2. Referenced Documents
2
2.1 ASTM Standards:
E473 Terminology Relating to Thermal Analysis and Rheology
E831 Test Method for Linear Thermal Expansion of Solid Materials by Thermomechanical Analysis
E1142 Terminology Relating to Thermophysical Properties
E1363 Test Method for Temperature Calibration of Thermomechanical Analyzers
E2161 Terminology Relating to Performance Validation in Thermal Analysis
2.2 Other Standards:
3
ISO 11359-1 Plastics—Thermomechanical analysis (TMA)—Part 1: General principles
3. Terminology
3.1 Specific technical terms used in this test method are described in Terminologies E473, E1142, and E2161 include
calibration, Celsius, coefficient of linear thermal expansion, Kelvin, reference material, repeatability, reproducibility and
thermomechanical analysis.
4. Summary of Test Method
4.1 Thermomechanical analyzers (TMAs) or related devices are commonly used to determine coefficient of linear thermal
expansion of solid materials (for example, Test Method E831). The test specimen is heated at a linear rate over the temperature
range of interest and the change in length (dimension) is electronically recorded.
4.2 Performance verification or calibration of the length change measurement is needed to obtain accurate coefficient of thermal
expansion data.
4.3 The thermal expansion of a reference material is recorded using a thermomechanical analyzer. The recorded thermal
expansion is compared to the known value of the reference material. The resultant ratio, a calibration coefficient, may then be
applied to the determination of unknown specimens to obtain accurate results.
1
This test method is under the jurisdiction of ASTM Committee E37 on Thermal Measurements and is the direct responsibility of Subcommittee E37.10 on Fundamental,
Statistical and Mechanical Properties.
Current edition approved Sept. 1, 2009Aug. 1, 2013. Published October 2009August 2013. Originally approved in 2000. Last previous edition approved in 20042009 as
E2113 – 04.E2113 – 09. DOI: 10.1520/E2113-09.10.1520/E2113-13.
2
For referenced ASTM standards, visit the ASTM website, www.astm.org, or contact ASTM Customer Service at service@astm.org. For Annual Book of ASTM Standards
volume information, refer to the standard’s Document Summary page on the ASTM website.
3
Available from American National Standards Institute (ANSI), 25 W. 43rd St., 4th Floor, New York, NY 10036, http://www.ansi.org.
Copyright © ASTM International, 100 Barr Harbor Drive, PO Box C700, West Conshohocken, PA 19428-2959. United States
1
---------------------- Page: 1 ----------------------
E2113 − 13
5. Significance and Use
5.1 Performance verification or calibration is essential to the accurate determination of quantitative dimension change
measurements.
5.2 This test method may be used for instrument performance validation, regulatory compliance, research and development and
quality assurance purposes.
6. Apparatus
6.1 Thermomechanical Analyzer (TMA)—The essential instrumentation required to provide the minimum thermomechanical
analytical or thermodilatometric capability for this test method includes:
-1 -1
6.1.1 A Rigid Specimen Holder, of inert, low expansivity material [<0.5 μm m K ] to center the specimen in the furnace and
to fix the specimen to mechani
...


Questions, Comments and Discussion
Ask us and Technical Secretary will try to provide an answer. You can facilitate discussion about the standard in here.