ASTM E703-14
(Practice)Standard Practice for Electromagnetic (Eddy Current) Sorting of Nonferrous Metals
Standard Practice for Electromagnetic (Eddy Current) Sorting of Nonferrous Metals
SIGNIFICANCE AND USE
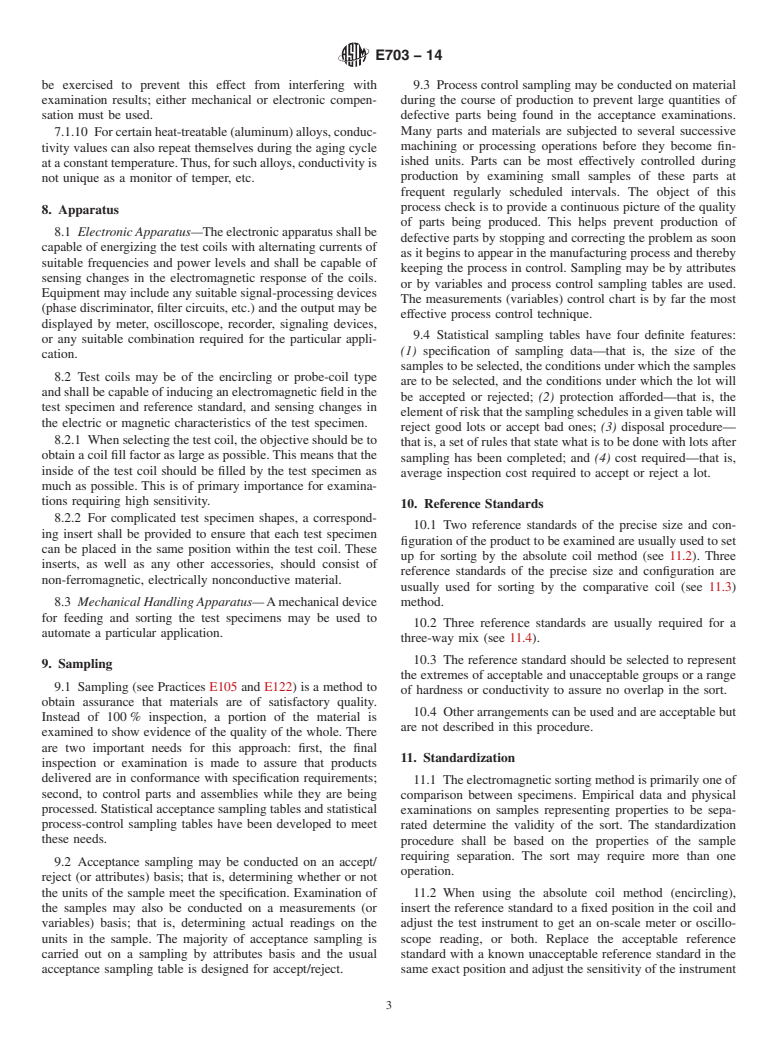
5.1 Absolute and comparative methods provide a measure for sorting large quantities of nonferrous parts or stock with regard to composition or condition, or both.
5.2 The comparative or two-coil method is used when high-sensitivity examination is required. The advantage of this method is that it almost completely suppresses interferences.
5.3 The ability to accomplish these types of separations satisfactorily is dependent upon the relation of the electric characteristics of the nonferrous parts to their physical condition.
5.4 These methods may be used for high-speed sorting in a fully automated setup where the speed of examination may approach many specimens per second depending on their size and shape.
5.5 Successful sorting of nonferrous material depends mainly on the variables present in the sample and the proper selection of frequency and fill factor.
5.6 The accuracy of a sort will be affected greatly by the coupling between the test coil field and the examined part during the measuring period.
SCOPE
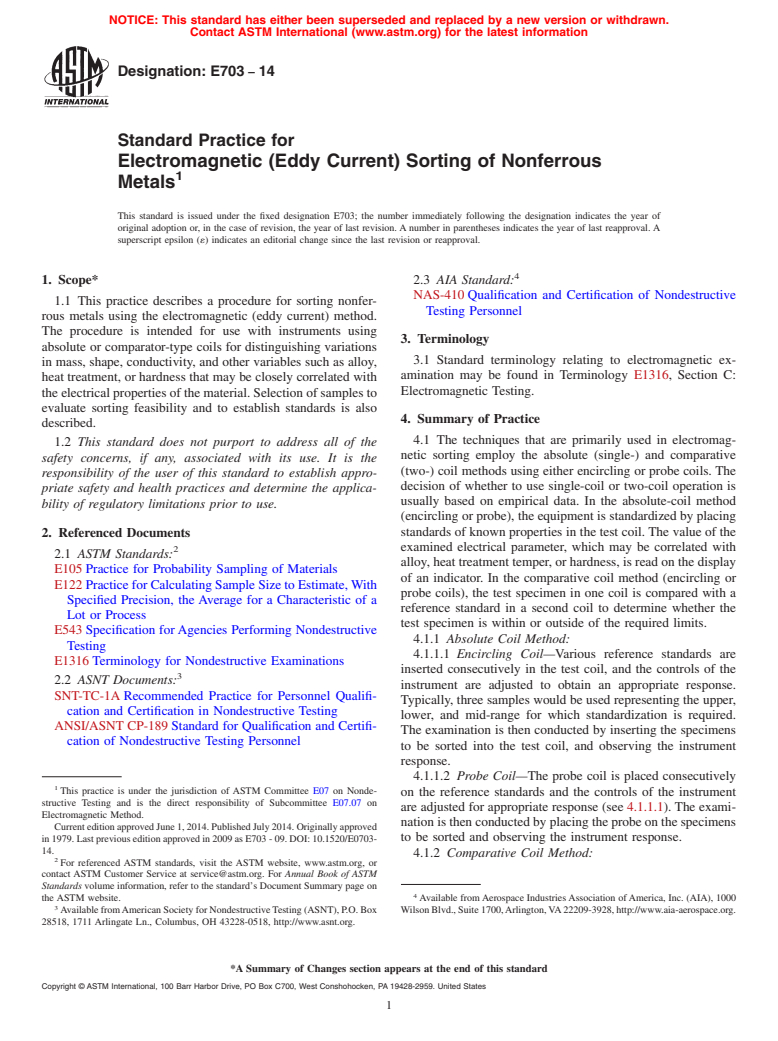
1.1 This practice describes a procedure for sorting nonferrous metals using the electromagnetic (eddy current) method. The procedure is intended for use with instruments using absolute or comparator-type coils for distinguishing variations in mass, shape, conductivity, and other variables such as alloy, heat treatment, or hardness that may be closely correlated with the electrical properties of the material. Selection of samples to evaluate sorting feasibility and to establish standards is also described.
1.2 This standard does not purport to address all of the safety concerns, if any, associated with its use. It is the responsibility of the user of this standard to establish appropriate safety and health practices and determine the applicability of regulatory limitations prior to use.
General Information
Relations
Buy Standard
Standards Content (Sample)
NOTICE: This standard has either been superseded and replaced by a new version or withdrawn.
Contact ASTM International (www.astm.org) for the latest information
Designation: E703 − 14
Standard Practice for
Electromagnetic (Eddy Current) Sorting of Nonferrous
1
Metals
This standard is issued under the fixed designation E703; the number immediately following the designation indicates the year of
original adoption or, in the case of revision, the year of last revision. A number in parentheses indicates the year of last reapproval. A
superscript epsilon (´) indicates an editorial change since the last revision or reapproval.
4
1. Scope* 2.3 AIA Standard:
NAS-410 Qualification and Certification of Nondestructive
1.1 This practice describes a procedure for sorting nonfer-
Testing Personnel
rous metals using the electromagnetic (eddy current) method.
The procedure is intended for use with instruments using
3. Terminology
absolute or comparator-type coils for distinguishing variations
3.1 Standard terminology relating to electromagnetic ex-
in mass, shape, conductivity, and other variables such as alloy,
amination may be found in Terminology E1316, Section C:
heat treatment, or hardness that may be closely correlated with
Electromagnetic Testing.
the electrical properties of the material. Selection of samples to
evaluate sorting feasibility and to establish standards is also
4. Summary of Practice
described.
4.1 The techniques that are primarily used in electromag-
1.2 This standard does not purport to address all of the
netic sorting employ the absolute (single-) and comparative
safety concerns, if any, associated with its use. It is the
(two-) coil methods using either encircling or probe coils. The
responsibility of the user of this standard to establish appro-
decision of whether to use single-coil or two-coil operation is
priate safety and health practices and determine the applica-
usually based on empirical data. In the absolute-coil method
bility of regulatory limitations prior to use.
(encircling or probe), the equipment is standardized by placing
standards of known properties in the test coil. The value of the
2. Referenced Documents
examined electrical parameter, which may be correlated with
2
2.1 ASTM Standards:
alloy, heat treatment temper, or hardness, is read on the display
E105 Practice for Probability Sampling of Materials
of an indicator. In the comparative coil method (encircling or
E122 Practice for Calculating Sample Size to Estimate,With
probe coils), the test specimen in one coil is compared with a
Specified Precision, the Average for a Characteristic of a
reference standard in a second coil to determine whether the
Lot or Process
test specimen is within or outside of the required limits.
E543 Specification forAgencies Performing Nondestructive
4.1.1 Absolute Coil Method:
Testing
4.1.1.1 Encircling Coil—Various reference standards are
E1316 Terminology for Nondestructive Examinations
inserted consecutively in the test coil, and the controls of the
3
2.2 ASNT Documents:
instrument are adjusted to obtain an appropriate response.
SNT-TC-1A Recommended Practice for Personnel Qualifi-
Typically, three samples would be used representing the upper,
cation and Certification in Nondestructive Testing
lower, and mid-range for which standardization is required.
ANSI/ASNT CP-189 Standard for Qualification and Certifi-
The examination is then conducted by inserting the specimens
cation of Nondestructive Testing Personnel
to be sorted into the test coil, and observing the instrument
response.
4.1.1.2 Probe Coil—The probe coil is placed consecutively
1
This practice is under the jurisdiction of ASTM Committee E07 on Nonde-
on the reference standards and the controls of the instrument
structive Testing and is the direct responsibility of Subcommittee E07.07 on
are adjusted for appropriate response (see 4.1.1.1). The exami-
Electromagnetic Method.
nationisthenconductedbyplacingtheprobeonthespecimens
CurrenteditionapprovedJune1,2014.PublishedJuly2014.Originallyapproved
in1979.Lastpreviouseditionapprovedin2009asE703 - 09.DOI:10.1520/E0703- to be sorted and observing the instrument response.
14.
4.1.2 Comparative Coil Method:
2
For referenced ASTM standards, visit the ASTM website, www.astm.org, or
contact ASTM Customer Service at service@astm.org. For Annual Book of ASTM
Standards volume information, refer to the standard’s Document Summary page on
4
the ASTM website. Available fromAerospace IndustriesAssociation ofAmerica, Inc. (AIA), 1000
3
AvailablefromAmericanSocietyforNondestructiveTesting(ASNT),P.O.Box WilsonBlvd.,Suite1700,Arlington,VA22209-3928,http://www.aia-aerospace.org.
28518, 1711 Arlingate Ln., Columbus, OH 43228-0518, http://www.asnt.org.
*A Summary of Changes section appears at the end of this standard
Copyright © ASTM International, 100 Barr Harbor Drive, PO Box C700, West Conshohocken, PA 19428-2959. United States
1
---------------------- Page: 1 ----------------------
E703 − 14
4.1.2.1 Encirclin
...
This document is not an ASTM standard and is intended only to provide the user of an ASTM standard an indication of what changes have been made to the previous version. Because
it may not be technically possible to adequately depict all changes accurately, ASTM recommends that users consult prior editions as appropriate. In all cases only the current version
of the standard as published by ASTM is to be considered the official document.
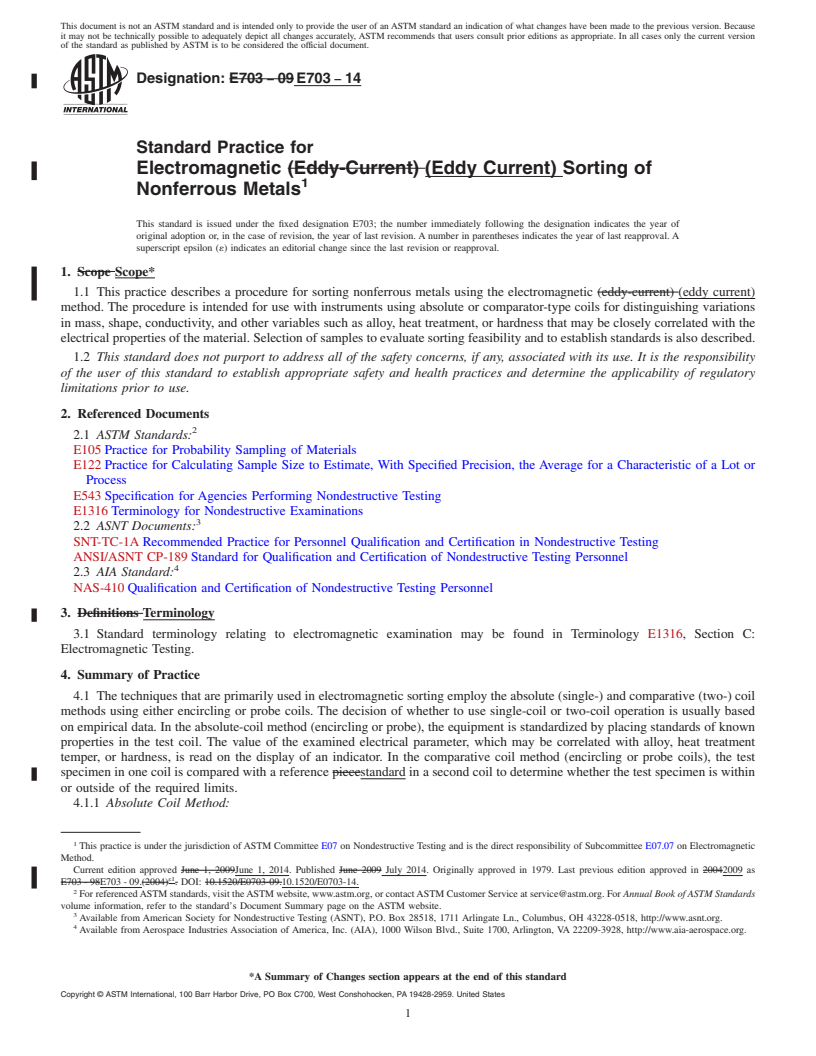
Designation: E703 − 09 E703 − 14
Standard Practice for
Electromagnetic (Eddy-Current) (Eddy Current) Sorting of
1
Nonferrous Metals
This standard is issued under the fixed designation E703; the number immediately following the designation indicates the year of
original adoption or, in the case of revision, the year of last revision. A number in parentheses indicates the year of last reapproval. A
superscript epsilon (´) indicates an editorial change since the last revision or reapproval.
1. Scope Scope*
1.1 This practice describes a procedure for sorting nonferrous metals using the electromagnetic (eddy-current) (eddy current)
method. The procedure is intended for use with instruments using absolute or comparator-type coils for distinguishing variations
in mass, shape, conductivity, and other variables such as alloy, heat treatment, or hardness that may be closely correlated with the
electrical properties of the material. Selection of samples to evaluate sorting feasibility and to establish standards is also described.
1.2 This standard does not purport to address all of the safety concerns, if any, associated with its use. It is the responsibility
of the user of this standard to establish appropriate safety and health practices and determine the applicability of regulatory
limitations prior to use.
2. Referenced Documents
2
2.1 ASTM Standards:
E105 Practice for Probability Sampling of Materials
E122 Practice for Calculating Sample Size to Estimate, With Specified Precision, the Average for a Characteristic of a Lot or
Process
E543 Specification for Agencies Performing Nondestructive Testing
E1316 Terminology for Nondestructive Examinations
3
2.2 ASNT Documents:
SNT-TC-1A Recommended Practice for Personnel Qualification and Certification in Nondestructive Testing
ANSI/ASNT CP-189 Standard for Qualification and Certification of Nondestructive Testing Personnel
4
2.3 AIA Standard:
NAS-410 Qualification and Certification of Nondestructive Testing Personnel
3. Definitions Terminology
3.1 Standard terminology relating to electromagnetic examination may be found in Terminology E1316, Section C:
Electromagnetic Testing.
4. Summary of Practice
4.1 The techniques that are primarily used in electromagnetic sorting employ the absolute (single-) and comparative (two-) coil
methods using either encircling or probe coils. The decision of whether to use single-coil or two-coil operation is usually based
on empirical data. In the absolute-coil method (encircling or probe), the equipment is standardized by placing standards of known
properties in the test coil. The value of the examined electrical parameter, which may be correlated with alloy, heat treatment
temper, or hardness, is read on the display of an indicator. In the comparative coil method (encircling or probe coils), the test
specimen in one coil is compared with a reference piecestandard in a second coil to determine whether the test specimen is within
or outside of the required limits.
4.1.1 Absolute Coil Method:
1
This practice is under the jurisdiction of ASTM Committee E07 on Nondestructive Testing and is the direct responsibility of Subcommittee E07.07 on Electromagnetic
Method.
Current edition approved June 1, 2009June 1, 2014. Published June 2009 July 2014. Originally approved in 1979. Last previous edition approved in 20042009 as
ε1
E703 - 98E703 - 09.(2004) . DOI: 10.1520/E0703-09.10.1520/E0703-14.
2
For referenced ASTM standards, visit the ASTM website, www.astm.org, or contact ASTM Customer Service at service@astm.org. For Annual Book of ASTM Standards
volume information, refer to the standard’s Document Summary page on the ASTM website.
3
Available from American Society for Nondestructive Testing (ASNT), P.O. Box 28518, 1711 Arlingate Ln., Columbus, OH 43228-0518, http://www.asnt.org.
4
Available from Aerospace Industries Association of America, Inc. (AIA), 1000 Wilson Blvd., Suite 1700, Arlington, VA 22209-3928, http://www.aia-aerospace.org.
*A Summary of Changes section appears at the end of this standard
Copyright © ASTM International, 100 Barr Harbor Drive, PO Box C700, West Conshohocken, PA 19428-2959. United States
1
---------------------- Page: 1 ----------------------
E703 − 14
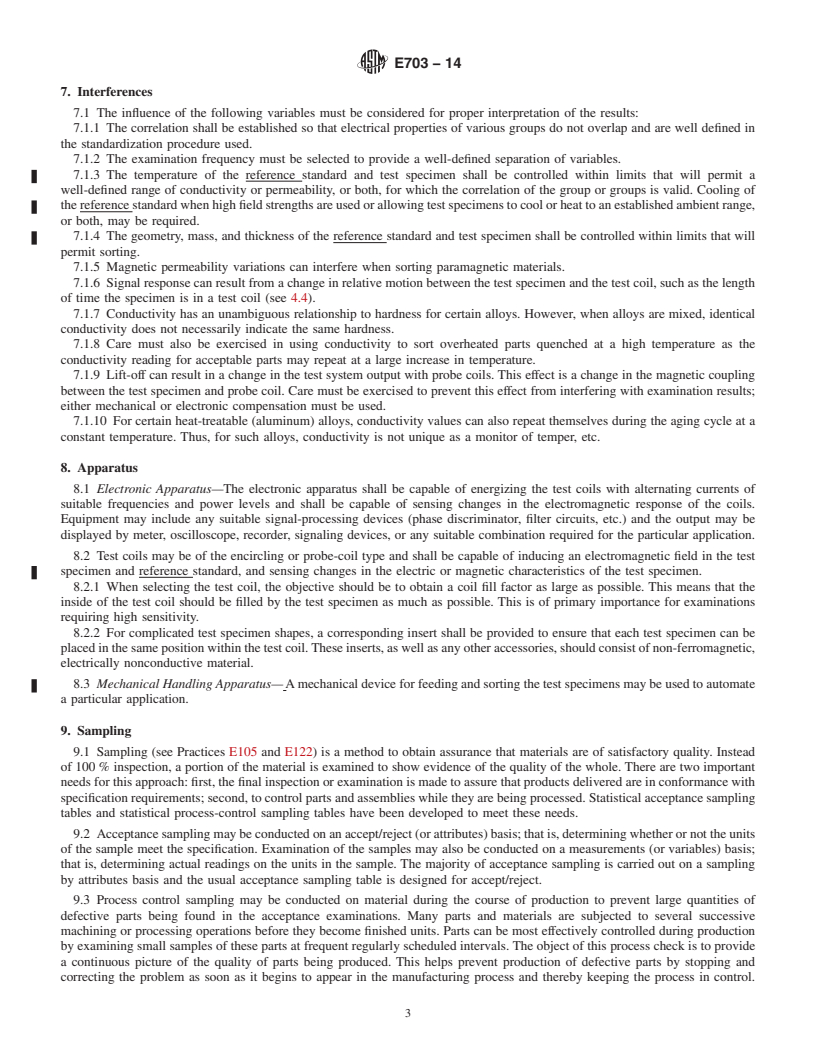
4.1.1.1 Encircling Coil—Samples of known classification (standards) Various reference standards are inserted consecutively in
the test coil, and the controls of the instrument are adjusted to obtain an appropriate response. Typically, three samples would be
used representing the upper, lower, and mid-range for which standardization is required
...


Questions, Comments and Discussion
Ask us and Technical Secretary will try to provide an answer. You can facilitate discussion about the standard in here.