ASTM D7094-17
(Test Method)Standard Test Method for Flash Point by Modified Continuously Closed Cup (MCCCFP) Tester
Standard Test Method for Flash Point by Modified Continuously Closed Cup (MCCCFP) Tester
SIGNIFICANCE AND USE
5.1 The flash point temperature is one measure of the tendency of the test specimen to form a flammable mixture with air under controlled laboratory conditions. It is only one of a number of properties which must be considered in assessing the overall flammability hazard of a material.
5.2 Flash point is used in shipping and safety regulations to define flammable and combustible materials and for classification purposes. This definition may vary from regulation to regulation. Consult the particular regulation involved for precise definitions of these classifications.
5.3 This test method can be used to measure and describe the properties of materials in response to heat and an ignition source under controlled laboratory conditions and shall not be used to describe or appraise the fire hazard or fire risk of materials under actual fire conditions. However, results of this test method may be used as elements of a fire risk assessment, which takes into account all of the factors which are pertinent to an assessment of the fire hazard of a particular end use.
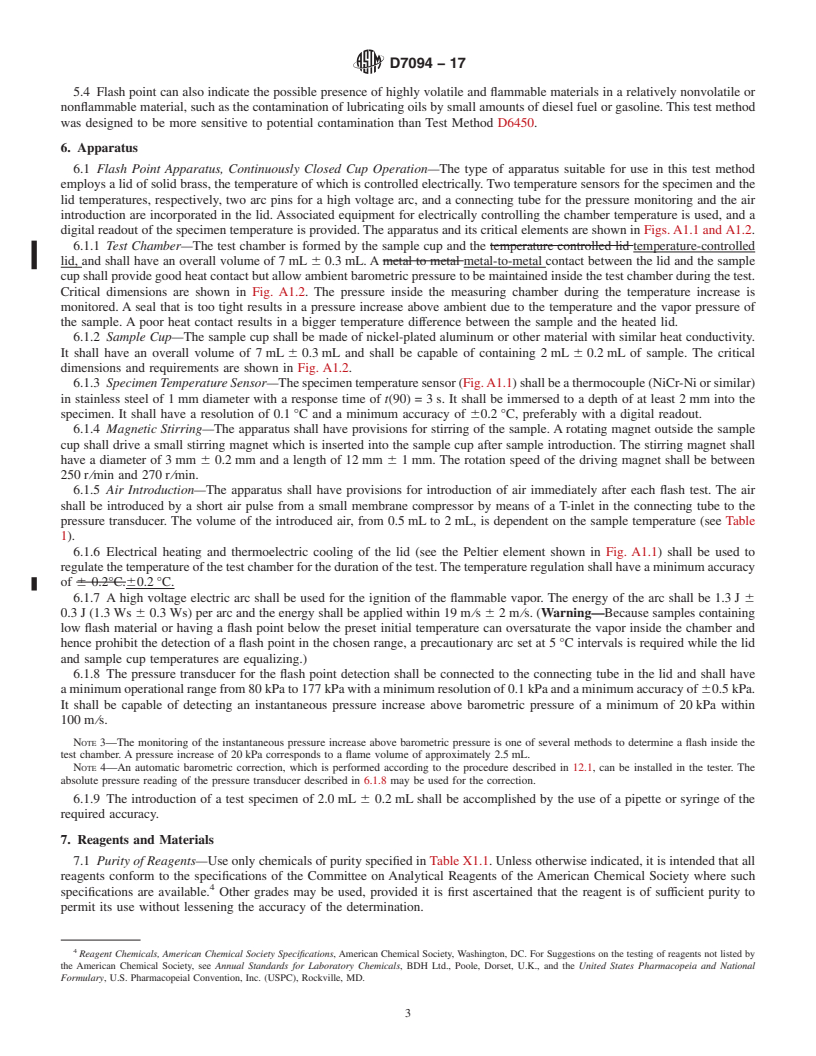
5.4 Flash point can also indicate the possible presence of highly volatile and flammable materials in a relatively nonvolatile or nonflammable material, such as the contamination of lubricating oils by small amounts of diesel fuel or gasoline. This test method was designed to be more sensitive to potential contamination than Test Method D6450.
SCOPE
1.1 This test method covers the determination of the flash point of fuels, lube oils, solvents, and other liquids by a continuously closed cup tester utilizing a specimen size of 2 mL, cup size of 7 mL, with a heating rate of 2.5 °C per minute.
1.1.1 Apparatus requiring a specimen size of 1 mL, cup size of 4 mL, and a heating rate of 5.5 °C per minute must be run according to Test Method D6450.
1.2 This flash point test method is a dynamic method and depends on definite rates of temperature increase. It is one of the many flash point test methods available and every flash point test method, including this one, is an empirical method.
Note 1: Flash point values are not a constant physical chemical property of materials tested. They are a function of the apparatus design, the condition of the apparatus used, and the operational procedure carried out. Flash point can, therefore, only be defined in terms of a standard test method and no general valid correlation can be guaranteed between results obtained by different test methods or where different test apparatus is specified.
1.3 This test method utilizes a closed but unsealed cup with air injected into the test chamber.
1.4 This test method is suitable for testing samples with a flash point from 35 °C to 225 °C.
Note 2: Flash point determinations below 35 °C and above 225 °C may be performed; however, the precision has not been determined below and above these temperatures.
1.5 If the user’s specification requires a defined flash point method other than this method, neither this method nor any other test method should be substituted for the prescribed test method without obtaining comparative data and an agreement from the specifier.
1.6 The values stated in SI units are to be regarded as standard. No other units of measurement are included in this standard. Temperatures are in degrees Celsius, pressure in kilo-Pascals.
1.7 This standard does not purport to address all of the safety concerns, if any, associated with its use. It is the responsibility of the user of this standard to establish appropriate safety and health practices and determine the applicability of regulatory limitations prior to use. For specific warning statements, see 7.2, 8.5, and 10.1.2.
1.8 This international standard was developed in accordance with internationally recognized principles on standardization established in the Decision on Principles for the Development of International Standards, Guides and Recommendations issued by the Worl...
General Information
Relations
Buy Standard
Standards Content (Sample)
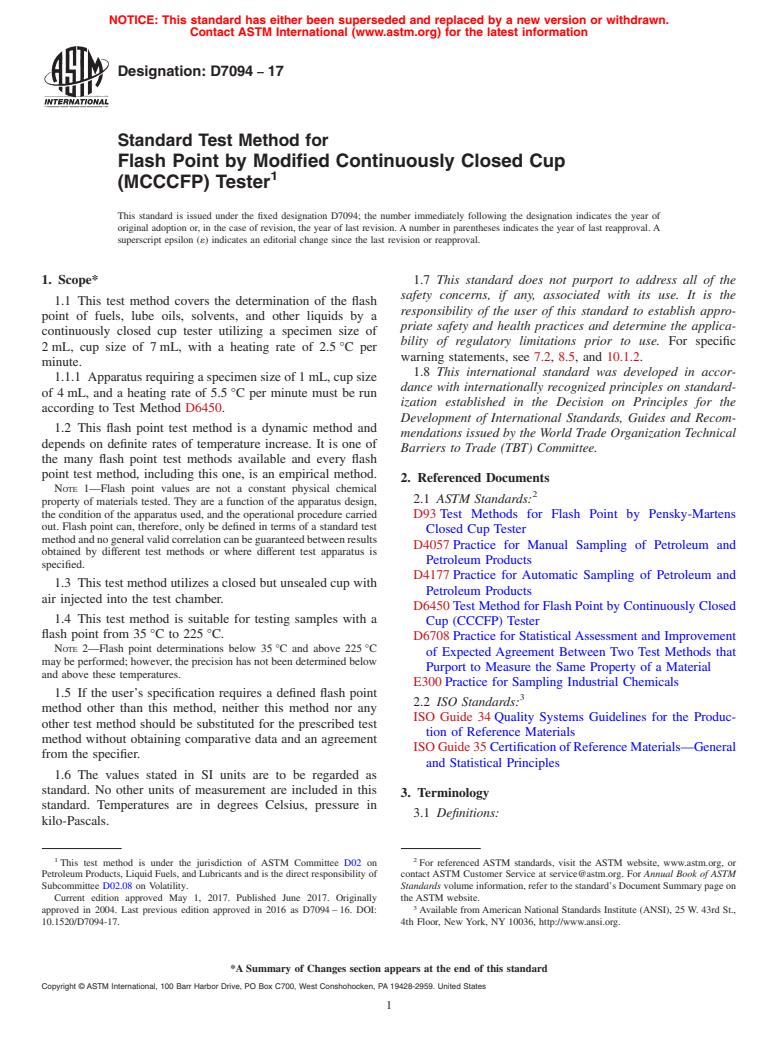
NOTICE: This standard has either been superseded and replaced by a new version or withdrawn.
Contact ASTM International (www.astm.org) for the latest information
Designation:D7094 −17
Standard Test Method for
Flash Point by Modified Continuously Closed Cup
1
(MCCCFP) Tester
This standard is issued under the fixed designation D7094; the number immediately following the designation indicates the year of
original adoption or, in the case of revision, the year of last revision. A number in parentheses indicates the year of last reapproval. A
superscript epsilon (´) indicates an editorial change since the last revision or reapproval.
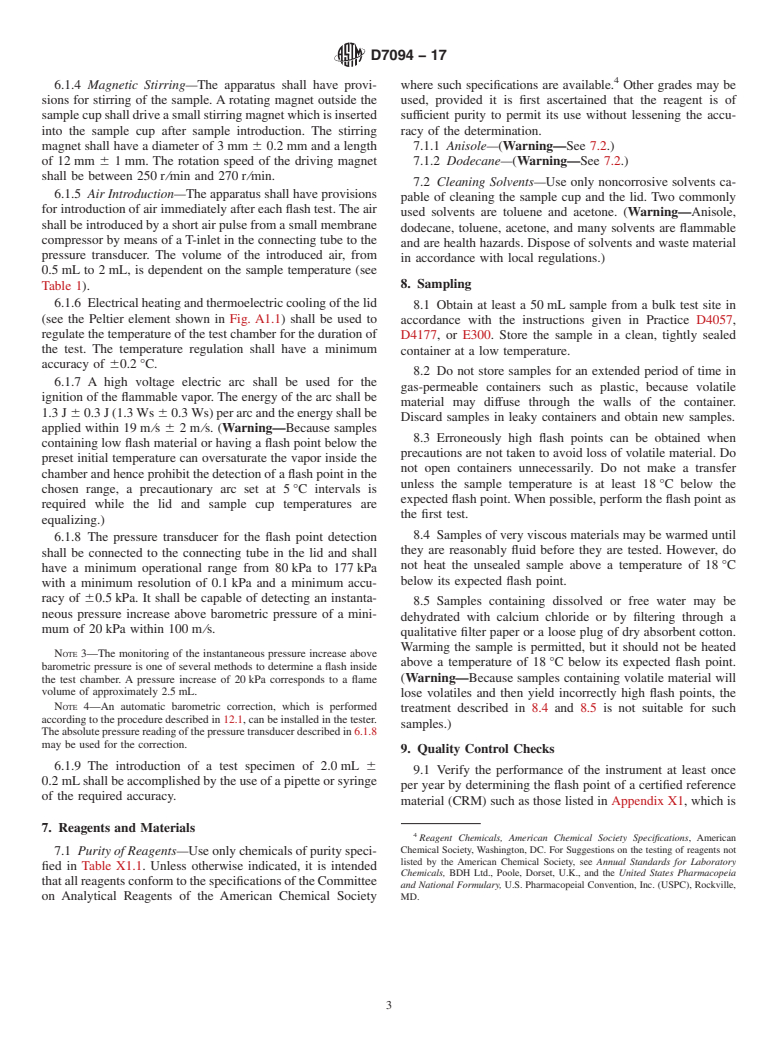
1. Scope* 1.7 This standard does not purport to address all of the
safety concerns, if any, associated with its use. It is the
1.1 This test method covers the determination of the flash
responsibility of the user of this standard to establish appro-
point of fuels, lube oils, solvents, and other liquids by a
priate safety and health practices and determine the applica-
continuously closed cup tester utilizing a specimen size of
bility of regulatory limitations prior to use. For specific
2 mL, cup size of 7 mL, with a heating rate of 2.5 °C per
warning statements, see 7.2, 8.5, and 10.1.2.
minute.
1.8 This international standard was developed in accor-
1.1.1 Apparatus requiring a specimen size of 1 mL, cup size
dance with internationally recognized principles on standard-
of 4 mL, and a heating rate of 5.5 °C per minute must be run
ization established in the Decision on Principles for the
according to Test Method D6450.
Development of International Standards, Guides and Recom-
1.2 This flash point test method is a dynamic method and
mendations issued by the World Trade Organization Technical
depends on definite rates of temperature increase. It is one of
Barriers to Trade (TBT) Committee.
the many flash point test methods available and every flash
point test method, including this one, is an empirical method.
2. Referenced Documents
NOTE 1—Flash point values are not a constant physical chemical
2
2.1 ASTM Standards:
property of materials tested. They are a function of the apparatus design,
the condition of the apparatus used, and the operational procedure carried
D93 Test Methods for Flash Point by Pensky-Martens
out. Flash point can, therefore, only be defined in terms of a standard test
Closed Cup Tester
methodandnogeneralvalidcorrelationcanbeguaranteedbetweenresults
D4057 Practice for Manual Sampling of Petroleum and
obtained by different test methods or where different test apparatus is
Petroleum Products
specified.
D4177 Practice for Automatic Sampling of Petroleum and
1.3 This test method utilizes a closed but unsealed cup with
Petroleum Products
air injected into the test chamber.
D6450 Test Method for Flash Point by Continuously Closed
1.4 This test method is suitable for testing samples with a
Cup (CCCFP) Tester
flash point from 35 °C to 225 °C.
D6708 Practice for StatisticalAssessment and Improvement
NOTE 2—Flash point determinations below 35 °C and above 225 °C
of Expected Agreement Between Two Test Methods that
may be performed; however, the precision has not been determined below
Purport to Measure the Same Property of a Material
and above these temperatures.
E300 Practice for Sampling Industrial Chemicals
1.5 If the user’s specification requires a defined flash point
3
2.2 ISO Standards:
method other than this method, neither this method nor any
ISO Guide 34 Quality Systems Guidelines for the Produc-
other test method should be substituted for the prescribed test
tion of Reference Materials
method without obtaining comparative data and an agreement
ISOGuide35 CertificationofReferenceMaterials—General
from the specifier.
and Statistical Principles
1.6 The values stated in SI units are to be regarded as
standard. No other units of measurement are included in this
3. Terminology
standard. Temperatures are in degrees Celsius, pressure in
3.1 Definitions:
kilo-Pascals.
1 2
This test method is under the jurisdiction of ASTM Committee D02 on For referenced ASTM standards, visit the ASTM website, www.astm.org, or
Petroleum Products, Liquid Fuels, and Lubricants and is the direct responsibility of contact ASTM Customer Service at service@astm.org. For Annual Book of ASTM
Subcommittee D02.08 on Volatility. Standards volume information, refer to the standard’s Document Summary page on
Current edition approved May 1, 2017. Published June 2017. Originally the ASTM website.
3
approved in 2004. Last previous edition approved in 2016 as D7094 – 16. DOI: Available fromAmerican National Standards Institute (ANSI), 25 W. 43rd St.,
10.1520/D7094-17. 4th Floor, New York, NY 10036, http://www.ansi.org.
*A Summary of Changes section appears at the end of this standard
Copyright © ASTM International, 100 Barr Harbor Drive, PO Box C700, West Conshohocken, PA 19428-2959. United States
1
---------------------- Page: 1 ----------------------
D7094−17
3.1.1 dynamic, adj—the condition where the vapor above 5.2
...
This document is not an ASTM standard and is intended only to provide the user of an ASTM standard an indication of what changes have been made to the previous version. Because
it may not be technically possible to adequately depict all changes accurately, ASTM recommends that users consult prior editions as appropriate. In all cases only the current version
of the standard as published by ASTM is to be considered the official document.
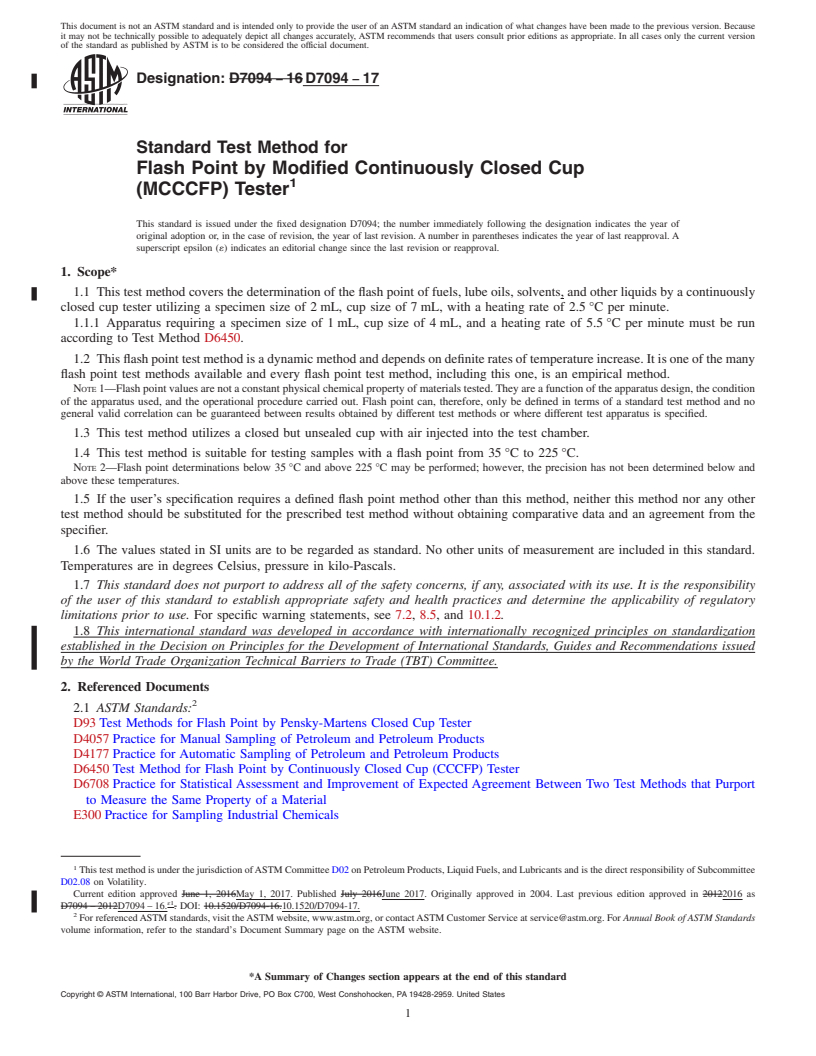
Designation: D7094 − 16 D7094 − 17
Standard Test Method for
Flash Point by Modified Continuously Closed Cup
1
(MCCCFP) Tester
This standard is issued under the fixed designation D7094; the number immediately following the designation indicates the year of
original adoption or, in the case of revision, the year of last revision. A number in parentheses indicates the year of last reapproval. A
superscript epsilon (´) indicates an editorial change since the last revision or reapproval.
1. Scope*
1.1 This test method covers the determination of the flash point of fuels, lube oils, solvents, and other liquids by a continuously
closed cup tester utilizing a specimen size of 2 mL, cup size of 7 mL, with a heating rate of 2.5 °C per minute.
1.1.1 Apparatus requiring a specimen size of 1 mL, cup size of 4 mL, and a heating rate of 5.5 °C per minute must be run
according to Test Method D6450.
1.2 This flash point test method is a dynamic method and depends on definite rates of temperature increase. It is one of the many
flash point test methods available and every flash point test method, including this one, is an empirical method.
NOTE 1—Flash point values are not a constant physical chemical property of materials tested. They are a function of the apparatus design, the condition
of the apparatus used, and the operational procedure carried out. Flash point can, therefore, only be defined in terms of a standard test method and no
general valid correlation can be guaranteed between results obtained by different test methods or where different test apparatus is specified.
1.3 This test method utilizes a closed but unsealed cup with air injected into the test chamber.
1.4 This test method is suitable for testing samples with a flash point from 35 °C to 225 °C.
NOTE 2—Flash point determinations below 35 °C and above 225 °C may be performed; however, the precision has not been determined below and
above these temperatures.
1.5 If the user’s specification requires a defined flash point method other than this method, neither this method nor any other
test method should be substituted for the prescribed test method without obtaining comparative data and an agreement from the
specifier.
1.6 The values stated in SI units are to be regarded as standard. No other units of measurement are included in this standard.
Temperatures are in degrees Celsius, pressure in kilo-Pascals.
1.7 This standard does not purport to address all of the safety concerns, if any, associated with its use. It is the responsibility
of the user of this standard to establish appropriate safety and health practices and determine the applicability of regulatory
limitations prior to use. For specific warning statements, see 7.2, 8.5, and 10.1.2.
1.8 This international standard was developed in accordance with internationally recognized principles on standardization
established in the Decision on Principles for the Development of International Standards, Guides and Recommendations issued
by the World Trade Organization Technical Barriers to Trade (TBT) Committee.
2. Referenced Documents
2
2.1 ASTM Standards:
D93 Test Methods for Flash Point by Pensky-Martens Closed Cup Tester
D4057 Practice for Manual Sampling of Petroleum and Petroleum Products
D4177 Practice for Automatic Sampling of Petroleum and Petroleum Products
D6450 Test Method for Flash Point by Continuously Closed Cup (CCCFP) Tester
D6708 Practice for Statistical Assessment and Improvement of Expected Agreement Between Two Test Methods that Purport
to Measure the Same Property of a Material
E300 Practice for Sampling Industrial Chemicals
1
This test method is under the jurisdiction of ASTM Committee D02 on Petroleum Products, Liquid Fuels, and Lubricants and is the direct responsibility of Subcommittee
D02.08 on Volatility.
Current edition approved June 1, 2016May 1, 2017. Published July 2016June 2017. Originally approved in 2004. Last previous edition approved in 20122016 as
ɛ1
D7094 – 2012D7094 – 16. . DOI: 10.1520/D7094-16.10.1520/D7094-17.
2
For referenced ASTM standards, visit the ASTM website, www.astm.org, or contact ASTM Customer Service at service@astm.org. For Annual Book of ASTM Standards
volume information, refer to the standard’s Document Summary page on the ASTM website.
*A Summary of Changes section appears at the end of this standard
Copyright © ASTM International, 100 Barr Harbor Drive, PO Box C700, West Conshohocken, PA 19428-2959. United States
1
---------------------- Page: 1 ----------------------
D7094 − 17
3
2.2 ISO Standards:
ISO Guide 34 Quality Systems
...


Questions, Comments and Discussion
Ask us and Technical Secretary will try to provide an answer. You can facilitate discussion about the standard in here.