ASTM A1047/A1047M-05(2009)
(Test Method)Standard Test Method for Pneumatic Leak Testing of Tubing
Standard Test Method for Pneumatic Leak Testing of Tubing
SIGNIFICANCE AND USE
When permitted by a specification or the order, this test method may be used for detecting leaks in tubing in lieu of the air underwater pressure test.
SCOPE
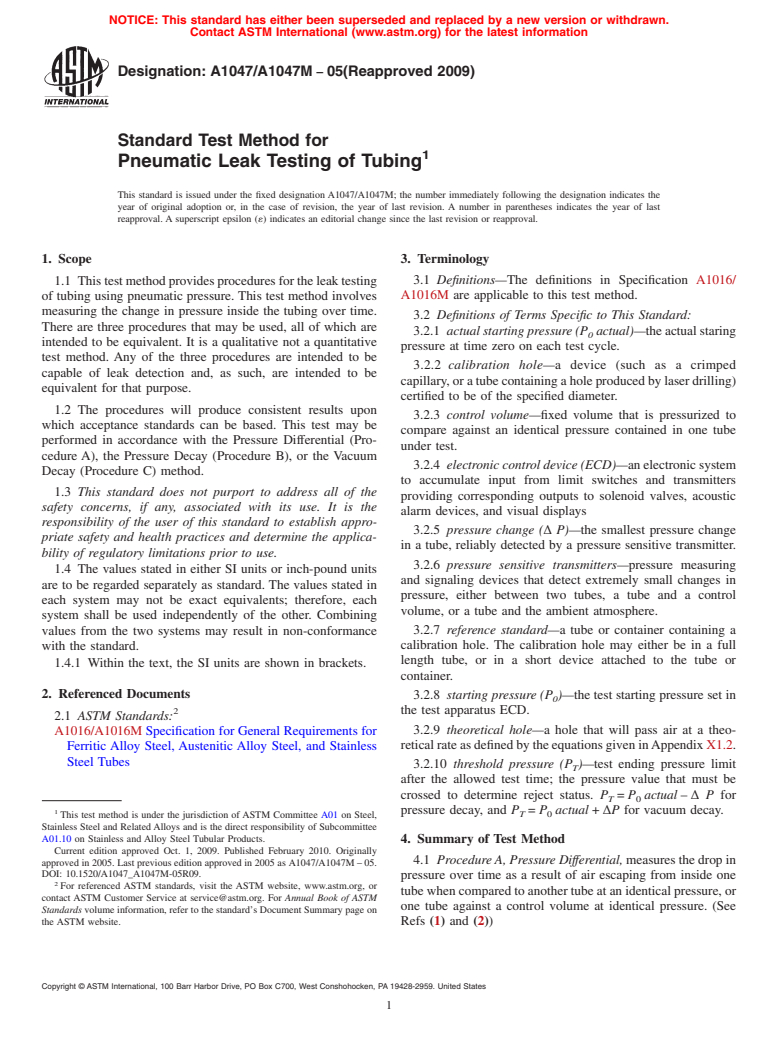
1.1 This test method provides procedures for the leak testing of tubing using pneumatic pressure. This test method involves measuring the change in pressure inside the tubing over time. There are three procedures that may be used, all of which are intended to be equivalent. It is a qualitative not a quantitative test method. Any of the three procedures are intended to be capable of leak detection and, as such, are intended to be equivalent for that purpose.
1.2 The procedures will produce consistent results upon which acceptance standards can be based. This test may be performed in accordance with the Pressure Differential (Procedure A), the Pressure Decay (Procedure B), or the Vacuum Decay (Procedure C) method.
1.3 This standard does not purport to address all of the safety concerns, if any, associated with its use. It is the responsibility of the user of this standard to establish appropriate safety and health practices and determine the applicability of regulatory limitations prior to use.
1.4 The values stated in either SI units or inch-pound units are to be regarded separately as standard. The values stated in each system may not be exact equivalents; therefore, each system shall be used independently of the other. Combining values from the two systems may result in non-conformance with the standard.
1.4.1 Within the text, the SI units are shown in brackets.
General Information
Relations
Standards Content (Sample)
NOTICE: This standard has either been superseded and replaced by a new version or withdrawn.
Contact ASTM International (www.astm.org) for the latest information
Designation: A1047/A1047M − 05(Reapproved 2009)
Standard Test Method for
1
Pneumatic Leak Testing of Tubing
This standard is issued under the fixed designation A1047/A1047M; the number immediately following the designation indicates the
year of original adoption or, in the case of revision, the year of last revision. A number in parentheses indicates the year of last
reapproval. A superscript epsilon (´) indicates an editorial change since the last revision or reapproval.
1. Scope 3. Terminology
3.1 Definitions—The definitions in Specification A1016/
1.1 Thistestmethodprovidesproceduresfortheleaktesting
A1016M are applicable to this test method.
of tubing using pneumatic pressure. This test method involves
measuring the change in pressure inside the tubing over time.
3.2 Definitions of Terms Specific to This Standard:
There are three procedures that may be used, all of which are
3.2.1 actual starting pressure (P actual)—theactualstaring
0
intended to be equivalent. It is a qualitative not a quantitative
pressure at time zero on each test cycle.
test method. Any of the three procedures are intended to be
3.2.2 calibration hole—a device (such as a crimped
capable of leak detection and, as such, are intended to be
capillary,oratubecontainingaholeproducedbylaserdrilling)
equivalent for that purpose.
certified to be of the specified diameter.
1.2 The procedures will produce consistent results upon
3.2.3 control volume—fixed volume that is pressurized to
which acceptance standards can be based. This test may be
compare against an identical pressure contained in one tube
performed in accordance with the Pressure Differential (Pro-
under test.
cedure A), the Pressure Decay (Procedure B), or the Vacuum
3.2.4 electronic control device (ECD)—anelectronicsystem
Decay (Procedure C) method.
to accumulate input from limit switches and transmitters
1.3 This standard does not purport to address all of the
providing corresponding outputs to solenoid valves, acoustic
safety concerns, if any, associated with its use. It is the
alarm devices, and visual displays
responsibility of the user of this standard to establish appro-
3.2.5 pressure change (∆ P)—the smallest pressure change
priate safety and health practices and determine the applica-
in a tube, reliably detected by a pressure sensitive transmitter.
bility of regulatory limitations prior to use.
3.2.6 pressure sensitive transmitters—pressure measuring
1.4 The values stated in either SI units or inch-pound units
and signaling devices that detect extremely small changes in
are to be regarded separately as standard. The values stated in
pressure, either between two tubes, a tube and a control
each system may not be exact equivalents; therefore, each
volume, or a tube and the ambient atmosphere.
system shall be used independently of the other. Combining
3.2.7 reference standard—a tube or container containing a
values from the two systems may result in non-conformance
with the standard. calibration hole. The calibration hole may either be in a full
length tube, or in a short device attached to the tube or
1.4.1 Within the text, the SI units are shown in brackets.
container.
2. Referenced Documents
3.2.8 starting pressure (P )—the test starting pressure set in
0
2 the test apparatus ECD.
2.1 ASTM Standards:
3.2.9 theoretical hole—a hole that will pass air at a theo-
A1016/A1016M Specification for General Requirements for
reticalrateasdefinedbytheequationsgiveninAppendixX1.2.
Ferritic Alloy Steel, Austenitic Alloy Steel, and Stainless
Steel Tubes
3.2.10 threshold pressure (P )—test ending pressure limit
T
after the allowed test time; the pressure value that must be
crossed to determine reject status. P = P actual – ∆ P for
T 0
1 pressure decay, and P = P actual + ∆P for vacuum decay.
This test method is under the jurisdiction of ASTM Committee A01 on Steel, T 0
Stainless Steel and Related Alloys and is the direct responsibility of Subcommittee
A01.10 on Stainless and Alloy Steel Tubular Products.
4. Summary of Test Method
Current edition approved Oct. 1, 2009. Published February 2010. Originally
4.1 Procedure A, Pressure Differential,measuresthedropin
approved in 2005. Last previous edition approved in 2005 as A1047/A1047M – 05.
DOI: 10.1520/A1047_A1047M-05R09.
pressure over time as a result of air escaping from inside one
2
For referenced ASTM standards, visit the ASTM website, www.astm.org, or
tubewhencomparedtoanothertubeatanidenticalpressure,or
contact ASTM Customer Service at service@astm.org. For Annual Book of ASTM
one tube against a control volume at identical pressure. (See
Standards volume information, refer to the standard’s Document Summary page on
the ASTM website. Refs (1) and (2))
Copyright © ASTM International, 100 Barr Harbor Drive, PO Box C700, West Conshohocken, PA 19428-2959. United States
1
--------------
...


Questions, Comments and Discussion
Ask us and Technical Secretary will try to provide an answer. You can facilitate discussion about the standard in here.