ASTM C670-13
(Practice)Standard Practice for Preparing Precision and Bias Statements for Test Methods for Construction Materials
Standard Practice for Preparing Precision and Bias Statements for Test Methods for Construction Materials
ABSTRACT
This practice provides guidance in preparing precision and bias statements for ASTM test methods pertaining to construction materials. Test method shall conform to the maximum acceptable range of individual measurements. In order to be valid the indexes of precision to be included in the precision statement as guides for the operator must be based on estimates of the precision of the test method obtained from a statistically designed inter-laboratory series of tests. This series of tests must involve a sufficient number of laboratories, materials, and replicate measurements so that the results obtained provide reliable estimates of the true precision characteristic of the test method. The procedures described in this practice are based on the assumption that the proper estimates of precision have already been obtained. In any test method, tolerances are placed on the accuracy of measuring equipment. All tests made with a given set of equipment which has an error within the permitted tolerance will produce results with a small consistent bias, but that bias is not inherent in the test method and is not included in the bias statement for the test method. There are two conditions which permit the bias of a test method to be estimated: a standard reference sample of known value has been tested by the test method, and the test method has been applied to a sample which has been compounded in such a manner that the true value of the property being measured is known, such as may be the case, for example, in a test for cement content of concrete.
SCOPE
1.1 The Form and Style for ASTM Standards requires that all test methods contain statements on precision and bias. Further, the precision statement is required to contain a statement on single-operator precision (repeatability) and a statement on multilaboratory precision (reproducibility). This practice provides guidance for preparing precision and bias statements that comply with these requirements. Discussion of the purpose and significance of precision and bias statements for users of test methods is also provided. Examples of precision statements that conform to this practice are included in Appendix X1. This practice supplements Practice E177 and has been developed to meet the needs of ASTM Committees dealing with construction materials. Note 1—Although this practice is under the jurisdiction of Committee C09, the current version was developed jointly by Committees C01 and C09 and has subsequently been adopted for use by other committees dealing with construction materials.
1.2 This practice assumes that an interlaboratory study (ILS) has been completed in accordance with Practice C802 or Practice E691. The interlaboratory study provides the necessary statistical values to write the precision and bias statements.
1.3 The system of units for this practice is not specified. Dimensional quantities in the practice are presented only in examples of precision and bias statements.
1.4 This standard does not purport to address all of the safety concerns, if any, associated with its use. It is the responsibility of the user of this standard to establish appropriate safety and health practices and determine the applicability of regulatory limitations prior to use.
General Information
Relations
Buy Standard
Standards Content (Sample)
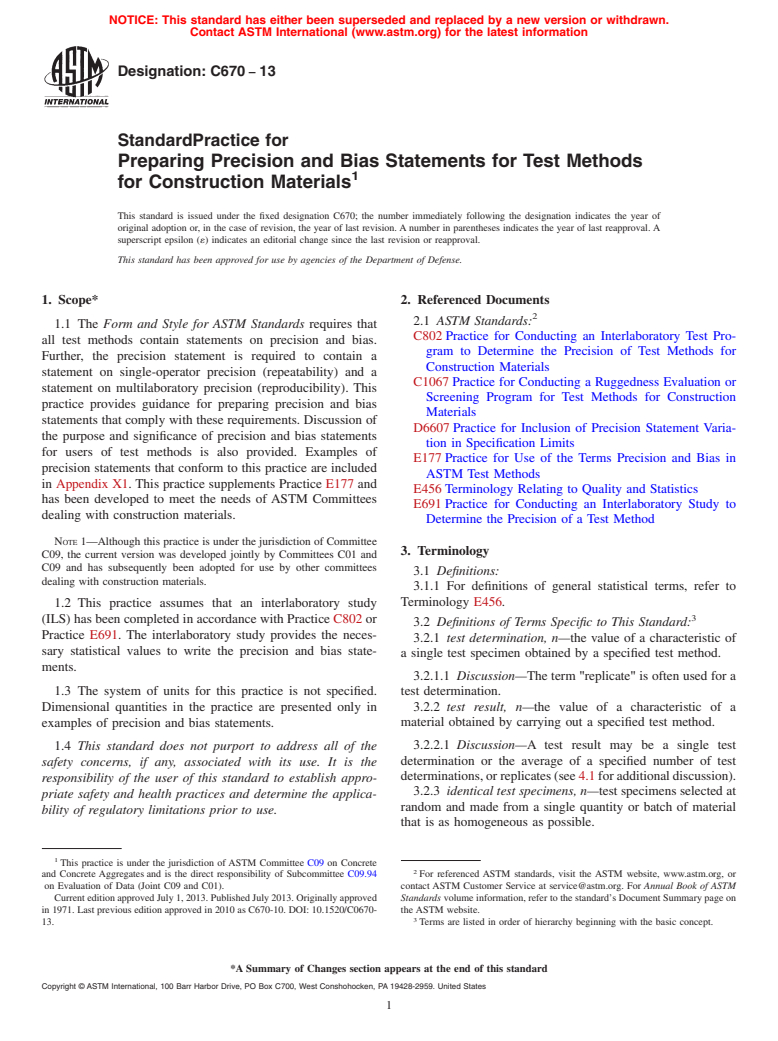
NOTICE: This standard has either been superseded and replaced by a new version or withdrawn.
Contact ASTM International (www.astm.org) for the latest information
Designation: C670 − 13
StandardPractice for
Preparing Precision and Bias Statements for Test Methods
1
for Construction Materials
This standard is issued under the fixed designation C670; the number immediately following the designation indicates the year of
original adoption or, in the case of revision, the year of last revision. A number in parentheses indicates the year of last reapproval. A
superscript epsilon (´) indicates an editorial change since the last revision or reapproval.
This standard has been approved for use by agencies of the Department of Defense.
1. Scope* 2. Referenced Documents
2
2.1 ASTM Standards:
1.1 The Form and Style for ASTM Standards requires that
C802 Practice for Conducting an Interlaboratory Test Pro-
all test methods contain statements on precision and bias.
gram to Determine the Precision of Test Methods for
Further, the precision statement is required to contain a
Construction Materials
statement on single-operator precision (repeatability) and a
C1067 Practice for Conducting a Ruggedness Evaluation or
statement on multilaboratory precision (reproducibility). This
Screening Program for Test Methods for Construction
practice provides guidance for preparing precision and bias
Materials
statements that comply with these requirements. Discussion of
D6607 Practice for Inclusion of Precision Statement Varia-
the purpose and significance of precision and bias statements
tion in Specification Limits
for users of test methods is also provided. Examples of
E177 Practice for Use of the Terms Precision and Bias in
precision statements that conform to this practice are included
ASTM Test Methods
in Appendix X1. This practice supplements Practice E177 and
E456 Terminology Relating to Quality and Statistics
has been developed to meet the needs of ASTM Committees
E691 Practice for Conducting an Interlaboratory Study to
dealing with construction materials.
Determine the Precision of a Test Method
NOTE 1—Although this practice is under the jurisdiction of Committee
3. Terminology
C09, the current version was developed jointly by Committees C01 and
C09 and has subsequently been adopted for use by other committees
3.1 Definitions:
dealing with construction materials.
3.1.1 For definitions of general statistical terms, refer to
Terminology E456.
1.2 This practice assumes that an interlaboratory study
3
(ILS) has been completed in accordance with Practice C802 or
3.2 Definitions of Terms Specific to This Standard:
Practice E691. The interlaboratory study provides the neces-
3.2.1 test determination, n—the value of a characteristic of
sary statistical values to write the precision and bias state-
a single test specimen obtained by a specified test method.
ments.
3.2.1.1 Discussion—The term "replicate" is often used for a
1.3 The system of units for this practice is not specified.
test determination.
Dimensional quantities in the practice are presented only in 3.2.2 test result, n—the value of a characteristic of a
examples of precision and bias statements. material obtained by carrying out a specified test method.
3.2.2.1 Discussion—A test result may be a single test
1.4 This standard does not purport to address all of the
determination or the average of a specified number of test
safety concerns, if any, associated with its use. It is the
determinations,orreplicates(see4.1foradditionaldiscussion).
responsibility of the user of this standard to establish appro-
3.2.3 identical test specimens, n—test specimens selected at
priate safety and health practices and determine the applica-
random and made from a single quantity or batch of material
bility of regulatory limitations prior to use.
that is as homogeneous as possible.
1
This practice is under the jurisdiction of ASTM Committee C09 on Concrete
2
and Concrete Aggregates and is the direct responsibility of Subcommittee C09.94 For referenced ASTM standards, visit the ASTM website, www.astm.org, or
on Evaluation of Data (Joint C09 and C01). contact ASTM Customer Service at service@astm.org. For Annual Book of ASTM
Current edition approved July 1, 2013. Published July 2013. Originally approved Standards volume information, refer to the standard’s Document Summary page on
in 1971. Last previous edition approved in 2010 as C670-10. DOI: 10.1520/C0670- the ASTM website.
3
13. Terms are listed in order of hierarchy beginning with the basic concept.
*A Summary of Changes section appears at the end of this standard
Copyright © ASTM International, 100 Barr Harbor Drive, PO Box C700, West Conshohocken, PA 19428-2959. United States
1
---------------------- Page: 1 ----------------------
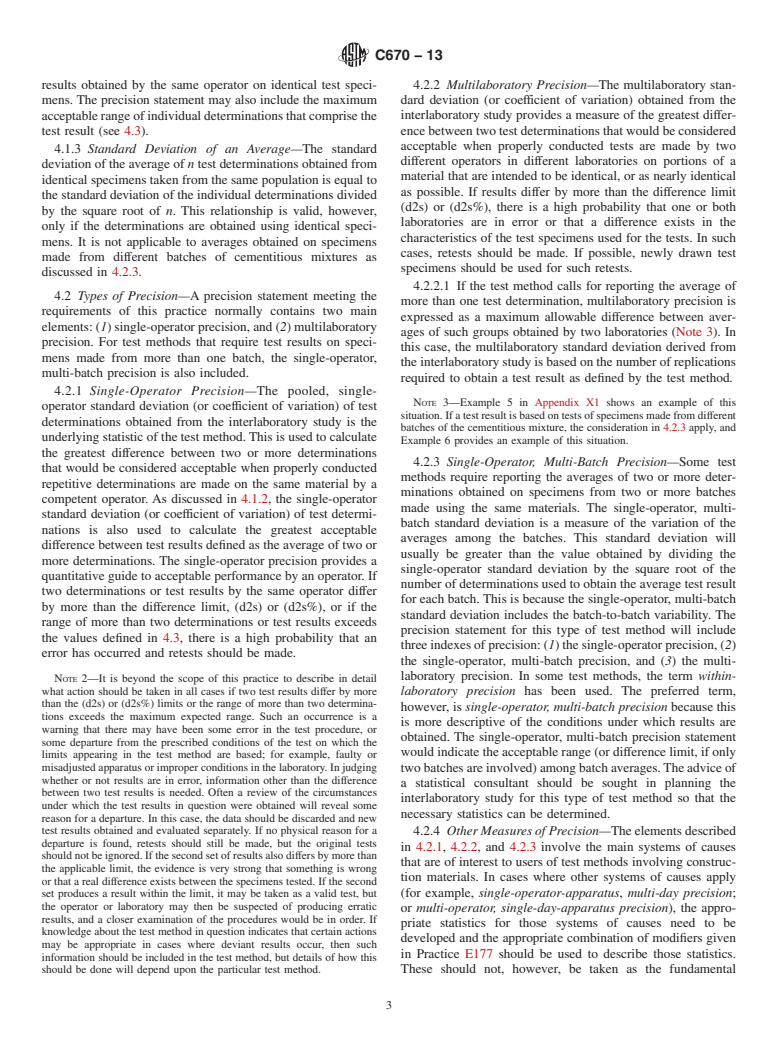
C670 − 13
3.2.3.1 Discussion—In interlaboratory studies of test meth- probability of about 5 % in the normal and correct operation of
ods for fresh cementitious mixtures, a practicable approach for the test method; used
...
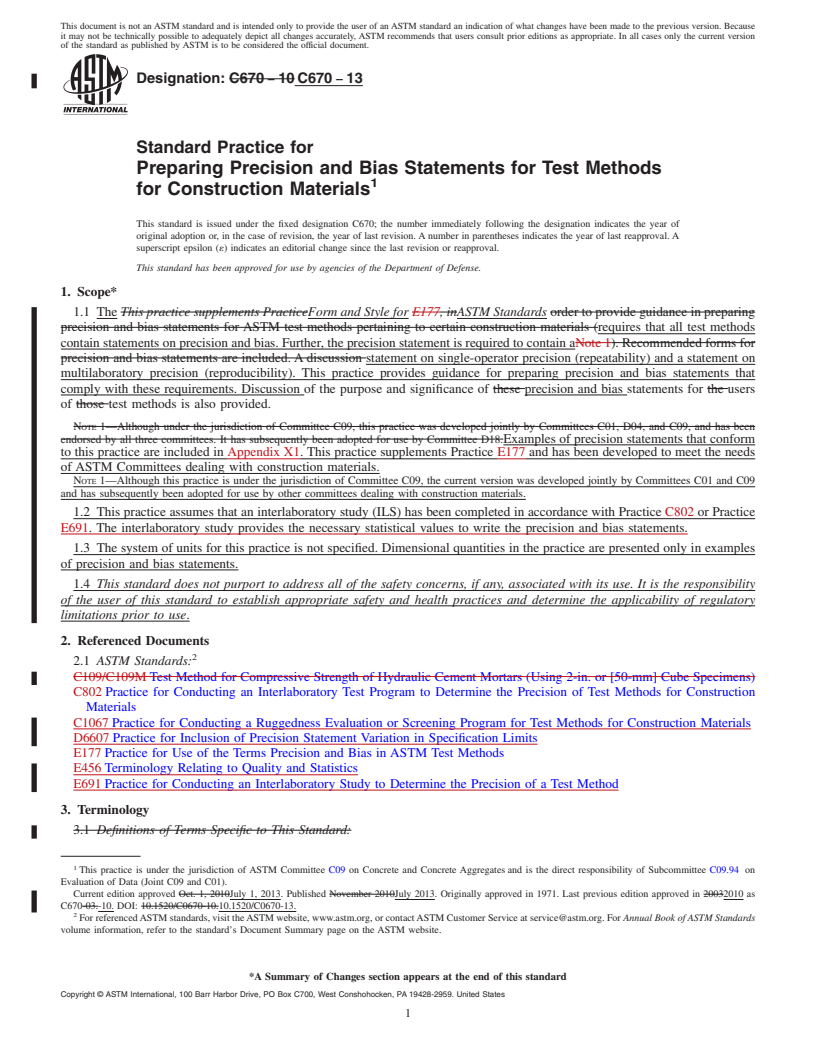
This document is not an ASTM standard and is intended only to provide the user of an ASTM standard an indication of what changes have been made to the previous version. Because
it may not be technically possible to adequately depict all changes accurately, ASTM recommends that users consult prior editions as appropriate. In all cases only the current version
of the standard as published by ASTM is to be considered the official document.
Designation: C670 − 10 C670 − 13
Standard Practice for
Preparing Precision and Bias Statements for Test Methods
1
for Construction Materials
This standard is issued under the fixed designation C670; the number immediately following the designation indicates the year of
original adoption or, in the case of revision, the year of last revision. A number in parentheses indicates the year of last reapproval. A
superscript epsilon (´) indicates an editorial change since the last revision or reapproval.
This standard has been approved for use by agencies of the Department of Defense.
1. Scope*
1.1 The This practice supplements PracticeForm and Style for E177, inASTM Standards order to provide guidance in preparing
precision and bias statements for ASTM test methods pertaining to certain construction materials (requires that all test methods
contain statements on precision and bias. Further, the precision statement is required to contain aNote 1). Recommended forms for
precision and bias statements are included. A discussion statement on single-operator precision (repeatability) and a statement on
multilaboratory precision (reproducibility). This practice provides guidance for preparing precision and bias statements that
comply with these requirements. Discussion of the purpose and significance of these precision and bias statements for the users
of those test methods is also provided.
NOTE 1—Although under the jurisdiction of Committee C09, this practice was developed jointly by Committees C01, D04, and C09, and has been
endorsed by all three committees. It has subsequently been adopted for use by Committee D18.Examples of precision statements that conform
to this practice are included in Appendix X1. This practice supplements Practice E177 and has been developed to meet the needs
of ASTM Committees dealing with construction materials.
NOTE 1—Although this practice is under the jurisdiction of Committee C09, the current version was developed jointly by Committees C01 and C09
and has subsequently been adopted for use by other committees dealing with construction materials.
1.2 This practice assumes that an interlaboratory study (ILS) has been completed in accordance with Practice C802 or Practice
E691. The interlaboratory study provides the necessary statistical values to write the precision and bias statements.
1.3 The system of units for this practice is not specified. Dimensional quantities in the practice are presented only in examples
of precision and bias statements.
1.4 This standard does not purport to address all of the safety concerns, if any, associated with its use. It is the responsibility
of the user of this standard to establish appropriate safety and health practices and determine the applicability of regulatory
limitations prior to use.
2. Referenced Documents
2
2.1 ASTM Standards:
C109/C109M Test Method for Compressive Strength of Hydraulic Cement Mortars (Using 2-in. or [50-mm] Cube Specimens)
C802 Practice for Conducting an Interlaboratory Test Program to Determine the Precision of Test Methods for Construction
Materials
C1067 Practice for Conducting a Ruggedness Evaluation or Screening Program for Test Methods for Construction Materials
D6607 Practice for Inclusion of Precision Statement Variation in Specification Limits
E177 Practice for Use of the Terms Precision and Bias in ASTM Test Methods
E456 Terminology Relating to Quality and Statistics
E691 Practice for Conducting an Interlaboratory Study to Determine the Precision of a Test Method
3. Terminology
3.1 Definitions of Terms Specific to This Standard:
1
This practice is under the jurisdiction of ASTM Committee C09 on Concrete and Concrete Aggregates and is the direct responsibility of Subcommittee C09.94 on
Evaluation of Data (Joint C09 and C01).
Current edition approved Oct. 1, 2010July 1, 2013. Published November 2010July 2013. Originally approved in 1971. Last previous edition approved in 20032010 as
C670-03.-10. DOI: 10.1520/C0670-10.10.1520/C0670-13.
2
For referenced ASTM standards, visit the ASTM website, www.astm.org, or contact ASTM Customer Service at service@astm.org. For Annual Book of ASTM Standards
volume information, refer to the standard’s Document Summary page on the ASTM website.
*A Summary of Changes section appears at the end of this standard
Copyright © ASTM International, 100 Barr Harbor Drive, PO Box C700, West Conshohocken, PA 19428-2959. United States
1
---------------------- Page: 1 ----------------------
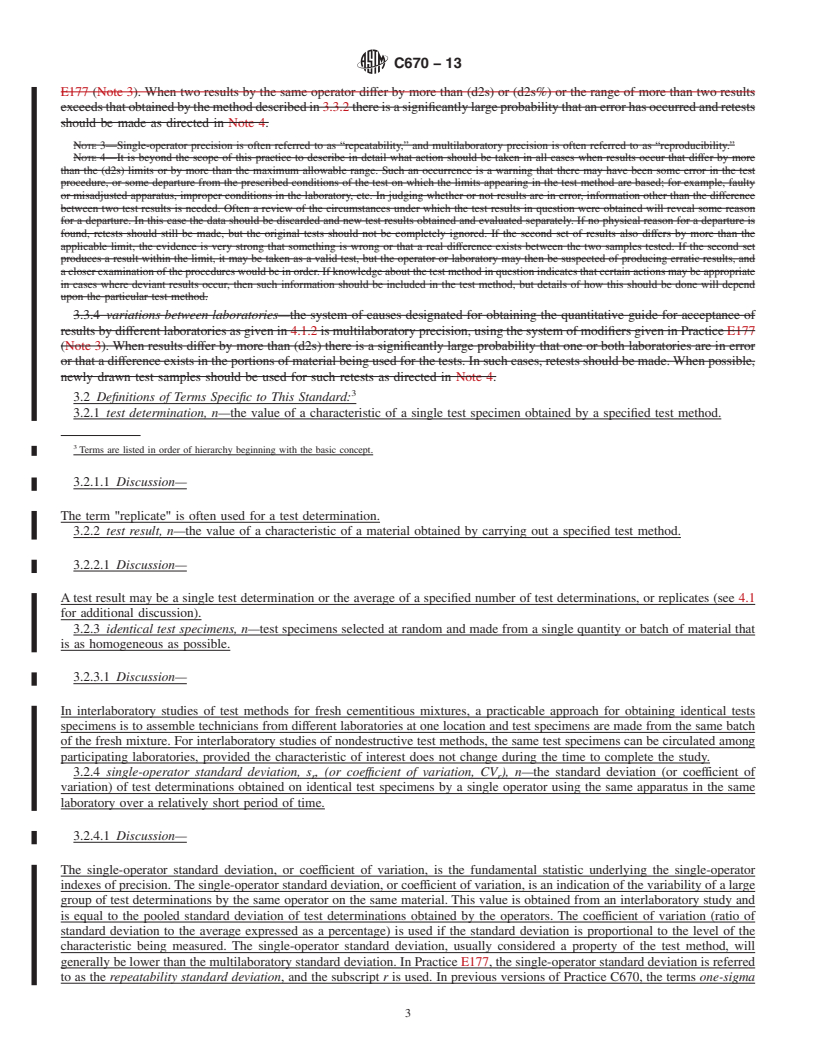
C670 − 13
3.1 one-sigma limit (1s)—Definitions: the fundamental statistic under
...


Questions, Comments and Discussion
Ask us and Technical Secretary will try to provide an answer. You can facilitate discussion about the standard in here.