ASTM C301-13
(Test Method)Standard Test Methods for Vitrified Clay Pipe
Standard Test Methods for Vitrified Clay Pipe
SIGNIFICANCE AND USE
4.1 Meaning and Suitability—The tests called for herein, from their results, indicate the suitability and acceptability of vitrified clay pipe for specifications acceptance, design purposes, regulatory statutes, manufacturing control, and research.
SCOPE
1.1 These test methods cover the equipment for, and the techniques of, testing vitrified clay pipe prior to installation. Tests using whole pipe determines the resistance to crushing and hydrostatic forces. Tests using pipe fragments measure the amount of water absorption of the pipe body and the quantity of acid-soluble material that may be extracted from it.Note 1—The following standards also apply to clay pipe and can be referenced for further information: Practice C12 and Test Method C828; Specifications C425 and C700.
1.2 The values stated in inch-pound units are to be regarded as standard. The values given in parentheses are mathematical conversions to SI units that are provided for information only and are not considered standard.
1.3 This standard does not purport to address the safety concerns, if any, associated with its use. It is the responsibility of the user of this standard to establish appropriate safety and health practices and determine the applicability of regulatory limitations prior to use.
General Information
Relations
Standards Content (Sample)
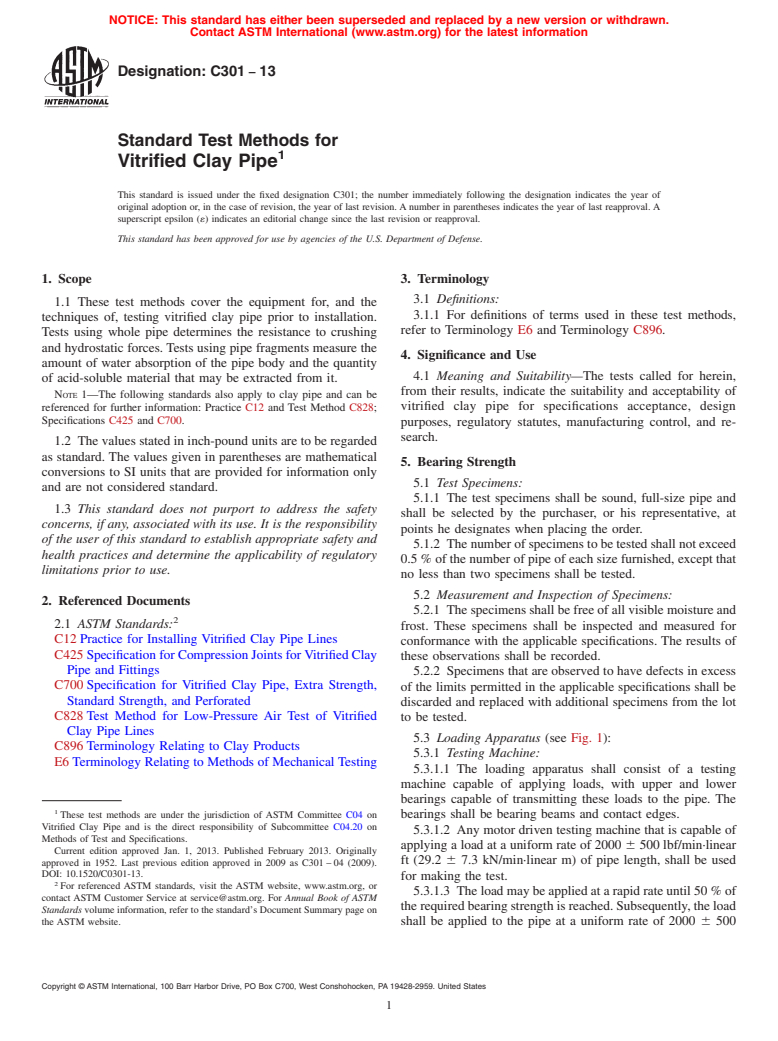
NOTICE: This standard has either been superseded and replaced by a new version or withdrawn.
Contact ASTM International (www.astm.org) for the latest information
Designation:C301 −13
Standard Test Methods for
1
Vitrified Clay Pipe
This standard is issued under the fixed designation C301; the number immediately following the designation indicates the year of
original adoption or, in the case of revision, the year of last revision. A number in parentheses indicates the year of last reapproval. A
superscript epsilon (´) indicates an editorial change since the last revision or reapproval.
This standard has been approved for use by agencies of the U.S. Department of Defense.
1. Scope 3. Terminology
3.1 Definitions:
1.1 These test methods cover the equipment for, and the
3.1.1 For definitions of terms used in these test methods,
techniques of, testing vitrified clay pipe prior to installation.
refer to Terminology E6 and Terminology C896.
Tests using whole pipe determines the resistance to crushing
and hydrostatic forces. Tests using pipe fragments measure the
4. Significance and Use
amount of water absorption of the pipe body and the quantity
4.1 Meaning and Suitability—The tests called for herein,
of acid-soluble material that may be extracted from it.
from their results, indicate the suitability and acceptability of
NOTE 1—The following standards also apply to clay pipe and can be
referenced for further information: Practice C12 and Test Method C828; vitrified clay pipe for specifications acceptance, design
Specifications C425 and C700.
purposes, regulatory statutes, manufacturing control, and re-
search.
1.2 The values stated in inch-pound units are to be regarded
as standard. The values given in parentheses are mathematical
5. Bearing Strength
conversions to SI units that are provided for information only
5.1 Test Specimens:
and are not considered standard.
5.1.1 The test specimens shall be sound, full-size pipe and
1.3 This standard does not purport to address the safety
shall be selected by the purchaser, or his representative, at
concerns, if any, associated with its use. It is the responsibility
points he designates when placing the order.
of the user of this standard to establish appropriate safety and
5.1.2 The number of specimens to be tested shall not exceed
health practices and determine the applicability of regulatory
0.5 % of the number of pipe of each size furnished, except that
limitations prior to use.
no less than two specimens shall be tested.
5.2 Measurement and Inspection of Specimens:
2. Referenced Documents
5.2.1 The specimens shall be free of all visible moisture and
2
2.1 ASTM Standards:
frost. These specimens shall be inspected and measured for
C12 Practice for Installing Vitrified Clay Pipe Lines
conformance with the applicable specifications. The results of
C425 Specification for Compression Joints forVitrified Clay
these observations shall be recorded.
Pipe and Fittings
5.2.2 Specimens that are observed to have defects in excess
C700 Specification for Vitrified Clay Pipe, Extra Strength,
of the limits permitted in the applicable specifications shall be
Standard Strength, and Perforated
discarded and replaced with additional specimens from the lot
C828 Test Method for Low-Pressure Air Test of Vitrified
to be tested.
Clay Pipe Lines
5.3 Loading Apparatus (see Fig. 1):
C896 Terminology Relating to Clay Products
5.3.1 Testing Machine:
E6 Terminology Relating to Methods of Mechanical Testing
5.3.1.1 The loading apparatus shall consist of a testing
machine capable of applying loads, with upper and lower
bearings capable of transmitting these loads to the pipe. The
1
These test methods are under the jurisdiction of ASTM Committee C04 on
bearings shall be bearing beams and contact edges.
Vitrified Clay Pipe and is the direct responsibility of Subcommittee C04.20 on
5.3.1.2 Any motor driven testing machine that is capable of
Methods of Test and Specifications.
applying a load at a uniform rate of 2000 6 500 lbf/min·linear
Current edition approved Jan. 1, 2013. Published February 2013. Originally
ft (29.2 6 7.3 kN/min·linear m) of pipe length, shall be used
approved in 1952. Last previous edition approved in 2009 as C301 – 04 (2009).
DOI: 10.1520/C0301-13.
for making the test.
2
For referenced ASTM standards, visit the ASTM website, www.astm.org, or
5.3.1.3 The load may be applied at a rapid rate until 50 % of
contact ASTM Customer Service at service@astm.org. For Annual Book of ASTM
the required bearing strength is reached. Subsequently, the load
Standards volume information, refer to the standard’s Document Summary page on
the ASTM website. shall be applied to the pipe at a uniform rate of 2000 6 500
Copyright © ASTM International, 100 Barr Harbor Drive, PO Box C700, West Conshohocken, PA 19428-2959. United States
1
---------------------- Page: 1 ----------------------
C301−13
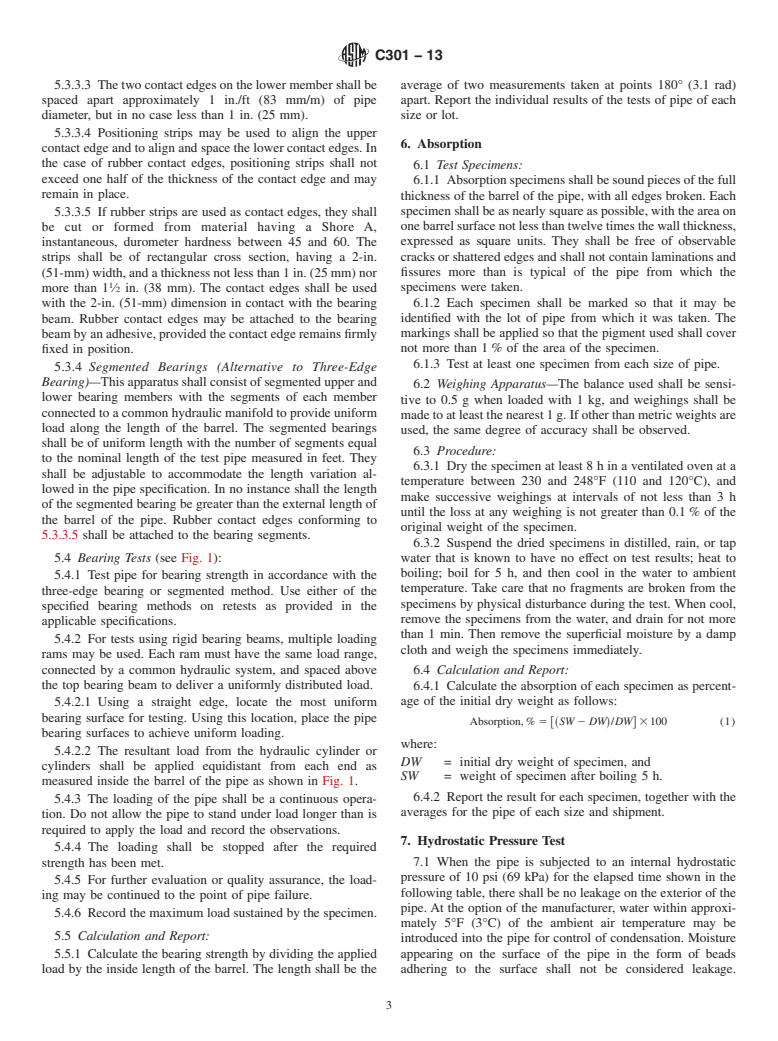
FIG. 1 Three-Edge Bearing Testing (see 5.3.4 for Segmented Testing)
lbf/min·linear ft (29.2 6 7.3 kN/min·linear m) of pipe length
...
This document is not an ASTM standard and is intended only to provide the user of an ASTM standard an indication of what changes have been made to the previous version. Because
it may not be technically possible to adequately depict all changes accurately, ASTM recommends that users consult prior editions as appropriate. In all cases only the current version
of the standard as published by ASTM is to be considered the official document.
Designation: C301 − 04 (Reapproved 2009) C301 − 13
Standard Test Methods for
1
Vitrified Clay Pipe
This standard is issued under the fixed designation C301; the number immediately following the designation indicates the year of
original adoption or, in the case of revision, the year of last revision. A number in parentheses indicates the year of last reapproval. A
superscript epsilon (´) indicates an editorial change since the last revision or reapproval.
This standard has been approved for use by agencies of the Department of Defense.
1. Scope
1.1 These test methods cover the equipment for, and the techniques of, testing vitrified clay pipe prior to installation. Tests using
whole pipe determines the resistance to crushing and hydrostatic forces. Tests using pipe fragments measure the amount of water
absorption of the pipe body and the quantity of acid-soluble material that may be extracted from it.
NOTE 1—The following standards also apply to clay pipe and can be referenced for further information: Practice C12 and Test Method C828;
Specifications C425 and C700.
1.2 The values stated in inch-pound units are to be regarded as standard. The values given in parentheses are mathematical
conversions to SI units that are provided for information only and are not considered standard.
1.3 This standard does not purport to address the safety concerns, if any, associated with its use. It is the responsibility of the
user of this standard to establish appropriate safety and health practices and determine the applicability of regulatory limitations
prior to use.
2. Referenced Documents
2
2.1 ASTM Standards:
C12 Practice for Installing Vitrified Clay Pipe Lines
C425 Specification for Compression Joints for Vitrified Clay Pipe and Fittings
C700 Specification for Vitrified Clay Pipe, Extra Strength, Standard Strength, and Perforated
C828 Test Method for Low-Pressure Air Test of Vitrified Clay Pipe Lines
C896 Terminology Relating to Clay Products
E6 Terminology Relating to Methods of Mechanical Testing
3. Terminology
3.1 Definitions:
3.1.1 For definitions of terms used in these test methods, refer to Terminology E6 and Terminology C896.
4. Significance and Use
4.1 Meaning and Suitability—The tests called for herein, from their results, indicate the suitability and acceptability of vitrified
clay pipe for specifications acceptance, design purposes, regulatory statutes, manufacturing control, and research.
5. Bearing Strength
5.1 Test Specimens:
5.1.1 The test specimens shall be sound, full-size pipe and shall be selected by the purchaser, or his representative, at points he
designates when placing the order.
5.1.2 The number of specimens to be tested shall not exceed 0.5 % of the number of pipe of each size furnished, except that
no less than two specimens shall be tested.
5.2 Measurement and Inspection of Specimens:
1
These test methods are under the jurisdiction of ASTM Committee C04 on Vitrified Clay Pipe and is the direct responsibility of Subcommittee C04.20 on Methods of
Test and Specifications.
Current edition approved Oct. 1, 2009Jan. 1, 2013. Published October 2009February 2013. Originally approved in 1952. Last previous edition approved in 20042009 as
C301 – 04.C301 – 04 (2009). DOI: 10.1520/C0301-04R09.10.1520/C0301-13.
2
For referenced ASTM standards, visit the ASTM website, www.astm.org, or contact ASTM Customer Service at service@astm.org. For Annual Book of ASTM Standards
volume information, refer to the standard’s Document Summary page on the ASTM website.
Copyright © ASTM International, 100 Barr Harbor Drive, PO Box C700, West Conshohocken, PA 19428-2959. United States
1
---------------------- Page: 1 ----------------------
C301 − 13
5.2.1 The specimens shall be free of all visible moisture and frost. These specimens shall be inspected and measured for
conformance with the applicable specifications. The results of these observations shall be recorded.
5.2.2 Specimens that are observed to have defects in excess of the limits permitted in the applicable specifications shall be
discarded and replaced with additional specimens from the lot to be tested.
5.3 Loading Apparatus (see Fig. 1):
5.3.1 Testing Machine:
5.3.1.1 The loading apparatus shall consist of a testing machine capable of applying loads, with upper and lower bearings
capable of transmitting these loads to the pipe. The bearings shall be bearing beams and contact edges.
5.3.1.2 Any motor driven testing machine that is capable of applying a load at a uniform rate of 2000 6 500 lbf/min·linear ft
(29.2 6 7.3 kN/min·linear m) of pi
...


Questions, Comments and Discussion
Ask us and Technical Secretary will try to provide an answer. You can facilitate discussion about the standard in here.