ASTM E2298-13
(Test Method)Standard Test Method for Instrumented Impact Testing of Metallic Materials
Standard Test Method for Instrumented Impact Testing of Metallic Materials
SIGNIFICANCE AND USE
5.1 Instrumented impact testing provides an independent measurement of the total absorbed energy associated with fracturing CVN or MCVN specimens for test machines equipped with a dial and/or optical encoder.
5.2 Instrumented impact testing is particularly effective in MCVN testing since the resolution of a calibrated strain-gaged striker does not necessarily decrease with the magnitude of the measured energy.
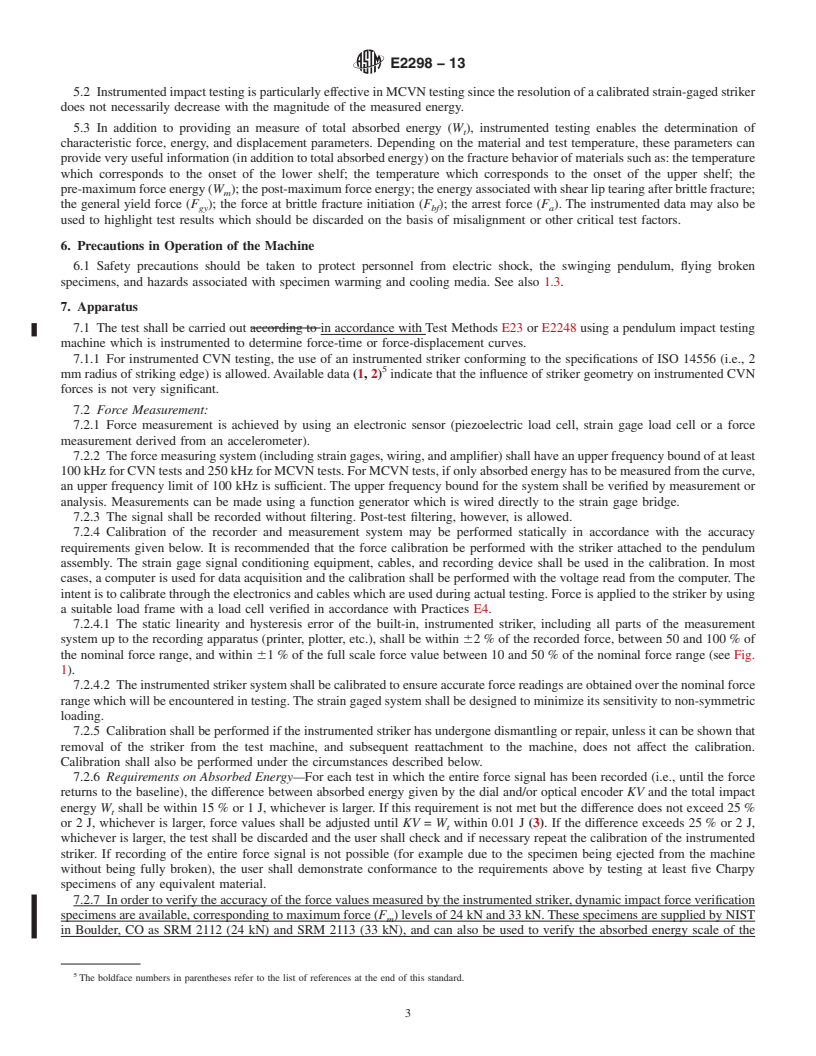
5.3 In addition to providing an measure of total absorbed energy (Wt), instrumented testing enables the determination of characteristic force, energy, and displacement parameters. Depending on the material and test temperature, these parameters can provide very useful information (in addition to total absorbed energy) on the fracture behavior of materials such as: the temperature which corresponds to the onset of the lower shelf; the temperature which corresponds to the onset of the upper shelf; the pre-maximum force energy (Wm); the post-maximum force energy; the energy associated with shear lip tearing after brittle fracture; the general yield force (Fgy); the force at brittle fracture initiation (Fbf); the arrest force (Fa). The instrumented data may also be used to highlight test results which should be discarded on the basis of misalignment or other critical test factors.
SCOPE
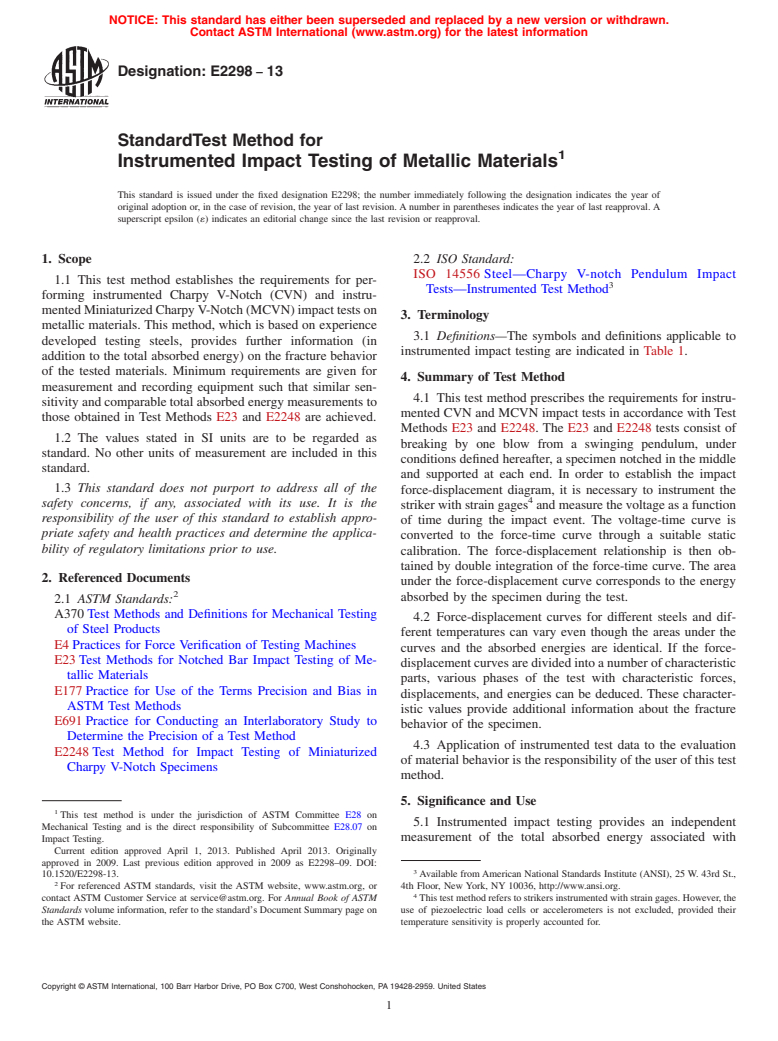
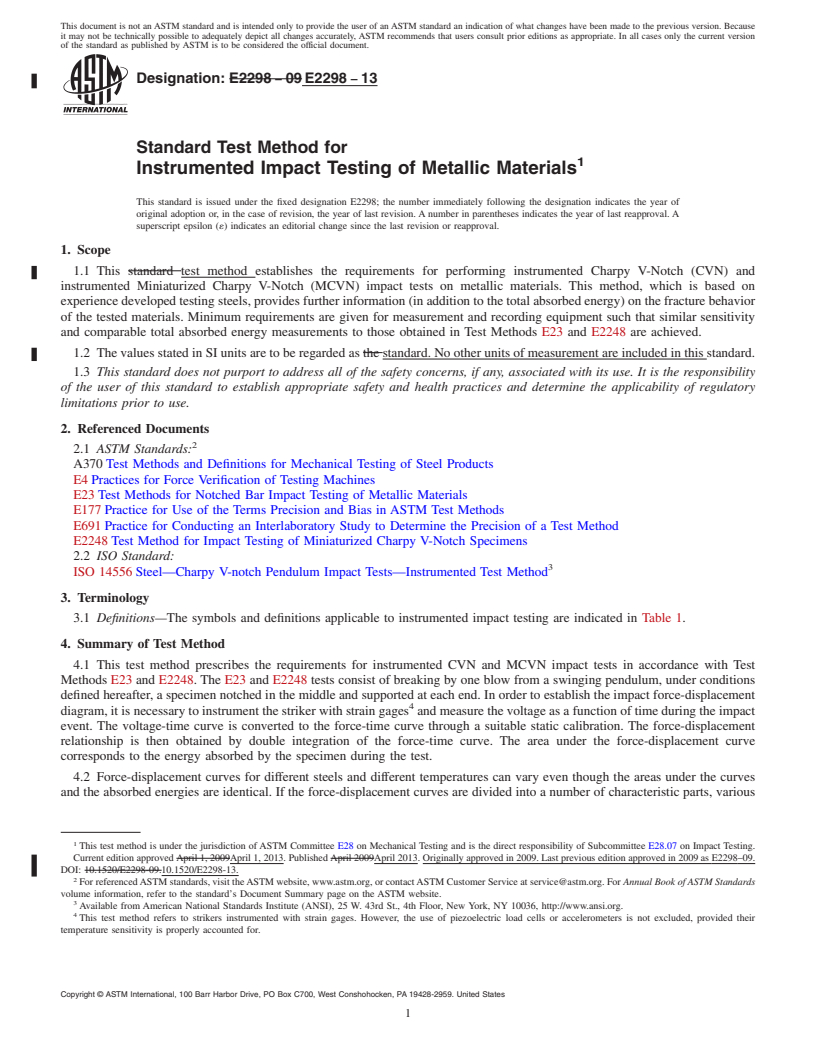
1.1 This test method establishes the requirements for performing instrumented Charpy V-Notch (CVN) and instrumented Miniaturized Charpy V-Notch (MCVN) impact tests on metallic materials. This method, which is based on experience developed testing steels, provides further information (in addition to the total absorbed energy) on the fracture behavior of the tested materials. Minimum requirements are given for measurement and recording equipment such that similar sensitivity and comparable total absorbed energy measurements to those obtained in Test Methods E23 and E2248 are achieved.
1.2 The values stated in SI units are to be regarded as standard. No other units of measurement are included in this standard.
1.3 This standard does not purport to address all of the safety concerns, if any, associated with its use. It is the responsibility of the user of this standard to establish appropriate safety and health practices and determine the applicability of regulatory limitations prior to use.
General Information
Relations
Buy Standard
Standards Content (Sample)
NOTICE: This standard has either been superseded and replaced by a new version or withdrawn.
Contact ASTM International (www.astm.org) for the latest information
Designation: E2298 − 13
StandardTest Method for
1
Instrumented Impact Testing of Metallic Materials
This standard is issued under the fixed designation E2298; the number immediately following the designation indicates the year of
original adoption or, in the case of revision, the year of last revision.Anumber in parentheses indicates the year of last reapproval.A
superscript epsilon (´) indicates an editorial change since the last revision or reapproval.
1. Scope 2.2 ISO Standard:
ISO 14556 Steel—Charpy V-notch Pendulum Impact
1.1 This test method establishes the requirements for per-
3
Tests—Instrumented Test Method
forming instrumented Charpy V-Notch (CVN) and instru-
mentedMiniaturizedCharpyV-Notch(MCVN)impacttestson
3. Terminology
metallic materials. This method, which is based on experience
3.1 Definitions—The symbols and definitions applicable to
developed testing steels, provides further information (in
instrumented impact testing are indicated in Table 1.
addition to the total absorbed energy) on the fracture behavior
of the tested materials. Minimum requirements are given for
4. Summary of Test Method
measurement and recording equipment such that similar sen-
4.1 This test method prescribes the requirements for instru-
sitivityandcomparabletotalabsorbedenergymeasurementsto
mented CVN and MCVN impact tests in accordance withTest
those obtained in Test Methods E23 and E2248 are achieved.
Methods E23 and E2248. The E23 and E2248 tests consist of
1.2 The values stated in SI units are to be regarded as
breaking by one blow from a swinging pendulum, under
standard. No other units of measurement are included in this
conditions defined hereafter, a specimen notched in the middle
standard.
and supported at each end. In order to establish the impact
1.3 This standard does not purport to address all of the
force-displacement diagram, it is necessary to instrument the
4
safety concerns, if any, associated with its use. It is the
strikerwithstraingages andmeasurethevoltageasafunction
responsibility of the user of this standard to establish appro-
of time during the impact event. The voltage-time curve is
priate safety and health practices and determine the applica-
converted to the force-time curve through a suitable static
bility of regulatory limitations prior to use.
calibration. The force-displacement relationship is then ob-
tained by double integration of the force-time curve. The area
2. Referenced Documents
under the force-displacement curve corresponds to the energy
2
absorbed by the specimen during the test.
2.1 ASTM Standards:
A370Test Methods and Definitions for Mechanical Testing
4.2 Force-displacement curves for different steels and dif-
of Steel Products
ferent temperatures can vary even though the areas under the
E4Practices for Force Verification of Testing Machines
curves and the absorbed energies are identical. If the force-
E23Test Methods for Notched Bar Impact Testing of Me-
displacementcurvesaredividedintoanumberofcharacteristic
tallic Materials
parts, various phases of the test with characteristic forces,
E177Practice for Use of the Terms Precision and Bias in
displacements, and energies can be deduced. These character-
ASTM Test Methods
istic values provide additional information about the fracture
E691Practice for Conducting an Interlaboratory Study to
behavior of the specimen.
Determine the Precision of a Test Method
4.3 Application of instrumented test data to the evaluation
E2248Test Method for Impact Testing of Miniaturized
ofmaterialbehavioristheresponsibilityoftheuserofthistest
Charpy V-Notch Specimens
method.
5. Significance and Use
1
This test method is under the jurisdiction of ASTM Committee E28 on
5.1 Instrumented impact testing provides an independent
Mechanical Testing and is the direct responsibility of Subcommittee E28.07 on
Impact Testing. measurement of the total absorbed energy associated with
Current edition approved April 1, 2013. Published April 2013. Originally
approved in 2009. Last previous edition approved in 2009 as E2298–09. DOI:
3
10.1520/E2298-13. Available fromAmerican National Standards Institute (ANSI), 25 W. 43rd St.,
2
For referenced ASTM standards, visit the ASTM website, www.astm.org, or 4th Floor, New York, NY 10036, http://www.ansi.org.
4
contact ASTM Customer Service at service@astm.org. For Annual Book of ASTM Thistestmethodreferstostrikersinstrumentedwithstraingages.However,the
Standards volume information, refer to the standard’s Document Summary page on use of piezoelectric load cells or accelerometers is not excluded, provided their
the ASTM website. temperature sensitivity is properly accounted for.
Copyright © ASTM International, 100 Barr Harbor Drive, PO Box C700, West Conshohocken, PA 19428-2959. United States
1
---------------------- Page: 1 ----------------------
E2298 − 13
TABLE
...
This document is not an ASTM standard and is intended only to provide the user of an ASTM standard an indication of what changes have been made to the previous version. Because
it may not be technically possible to adequately depict all changes accurately, ASTM recommends that users consult prior editions as appropriate. In all cases only the current version
of the standard as published by ASTM is to be considered the official document.
Designation: E2298 − 09 E2298 − 13
Standard Test Method for
1
Instrumented Impact Testing of Metallic Materials
This standard is issued under the fixed designation E2298; the number immediately following the designation indicates the year of
original adoption or, in the case of revision, the year of last revision. A number in parentheses indicates the year of last reapproval. A
superscript epsilon (´) indicates an editorial change since the last revision or reapproval.
1. Scope
1.1 This standard test method establishes the requirements for performing instrumented Charpy V-Notch (CVN) and
instrumented Miniaturized Charpy V-Notch (MCVN) impact tests on metallic materials. This method, which is based on
experience developed testing steels, provides further information (in addition to the total absorbed energy) on the fracture behavior
of the tested materials. Minimum requirements are given for measurement and recording equipment such that similar sensitivity
and comparable total absorbed energy measurements to those obtained in Test Methods E23 and E2248 are achieved.
1.2 The values stated in SI units are to be regarded as the standard. No other units of measurement are included in this standard.
1.3 This standard does not purport to address all of the safety concerns, if any, associated with its use. It is the responsibility
of the user of this standard to establish appropriate safety and health practices and determine the applicability of regulatory
limitations prior to use.
2. Referenced Documents
2
2.1 ASTM Standards:
A370 Test Methods and Definitions for Mechanical Testing of Steel Products
E4 Practices for Force Verification of Testing Machines
E23 Test Methods for Notched Bar Impact Testing of Metallic Materials
E177 Practice for Use of the Terms Precision and Bias in ASTM Test Methods
E691 Practice for Conducting an Interlaboratory Study to Determine the Precision of a Test Method
E2248 Test Method for Impact Testing of Miniaturized Charpy V-Notch Specimens
2.2 ISO Standard:
3
ISO 14556 Steel—Charpy V-notch Pendulum Impact Tests—Instrumented Test Method
3. Terminology
3.1 Definitions—The symbols and definitions applicable to instrumented impact testing are indicated in Table 1.
4. Summary of Test Method
4.1 This test method prescribes the requirements for instrumented CVN and MCVN impact tests in accordance with Test
Methods E23 and E2248. The E23 and E2248 tests consist of breaking by one blow from a swinging pendulum, under conditions
defined hereafter, a specimen notched in the middle and supported at each end. In order to establish the impact force-displacement
4
diagram, it is necessary to instrument the striker with strain gages and measure the voltage as a function of time during the impact
event. The voltage-time curve is converted to the force-time curve through a suitable static calibration. The force-displacement
relationship is then obtained by double integration of the force-time curve. The area under the force-displacement curve
corresponds to the energy absorbed by the specimen during the test.
4.2 Force-displacement curves for different steels and different temperatures can vary even though the areas under the curves
and the absorbed energies are identical. If the force-displacement curves are divided into a number of characteristic parts, various
1
This test method is under the jurisdiction of ASTM Committee E28 on Mechanical Testing and is the direct responsibility of Subcommittee E28.07 on Impact Testing.
Current edition approved April 1, 2009April 1, 2013. Published April 2009April 2013. Originally approved in 2009. Last previous edition approved in 2009 as E2298–09.
DOI: 10.1520/E2298-09.10.1520/E2298-13.
2
For referenced ASTM standards, visit the ASTM website, www.astm.org, or contact ASTM Customer Service at service@astm.org. For Annual Book of ASTM Standards
volume information, refer to the standard’s Document Summary page on the ASTM website.
3
Available from American National Standards Institute (ANSI), 25 W. 43rd St., 4th Floor, New York, NY 10036, http://www.ansi.org.
4
This test method refers to strikers instrumented with strain gages. However, the use of piezoelectric load cells or accelerometers is not excluded, provided their
temperature sensitivity is properly accounted for.
Copyright © ASTM International, 100 Barr Harbor Drive, PO Box C700, West Conshohocken, PA 19428-2959. United States
1
---------------------- Page: 1 ----------------------
E2298 − 13
TABLE 1 Symbols and Designations Related to Instrumented
Impact Testing
COLSPEC/colna
...


Questions, Comments and Discussion
Ask us and Technical Secretary will try to provide an answer. You can facilitate discussion about the standard in here.