ASTM E21-09
(Test Method)Standard Test Methods for Elevated Temperature Tension Tests of Metallic Materials
Standard Test Methods for Elevated Temperature Tension Tests of Metallic Materials
SIGNIFICANCE AND USE
The elevated-temperature tension test gives a useful estimate of the ability of metals to withstand the application of applied tensile forces. Using established and conventional relationships it can be used to give some indication of probable behavior under other simple states of stress, such as compression, shear, etc. The ductility values give a comparative measure of the capacity of different materials to deform locally without cracking and thus to accommodate a local stress concentration or overstress; however, quantitative relationships between tensile ductility and the effect of stress concentrations at elevated temperature are not universally valid. A similar comparative relationship exists between tensile ductility and strain-controlled, low-cycle fatigue life under simple states of stress. The results of these tension tests can be considered as only a questionable comparative measure of the strength and ductility for service times of thousands of hours. Therefore, the principal usefulness of the elevated-temperature tension test is to assure that the tested material is similar to reference material when other measures such as chemical composition and microstructure also show the two materials are similar.
SCOPE
1.1 These test methods cover procedure and equipment for the determination of tensile strength, yield strength, elongation, and reduction of area of metallic materials at elevated temperatures.
1.2 Determination of modulus of elasticity and proportional limit are not included.
1.3 Tension tests under conditions of rapid heating or rapid strain rates are not included.
1.4 The values stated in inch-pound units are to be regarded as standard. The values given in parentheses are mathematical conversions to SI units that are provided for information only and are not considered standard.
1.5 This standard does not purport to address all of the safety concerns, if any, associated with its use. It is the responsibility of the user of this standard to establish appropriate safety and health practices and determine the applicability of regulatory limitations prior to use.
General Information
Relations
Buy Standard
Standards Content (Sample)
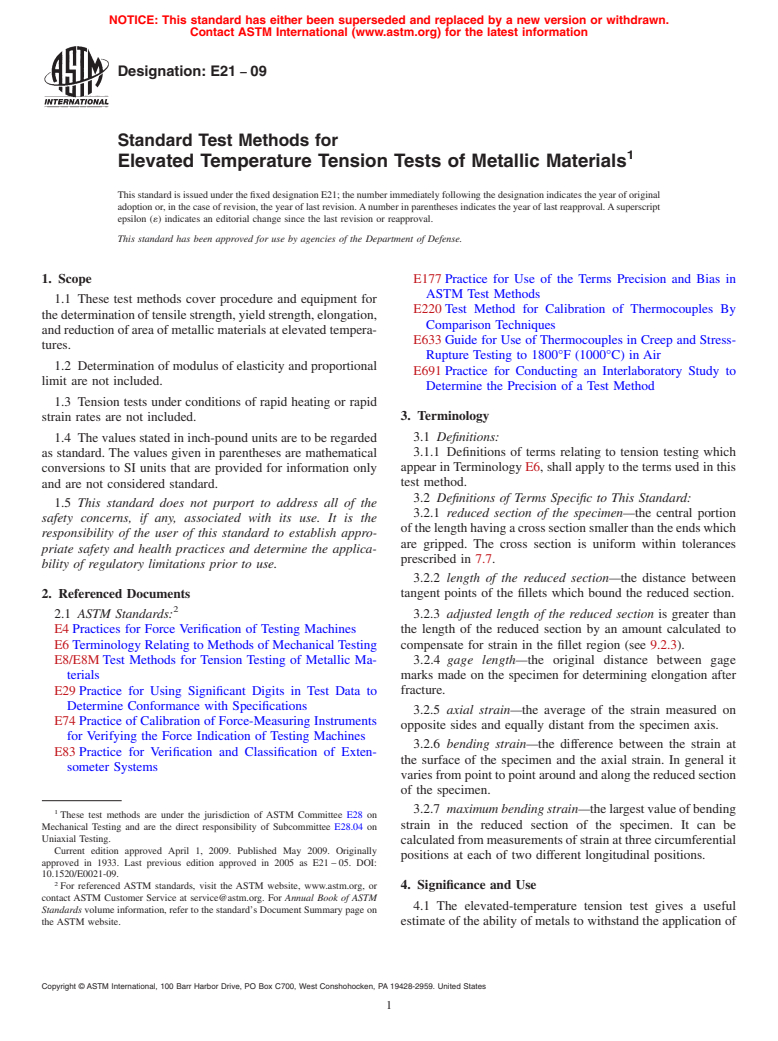
NOTICE: This standard has either been superseded and replaced by a new version or withdrawn.
Contact ASTM International (www.astm.org) for the latest information
Designation: E21 − 09
Standard Test Methods for
1
Elevated Temperature Tension Tests of Metallic Materials
This standard is issued under the fixed designation E21; the number immediately following the designation indicates the year of original
adoption or, in the case of revision, the year of last revision.Anumber in parentheses indicates the year of last reapproval.Asuperscript
epsilon (´) indicates an editorial change since the last revision or reapproval.
This standard has been approved for use by agencies of the Department of Defense.
1. Scope E177 Practice for Use of the Terms Precision and Bias in
ASTM Test Methods
1.1 These test methods cover procedure and equipment for
E220 Test Method for Calibration of Thermocouples By
thedeterminationoftensilestrength,yieldstrength,elongation,
Comparison Techniques
and reduction of area of metallic materials at elevated tempera-
E633 Guide for Use of Thermocouples in Creep and Stress-
tures.
Rupture Testing to 1800°F (1000°C) in Air
1.2 Determination of modulus of elasticity and proportional
E691 Practice for Conducting an Interlaboratory Study to
limit are not included.
Determine the Precision of a Test Method
1.3 Tension tests under conditions of rapid heating or rapid
3. Terminology
strain rates are not included.
3.1 Definitions:
1.4 The values stated in inch-pound units are to be regarded
3.1.1 Definitions of terms relating to tension testing which
as standard. The values given in parentheses are mathematical
appear in Terminology E6, shall apply to the terms used in this
conversions to SI units that are provided for information only
test method.
and are not considered standard.
3.2 Definitions of Terms Specific to This Standard:
1.5 This standard does not purport to address all of the
3.2.1 reduced section of the specimen—the central portion
safety concerns, if any, associated with its use. It is the
ofthelengthhavingacrosssectionsmallerthantheendswhich
responsibility of the user of this standard to establish appro-
are gripped. The cross section is uniform within tolerances
priate safety and health practices and determine the applica-
prescribed in 7.7.
bility of regulatory limitations prior to use.
3.2.2 length of the reduced section—the distance between
2. Referenced Documents tangent points of the fillets which bound the reduced section.
2
2.1 ASTM Standards: 3.2.3 adjusted length of the reduced section is greater than
E4 Practices for Force Verification of Testing Machines the length of the reduced section by an amount calculated to
compensate for strain in the fillet region (see 9.2.3).
E6 Terminology Relating to Methods of Mechanical Testing
E8/E8M Test Methods for Tension Testing of Metallic Ma- 3.2.4 gage length—the original distance between gage
marks made on the specimen for determining elongation after
terials
E29 Practice for Using Significant Digits in Test Data to fracture.
Determine Conformance with Specifications
3.2.5 axial strain—the average of the strain measured on
E74 Practice of Calibration of Force-Measuring Instruments
opposite sides and equally distant from the specimen axis.
for Verifying the Force Indication of Testing Machines
3.2.6 bending strain—the difference between the strain at
E83 Practice for Verification and Classification of Exten-
the surface of the specimen and the axial strain. In general it
someter Systems
variesfrompointtopointaroundandalongthereducedsection
of the specimen.
3.2.7 maximum bending strain—thelargestvalueofbending
1
These test methods are under the jurisdiction of ASTM Committee E28 on
Mechanical Testing and are the direct responsibility of Subcommittee E28.04 on strain in the reduced section of the specimen. It can be
Uniaxial Testing.
calculatedfrommeasurementsofstrainatthreecircumferential
Current edition approved April 1, 2009. Published May 2009. Originally
positions at each of two different longitudinal positions.
approved in 1933. Last previous edition approved in 2005 as E21 – 05. DOI:
10.1520/E0021-09.
2
For referenced ASTM standards, visit the ASTM website, www.astm.org, or 4. Significance and Use
contact ASTM Customer Service at service@astm.org. For Annual Book of ASTM
4.1 The elevated-temperature tension test gives a useful
Standards volume information, refer to the standard’s Document Summary page on
the ASTM website. estimate of the ability of metals to withstand the application of
Copyright ©ASTM International, 100 Barr Harbor Drive, PO Box C700, West Conshohocken, PA19428-2959. United States
1
---------------------- Page: 1 ----------------------
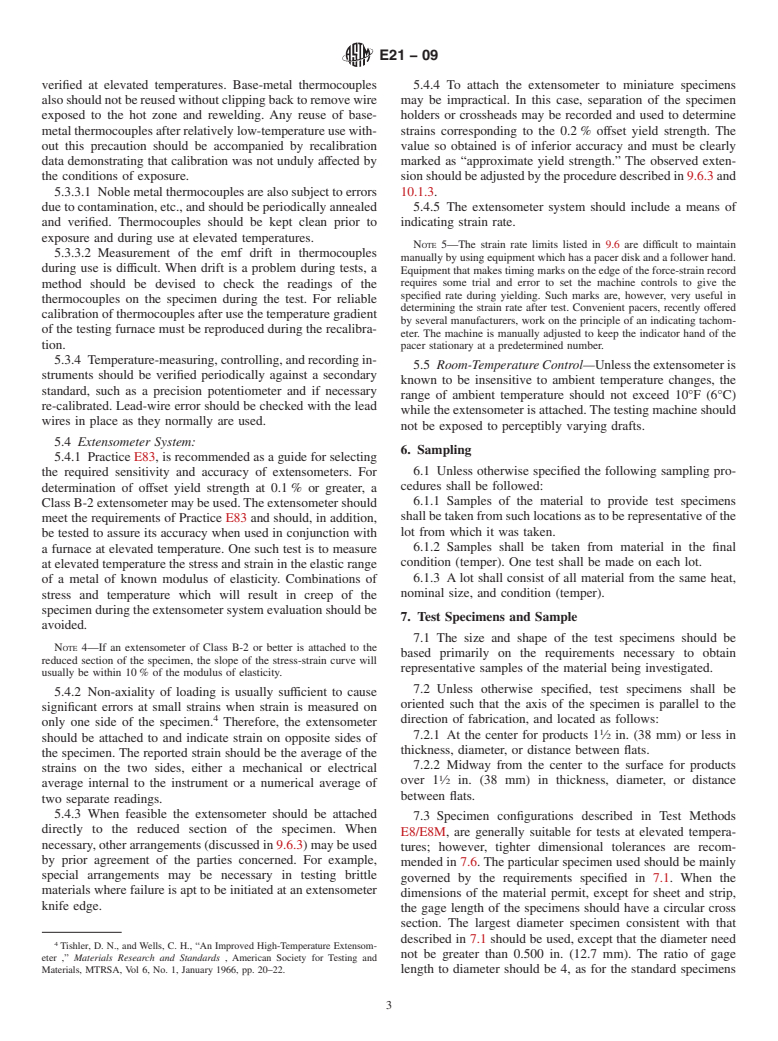
E21−09
applied tensile forces. Using established and conventional throughout the reduced section. This requirement may neces-
relationships it can be used to give some indication of probable sitate use of a material different from that used during the
behavior under other simple states of st
...
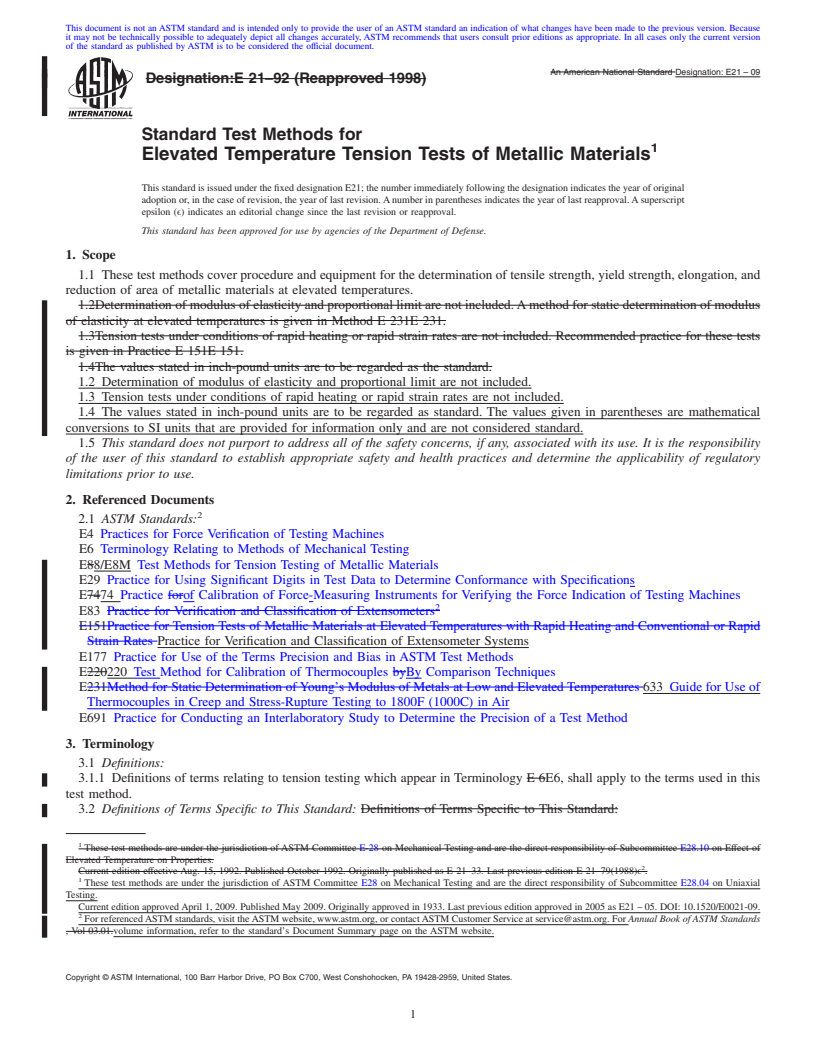
This document is not anASTM standard and is intended only to provide the user of anASTM standard an indication of what changes have been made to the previous version. Because
it may not be technically possible to adequately depict all changes accurately, ASTM recommends that users consult prior editions as appropriate. In all cases only the current version
of the standard as published by ASTM is to be considered the official document.
An American National Standard Designation: E21 – 09
Designation:E 21–92 (Reapproved 1998)
Standard Test Methods for
1
Elevated Temperature Tension Tests of Metallic Materials
This standard is issued under the fixed designation E21; the number immediately following the designation indicates the year of original
adoption or, in the case of revision, the year of last revision.Anumber in parentheses indicates the year of last reapproval.Asuperscript
epsilon (ϵ) indicates an editorial change since the last revision or reapproval.
This standard has been approved for use by agencies of the Department of Defense.
1. Scope
1.1 These test methods cover procedure and equipment for the determination of tensile strength, yield strength, elongation, and
reduction of area of metallic materials at elevated temperatures.
1.2Determination of modulus of elasticity and proportional limit are not included.Amethod for static determination of modulus
of elasticity at elevated temperatures is given in Method E 231E 231.
1.3Tension tests under conditions of rapid heating or rapid strain rates are not included. Recommended practice for these tests
is given in Practice E 151E 151.
1.4The values stated in inch-pound units are to be regarded as the standard.
1.2 Determination of modulus of elasticity and proportional limit are not included.
1.3 Tension tests under conditions of rapid heating or rapid strain rates are not included.
1.4 The values stated in inch-pound units are to be regarded as standard. The values given in parentheses are mathematical
conversions to SI units that are provided for information only and are not considered standard.
1.5 This standard does not purport to address all of the safety concerns, if any, associated with its use. It is the responsibility
of the user of this standard to establish appropriate safety and health practices and determine the applicability of regulatory
limitations prior to use.
2. Referenced Documents
2
2.1 ASTM Standards:
E4 Practices for Force Verification of Testing Machines
E6 Terminology Relating to Methods of Mechanical Testing
E88/E8M Test Methods for Tension Testing of Metallic Materials
E29 Practice for Using Significant Digits in Test Data to Determine Conformance with Specifications
E7474 Practice forof Calibration of Force-Measuring Instruments for Verifying the Force Indication of Testing Machines
2
E83 Practice for Verification and Classification of Extensometers
E151Practice for Tension Tests of Metallic Materials at Elevated Temperatures with Rapid Heating and Conventional or Rapid
Strain Rates Practice for Verification and Classification of Extensometer Systems
E177 Practice for Use of the Terms Precision and Bias in ASTM Test Methods
E220220 Test Method for Calibration of Thermocouples byBy Comparison Techniques
E231Method for Static Determination ofYoung’s Modulus of Metals at Low and Elevated Temperatures 633 Guide for Use of
Thermocouples in Creep and Stress-Rupture Testing to 1800F (1000C) in Air
E691 Practice for Conducting an Interlaboratory Study to Determine the Precision of a Test Method
3. Terminology
3.1 Definitions:
3.1.1 Definitions of terms relating to tension testing which appear in Terminology E 6E6, shall apply to the terms used in this
test method.
3.2 Definitions of Terms Specific to This Standard: Definitions of Terms Specific to This Standard:
1
These test methods are under the jurisdiction of ASTM Committee E-28 on Mechanical Testing and are the direct responsibility of Subcommittee E28.10 on Effect of
Elevated Temperature on Properties.
2
Current edition effective Aug. 15, 1992. Published October 1992. Originally published as E 21–33. Last previous edition E 21–79(1988)ϵ .
1
These test methods are under the jurisdiction of ASTM Committee E28 on Mechanical Testing and are the direct responsibility of Subcommittee E28.04 on Uniaxial
Testing.
Current edition approvedApril 1, 2009. Published May 2009. Originally approved in 1933. Last previous edition approved in 2005 as E21 – 05. DOI: 10.1520/E0021-09.
2
For referencedASTM standards, visit theASTM website, www.astm.org, or contactASTM Customer Service at service@astm.org. For Annual Book of ASTM Standards
, Vol 03.01.volume information, refer to the standard’s Document Summary page on the ASTM website.
Copyright © ASTM International, 100 Barr Harbor Drive, PO Box C700, West Conshohocken, PA 19428-2959, United States.
1
---------------------- Page: 1 ----------------------
E21–09
3.2.1 reduced section of the specimen—the central portion of the length having a cross section smalle
...


Questions, Comments and Discussion
Ask us and Technical Secretary will try to provide an answer. You can facilitate discussion about the standard in here.