ASTM E1356-08
(Test Method)Standard Test Method for Assignment of the Glass Transition Temperatures by Differential Scanning Calorimetry
Standard Test Method for Assignment of the Glass Transition Temperatures by Differential Scanning Calorimetry
SIGNIFICANCE AND USE
Differential scanning calorimetry provides a rapid test method for determining changes in specific heat capacity in a homogeneous material. The glass transition is manifested as a step change in specific heat capacity. For amorphous and semicrystalline materials the determination of the glass transition temperature may lead to important information about their thermal history, processing conditions, stability, progress of chemical reactions, and mechanical and electrical behavior.
This test method is useful for research, quality control, and specification acceptance.
SCOPE
1.1 This test method covers the assignment of the glass transition temperatures of materials using differential scanning calorimetry or differential thermal analysis.
1.2 This test method is applicable to amorphous materials or to partially crystalline materials containing amorphous regions, that are stable and do not undergo decomposition or sublimation in the glass transition region.
1.3 The normal operating temperature range is from −120 to 500 °C. The temperature range may be extended, depending upon the instrumentation used.
1.4 The values stated in SI units are to be regarded as standard. No other units of measurement are included in this standard.
1.5 ISO standards 11357–2 is equivalent to this standard.
1.6 This standard does not purport to address all of the safety concerns, if any, associated with its use. It is the responsibility of the user of this standard to establish appropriate safety and health practices and determine the applicability of regulatory limitations prior to use.
General Information
Relations
Buy Standard
Standards Content (Sample)
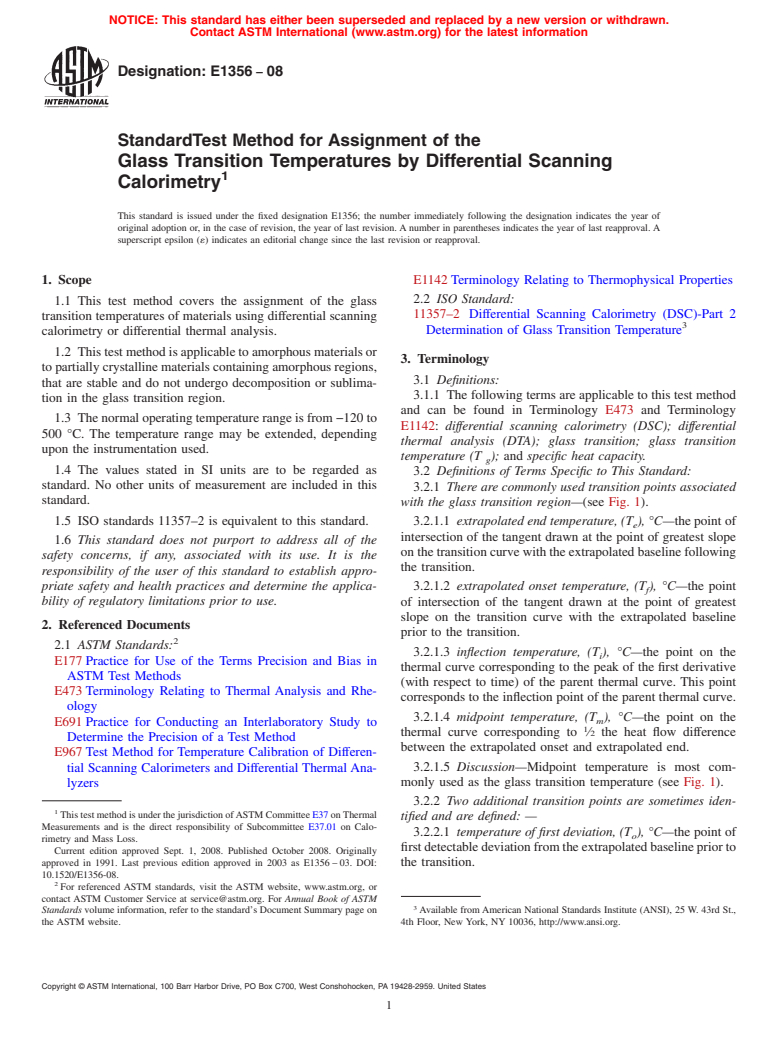
NOTICE: This standard has either been superseded and replaced by a new version or withdrawn.
Contact ASTM International (www.astm.org) for the latest information
Designation: E1356 − 08
StandardTest Method for Assignment of the
Glass Transition Temperatures by Differential Scanning
1
Calorimetry
This standard is issued under the fixed designation E1356; the number immediately following the designation indicates the year of
original adoption or, in the case of revision, the year of last revision.Anumber in parentheses indicates the year of last reapproval.A
superscript epsilon (´) indicates an editorial change since the last revision or reapproval.
1. Scope E1142Terminology Relating to Thermophysical Properties
2.2 ISO Standard:
1.1 This test method covers the assignment of the glass
11357–2 Differential Scanning Calorimetry (DSC)-Part 2
transition temperatures of materials using differential scanning
3
Determination of Glass Transition Temperature
calorimetry or differential thermal analysis.
1.2 Thistestmethodisapplicabletoamorphousmaterialsor
3. Terminology
topartiallycrystallinematerialscontainingamorphousregions,
3.1 Definitions:
that are stable and do not undergo decomposition or sublima-
3.1.1 The following terms are applicable to this test method
tion in the glass transition region.
and can be found in Terminology E473 and Terminology
1.3 Thenormaloperatingtemperaturerangeisfrom−120to
E1142: differential scanning calorimetry (DSC); differential
500 °C. The temperature range may be extended, depending
thermal analysis (DTA); glass transition; glass transition
upon the instrumentation used.
temperature (T ); and specific heat capacity.
g
1.4 The values stated in SI units are to be regarded as
3.2 Definitions of Terms Specific to This Standard:
standard. No other units of measurement are included in this
3.2.1 There are commonly used transition points associated
standard.
with the glass transition region—(see Fig. 1).
1.5 ISO standards 11357–2 is equivalent to this standard. 3.2.1.1 extrapolated end temperature, (T ), °C—thepointof
e
intersection of the tangent drawn at the point of greatest slope
1.6 This standard does not purport to address all of the
onthetransitioncurvewiththeextrapolatedbaselinefollowing
safety concerns, if any, associated with its use. It is the
the transition.
responsibility of the user of this standard to establish appro-
priate safety and health practices and determine the applica- 3.2.1.2 extrapolated onset temperature, (T), °C—the point
f
bility of regulatory limitations prior to use. of intersection of the tangent drawn at the point of greatest
slope on the transition curve with the extrapolated baseline
2. Referenced Documents
prior to the transition.
2
2.1 ASTM Standards:
3.2.1.3 inflection temperature, (T), °C—the point on the
i
E177Practice for Use of the Terms Precision and Bias in
thermal curve corresponding to the peak of the first derivative
ASTM Test Methods
(with respect to time) of the parent thermal curve. This point
E473Terminology Relating to Thermal Analysis and Rhe-
corresponds to the inflection point of the parent thermal curve.
ology
3.2.1.4 midpoint temperature, (T ), °C—the point on the
m
E691Practice for Conducting an Interlaboratory Study to
1
thermal curve corresponding to ⁄2 the heat flow difference
Determine the Precision of a Test Method
between the extrapolated onset and extrapolated end.
E967Test Method for Temperature Calibration of Differen-
3.2.1.5 Discussion—Midpoint temperature is most com-
tial Scanning Calorimeters and Differential ThermalAna-
lyzers monly used as the glass transition temperature (see Fig. 1).
3.2.2 Two additional transition points are sometimes iden-
1
ThistestmethodisunderthejurisdictionofASTMCommitteeE37onThermal
tified and are defined: —
Measurements and is the direct responsibility of Subcommittee E37.01 on Calo-
3.2.2.1 temperature of first deviation, (T ), °C—the point of
o
rimetry and Mass Loss.
firstdetectabledeviationfromtheextrapolatedbaselinepriorto
Current edition approved Sept. 1, 2008. Published October 2008. Originally
approved in 1991. Last previous edition approved in 2003 as E1356–03. DOI:
the transition.
10.1520/E1356-08.
2
For referenced ASTM standards, visit the ASTM website, www.astm.org, or
contact ASTM Customer Service at service@astm.org. For Annual Book of ASTM
3
Standards volume information, refer to the standard’s Document Summary page on Available fromAmerican National Standards Institute (ANSI), 25 W. 43rd St.,
the ASTM website. 4th Floor, New York, NY 10036, http://www.ansi.org.
Copyright © ASTM International, 100 Barr Harbor Drive, PO Box C700, West Conshohocken, PA 19428-2959. United States
1
---------------------- Page: 1 ----------------------
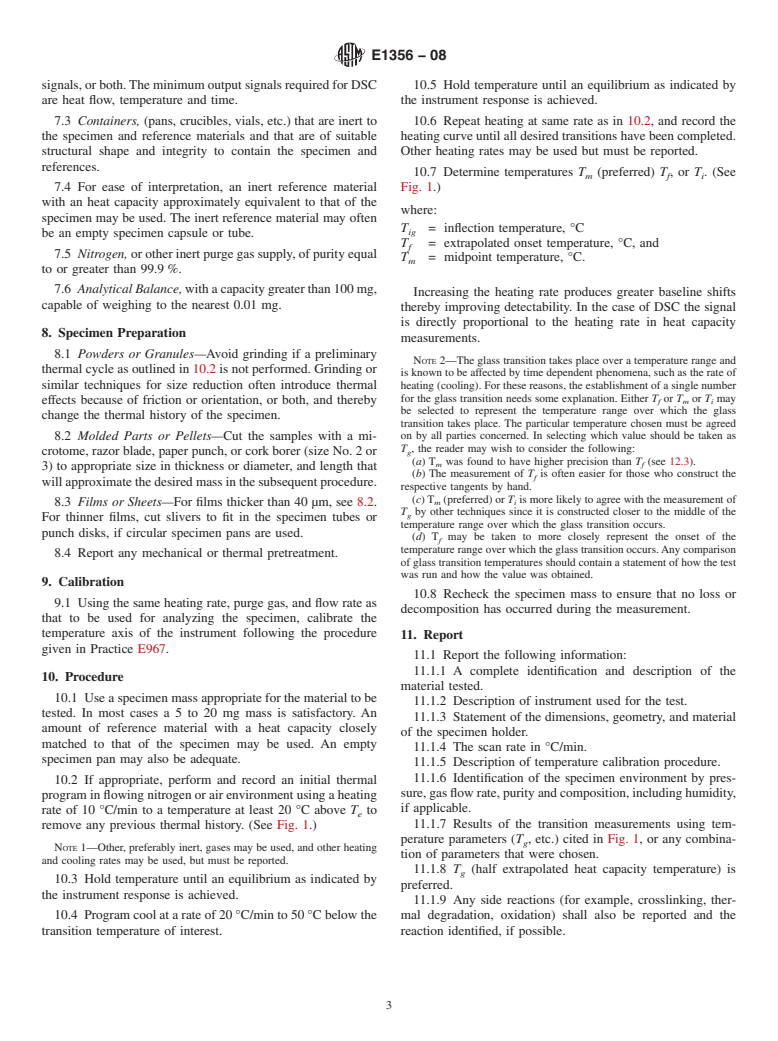
E1356 − 08
FIG. 1 Glass Transition Region Measured Temperatures
3.2.2.2 temperature of return to baseline, (T ), °C—thepoint 6.2 In some cases the specimen may react with air during
r
of last deviation from the extrapolated baseline beyond the the temperatu
...
This document is not anASTM standard and is intended only to provide the user of anASTM standard an indication of what changes have been made to the previous version. Because
it may not be technically possible to adequately depict all changes accurately, ASTM recommends that users consult prior editions as appropriate. In all cases only the current version
of the standard as published by ASTM is to be considered the official document.
Designation:E 1356–031356–08
Standard Test Method for Assignment of the
Glass Transition Temperatures by Differential Scanning
1
Calorimetry
This standard is issued under the fixed designation E 1356; the number immediately following the designation indicates the year of
original adoption or, in the case of revision, the year of last revision.Anumber in parentheses indicates the year of last reapproval.A
superscript epsilon (´) indicates an editorial change since the last revision or reapproval.
1. Scope
1.1 This test method covers the assignment of the glass transition temperatures of materials using differential scanning
calorimetry or differential thermal analysis.
1.2 Thistestmethodisapplicabletoamorphousmaterialsortopartiallycrystallinematerialscontainingamorphousregions,that
are stable and do not undergo decomposition or sublimation in the glass transition region.
1.3 The normal operating temperature range is from −120 to 500 °C.The temperature range may be extended, depending upon
the instrumentation used.
1.4Computer or electronic-based instruments, techniques, or data treatment equivalent to this test method may also be used.
NOTE1—Users of this test method are expressly advised that all such instruments or techniques may not be equivalent. It is the responsibility of the
user of this standard to determine the necessary equivalency prior to use.
1.5SI units are the standard.
1.6ISO standards 11357–2
1.4 The values stated in SI units are to be regarded as standard. No other units of measurement are included in this standard.
1.5 ISO standards 11357–2 is equivalent to this standard.
1.7
1.6 This standard does not purport to address all of the safety concerns, if any, associated with its use. It is the responsibility
of the user of this standard to establish appropriate safety and health practices and determine the applicability of regulatory
limitations prior to use.
2. Referenced Documents
2
2.1 ASTM Standards:
E177 Practice for Use of the Terms Precision and Bias in ASTM Test Methods
E473 Terminology Relating to Thermal Analysis and Rheology
2
E691 Practice for Conducting an Interlaboratory Test Program Study to Determine the Precision of a Test Methods Method
E967Practice Test Method for Temperature Calibration of Differential Scanning Calorimeters and Differential Thermal
Analyzers
E1142 Terminology Relating to Thermophysical Properties
2.2 ISO Standard:
3
11357–2 Differential Scanning Calorimetry (DSC)-Part 2 Determination of Glass Transition Temperature
3. Terminology
3.1 Definitions:
3.1.1 The following terms are applicable to this test method and can be found in Terminology E473 and Terminology E1142:
differential scanning calorimetry (DSC); differential thermal analysis (DTA); glass transition; glass transition temperature (T );
g
and specific heat capacity.
1
This test method is under the jurisdiction ofASTM Committee E37 onThermal Measurements and is the direct responsibility of Subcommittee E37.01 onThermalTest
Methods and Recommended Practices.
Current edition approved April 10, 2003.Sept. 1, 2008. Published May 2003. Originallyapproved October 2008. Originally approved in 1991. Last previous edition
approved in 19982003 as E1356–98.E1356–03.
2
Annual Book of ASTM Standards, Vol 09.01.
2
ForreferencedASTMstandards,visittheASTMwebsite,www.astm.org,orcontactASTMCustomerServiceatservice@astm.org.For Annual Book of ASTM Standards
volume information, refer to the standard’s Document Summary page on the ASTM website.
3
Available from American National Standards Institute, 11 W. 42nd St., 13th Floor, New York, NY 10036.
3
Available from American National Standards Institute (ANSI), 25 W. 43rd St., 4th Floor, New York, NY 10036, http://www.ansi.org.
Copyright © ASTM International, 100 Barr Harbor Drive, PO Box C700, West Conshohocken, PA 19428-2959, United States.
1
---------------------- Page: 1 ----------------------
E 1356–03 1356–08
3.2 Definitions of Terms Specific to This Standard:
3.2.1 There are commonly used transition points associated with the glass transition region.—(See Fig. 1.)
3.2.1.1 extrapolated end temperature, (T ), °C—the point of intersection of the tangent drawn at the point of greatest slope on
e
the transition curve with the extrapolated baseline following the transition.
3.2.1.2 extrapolated onset temperature, (T), °C—thepointofintersectionofthetangentdrawnatthepointofgreatestslopeon
f
the transition curve with the extrapolated baseline prior to the transition.
3.2.1.3 inflection temperature, (T), °C—the point on the thermal curve correspon
...


Questions, Comments and Discussion
Ask us and Technical Secretary will try to provide an answer. You can facilitate discussion about the standard in here.