ASTM B808-10
(Test Method)Standard Test Method for Monitoring of Atmospheric Corrosion Chambers by Quartz Crystal Microbalances
Standard Test Method for Monitoring of Atmospheric Corrosion Chambers by Quartz Crystal Microbalances
SIGNIFICANCE AND USE
Corrosion film growth with thicknesses varying from a monolayer of atoms up to 1 μm can readily be measured on a continuous, real-time, in-situ, basis with QCMs.
The test results obtained for this test method are influenced by various factors, including geometrical effects, temperature, humidity, film thickness, film materials, electrode conditions, gases in the corrosion chamber, atmospheric pressure, and so forth. Calibration of coated crystals and instrumentation and reproducible crystal operating conditions are necessary for consistent results.
SCOPE
1.1 This test method monitors the reactivity of a gaseous test environment in which metal surfaces (for example, electrical contacts, assembled printed wiring boards, and so forth) and other materials subject to pollutant gas attack undergo accelerated atmospheric corrosion testing. This test method is applicable to the growth of adherent corrosion films whose total corrosion film thickness ranges from a few atomic monolayers to approximately a micrometre.
1.2 The test method provides a dynamic, continuous, in-situ, procedure for monitoring the corrosion rate in corrosion chambers; the uniformity of corrosion chambers; and the corrosion rate on different surfaces. Response time in the order of seconds is possible.
1.3 With the proper samples, the quartz crystal microbalance (QCM) test method can also be used to monitor the weight loss from a surface as a result of the desorption of surface species (that is, reduction of an oxide in a reducing atmosphere). (Alternative names for QCM are quartz crystal oscillator, piezoelectric crystal oscillator, or thin-film evaporation monitor.)
1.4 This test method is not sufficient to specify the corrosion process that may be occurring in a chamber, since a variety of pollutant gases and environments may cause similar weight gains.
1.5 This test method is generally not applicable to test environments in which solid or liquid particles are deposited on the surface of the quartz crystal.
1.6 The values stated in SI units are to be regarded as standard. The values in parentheses are for information only.
1.7 This standard does not purport to address all of the safety concerns, if any, associated with its use. It is the responsibility of the user of this standard to become familiar with all hazards including those identified in the appropriate Material Safety Data Sheet (MSDS) for this product/material as provided by the manufacturer, to establish appropriate safety and health practices, and determine the applicability of regulatory limitations prior to use.
General Information
Relations
Buy Standard
Standards Content (Sample)
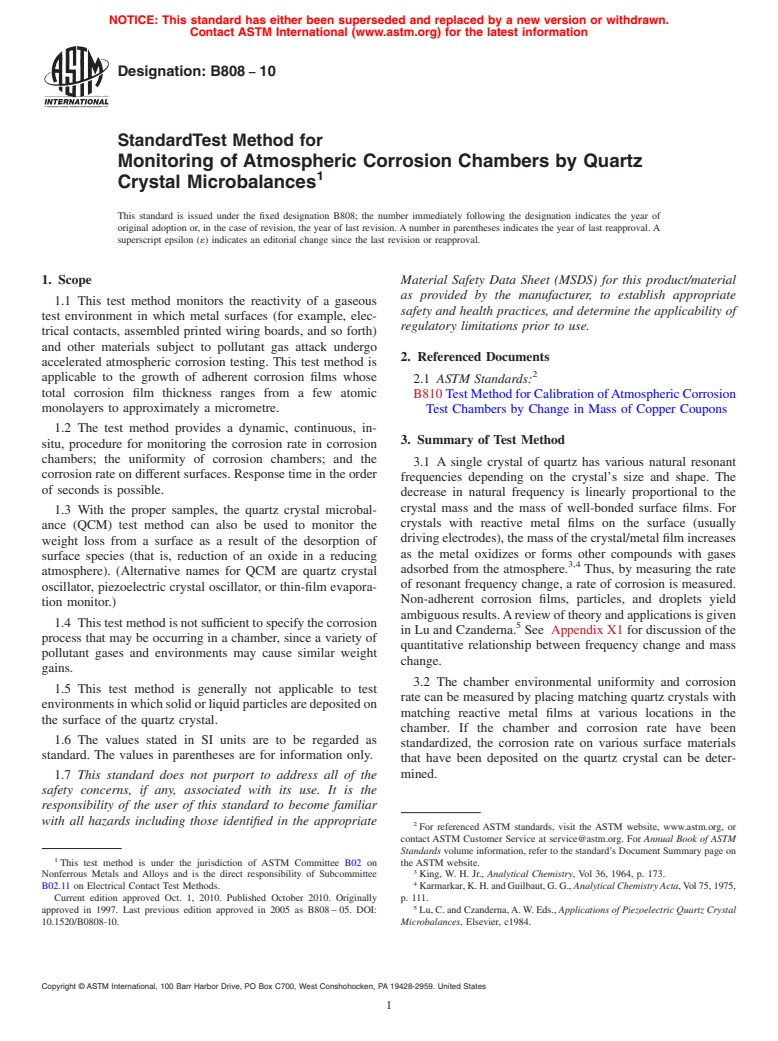
NOTICE: This standard has either been superseded and replaced by a new version or withdrawn.
Contact ASTM International (www.astm.org) for the latest information
Designation: B808 − 10
StandardTest Method for
Monitoring of Atmospheric Corrosion Chambers by Quartz
1
Crystal Microbalances
This standard is issued under the fixed designation B808; the number immediately following the designation indicates the year of
original adoption or, in the case of revision, the year of last revision. A number in parentheses indicates the year of last reapproval. A
superscript epsilon (´) indicates an editorial change since the last revision or reapproval.
1. Scope Material Safety Data Sheet (MSDS) for this product/material
as provided by the manufacturer, to establish appropriate
1.1 This test method monitors the reactivity of a gaseous
safety and health practices, and determine the applicability of
test environment in which metal surfaces (for example, elec-
regulatory limitations prior to use.
trical contacts, assembled printed wiring boards, and so forth)
and other materials subject to pollutant gas attack undergo
2. Referenced Documents
accelerated atmospheric corrosion testing. This test method is
2
applicable to the growth of adherent corrosion films whose
2.1 ASTM Standards:
total corrosion film thickness ranges from a few atomic
B810 Test Method for Calibration ofAtmospheric Corrosion
monolayers to approximately a micrometre.
Test Chambers by Change in Mass of Copper Coupons
1.2 The test method provides a dynamic, continuous, in-
3. Summary of Test Method
situ, procedure for monitoring the corrosion rate in corrosion
chambers; the uniformity of corrosion chambers; and the
3.1 A single crystal of quartz has various natural resonant
corrosion rate on different surfaces. Response time in the order
frequencies depending on the crystal’s size and shape. The
of seconds is possible.
decrease in natural frequency is linearly proportional to the
crystal mass and the mass of well-bonded surface films. For
1.3 With the proper samples, the quartz crystal microbal-
crystals with reactive metal films on the surface (usually
ance (QCM) test method can also be used to monitor the
driving electrodes), the mass of the crystal/metal film increases
weight loss from a surface as a result of the desorption of
as the metal oxidizes or forms other compounds with gases
surface species (that is, reduction of an oxide in a reducing
3,4
adsorbed from the atmosphere. Thus, by measuring the rate
atmosphere). (Alternative names for QCM are quartz crystal
of resonant frequency change, a rate of corrosion is measured.
oscillator, piezoelectric crystal oscillator, or thin-film evapora-
Non-adherent corrosion films, particles, and droplets yield
tion monitor.)
ambiguousresults.Areviewoftheoryandapplicationsisgiven
1.4 Thistestmethodisnotsufficienttospecifythecorrosion
5
in Lu and Czanderna. See Appendix X1 for discussion of the
process that may be occurring in a chamber, since a variety of
quantitative relationship between frequency change and mass
pollutant gases and environments may cause similar weight
change.
gains.
3.2 The chamber environmental uniformity and corrosion
1.5 This test method is generally not applicable to test
rate can be measured by placing matching quartz crystals with
environmentsinwhichsolidorliquidparticlesaredepositedon
matching reactive metal films at various locations in the
the surface of the quartz crystal.
chamber. If the chamber and corrosion rate have been
1.6 The values stated in SI units are to be regarded as
standardized, the corrosion rate on various surface materials
standard. The values in parentheses are for information only.
that have been deposited on the quartz crystal can be deter-
mined.
1.7 This standard does not purport to address all of the
safety concerns, if any, associated with its use. It is the
responsibility of the user of this standard to become familiar
with all hazards including those identified in the appropriate
2
For referenced ASTM standards, visit the ASTM website, www.astm.org, or
contact ASTM Customer Service at service@astm.org. For Annual Book of ASTM
Standards volume information, refer to the standard’s Document Summary page on
1
This test method is under the jurisdiction of ASTM Committee B02 on the ASTM website.
3
Nonferrous Metals and Alloys and is the direct responsibility of Subcommittee King, W. H. Jr., Analytical Chemistry, Vol 36, 1964, p. 173.
4
B02.11 on Electrical Contact Test Methods. Karmarkar,K.H.andGuilbaut,G.G., Analytical ChemistryActa,Vol75,1975,
Current edition approved Oct. 1, 2010. Published October 2010. Originally p. 111.
5
approved in 1997. Last previous edition approved in 2005 as B808 – 05. DOI: Lu, C. and Czanderna,A.W. Eds., Applications of Piezoelectric Quartz Crystal
10.1520/B0808-10. Microbalances, Elsevier, c1984.
Copyright © ASTM International, 100 Barr Harbor Drive, PO Box C700, West Conshohocken, PA 19428-2959. United States
1
---------------------- Page
...
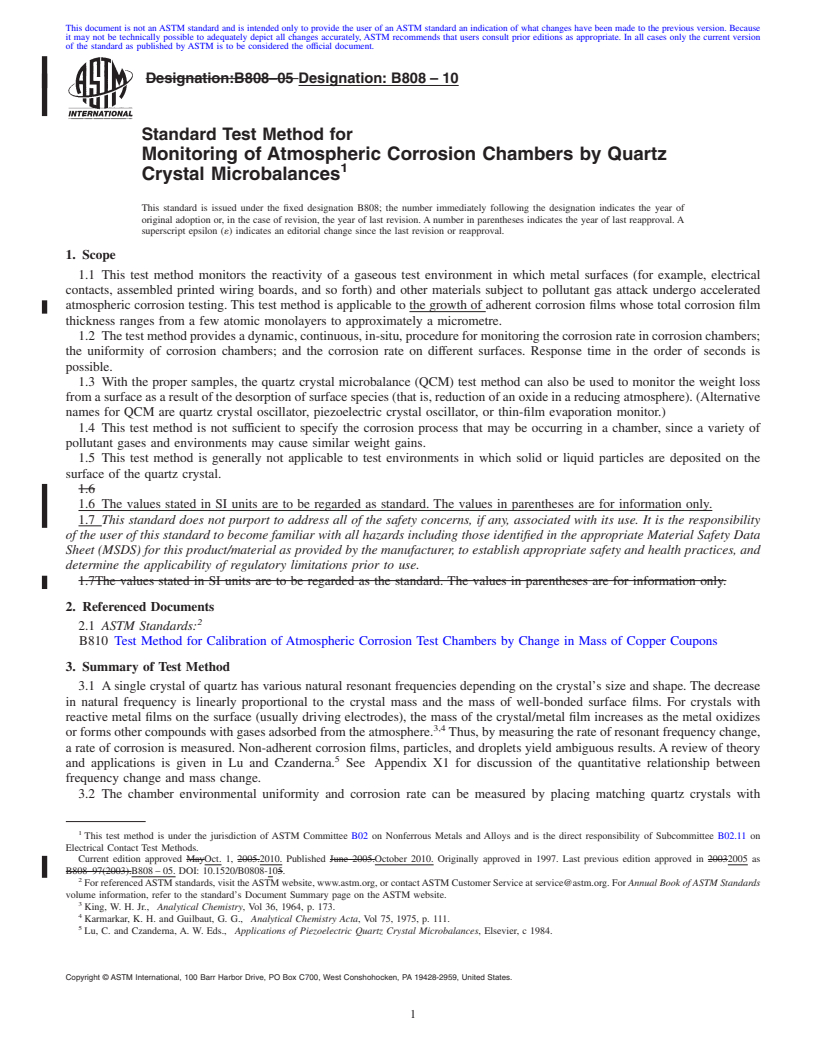
This document is not anASTM standard and is intended only to provide the user of anASTM standard an indication of what changes have been made to the previous version. Because
it may not be technically possible to adequately depict all changes accurately, ASTM recommends that users consult prior editions as appropriate. In all cases only the current version
of the standard as published by ASTM is to be considered the official document.
Designation:B808–05 Designation:B808–10
Standard Test Method for
Monitoring of Atmospheric Corrosion Chambers by Quartz
1
Crystal Microbalances
This standard is issued under the fixed designation B808; the number immediately following the designation indicates the year of
original adoption or, in the case of revision, the year of last revision. A number in parentheses indicates the year of last reapproval. A
superscript epsilon (´) indicates an editorial change since the last revision or reapproval.
1. Scope
1.1 This test method monitors the reactivity of a gaseous test environment in which metal surfaces (for example, electrical
contacts, assembled printed wiring boards, and so forth) and other materials subject to pollutant gas attack undergo accelerated
atmospheric corrosion testing. This test method is applicable to the growth of adherent corrosion films whose total corrosion film
thickness ranges from a few atomic monolayers to approximately a micrometre.
1.2 Thetestmethodprovidesadynamic,continuous,in-situ,procedureformonitoringthecorrosionrateincorrosionchambers;
the uniformity of corrosion chambers; and the corrosion rate on different surfaces. Response time in the order of seconds is
possible.
1.3 With the proper samples, the quartz crystal microbalance (QCM) test method can also be used to monitor the weight loss
fromasurfaceasaresultofthedesorptionofsurfacespecies(thatis,reductionofanoxideinareducingatmosphere).(Alternative
names for QCM are quartz crystal oscillator, piezoelectric crystal oscillator, or thin-film evaporation monitor.)
1.4 This test method is not sufficient to specify the corrosion process that may be occurring in a chamber, since a variety of
pollutant gases and environments may cause similar weight gains.
1.5 This test method is generally not applicable to test environments in which solid or liquid particles are deposited on the
surface of the quartz crystal.
1.6
1.6 The values stated in SI units are to be regarded as standard. The values in parentheses are for information only.
1.7 This standard does not purport to address all of the safety concerns, if any, associated with its use. It is the responsibility
of the user of this standard to become familiar with all hazards including those identified in the appropriate Material Safety Data
Sheet (MSDS) for this product/material as provided by the manufacturer, to establish appropriate safety and health practices, and
determine the applicability of regulatory limitations prior to use.
1.7The values stated in SI units are to be regarded as the standard. The values in parentheses are for information only.
2. Referenced Documents
2
2.1 ASTM Standards:
B810 Test Method for Calibration of Atmospheric Corrosion Test Chambers by Change in Mass of Copper Coupons
3. Summary of Test Method
3.1 Asingle crystal of quartz has various natural resonant frequencies depending on the crystal’s size and shape. The decrease
in natural frequency is linearly proportional to the crystal mass and the mass of well-bonded surface films. For crystals with
reactive metal films on the surface (usually driving electrodes), the mass of the crystal/metal film increases as the metal oxidizes
3,4
or forms other compounds with gases adsorbed from the atmosphere. Thus, by measuring the rate of resonant frequency change,
a rate of corrosion is measured. Non-adherent corrosion films, particles, and droplets yield ambiguous results.Areview of theory
5
and applications is given in Lu and Czanderna. See Appendix X1 for discussion of the quantitative relationship between
frequency change and mass change.
3.2 The chamber environmental uniformity and corrosion rate can be measured by placing matching quartz crystals with
1
This test method is under the jurisdiction of ASTM Committee B02 on Nonferrous Metals and Alloys and is the direct responsibility of Subcommittee B02.11 on
Electrical Contact Test Methods.
Current edition approved MayOct. 1, 2005.2010. Published June 2005.October 2010. Originally approved in 1997. Last previous edition approved in 20032005 as
B808–97(2003).B808 – 05. DOI: 10.1520/B0808-105.
2
For referencedASTM standards, visit theASTM website, www.astm.org, or contactASTM Customer Service at service@astm.org. For Annual Book of ASTM Standards
volume information, refer to the standard’s Document Summary page on the ASTM website.
3
King, W. H. Jr., Analytical Chemistry, Vol 36, 1964, p. 173.
4
Karmarkar, K. H. and Guilbaut, G. G., Analytical Chemistry Acta, Vol 75, 1975, p. 111.
5
Lu, C. and Czanderna, A. W. Eds., Applications of Pie
...


Questions, Comments and Discussion
Ask us and Technical Secretary will try to provide an answer. You can facilitate discussion about the standard in here.