ASTM B533-85(2019)
(Test Method)Standard Test Method for Peel Strength of Metal Electroplated Plastics
Standard Test Method for Peel Strength of Metal Electroplated Plastics
SIGNIFICANCE AND USE
4.1 The force required to separate a metallic coating from its plastic substrate is determined by the interaction of several factors: the generic type and quality of the plastic molding compound, the molding process, the process used to prepare the substrate for electroplating, and the thickness and mechanical properties of the metallic coating. By holding all others constant, the effect on the peel strength by a change in any one of the above listed factors may be noted. Routine use of the test in a production operation can detect changes in any of the above listed factors.
4.2 The peel test values do not directly correlate to the adhesion of metallic coatings on the actual product.
4.3 When the peel test is used to monitor the coating process, a large number of plaques should be molded at one time from a same batch of molding compound used in the production moldings to minimize the effects on the measurements of variations in the plastic and the molding process.
SCOPE
1.1 This test method gives two procedures for measuring the force required to peel a metallic coating from a plastic substrate.2 One procedure (Procedure A) utilizes a universal testing machine and yields reproducible measurements that can be used in research and development, in quality control and product acceptance, in the description of material and process characteristics, and in communications. The other procedure (Procedure B) utilizes an indicating force instrument that is less accurate and that is sensitive to operator technique. It is suitable for process control use.
1.2 The tests are performed on standard molded plaques. This method does not cover the testing of production electroplated parts.
1.3 The tests do not necessarily measure the adhesion of a metallic coating to a plastic substrate because in properly prepared test specimens, separation usually occurs in the plastic just beneath the coating-substrate interface rather than at the interface. It does, however, reflect the degree that the process is controlled.
1.4 This standard does not purport to address all of the safety concerns, if any, associated with its use. It is the responsibility of the user of this standard to establish appropriate safety, health, and environmental practices and determine the applicability of regulatory limitations prior to use.
1.5 This international standard was developed in accordance with internationally recognized principles on standardization established in the Decision on Principles for the Development of International Standards, Guides and Recommendations issued by the World Trade Organization Technical Barriers to Trade (TBT) Committee.
General Information
Relations
Buy Standard
Standards Content (Sample)
This international standard was developed in accordance with internationally recognized principles on standardization established in the Decision on Principles for the
Development of International Standards, Guides and Recommendations issued by the World Trade Organization Technical Barriers to Trade (TBT) Committee.
Designation: B533 − 85 (Reapproved 2019) Endorsed by American
Electroplaters’ Society
Endorsed by National
Association of Metal Finishers
Standard Test Method for
Peel Strength of Metal Electroplated Plastics
This standard is issued under the fixed designation B533; the number immediately following the designation indicates the year of
original adoption or, in the case of revision, the year of last revision. A number in parentheses indicates the year of last reapproval. A
superscript epsilon (´) indicates an editorial change since the last revision or reapproval.
1. Scope 2. Referenced Document
2.1 ASTM Standards:
1.1 Thistestmethodgivestwoproceduresformeasuringthe
E4 Practices for Force Verification of Testing Machines
force required to peel a metallic coating from a plastic
substrate. One procedure (Procedure A) utilizes a universal
3. Summary of Test Method
testingmachineandyieldsreproduciblemeasurementsthatcan
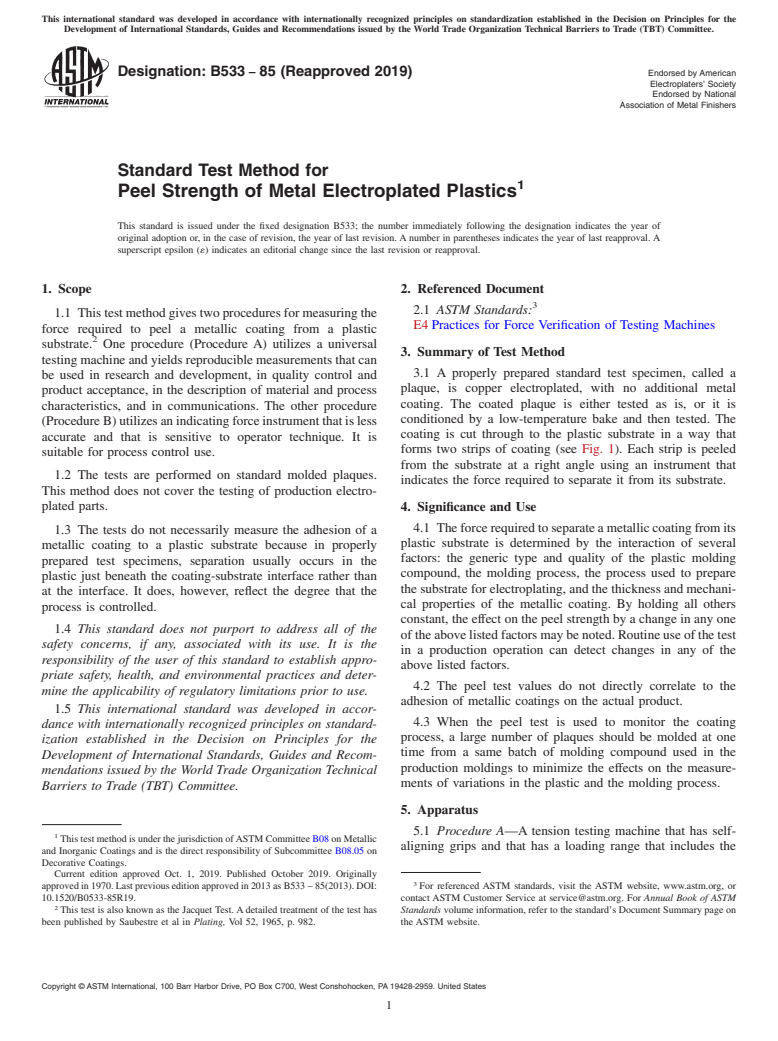
3.1 A properly prepared standard test specimen, called a
be used in research and development, in quality control and
plaque, is copper electroplated, with no additional metal
product acceptance, in the description of material and process
coating. The coated plaque is either tested as is, or it is
characteristics, and in communications. The other procedure
conditioned by a low-temperature bake and then tested. The
(ProcedureB)utilizesanindicatingforceinstrumentthatisless
coating is cut through to the plastic substrate in a way that
accurate and that is sensitive to operator technique. It is
forms two strips of coating (see Fig. 1). Each strip is peeled
suitable for process control use.
from the substrate at a right angle using an instrument that
1.2 The tests are performed on standard molded plaques.
indicates the force required to separate it from its substrate.
This method does not cover the testing of production electro-
plated parts. 4. Significance and Use
4.1 Theforcerequiredtoseparateametalliccoatingfromits
1.3 The tests do not necessarily measure the adhesion of a
plastic substrate is determined by the interaction of several
metallic coating to a plastic substrate because in properly
factors: the generic type and quality of the plastic molding
prepared test specimens, separation usually occurs in the
compound, the molding process, the process used to prepare
plastic just beneath the coating-substrate interface rather than
the substrate for electroplating, and the thickness and mechani-
at the interface. It does, however, reflect the degree that the
cal properties of the metallic coating. By holding all others
process is controlled.
constant, the effect on the peel strength by a change in any one
1.4 This standard does not purport to address all of the
oftheabovelistedfactorsmaybenoted.Routineuseofthetest
safety concerns, if any, associated with its use. It is the
in a production operation can detect changes in any of the
responsibility of the user of this standard to establish appro-
above listed factors.
priate safety, health, and environmental practices and deter-
4.2 The peel test values do not directly correlate to the
mine the applicability of regulatory limitations prior to use.
adhesion of metallic coatings on the actual product.
1.5 This international standard was developed in accor-
4.3 When the peel test is used to monitor the coating
dance with internationally recognized principles on standard-
process, a large number of plaques should be molded at one
ization established in the Decision on Principles for the
time from a same batch of molding compound used in the
Development of International Standards, Guides and Recom-
production moldings to minimize the effects on the measure-
mendations issued by the World Trade Organization Technical
ments of variations in the plastic and the molding process.
Barriers to Trade (TBT) Committee.
5. Apparatus
5.1 Procedure A—A tension testing machine that has self-
ThistestmethodisunderthejurisdictionofASTMCommitteeB08onMetallic
aligning grips and that has a loading range that includes the
and Inorganic Coatings and is the direct responsibility of Subcommittee B08.05 on
Decorative Coatings.
Current edition approved Oct. 1, 2019. Published October 2019. Originally
approvedin1970.Lastpreviouseditionapprovedin2013asB533 – 85(2013).DOI: For referenced ASTM standards, visit the ASTM website, www.astm.org, or
10.1520/B0533-85R19. contact ASTM Customer Service at service@astm.org. For Annual Book of ASTM
This test is also known as the Jacquet Test.Adetailed treatment of the test has Standards volume information, refer to the standard’s Document Summary page on
been published by Saubestre et al in Plating, Vol 52, 1965, p. 982. the ASTM website.
Copyright © ASTM International, 100 Barr Harbor Drive, PO Box C700, West Conshohocken, PA 19428-2959. United States
B533 − 85 (2019)
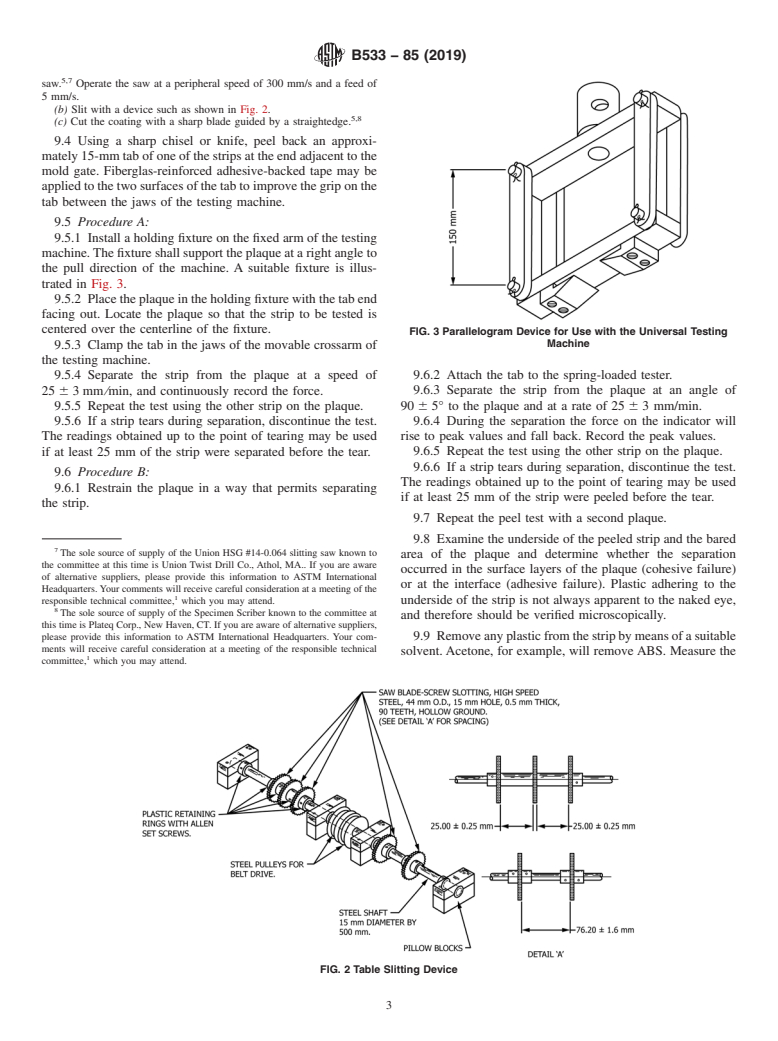
FIG. 1 Plaque
forces to be measured, 5 to 200 N, shall be used to separate the free circulation of air around all surfaces of the plaques.Allow
coatingfromthesubstrate,andmeasuretheforcerequired.The the conditioned plaques to cool to room temperature and then
machine shall meet the verification requirements of Practices test them within 1 h. Test the plaques that do not require
4,5
E4. The speed of separation of the crossarms of the machine conditioning within 30 to 60 min following the coating
shall be adjusted to give a separation rate of 25 6 3 mm/min. process.
The machine shall automatically and continuously record on a
NOTE 1—The separation strength of an unconditioned plaque will
chart the load on one coordinate and the amount of peel on the
change with time. The separation strength of a conditioned plaque may
other coordinate. The amount of peel may be obtained from
change with time after conditioning.
calculation, using a known chart speed.
9. Procedure
5.2 Procedure B—A spring-loaded, force-indicating instru-
9.1 Moldtherequirednumberofplaquesusingthespecified
ment with a measurement range that includes the force to be
molding compound and molding procedure.
measured, 5 to 200 N, shall be used to measure the force
required to separate the coating. The indicated force shall be
NOTE 2—When the test is used as a control of the coating process,
accurate to 610 %.
commercially prepared plaques can be used.
9.2 Clean, activate, and electroplate the plaques as speci-
6. Sampling
fied. The thickness of the metallic coating in the test area (see
6.1 A sampling procedure is not applicable to this test
Fig. 1) shall be 40 6 4 µm.
method.
NOTE 3—It is necessary to have a ductile copper coating to perform this
test. The thickness and uniformity of thickness of the metallic coating
7. Test Specimen
directly influence the peel strength; therefore, in order to standardize this
7.1 Perform the test using a flat, molded plastic plaque such
test, the coating thickness is specified. If a different coating thickness is
as shown in Fig. 1. Plaque dimensions may vary up to 610 % used, the results will not be comparable to other test results. It may be
necessary to use shielding during plating to obtain the required coating
provided that the edges of slit peel strips are not closer than
thickness uniformity.
11 mm from any plaque edge.
9.3 Cut through the coating along the dashed lines shown in
8. Conditioning
Fig. 1, and also along the centerline so as to produce two
parallel strips of coating that are 25.00 6 0.25 mm wide and
8.1 Condition the electroplated plaques requiring condition-
approximately 75 mm long.
ing by bak
...
NOTICE: This standard has either been superseded and replaced by a new version or withdrawn.
Contact ASTM International (www.astm.org) for the latest information
Designation: B533 − 85 (Reapproved 2019) Endorsed by American
Electroplaters’ Society
Endorsed by National
Association of Metal Finishers
Standard Test Method for
Peel Strength of Metal Electroplated Plastics
This standard is issued under the fixed designation B533; the number immediately following the designation indicates the year of
original adoption or, in the case of revision, the year of last revision. A number in parentheses indicates the year of last reapproval. A
superscript epsilon (´) indicates an editorial change since the last revision or reapproval.
1. Scope 2. Referenced Document
2.1 ASTM Standards:
1.1 This test method gives two procedures for measuring the
E4 Practices for Force Verification of Testing Machines
force required to peel a metallic coating from a plastic
substrate. One procedure (Procedure A) utilizes a universal
3. Summary of Test Method
testing machine and yields reproducible measurements that can
3.1 A properly prepared standard test specimen, called a
be used in research and development, in quality control and
plaque, is copper electroplated, with no additional metal
product acceptance, in the description of material and process
coating. The coated plaque is either tested as is, or it is
characteristics, and in communications. The other procedure
conditioned by a low-temperature bake and then tested. The
(Procedure B) utilizes an indicating force instrument that is less
coating is cut through to the plastic substrate in a way that
accurate and that is sensitive to operator technique. It is
forms two strips of coating (see Fig. 1). Each strip is peeled
suitable for process control use.
from the substrate at a right angle using an instrument that
1.2 The tests are performed on standard molded plaques.
indicates the force required to separate it from its substrate.
This method does not cover the testing of production electro-
plated parts.
4. Significance and Use
4.1 The force required to separate a metallic coating from its
1.3 The tests do not necessarily measure the adhesion of a
plastic substrate is determined by the interaction of several
metallic coating to a plastic substrate because in properly
factors: the generic type and quality of the plastic molding
prepared test specimens, separation usually occurs in the
compound, the molding process, the process used to prepare
plastic just beneath the coating-substrate interface rather than
the substrate for electroplating, and the thickness and mechani-
at the interface. It does, however, reflect the degree that the
cal properties of the metallic coating. By holding all others
process is controlled.
constant, the effect on the peel strength by a change in any one
1.4 This standard does not purport to address all of the
of the above listed factors may be noted. Routine use of the test
safety concerns, if any, associated with its use. It is the
in a production operation can detect changes in any of the
responsibility of the user of this standard to establish appro-
above listed factors.
priate safety, health, and environmental practices and deter-
4.2 The peel test values do not directly correlate to the
mine the applicability of regulatory limitations prior to use.
adhesion of metallic coatings on the actual product.
1.5 This international standard was developed in accor-
4.3 When the peel test is used to monitor the coating
dance with internationally recognized principles on standard-
process, a large number of plaques should be molded at one
ization established in the Decision on Principles for the
time from a same batch of molding compound used in the
Development of International Standards, Guides and Recom-
production moldings to minimize the effects on the measure-
mendations issued by the World Trade Organization Technical
ments of variations in the plastic and the molding process.
Barriers to Trade (TBT) Committee.
5. Apparatus
5.1 Procedure A—A tension testing machine that has self-
This test method is under the jurisdiction of ASTM Committee B08 on Metallic
aligning grips and that has a loading range that includes the
and Inorganic Coatings and is the direct responsibility of Subcommittee B08.05 on
Decorative Coatings.
Current edition approved Oct. 1, 2019. Published October 2019. Originally
approved in 1970. Last previous edition approved in 2013 as B533 – 85(2013). DOI: For referenced ASTM standards, visit the ASTM website, www.astm.org, or
10.1520/B0533-85R19. contact ASTM Customer Service at service@astm.org. For Annual Book of ASTM
This test is also known as the Jacquet Test. A detailed treatment of the test has Standards volume information, refer to the standard’s Document Summary page on
been published by Saubestre et al in Plating, Vol 52, 1965, p. 982. the ASTM website.
Copyright © ASTM International, 100 Barr Harbor Drive, PO Box C700, West Conshohocken, PA 19428-2959. United States
B533 − 85 (2019)
FIG. 1 Plaque
forces to be measured, 5 to 200 N, shall be used to separate the free circulation of air around all surfaces of the plaques. Allow
coating from the substrate, and measure the force required. The the conditioned plaques to cool to room temperature and then
machine shall meet the verification requirements of Practices test them within 1 h. Test the plaques that do not require
4,5
E4. The speed of separation of the crossarms of the machine conditioning within 30 to 60 min following the coating
shall be adjusted to give a separation rate of 25 6 3 mm/min. process.
The machine shall automatically and continuously record on a
NOTE 1—The separation strength of an unconditioned plaque will
chart the load on one coordinate and the amount of peel on the
change with time. The separation strength of a conditioned plaque may
other coordinate. The amount of peel may be obtained from
change with time after conditioning.
calculation, using a known chart speed.
9. Procedure
5.2 Procedure B—A spring-loaded, force-indicating instru-
9.1 Mold the required number of plaques using the specified
ment with a measurement range that includes the force to be
molding compound and molding procedure.
measured, 5 to 200 N, shall be used to measure the force
required to separate the coating. The indicated force shall be
NOTE 2—When the test is used as a control of the coating process,
accurate to 610 %.
commercially prepared plaques can be used.
9.2 Clean, activate, and electroplate the plaques as speci-
6. Sampling
fied. The thickness of the metallic coating in the test area (see
6.1 A sampling procedure is not applicable to this test
Fig. 1) shall be 40 6 4 µm.
method.
NOTE 3—It is necessary to have a ductile copper coating to perform this
test. The thickness and uniformity of thickness of the metallic coating
7. Test Specimen
directly influence the peel strength; therefore, in order to standardize this
7.1 Perform the test using a flat, molded plastic plaque such
test, the coating thickness is specified. If a different coating thickness is
as shown in Fig. 1. Plaque dimensions may vary up to 610 % used, the results will not be comparable to other test results. It may be
necessary to use shielding during plating to obtain the required coating
provided that the edges of slit peel strips are not closer than
thickness uniformity.
11 mm from any plaque edge.
9.3 Cut through the coating along the dashed lines shown in
8. Conditioning
Fig. 1, and also along the centerline so as to produce two
parallel strips of coating that are 25.00 6 0.25 mm wide and
8.1 Condition the electroplated plaques requiring condition-
approximately 75 mm long.
ing by baking for 1 h in an air-circulating oven operated at
70 6 3 °C. Place the pl
...
This document is not an ASTM standard and is intended only to provide the user of an ASTM standard an indication of what changes have been made to the previous version. Because
it may not be technically possible to adequately depict all changes accurately, ASTM recommends that users consult prior editions as appropriate. In all cases only the current version
of the standard as published by ASTM is to be considered the official document.
Designation: B533 − 85 (Reapproved 2013) B533 − 85 (Reapproved 2019) Endorsed by American
Electroplaters’ Society
Endorsed by National
Association of Metal Finishers
Standard Test Method for
Peel Strength of Metal Electroplated Plastics
This standard is issued under the fixed designation B533; the number immediately following the designation indicates the year of
original adoption or, in the case of revision, the year of last revision. A number in parentheses indicates the year of last reapproval. A
superscript epsilon (´) indicates an editorial change since the last revision or reapproval.
1. Scope
1.1 This test method gives two procedures for measuring the force required to peel a metallic coating from a plastic substrate.
One procedure (Procedure A) utilizes a universal testing machine and yields reproducible measurements that can be used in
research and development, in quality control and product acceptance, in the description of material and process characteristics, and
in communications. The other procedure (Procedure B) utilizes an indicating force instrument that is less accurate and that is
sensitive to operator technique. It is suitable for process control use.
1.2 The tests are performed on standard molded plaques. This method does not cover the testing of production electroplated
parts.
1.3 The tests do not necessarily measure the adhesion of a metallic coating to a plastic substrate because in properly prepared
test specimens, separation usually occurs in the plastic just beneath the coating-substrate interface rather than at the interface. It
does, however, reflect the degree that the process is controlled.
1.4 This standard does not purport to address all of the safety concerns, if any, associated with its use. It is the responsibility
of the user of this standard to establish appropriate safety and health practices and determine the applicability of regulatory
limitations prior to use.
1.4 This standard does not purport to address all of the safety concerns, if any, associated with its use. It is the responsibility
of the user of this standard to establish appropriate safety, health, and environmental practices and determine the applicability of
regulatory limitations prior to use.
1.5 This international standard was developed in accordance with internationally recognized principles on standardization
established in the Decision on Principles for the Development of International Standards, Guides and Recommendations issued
by the World Trade Organization Technical Barriers to Trade (TBT) Committee.
2. Referenced Document
2.1 ASTM Standards:
E4 Practices for Force Verification of Testing Machines
3. Summary of Test Method
3.1 A properly prepared standard test specimen, called a plaque, is copper electroplated, with no additional metal coating. The
coated plaque is either tested as is, or it is conditioned by a low-temperature bake and then tested. The coating is cut through to
the plastic substrate in a way that forms two strips of coating (see Fig. 1). Each strip is peeled from the substrate at a right angle
using an instrument that indicates the force required to separate it from its substrate.
4. Significance and Use
4.1 The force required to separate a metallic coating from its plastic substrate is determined by the interaction of several factors:
the generic type and quality of the plastic molding compound, the molding process, the process used to prepare the substrate for
This test method is under the jurisdiction of ASTM Committee B08 on Metallic and Inorganic Coatings and is the direct responsibility of Subcommittee B08.05 on
Decorative Coatings.
Current edition approved Dec. 1, 2013Oct. 1, 2019. Published December 2013October 2019. Originally approved in 1970. Last previous edition approved in 20092013
as B533 – 85(2009).(2013). DOI: 10.1520/B0533-85R13.10.1520/B0533-85R19.
This test is also known as the Jacquet Test. A detailed treatment of the test has been published by Saubestre et al in Plating, Vol 52, 1965, p. 982.
For referenced ASTM standards, visit the ASTM website, www.astm.org, or contact ASTM Customer Service at service@astm.org. For Annual Book of ASTM Standards
volume information, refer to the standard’s Document Summary page on the ASTM website.
Copyright © ASTM International, 100 Barr Harbor Drive, PO Box C700, West Conshohocken, PA 19428-2959. United States
B533 − 85 (2019)
FIG. 1 Plaque
electroplating, and the thickness and mechanical properties of the metallic coating. By holding all others constant, the effect on
the peel strength by a change in any one of the above listed factors may be noted. Routine use of the test in a production operation
can detect changes in any of the above listed factors.
4.2 The peel test values do not directly correlate to the adhesion of metallic coatings on the actual product.
4.3 When the peel test is used to monitor the coating process, a large number of plaques should be molded at one time from
a same batch of molding compound used in the production moldings to minimize the effects on the measurements of variations
in the plastic and the molding process.
5. Apparatus
5.1 Procedure A—A tension testing machine that has self-aligning grips and that has a loading range that includes the forces
to be measured, 5 to 200 N, shall be used to separate the coating from the substrate, and measure the force required. The machine
4,5
shall meet the verification requirements of Practices E4. The speed of separation of the crossarms of the machine shall be
adjusted to give a separation rate of 25 6 3 mm/min. The machine shall automatically and continuously record on a chart the load
on one coordinate and the amount of peel on the other coordinate. The amount of peel may be obtained from calculation, using
a known chart speed.
5.2 Procedure B—A spring-loaded, force-indicating instrument with a measurement range that includes the force to be
measured, 5 to 200 N, shall be used to measure the force required to separate the coating. The indicated force shall be accurate
to 610 %.
6. Sampling
6.1 A sampling procedure is not applicable to this test method.
7. Test Specimen
7.1 Perform the test using a flat, molded plastic plaque such as shown in Fig. 1. Plaque dimensions may vary up to 610 %
provided that the edges of slit peel strips are not closer than 11 mm 11 mm from any plaque edge.
8. Conditioning
8.1 Condition the electroplated plaques requiring conditioning by baking for 1 h in an air-circulating oven operated at
70 6 3°C.70 6 3 °C. Place the plaques in the oven in a way that permits free circulation of air around all surfaces of the plaques.
The sole source of supply of the Instron universal testing machine known to the committee at this time is Instron Corp., Canton, MA.
If you are aware of alternative suppliers, please provide this information to ASTM International Headquarters. Your comments will receive careful consideration at a
meeting of the responsible technical committee committee, , which you may attend.
B533 − 85 (2019)
Allow the conditioned plaques to cool to room temperature and then test them within 1 h. Test the plaques that do not require
conditioning within 30 to 60 min following the coating process.
NOTE 1—The separation strength of an unconditioned plaque will change with time. The separation strength of a conditioned plaque may change with
time after conditioning.
9. Procedure
9.1 Mold the required number of plaques using the specified molding compound and molding procedure.
NOTE 2—When the test is used as a control of the coating process, commercially prepared plaques can be used.
9.2 Clean, activate, and electroplate the plaques a
...



Questions, Comments and Discussion
Ask us and Technical Secretary will try to provide an answer. You can facilitate discussion about the standard in here.