ASTM D3489-11
(Test Method)Standard Test Methods for Microcellular Urethane Materials
Standard Test Methods for Microcellular Urethane Materials
SIGNIFICANCE AND USE
Tests made on materials herein prescribed can be of considerable value in comparing physical properties of different materials, in controlling manufacturing processes, and as a basis for writing specifications.
Before proceeding with these test methods, reference should be made to the specification of the material being tested. Any test specimen preparation, conditioning, or dimensions, or combination thereof, and testing parameters covered in the materials specification shall take precedence over those mentioned in these test methods. If there are no material specifications, then the default conditions apply.
SCOPE
1.1 These test methods cover the preparation of a standard-size test sample and basic tests for physical property determinations of microcellular urethane materials.
1.2 The values stated in SI units are to be regarded as standard. The values given in parentheses are for information only. This standard does not purport to address all of the safety concerns, if any, associated with its use. It is the responsibility of the user of this standard to establish appropriate safety and health practices and determine the applicability of regulatory limitations prior to use. Note 1&8212;There is no known ISO equivalent to this standard.
General Information
Relations
Buy Standard
Standards Content (Sample)
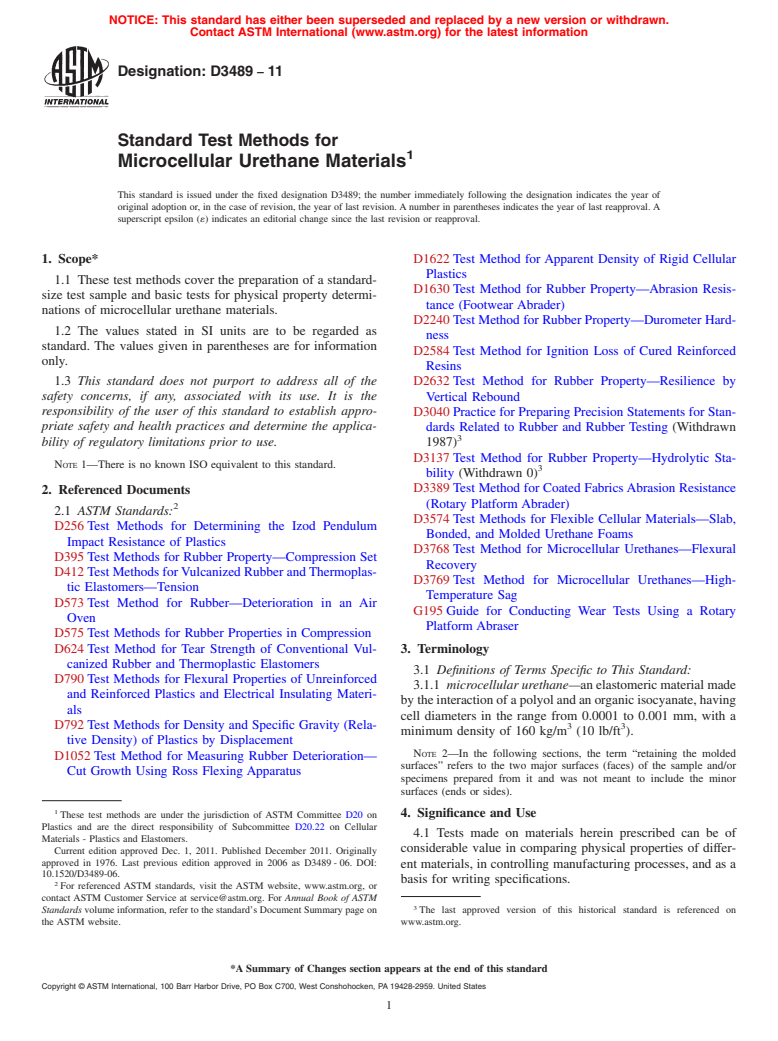
NOTICE: This standard has either been superseded and replaced by a new version or withdrawn.
Contact ASTM International (www.astm.org) for the latest information
Designation: D3489 − 11
Standard Test Methods for
1
Microcellular Urethane Materials
This standard is issued under the fixed designation D3489; the number immediately following the designation indicates the year of
original adoption or, in the case of revision, the year of last revision.Anumber in parentheses indicates the year of last reapproval.A
superscript epsilon (´) indicates an editorial change since the last revision or reapproval.
1. Scope* D1622Test Method for Apparent Density of Rigid Cellular
Plastics
1.1 These test methods cover the preparation of a standard-
D1630Test Method for Rubber Property—Abrasion Resis-
size test sample and basic tests for physical property determi-
tance (Footwear Abrader)
nations of microcellular urethane materials.
D2240Test Method for Rubber Property—Durometer Hard-
1.2 The values stated in SI units are to be regarded as
ness
standard. The values given in parentheses are for information
D2584Test Method for Ignition Loss of Cured Reinforced
only.
Resins
1.3 This standard does not purport to address all of the
D2632Test Method for Rubber Property—Resilience by
safety concerns, if any, associated with its use. It is the Vertical Rebound
responsibility of the user of this standard to establish appro-
D3040Practice for Preparing Precision Statements for Stan-
priate safety and health practices and determine the applica- dards Related to Rubber and Rubber Testing (Withdrawn
3
bility of regulatory limitations prior to use.
1987)
D3137Test Method for Rubber Property—Hydrolytic Sta-
NOTE 1—There is no known ISO equivalent to this standard.
3
bility (Withdrawn 0)
D3389Test Method for Coated FabricsAbrasion Resistance
2. Referenced Documents
(Rotary Platform Abrader)
2
2.1 ASTM Standards:
D3574Test Methods for Flexible Cellular Materials—Slab,
D256Test Methods for Determining the Izod Pendulum
Bonded, and Molded Urethane Foams
Impact Resistance of Plastics
D3768Test Method for Microcellular Urethanes—Flexural
D395Test Methods for Rubber Property—Compression Set
Recovery
D412TestMethodsforVulcanizedRubberandThermoplas-
D3769Test Method for Microcellular Urethanes—High-
tic Elastomers—Tension
Temperature Sag
D573Test Method for Rubber—Deterioration in an Air
G195Guide for Conducting Wear Tests Using a Rotary
Oven
Platform Abraser
D575Test Methods for Rubber Properties in Compression
D624Test Method for Tear Strength of Conventional Vul-
3. Terminology
canized Rubber and Thermoplastic Elastomers
3.1 Definitions of Terms Specific to This Standard:
D790Test Methods for Flexural Properties of Unreinforced
3.1.1 microcellular urethane—anelastomericmaterialmade
and Reinforced Plastics and Electrical Insulating Materi-
bytheinteractionofapolyolandanorganicisocyanate,having
als
cell diameters in the range from 0.0001 to 0.001 mm, with a
D792Test Methods for Density and Specific Gravity (Rela- 3 3
minimum density of 160 kg/m (10 lb/ft ).
tive Density) of Plastics by Displacement
NOTE 2—In the following sections, the term “retaining the molded
D1052Test Method for Measuring Rubber Deterioration—
surfaces” refers to the two major surfaces (faces) of the sample and/or
Cut Growth Using Ross Flexing Apparatus
specimens prepared from it and was not meant to include the minor
surfaces (ends or sides).
1
These test methods are under the jurisdiction of ASTM Committee D20 on 4. Significance and Use
Plastics and are the direct responsibility of Subcommittee D20.22 on Cellular
4.1 Tests made on materials herein prescribed can be of
Materials - Plastics and Elastomers.
considerable value in comparing physical properties of differ-
Current edition approved Dec. 1, 2011. Published December 2011. Originally
approved in 1976. Last previous edition approved in 2006 as D3489-06. DOI:
ent materials, in controlling manufacturing processes, and as a
10.1520/D3489-06.
basis for writing specifications.
2
For referenced ASTM standards, visit the ASTM website, www.astm.org, or
contact ASTM Customer Service at service@astm.org. For Annual Book of ASTM
3
Standards volume information, refer to the standard’s Document Summary page on The last approved version of this historical standard is referenced on
the ASTM website. www.astm.org.
*A Summary of Changes section appears at the end of this standard
Copyright © ASTM International, 100 Barr Harbor Drive, PO Box C700, West Conshohocken, PA 19428-2959. United States
1
---------------------- Page: 1 ----------------------
D3489 − 11
4.2 Before proceeding with these test methods, reference 8. Tear
shouldbemadetothespecificationofthematerialbeingtested.
8.1 Using Die C, determine the tear strength in accordance
Anytestspecimenpreparation,conditioning,ordimensions,or
with Test Method D624. Cut the specimen from the 3.15-mm
combination thereof, and testing parameters covered in the
1
( ⁄8-in.) sample, retaining the
...
This document is not anASTM standard and is intended only to provide the user of anASTM standard an indication of what changes have been made to the previous version. Because
it may not be technically possible to adequately depict all changes accurately, ASTM recommends that users consult prior editions as appropriate. In all cases only the current version
of the standard as published by ASTM is to be considered the official document.
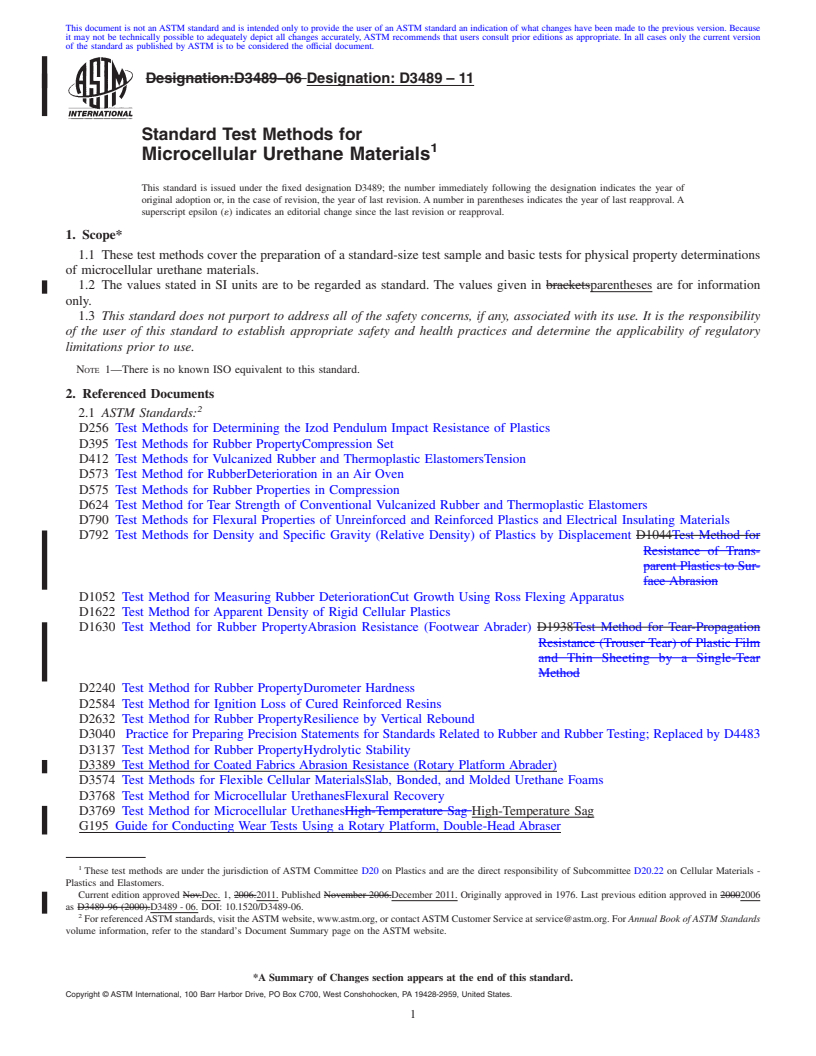
Designation:D3489–06 Designation:D3489–11
Standard Test Methods for
1
Microcellular Urethane Materials
This standard is issued under the fixed designation D3489; the number immediately following the designation indicates the year of
original adoption or, in the case of revision, the year of last revision.Anumber in parentheses indicates the year of last reapproval.A
superscript epsilon (´) indicates an editorial change since the last revision or reapproval.
1. Scope*
1.1 These test methods cover the preparation of a standard-size test sample and basic tests for physical property determinations
of microcellular urethane materials.
1.2 The values stated in SI units are to be regarded as standard. The values given in bracketsparentheses are for information
only.
1.3 This standard does not purport to address all of the safety concerns, if any, associated with its use. It is the responsibility
of the user of this standard to establish appropriate safety and health practices and determine the applicability of regulatory
limitations prior to use.
NOTE 1—There is no known ISO equivalent to this standard.
2. Referenced Documents
2
2.1 ASTM Standards:
D256 Test Methods for Determining the Izod Pendulum Impact Resistance of Plastics
D395 Test Methods for Rubber PropertyCompression Set
D412 Test Methods for Vulcanized Rubber and Thermoplastic ElastomersTension
D573 Test Method for RubberDeterioration in an Air Oven
D575 Test Methods for Rubber Properties in Compression
D624 Test Method for Tear Strength of Conventional Vulcanized Rubber and Thermoplastic Elastomers
D790 Test Methods for Flexural Properties of Unreinforced and Reinforced Plastics and Electrical Insulating Materials
D792 Test Methods for Density and Specific Gravity (Relative Density) of Plastics by Displacement D1044Test Method for
Resistance of Trans-
parentPlasticstoSur-
face Abrasion
D1052 Test Method for Measuring Rubber DeteriorationCut Growth Using Ross Flexing Apparatus
D1622 Test Method for Apparent Density of Rigid Cellular Plastics
D1630 Test Method for Rubber PropertyAbrasion Resistance (Footwear Abrader) D1938Test Method for Tear-Propagation
Resistance (Trouser Tear) of Plastic Film
and Thin Sheeting by a Single-Tear
Method
D2240 Test Method for Rubber PropertyDurometer Hardness
D2584 Test Method for Ignition Loss of Cured Reinforced Resins
D2632 Test Method for Rubber PropertyResilience by Vertical Rebound
D3040 Practice for Preparing Precision Statements for Standards Related to Rubber and Rubber Testing; Replaced by D4483
D3137 Test Method for Rubber PropertyHydrolytic Stability
D3389 Test Method for Coated Fabrics Abrasion Resistance (Rotary Platform Abrader)
D3574 Test Methods for Flexible Cellular MaterialsSlab, Bonded, and Molded Urethane Foams
D3768 Test Method for Microcellular UrethanesFlexural Recovery
D3769 Test Method for Microcellular UrethanesHigh-Temperature Sag High-Temperature Sag
G195 Guide for Conducting Wear Tests Using a Rotary Platform, Double-Head Abraser
1
These test methods are under the jurisdiction of ASTM Committee D20 on Plastics and are the direct responsibility of Subcommittee D20.22 on Cellular Materials -
Plastics and Elastomers.
Current edition approved Nov.Dec. 1, 2006.2011. Published November 2006.December 2011. Originally approved in 1976. Last previous edition approved in 20002006
as D3489-96 (2000).D3489-06. DOI: 10.1520/D3489-06.
2
ForreferencedASTMstandards,visittheASTMwebsite,www.astm.org,orcontactASTMCustomerServiceatservice@astm.org.For Annual Book of ASTM Standards
volume information, refer to the standard’s Document Summary page on the ASTM website.
*A Summary of Changes section appears at the end of this standard.
Copyright © ASTM International, 100 Barr Harbor Drive, PO Box C700, West Conshohocken, PA 19428-2959, United States.
1
---------------------- Page: 1 ----------------------
D3489–11
3. Terminology
3.1 DescriptionDefinitions of Terms Specific to This Standard:
3.1.1 microcellular urethane—an elastomeric material made by the interaction of a polyol and an organic isocyanate, having
3
3 (10 lb/ft
cell diameters in the range from 0.0001 to 0.001 mm, with a minimum density of 160 kg/m [10 lb/ft ]. ).
NOTE 2—In the following sections, the term “retaining the molded surfaces” refers to the two major surfaces (faces) of the sample and/or specimens
prepared from it and was not meant to include the minor surfaces (ends or sides).
4. Significance and Use
4.1 Tests made on materials herein prescribed can be of considerable value in comparing physical properties of d
...


Questions, Comments and Discussion
Ask us and Technical Secretary will try to provide an answer. You can facilitate discussion about the standard in here.