ASTM E797/E797M-10
(Practice)Standard Practice for Measuring Thickness by Manual Ultrasonic Pulse-Echo Contact Method
Standard Practice for Measuring Thickness by Manual Ultrasonic Pulse-Echo Contact Method
SIGNIFICANCE AND USE
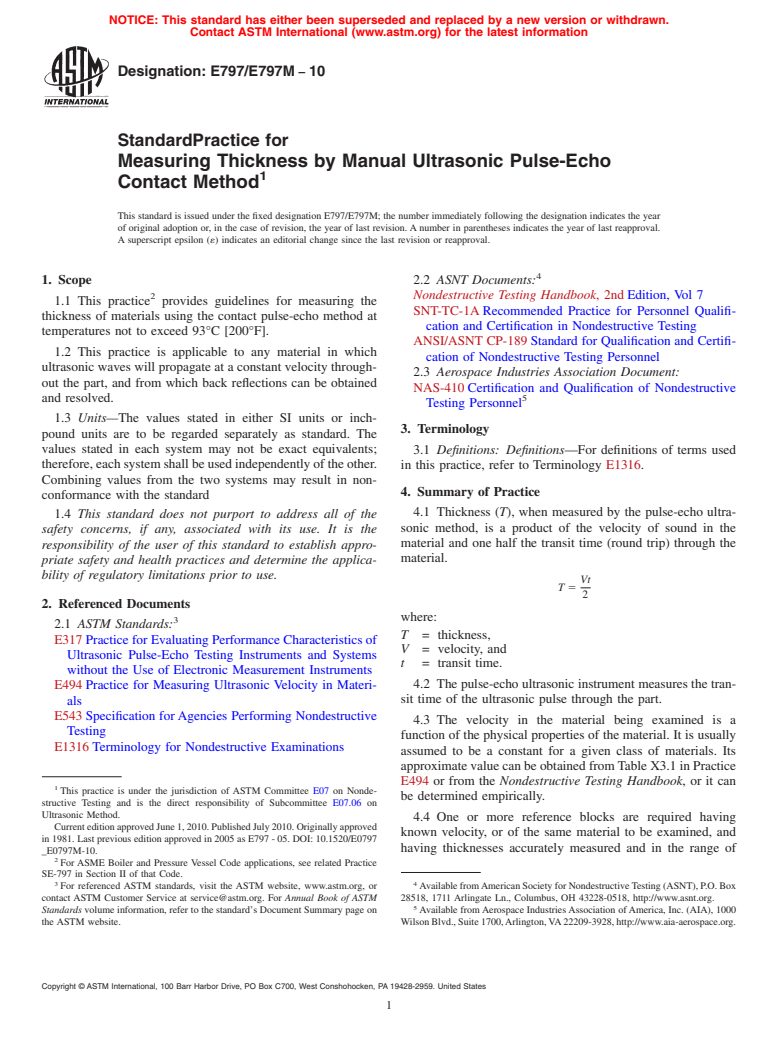
The techniques described provide indirect measurement of thickness of sections of materials not exceeding temperatures of 93°C (200°F). Measurements are made from one side of the object, without requiring access to the rear surface.
Ultrasonic thickness measurements are used extensively on basic shapes and products of many materials, on precision machined parts, and to determine wall thinning in process equipment caused by corrosion and erosion.
Recommendations for determining the capabilities and limitations of ultrasonic thickness gages for specific applications can be found in the cited references. ,
SCOPE
1.1 This practice provides guidelines for measuring the thickness of materials using the contact pulse-echo method at temperatures not to exceed 93°C (200°F).
1.2 This practice is applicable to any material in which ultrasonic waves will propagate at a constant velocity throughout the part, and from which back reflections can be obtained and resolved.
1.3 Units—The values stated in either SI units or inch-pound units are to be regarded separately as standard. The values stated in each system may not be exact equivalents; therefore, each system shall be used independently of the other. Combining values from the two systems may result in non-conformance with the standard
1.4 This standard does not purport to address all of the safety concerns, if any, associated with its use. It is the responsibility of the user of this standard to establish appropriate safety and health practices and determine the applicability of regulatory limitations prior to use.
General Information
Relations
Buy Standard
Standards Content (Sample)
NOTICE: This standard has either been superseded and replaced by a new version or withdrawn.
Contact ASTM International (www.astm.org) for the latest information
Designation: E797/E797M − 10
StandardPractice for
Measuring Thickness by Manual Ultrasonic Pulse-Echo
1
Contact Method
This standard is issued under the fixed designation E797/E797M; the number immediately following the designation indicates the year
of original adoption or, in the case of revision, the year of last revision. A number in parentheses indicates the year of last reapproval.
A superscript epsilon (´) indicates an editorial change since the last revision or reapproval.
4
1. Scope 2.2 ASNT Documents:
2 Nondestructive Testing Handbook, 2nd Edition, Vol 7
1.1 This practice provides guidelines for measuring the
SNT-TC-1A Recommended Practice for Personnel Qualifi-
thickness of materials using the contact pulse-echo method at
cation and Certification in Nondestructive Testing
temperatures not to exceed 93°C [200°F].
ANSI/ASNT CP-189 Standard for Qualification and Certifi-
1.2 This practice is applicable to any material in which
cation of Nondestructive Testing Personnel
ultrasonic waves will propagate at a constant velocity through-
2.3 Aerospace Industries Association Document:
out the part, and from which back reflections can be obtained
NAS-410 Certification and Qualification of Nondestructive
and resolved. 5
Testing Personnel
1.3 Units—The values stated in either SI units or inch-
3. Terminology
pound units are to be regarded separately as standard. The
values stated in each system may not be exact equivalents;
3.1 Definitions: Definitions—For definitions of terms used
therefore,eachsystemshallbeusedindependentlyoftheother.
in this practice, refer to Terminology E1316.
Combining values from the two systems may result in non-
4. Summary of Practice
conformance with the standard
4.1 Thickness (T), when measured by the pulse-echo ultra-
1.4 This standard does not purport to address all of the
sonic method, is a product of the velocity of sound in the
safety concerns, if any, associated with its use. It is the
material and one half the transit time (round trip) through the
responsibility of the user of this standard to establish appro-
material.
priate safety and health practices and determine the applica-
bility of regulatory limitations prior to use.
Vt
T 5
2
2. Referenced Documents
where:
3
2.1 ASTM Standards:
T = thickness,
E317 Practice for Evaluating Performance Characteristics of
V = velocity, and
Ultrasonic Pulse-Echo Testing Instruments and Systems
t = transit time.
without the Use of Electronic Measurement Instruments
4.2 The pulse-echo ultrasonic instrument measures the tran-
E494 Practice for Measuring Ultrasonic Velocity in Materi-
sit time of the ultrasonic pulse through the part.
als
E543 Specification for Agencies Performing Nondestructive
4.3 The velocity in the material being examined is a
Testing
function of the physical properties of the material. It is usually
E1316 Terminology for Nondestructive Examinations
assumed to be a constant for a given class of materials. Its
approximate value can be obtained fromTable X3.1 in Practice
E494 or from the Nondestructive Testing Handbook,oritcan
1
This practice is under the jurisdiction of ASTM Committee E07 on Nonde-
be determined empirically.
structive Testing and is the direct responsibility of Subcommittee E07.06 on
Ultrasonic Method.
4.4 One or more reference blocks are required having
CurrenteditionapprovedJune1,2010.PublishedJuly2010.Originallyapproved
known velocity, or of the same material to be examined, and
in 1981. Last previous edition approved in 2005 as E797 - 05. DOI: 10.1520/E0797
having thicknesses accurately measured and in the range of
_E0797M-10.
2
For ASME Boiler and Pressure Vessel Code applications, see related Practice
SE-797 in Section II of that Code.
3 4
For referenced ASTM standards, visit the ASTM website, www.astm.org, or AvailablefromAmericanSocietyforNondestructiveTesting(ASNT),P.O.Box
contact ASTM Customer Service at service@astm.org. For Annual Book of ASTM 28518, 1711 Arlingate Ln., Columbus, OH 43228-0518, http://www.asnt.org.
5
Standards volume information, refer to the standard’s Document Summary page on Available fromAerospace IndustriesAssociation ofAmerica, Inc. (AIA), 1000
the ASTM website. WilsonBlvd.,Suite1700,Arlington,VA22209-3928,http://www.aia-aerospace.org.
Copyright © ASTM International, 100 Barr Harbor Drive, PO Box C700, West Conshohocken, PA 19428-2959. United States
1
---------------------- Page: 1 ----------------------
E797/E797M − 10
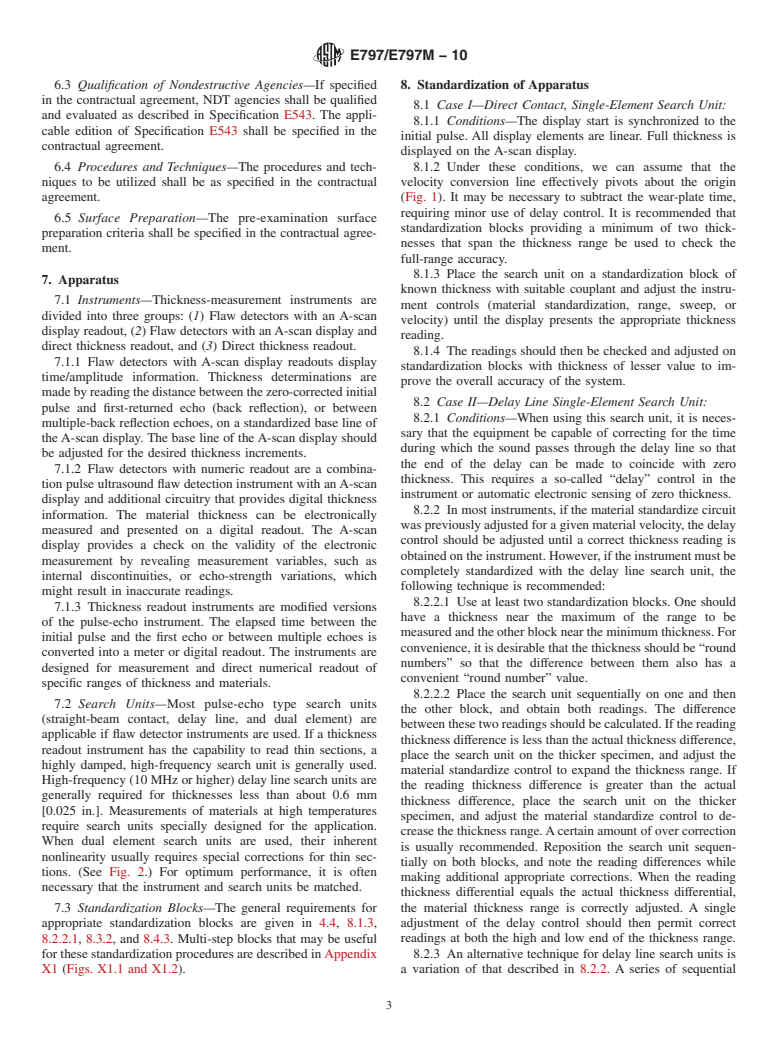
NOTE 1—Slope of velocity conversion line is approximately that of steel.
FIG. 1 Transit Time/Thickness Relationship
thicknesses to be measured. It is generally desirable that the 5.2 Ultrasonic thickness measurements are used extensively
thicknesses be “round numbers” rather than miscellaneous odd on basic shapes and products of many materials, on precision
values. One block should have a thickness val
...
This document is not anASTM standard and is intended only to provide the user of anASTM standard an indication of what changes have been made to the previous version. Because
it may not be technically possible to adequately depict all changes accurately, ASTM recommends that users consult prior editions as appropriate. In all cases only the current version
of the standard as published by ASTM is to be considered the official document.
Designation:E797–05 Designation:E797/E797M–10
Standard Practice for
Measuring Thickness by Manual Ultrasonic Pulse-Echo
1
Contact Method
This standard is issued under the fixed designation E797/E797M; the number immediately following the designation indicates the year
of original adoption or, in the case of revision, the year of last revision. A number in parentheses indicates the year of last reapproval.
A superscript epsilon (´) indicates an editorial change since the last revision or reapproval.
1. Scope
2
1.1 This practice provides guidelines for measuring the thickness of materials using the contact pulse-echo method at
temperatures not to exceed 200°F [93°C]. 93°C (200°F).
1.2 This practice is applicable to any material in which ultrasonic waves will propagate at a constant velocity throughout the
part, and from which back reflections can be obtained and resolved.
1.3The values stated in either inch-pound or SI units are to be regarded as standard. The values given in brackets are for
information only.
1.3 Units—The values stated in either SI units or inch-pound units are to be regarded separately as standard. The values stated
in each system may not be exact equivalents; therefore, each system shall be used independently of the other. Combining values
from the two systems may result in non-conformance with the standard
1.4 This standard does not purport to address all of the safety concerns, if any, associated with its use. It is the responsibility
of the user of this standard to establish appropriate safety and health practices and determine the applicability of regulatory
limitations prior to use.
2. Referenced Documents
3
2.1 ASTM Standards:
E317 Practice for Evaluating Performance Characteristics of Ultrasonic Pulse-Echo Testing Instruments and Systems without
the Use of Electronic Measurement Instruments
E494 Practice for Measuring Ultrasonic Velocity in Materials
E543 Specification for Agencies Performing Nondestructive Testing
E1316 Terminology for Nondestructive Examinations
4
2.2 ASNT Document: ASNT Documents:
Nondestructive Testing Handbook, 2nd Edition, Vol 7
SNT-TC-1A Recommended Practice for Personnel Qualification and Certification in Nondestructive Testing
ANSI/ASNT CP-189 Standard for Qualification and Certification of Nondestructive Testing Personnel
2.3 Aerospace Industries Association Document:
5
NAS-410 Certification and Qualification of Nondestructive Testing Personnel
3. Terminology
3.1 Definitions—For definitions of terms used in this practice, refer to Terminology E1316.
4. Summary of Practice
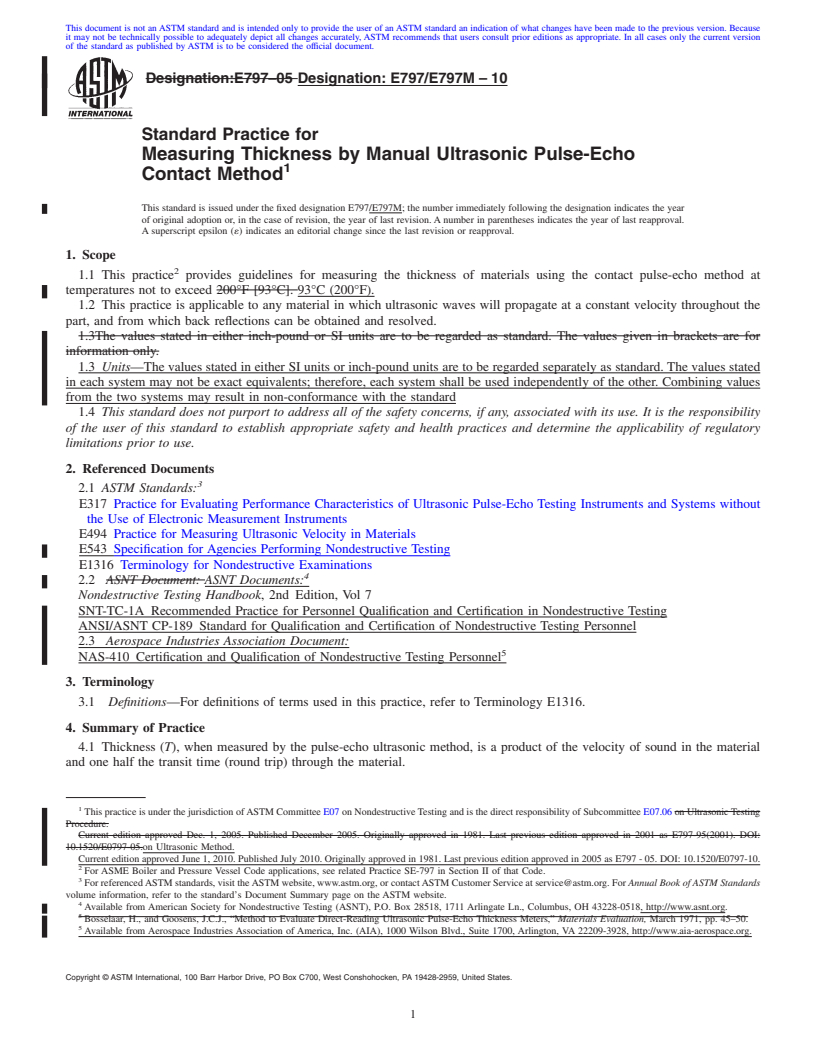
4.1 Thickness (T), when measured by the pulse-echo ultrasonic method, is a product of the velocity of sound in the material
and one half the transit time (round trip) through the material.
1
This practice is under the jurisdiction ofASTM Committee E07 on NondestructiveTesting and is the direct responsibility of Subcommittee E07.06 on UltrasonicTesting
Procedure.
Current edition approved Dec. 1, 2005. Published December 2005. Originally approved in 1981. Last previous edition approved in 2001 as E797-95(2001). DOI:
10.1520/E0797-05.on Ultrasonic Method.
Current edition approved June 1, 2010. Published July 2010. Originally approved in 1981. Last previous edition approved in 2005 as E797 - 05. DOI: 10.1520/E0797-10.
2
For ASME Boiler and Pressure Vessel Code applications, see related Practice SE-797 in Section II of that Code.
3
For referencedASTM standards, visit theASTM website, www.astm.org, or contactASTM Customer Service at service@astm.org. For Annual Book of ASTM Standards
volume information, refer to the standard’s Document Summary page on the ASTM website.
4
Available from American Society for Nondestructive Testing (ASNT), P.O. Box 28518, 1711 Arlingate Ln., Columbus, OH 43228-0518, http://www.asnt.org.
5
Bosselaar, H., and Goosens, J.C.J., “Method to Evaluate Direct-Reading Ultrasonic Pulse-Echo Thickness Meters,” Materials Evaluation, March 1971, pp. 45–50.
5
Available from Aerospace Industries Association of America, Inc. (AIA), 1000 Wilson Blvd., Suite 1700, Arlington, VA 22209-3928, http://www.aia-aerospace.org.
Copyright © ASTM International, 100 Barr Harbor Drive, PO Box C700, West Conshohocken, PA 19428-2959, United States.
1
---------------------- Page: 1 ----------------------
E797/E797M–10
Vt
T 5
2
where:
T = thickness,
V = velocity, and
t = transit time.
4.2 The pulse-echo ultrasonic instrument measures the transit time of the ultrasonic pulse through the part.
4.3 The velocity in the material being examined is a function of the physical prope
...


Questions, Comments and Discussion
Ask us and Technical Secretary will try to provide an answer. You can facilitate discussion about the standard in here.