ASTM E837-13
(Test Method)Standard Test Method for Determining Residual Stresses by the Hole-Drilling Strain-Gage Method
Standard Test Method for Determining Residual Stresses by the Hole-Drilling Strain-Gage Method
SIGNIFICANCE AND USE
5.1 Summary:
5.1.1 Residual stresses are present in almost all materials. They may be created during the manufacture or during the life of the material. If not recognized and accounted for in the design process, residual stresses can be a major factor in the failure of a material, particularly one subjected to alternating service loads or corrosive environments. Residual stress may also be beneficial, for example, the compressive stresses produced by shot peening. The hole-drilling strain-gage technique is a practical method for determining residual stresses.
SCOPE
1.1 Residual Stress Determination :
1.1.1 This test method specifies a hole-drilling procedure for determining residual stress profiles near the surface of an isotropic linearly elastic material. The test method is applicable to residual stress profile determinations where in-plane stress gradients are small. The stresses may remain approximately constant with depth (“uniform” stresses) or they may vary significantly with depth (“non-uniform” stresses). The measured workpiece may be “thin” with thickness much less than the diameter of the drilled hole or “thick” with thickness much greater than the diameter of the drilled hole. Only uniform stress measurements are specified for thin workpieces, while both uniform and non-uniform stress measurements are specified for thick workpieces.
1.2 Stress Measurement Range:
1.2.1 The hole-drilling method can identify in-plane residual stresses near the measured surface of the workpiece material. The method gives localized measurements that indicate the residual stresses within the boundaries of the drilled hole.
1.2.2 This test method applies in cases where material behavior is linear-elastic. In theory, it is possible for local yielding to occur due to the stress concentration around the drilled hole. Satisfactory measurement results can be achieved providing the residual stresses do not exceed about 80 % of the material yield stress for hole drilling in a “thick” material and about 50% of the material yield stress in a “thin” material.
1.3 Workpiece Damage:
1.3.1 The hole-drilling method is often described as “semi-destructive” because the damage that it causes is localized and often does not significantly affect the usefulness of the workpiece. In contrast, most other mechanical methods for measuring residual stresses substantially destroy the workpiece. Since hole drilling does cause some damage, this test method should be applied only in those cases either where the workpiece is expendable, or where the introduction of a small shallow hole will not significantly affect the usefulness of the workpiece.
1.4 This standard does not purport to address all of the safety concerns, if any, associated with its use. It is the responsibility of the user of this standard to establish appropriate safety and health practices and determine the applicability of regulatory limitations prior to use.
General Information
Relations
Buy Standard
Standards Content (Sample)
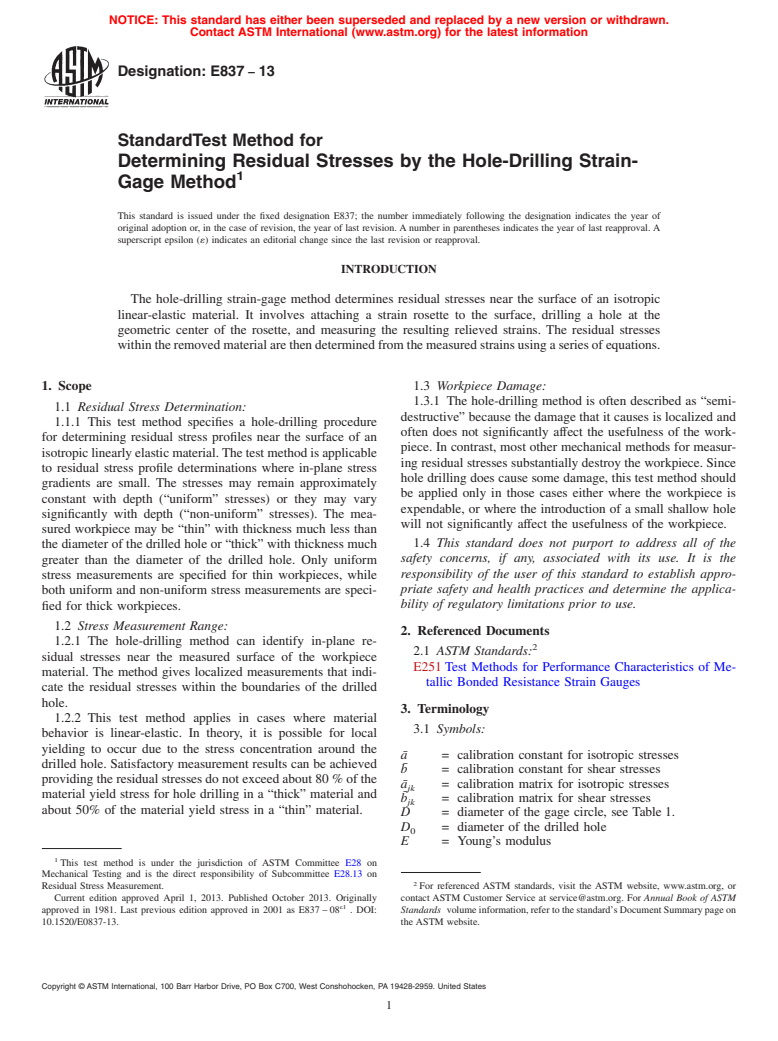
NOTICE: This standard has either been superseded and replaced by a new version or withdrawn.
Contact ASTM International (www.astm.org) for the latest information
Designation: E837 − 13
StandardTest Method for
Determining Residual Stresses by the Hole-Drilling Strain-
1
Gage Method
This standard is issued under the fixed designation E837; the number immediately following the designation indicates the year of
original adoption or, in the case of revision, the year of last revision.Anumber in parentheses indicates the year of last reapproval.A
superscript epsilon (´) indicates an editorial change since the last revision or reapproval.
INTRODUCTION
The hole-drilling strain-gage method determines residual stresses near the surface of an isotropic
linear-elastic material. It involves attaching a strain rosette to the surface, drilling a hole at the
geometric center of the rosette, and measuring the resulting relieved strains. The residual stresses
withintheremovedmaterialarethendeterminedfromthemeasuredstrainsusingaseriesofequations.
1. Scope 1.3 Workpiece Damage:
1.3.1 The hole-drilling method is often described as “semi-
1.1 Residual Stress Determination:
destructive” because the damage that it causes is localized and
1.1.1 This test method specifies a hole-drilling procedure
often does not significantly affect the usefulness of the work-
for determining residual stress profiles near the surface of an
piece. In contrast, most other mechanical methods for measur-
isotropiclinearlyelasticmaterial.Thetestmethodisapplicable
ing residual stresses substantially destroy the workpiece. Since
to residual stress profile determinations where in-plane stress
hole drilling does cause some damage, this test method should
gradients are small. The stresses may remain approximately
be applied only in those cases either where the workpiece is
constant with depth (“uniform” stresses) or they may vary
expendable, or where the introduction of a small shallow hole
significantly with depth (“non-uniform” stresses). The mea-
will not significantly affect the usefulness of the workpiece.
sured workpiece may be “thin” with thickness much less than
1.4 This standard does not purport to address all of the
the diameter of the drilled hole or “thick” with thickness much
safety concerns, if any, associated with its use. It is the
greater than the diameter of the drilled hole. Only uniform
responsibility of the user of this standard to establish appro-
stress measurements are specified for thin workpieces, while
priate safety and health practices and determine the applica-
both uniform and non-uniform stress measurements are speci-
bility of regulatory limitations prior to use.
fied for thick workpieces.
1.2 Stress Measurement Range:
2. Referenced Documents
1.2.1 The hole-drilling method can identify in-plane re-
2
2.1 ASTM Standards:
sidual stresses near the measured surface of the workpiece
E251Test Methods for Performance Characteristics of Me-
material. The method gives localized measurements that indi-
tallic Bonded Resistance Strain Gauges
cate the residual stresses within the boundaries of the drilled
hole.
3. Terminology
1.2.2 This test method applies in cases where material
3.1 Symbols:
behavior is linear-elastic. In theory, it is possible for local
yielding to occur due to the stress concentration around the
a¯ = calibration constant for isotropic stresses
drilled hole. Satisfactory measurement results can be achieved
¯
b = calibration constant for shear stresses
providingtheresidualstressesdonotexceedabout80%ofthe
a¯ = calibration matrix for isotropic stresses
jk
material yield stress for hole drilling in a “thick” material and
¯
b = calibration matrix for shear stresses
jk
about 50% of the material yield stress in a “thin” material.
D = diameter of the gage circle, see Table1.
D = diameter of the drilled hole
0
E = Young’s modulus
1
This test method is under the jurisdiction of ASTM Committee E28 on
Mechanical Testing and is the direct responsibility of Subcommittee E28.13 on
2
Residual Stress Measurement. For referenced ASTM standards, visit the ASTM website, www.astm.org, or
Current edition approved April 1, 2013. Published October 2013. Originally contact ASTM Customer Service at service@astm.org. For Annual Book of ASTM
ε1
approved in 1981. Last previous edition approved in 2001 as E837–08 . DOI: Standards volumeinformation,refertothestandard’sDocumentSummarypageon
10.1520/E0837-13. the ASTM website.
Copyright © ASTM International, 100 Barr Harbor Drive, PO Box C700, West Conshohocken, PA 19428-2959. United States
1
---------------------- Page: 1 ----------------------
E837 − 13
j = number of hole depth steps so far
k = sequence number for hole depth steps
P = uniform isotropic (equi-biaxial) stress
P = isotropic stress within hole depth step k
k
p = uniform isotropic (equi-biaxial) strain
p = isotropic strain after hole depth step k
k
Q = uniform 45° shear stress
Q = 45° shear stress within hole depth step k
k
q = uniform 45° she
...
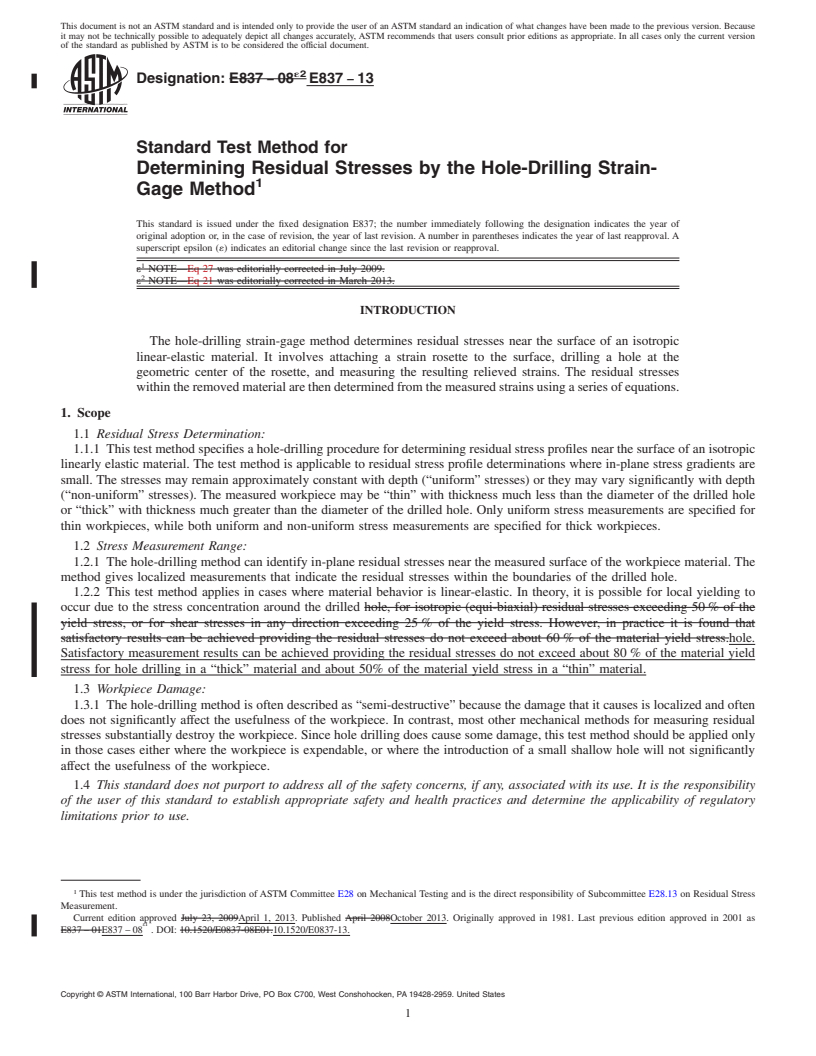
This document is not an ASTM standard and is intended only to provide the user of an ASTM standard an indication of what changes have been made to the previous version. Because
it may not be technically possible to adequately depict all changes accurately, ASTM recommends that users consult prior editions as appropriate. In all cases only the current version
of the standard as published by ASTM is to be considered the official document.
´2
Designation: E837 − 08 E837 − 13
Standard Test Method for
Determining Residual Stresses by the Hole-Drilling Strain-
1
Gage Method
This standard is issued under the fixed designation E837; the number immediately following the designation indicates the year of
original adoption or, in the case of revision, the year of last revision. A number in parentheses indicates the year of last reapproval. A
superscript epsilon (´) indicates an editorial change since the last revision or reapproval.
1
ε NOTE—Eq 27 was editorially corrected in July 2009.
2
ε NOTE—Eq 21 was editorially corrected in March 2013.
INTRODUCTION
The hole-drilling strain-gage method determines residual stresses near the surface of an isotropic
linear-elastic material. It involves attaching a strain rosette to the surface, drilling a hole at the
geometric center of the rosette, and measuring the resulting relieved strains. The residual stresses
within the removed material are then determined from the measured strains using a series of equations.
1. Scope
1.1 Residual Stress Determination:
1.1.1 This test method specifies a hole-drilling procedure for determining residual stress profiles near the surface of an isotropic
linearly elastic material. The test method is applicable to residual stress profile determinations where in-plane stress gradients are
small. The stresses may remain approximately constant with depth (“uniform” stresses) or they may vary significantly with depth
(“non-uniform” stresses). The measured workpiece may be “thin” with thickness much less than the diameter of the drilled hole
or “thick” with thickness much greater than the diameter of the drilled hole. Only uniform stress measurements are specified for
thin workpieces, while both uniform and non-uniform stress measurements are specified for thick workpieces.
1.2 Stress Measurement Range:
1.2.1 The hole-drilling method can identify in-plane residual stresses near the measured surface of the workpiece material. The
method gives localized measurements that indicate the residual stresses within the boundaries of the drilled hole.
1.2.2 This test method applies in cases where material behavior is linear-elastic. In theory, it is possible for local yielding to
occur due to the stress concentration around the drilled hole, for isotropic (equi-biaxial) residual stresses exceeding 50 % of the
yield stress, or for shear stresses in any direction exceeding 25 % of the yield stress. However, in practice it is found that
satisfactory results can be achieved providing the residual stresses do not exceed about 60 % of the material yield stress.hole.
Satisfactory measurement results can be achieved providing the residual stresses do not exceed about 80 % of the material yield
stress for hole drilling in a “thick” material and about 50% of the material yield stress in a “thin” material.
1.3 Workpiece Damage:
1.3.1 The hole-drilling method is often described as “semi-destructive” because the damage that it causes is localized and often
does not significantly affect the usefulness of the workpiece. In contrast, most other mechanical methods for measuring residual
stresses substantially destroy the workpiece. Since hole drilling does cause some damage, this test method should be applied only
in those cases either where the workpiece is expendable, or where the introduction of a small shallow hole will not significantly
affect the usefulness of the workpiece.
1.4 This standard does not purport to address all of the safety concerns, if any, associated with its use. It is the responsibility
of the user of this standard to establish appropriate safety and health practices and determine the applicability of regulatory
limitations prior to use.
1
This test method is under the jurisdiction of ASTM Committee E28 on Mechanical Testing and is the direct responsibility of Subcommittee E28.13 on Residual Stress
Measurement.
Current edition approved July 23, 2009April 1, 2013. Published April 2008October 2013. Originally approved in 1981. Last previous edition approved in 2001 as
ε1
E837 – 01E837 – 08 . DOI: 10.1520/E0837-08E01.10.1520/E0837-13.
Copyright © ASTM International, 100 Barr Harbor Drive, PO Box C700, West Conshohocken, PA 19428-2959. United States
1
---------------------- Page: 1 ----------------------
E837 − 13
2. Referenced Documents
2
2.1 ASTM Standards:
E251 Test Methods for Performance Characteristics of Metallic Bonded Resistance Strain Gauges
3. Terminology
3.1 Symbols:
a¯ = calibration constant for isotropic stresses
b¯ = calibration constant for shear
...


Questions, Comments and Discussion
Ask us and Technical Secretary will try to provide an answer. You can facilitate discussion about the standard in here.