ASTM D76/D76M-11
(Specification)Standard Specification for Tensile Testing Machines for Textiles
Standard Specification for Tensile Testing Machines for Textiles
ABSTRACT
This specification covers operating characteristics of tensile testing machines for the determination of the force-elongation properties of textile materials. Types of tensile machine covered in this specification are constant-rate-of-extension, constant-rate-of-traverse, and constant-rate-of-loading. Testing machines calibration shall be verified using the methods indicated in this specification, especially when moved to different locations to make sure that they still meet the specified tolerances. Motor-driven machine is preferred over manually driven machine. Constant-rate-of-traverse type machines shall not be used for measuring forces below fifty times their resolution. Machines shall be equipped with a device for measuring force. Clamping or holding devices shall be prescribed in test methods. Maximum allowable error, indicated force, recorded elongation, nominal gage length, and moving clamp speed shall be within the tolerances prescribed in the individual standards. Verification methods for recorded clamp displacement, recorded elongation, and nominal gage length, shall conform to the procedures indicated in this specification.
SCOPE
1.1 This specification covers the operating characteristics of three types of tensile testing machines used for the determination of the force-elongation properties of textile materials. These types of tensile testing machines are:
1.1.1 Constant-rate-of-extension, CRE.
1.1.2 Constant-rate-of-traverse, CRT.
1.1.3 Constant-rate-of-loading (force), CRL.
1.2 Specifications for tensile testing machines to measure other tensile-related properties of textile materials not covered by this standard are given in the ASTM standards using those machines.
1.3 The values stated in SI units are to be regarded as standard; the values in inch-pound units are provided as information only and are not exact equivalents.
1.4 The following safety hazards caveat pertains only to the test methods described in this specification: This standard does not purport to address all of the safety concerns, if any, associated with its use. It is the responsibility of the user of this standard to establish appropriate safety and health practices and determine the applicability of regulatory limitations prior to use.
General Information
Relations
Buy Standard
Standards Content (Sample)
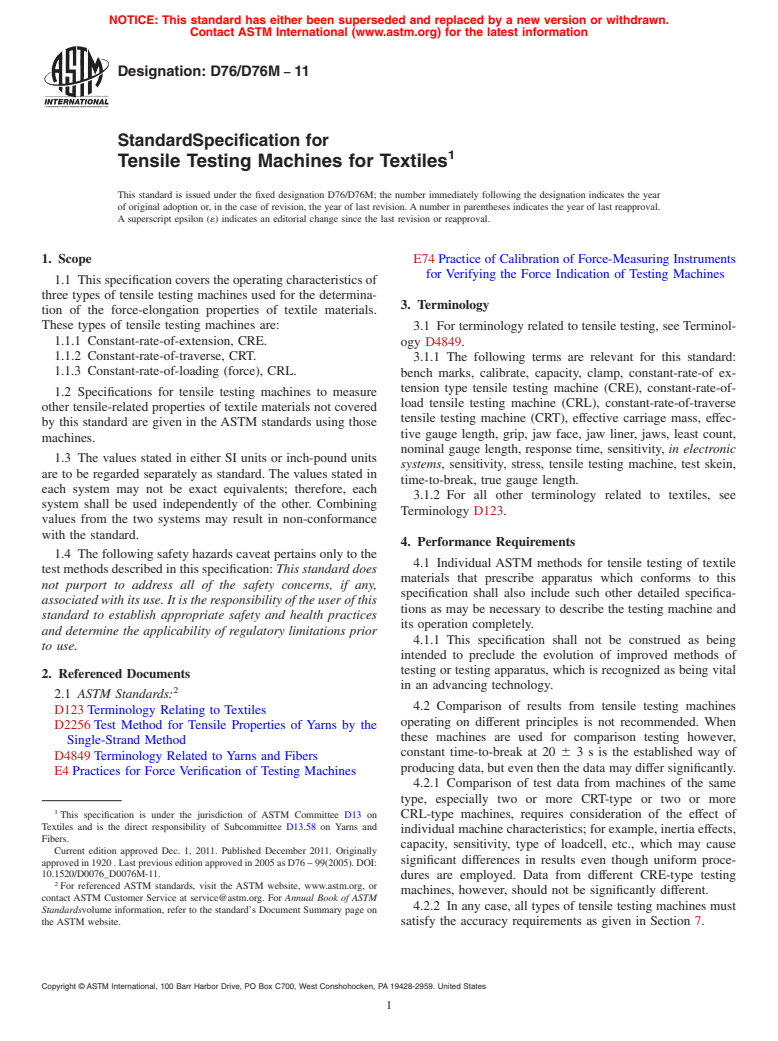
NOTICE: This standard has either been superseded and replaced by a new version or withdrawn.
Contact ASTM International (www.astm.org) for the latest information
Designation:D76/D76M −11
StandardSpecification for
1
Tensile Testing Machines for Textiles
This standard is issued under the fixed designation D76/D76M; the number immediately following the designation indicates the year
of original adoption or, in the case of revision, the year of last revision.Anumber in parentheses indicates the year of last reapproval.
A superscript epsilon (´) indicates an editorial change since the last revision or reapproval.
1. Scope E74Practice of Calibration of Force-Measuring Instruments
for Verifying the Force Indication of Testing Machines
1.1 Thisspecificationcoverstheoperatingcharacteristicsof
three types of tensile testing machines used for the determina-
3. Terminology
tion of the force-elongation properties of textile materials.
These types of tensile testing machines are:
3.1 For terminology related to tensile testing, see Terminol-
1.1.1 Constant-rate-of-extension, CRE.
ogy D4849.
1.1.2 Constant-rate-of-traverse, CRT.
3.1.1 The following terms are relevant for this standard:
1.1.3 Constant-rate-of-loading (force), CRL.
bench marks, calibrate, capacity, clamp, constant-rate-of ex-
tension type tensile testing machine (CRE), constant-rate-of-
1.2 Specifications for tensile testing machines to measure
load tensile testing machine (CRL), constant-rate-of-traverse
other tensile-related properties of textile materials not covered
tensile testing machine (CRT), effective carriage mass, effec-
by this standard are given in the ASTM standards using those
tive gauge length, grip, jaw face, jaw liner, jaws, least count,
machines.
nominal gauge length, response time, sensitivity, in electronic
1.3 The values stated in either SI units or inch-pound units
systems, sensitivity, stress, tensile testing machine, test skein,
are to be regarded separately as standard. The values stated in
time-to-break, true gauge length.
each system may not be exact equivalents; therefore, each
3.1.2 For all other terminology related to textiles, see
system shall be used independently of the other. Combining
Terminology D123.
values from the two systems may result in non-conformance
with the standard.
4. Performance Requirements
1.4 The following safety hazards caveat pertains only to the
4.1 Individual ASTM methods for tensile testing of textile
testmethodsdescribedinthisspecification: This standard does
materials that prescribe apparatus which conforms to this
not purport to address all of the safety concerns, if any,
specification shall also include such other detailed specifica-
associated with its use. It is the responsibility of the user of this
tions as may be necessary to describe the testing machine and
standard to establish appropriate safety and health practices
its operation completely.
and determine the applicability of regulatory limitations prior
4.1.1 This specification shall not be construed as being
to use.
intended to preclude the evolution of improved methods of
testing or testing apparatus, which is recognized as being vital
2. Referenced Documents
in an advancing technology.
2
2.1 ASTM Standards:
4.2 Comparison of results from tensile testing machines
D123Terminology Relating to Textiles
operating on different principles is not recommended. When
D2256Test Method for Tensile Properties of Yarns by the
these machines are used for comparison testing however,
Single-Strand Method
constant time-to-break at 20 6 3 s is the established way of
D4849Terminology Related to Yarns and Fibers
producing data, but even then the data may differ significantly.
E4Practices for Force Verification of Testing Machines
4.2.1 Comparison of test data from machines of the same
type, especially two or more CRT-type or two or more
1
This specification is under the jurisdiction of ASTM Committee D13 on
CRL-type machines, requires consideration of the effect of
Textiles and is the direct responsibility of Subcommittee D13.58 on Yarns and
individual machine characteristics; for example, inertia effects,
Fibers.
capacity, sensitivity, type of loadcell, etc., which may cause
Current edition approved Dec. 1, 2011. Published December 2011. Originally
significant differences in results even though uniform proce-
approvedin1920.Lastpreviouseditionapprovedin2005asD76–99(2005).DOI:
10.1520/D0076_D0076M-11.
dures are employed. Data from different CRE-type testing
2
For referenced ASTM standards, visit the ASTM website, www.astm.org, or
machines, however, should not be significantly different.
contact ASTM Customer Service at service@astm.org. For Annual Book of ASTM
4.2.2 In any case, all types of tensile testing machines must
Standardsvolume information, refer to the standard’s Document Summary page on
the ASTM website. satisfy the accuracy requirements as given in Section 7.
Copyright © ASTM International, 100 Barr Harbor Drive, PO Box C700, West Conshohocken, PA 19428-295
...
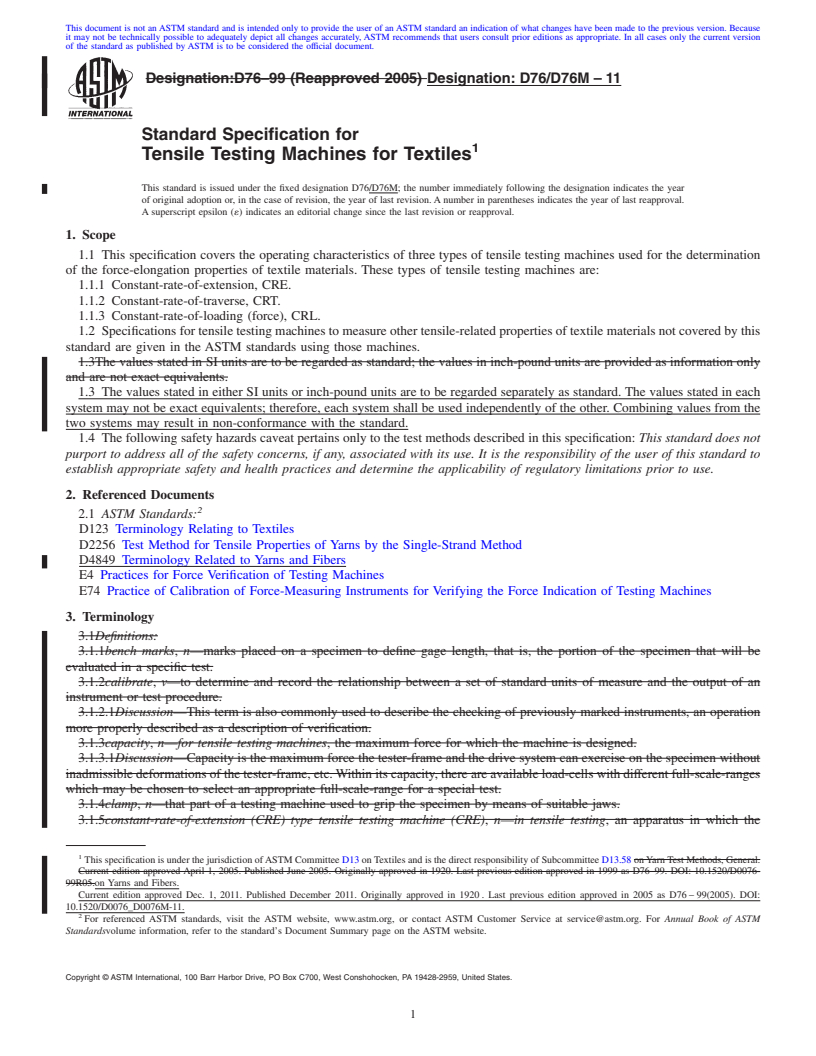
This document is not anASTM standard and is intended only to provide the user of anASTM standard an indication of what changes have been made to the previous version. Because
it may not be technically possible to adequately depict all changes accurately, ASTM recommends that users consult prior editions as appropriate. In all cases only the current version
of the standard as published by ASTM is to be considered the official document.
Designation:D76–99 (Reapproved 2005) Designation: D76/D76M – 11
Standard Specification for
1
Tensile Testing Machines for Textiles
This standard is issued under the fixed designation D76/D76M; the number immediately following the designation indicates the year
of original adoption or, in the case of revision, the year of last revision.Anumber in parentheses indicates the year of last reapproval.
A superscript epsilon (´) indicates an editorial change since the last revision or reapproval.
1. Scope
1.1 This specification covers the operating characteristics of three types of tensile testing machines used for the determination
of the force-elongation properties of textile materials. These types of tensile testing machines are:
1.1.1 Constant-rate-of-extension, CRE.
1.1.2 Constant-rate-of-traverse, CRT.
1.1.3 Constant-rate-of-loading (force), CRL.
1.2 Specificationsfortensiletestingmachinestomeasureothertensile-relatedpropertiesoftextilematerialsnotcoveredbythis
standard are given in the ASTM standards using those machines.
1.3The values stated in SI units are to be regarded as standard; the values in inch-pound units are provided as information only
and are not exact equivalents.
1.3 The values stated in either SI units or inch-pound units are to be regarded separately as standard. The values stated in each
system may not be exact equivalents; therefore, each system shall be used independently of the other. Combining values from the
two systems may result in non-conformance with the standard.
1.4 The following safety hazards caveat pertains only to the test methods described in this specification: This standard does not
purport to address all of the safety concerns, if any, associated with its use. It is the responsibility of the user of this standard to
establish appropriate safety and health practices and determine the applicability of regulatory limitations prior to use.
2. Referenced Documents
2
2.1 ASTM Standards:
D123 Terminology Relating to Textiles
D2256 Test Method for Tensile Properties of Yarns by the Single-Strand Method
D4849 Terminology Related to Yarns and Fibers
E4 Practices for Force Verification of Testing Machines
E74 Practice of Calibration of Force-Measuring Instruments for Verifying the Force Indication of Testing Machines
3. Terminology
3.1Definitions:
3.1.1bench marks, n—marks placed on a specimen to define gage length, that is, the portion of the specimen that will be
evaluated in a specific test.
3.1.2calibrate, v—to determine and record the relationship between a set of standard units of measure and the output of an
instrument or test procedure.
3.1.2.1Discussion—This term is also commonly used to describe the checking of previously marked instruments, an operation
more properly described as a description of verification.
3.1.3capacity, n—for tensile testing machines, the maximum force for which the machine is designed.
3.1.3.1Discussion—Capacity is the maximum force the tester-frame and the drive system can exercise on the specimen without
inadmissibledeformationsofthetester-frame,etc.Withinitscapacity,thereareavailableload-cellswithdifferentfull-scale-ranges
which may be chosen to select an appropriate full-scale-range for a special test.
3.1.4clamp, n—that part of a testing machine used to grip the specimen by means of suitable jaws.
3.1.5constant-rate-of-extension (CRE) type tensile testing machine (CRE), n—in tensile testing, an apparatus in which the
1
ThisspecificationisunderthejurisdictionofASTMCommitteeD13onTextilesandisthedirectresponsibilityofSubcommitteeD13.58onYarnTestMethods,General.
Current edition approved April 1, 2005. Published June 2005. Originally approved in 1920. Last previous edition approved in 1999 as D76–99. DOI: 10.1520/D0076-
99R05.on Yarns and Fibers.
Current edition approved Dec. 1, 2011. Published December 2011. Originally approved in 1920. Last previous edition approved in 2005 as D76–99(2005). DOI:
10.1520/D0076_D0076M-11.
2
For referenced ASTM standards, visit the ASTM website, www.astm.org, or contact ASTM Customer Service at service@astm.org. For Annual Book of ASTM
Standardsvolume information, refer to the standard’s Document Summary page on the ASTM website.
Copyright © ASTM International, 100 Barr Harbor Drive, PO Box C700, West Conshohocken, PA 19428-2959, United States.
1
---------------------- Page: 1 ----------------------
D76/D76M – 11
pullingclampmovesatauniformrate,andtheforce-measuringmechanismmovesanegligibledistancewithincreasingforce,less
than 0.13 mm (0.005 in.).
3.1.6constant-rate-of-load tensile testing m
...


Questions, Comments and Discussion
Ask us and Technical Secretary will try to provide an answer. You can facilitate discussion about the standard in here.