ASTM E2540-16
(Test Method)Standard Test Method for Measurement of Retroreflective Signs Using a Portable Retroreflectometer at a 0.5 Degree Observation Angle
Standard Test Method for Measurement of Retroreflective Signs Using a Portable Retroreflectometer at a 0.5 Degree Observation Angle
SIGNIFICANCE AND USE
5.1 Measurements made by this test method are related to the night time brightness of retroreflective traffic signs approximately facing the driver of a mid-sized automobile equipped with tungsten filament headlights at about 100 m distance.
5.2 Retroreflective material used on traffic signs degrades with time and requires periodic measurement to ensure that the performance of the retroflection provides adequate safety to the driver.
5.3 The quality of the sign as to material used, age, and wear pattern will have an effect on the coefficient of retroreflection. These conditions need to be observed and noted by the user.
5.4 This test method is not intended for use for the measurement of signs when the instrument entrance and observation angles differ from those specified herein.
SCOPE
1.1 This test method covers measurement of the retroreflective properties of sign materials such as traffic signs and symbols (vertical surfaces) using a portable retroreflectometer that can be used in the field. The portable retroreflectometer is a hand-held instrument with a defined standard geometry that can be placed in contact with sign material to measure the retroreflection in a standard geometry. The measurements can be compared to minimum requirements to determine the need for replacement. Entrance and observation angles specified in this test method are those used currently in the United States and may differ from the angles used elsewhere in the world.
1.2 This test method is intended to be used for the field measurement of traffic signs but may be used to measure the performance of materials before placing the sign in the field or before placing the sign material on the sign face.
1.3 The values stated in SI units are to be regarded as standard. No other units of measurement are included in this standard.
1.4 This standard does not purport to address all of the safety concerns, if any, associated with its use. It is the responsibility of the user of this standard to establish appropriate safety and health practices and determine the applicability of regulatory limitations prior to use.
1.5 This international standard was developed in accordance with internationally recognized principles on standardization established in the Decision on Principles for the Development of International Standards, Guides and Recommendations issued by the World Trade Organization Technical Barriers to Trade (TBT) Committee.
General Information
Relations
Buy Standard
Standards Content (Sample)
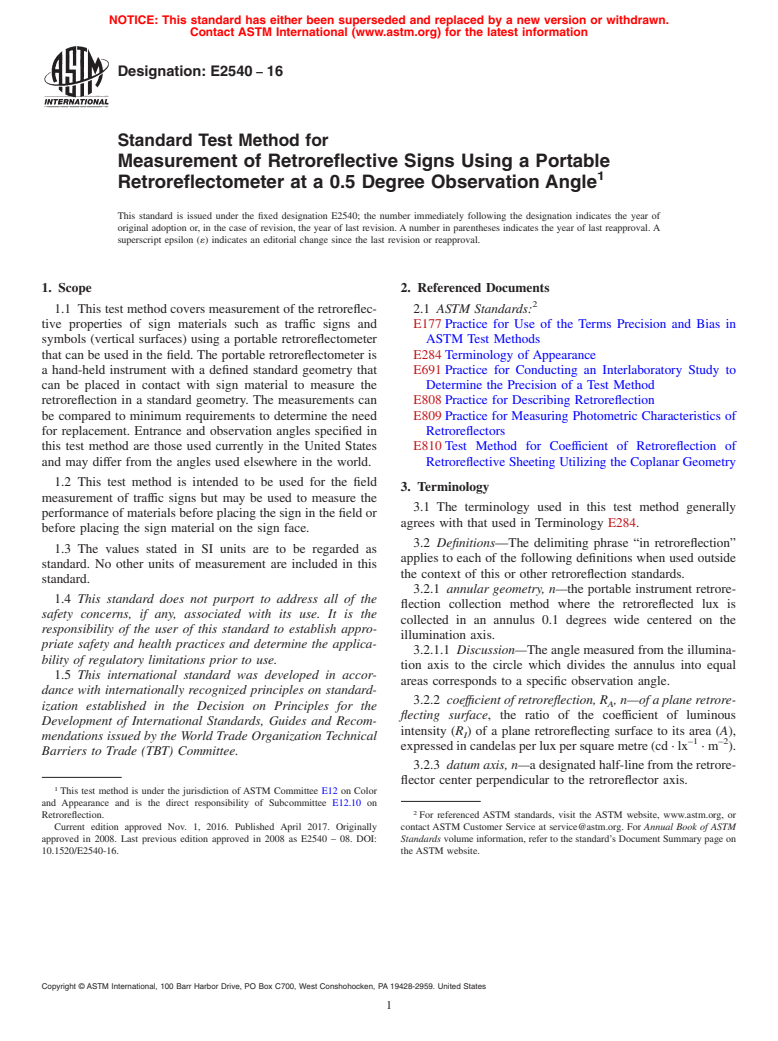
NOTICE: This standard has either been superseded and replaced by a new version or withdrawn.
Contact ASTM International (www.astm.org) for the latest information
Designation:E2540 −16
Standard Test Method for
Measurement of Retroreflective Signs Using a Portable
1
Retroreflectometer at a 0.5 Degree Observation Angle
This standard is issued under the fixed designation E2540; the number immediately following the designation indicates the year of
original adoption or, in the case of revision, the year of last revision. A number in parentheses indicates the year of last reapproval. A
superscript epsilon (´) indicates an editorial change since the last revision or reapproval.
1. Scope 2. Referenced Documents
2
1.1 This test method covers measurement of the retroreflec- 2.1 ASTM Standards:
tive properties of sign materials such as traffic signs and E177 Practice for Use of the Terms Precision and Bias in
symbols (vertical surfaces) using a portable retroreflectometer ASTM Test Methods
that can be used in the field. The portable retroreflectometer is E284 Terminology of Appearance
a hand-held instrument with a defined standard geometry that E691 Practice for Conducting an Interlaboratory Study to
can be placed in contact with sign material to measure the Determine the Precision of a Test Method
retroreflection in a standard geometry. The measurements can E808 Practice for Describing Retroreflection
be compared to minimum requirements to determine the need E809 Practice for Measuring Photometric Characteristics of
for replacement. Entrance and observation angles specified in Retroreflectors
this test method are those used currently in the United States E810 Test Method for Coefficient of Retroreflection of
and may differ from the angles used elsewhere in the world. Retroreflective Sheeting Utilizing the Coplanar Geometry
1.2 This test method is intended to be used for the field
3. Terminology
measurement of traffic signs but may be used to measure the
3.1 The terminology used in this test method generally
performance of materials before placing the sign in the field or
agrees with that used in Terminology E284.
before placing the sign material on the sign face.
3.2 Definitions—The delimiting phrase “in retroreflection”
1.3 The values stated in SI units are to be regarded as
applies to each of the following definitions when used outside
standard. No other units of measurement are included in this
the context of this or other retroreflection standards.
standard.
3.2.1 annular geometry, n—the portable instrument retrore-
1.4 This standard does not purport to address all of the
flection collection method where the retroreflected lux is
safety concerns, if any, associated with its use. It is the
collected in an annulus 0.1 degrees wide centered on the
responsibility of the user of this standard to establish appro-
illumination axis.
priate safety and health practices and determine the applica-
3.2.1.1 Discussion—The angle measured from the illumina-
bility of regulatory limitations prior to use.
tion axis to the circle which divides the annulus into equal
1.5 This international standard was developed in accor-
areas corresponds to a specific observation angle.
dance with internationally recognized principles on standard-
3.2.2 coeffıcient of retroreflection, R , n—of a plane retrore-
A
ization established in the Decision on Principles for the
flecting surface, the ratio of the coefficient of luminous
Development of International Standards, Guides and Recom-
intensity (R ) of a plane retroreflecting surface to its area (A),
I
mendations issued by the World Trade Organization Technical
–1 –2
expressed in candelas per lux per square metre (cd · lx ·m ).
Barriers to Trade (TBT) Committee.
3.2.3 datum axis, n—a designated half-line from the retrore-
flector center perpendicular to the retroreflector axis.
1
This test method is under the jurisdiction of ASTM Committee E12 on Color
and Appearance and is the direct responsibility of Subcommittee E12.10 on
2
Retroreflection. For referenced ASTM standards, visit the ASTM website, www.astm.org, or
Current edition approved Nov. 1, 2016. Published April 2017. Originally contact ASTM Customer Service at service@astm.org. For Annual Book of ASTM
approved in 2008. Last previous edition approved in 2008 as E2540 – 08. DOI: Standards volume information, refer to the standard’s Document Summary page on
10.1520/E2540-16. the ASTM website.
Copyright © ASTM International, 100 Barr Harbor Drive, PO Box C700, West Conshohocken, PA 19428-2959. United States
1
---------------------- Page: 1 ----------------------
E2540−16
3.2.4 entrance angle, β,n—the angle between the illumina- four readings shall be taken and averaged for each retroreflec-
tion axis and the retroreflector axis. tive color on the sign to be tested.
3.2.5 entrance half-plane, n—the half plane that originates
5. Significance and Use
on the line of the illumination axis and contains the retrore-
5.1 Measurements made by this test method are related to
flecto
...
This document is not an ASTM standard and is intended only to provide the user of an ASTM standard an indication of what changes have been made to the previous version. Because
it may not be technically possible to adequately depict all changes accurately, ASTM recommends that users consult prior editions as appropriate. In all cases only the current version
of the standard as published by ASTM is to be considered the official document.
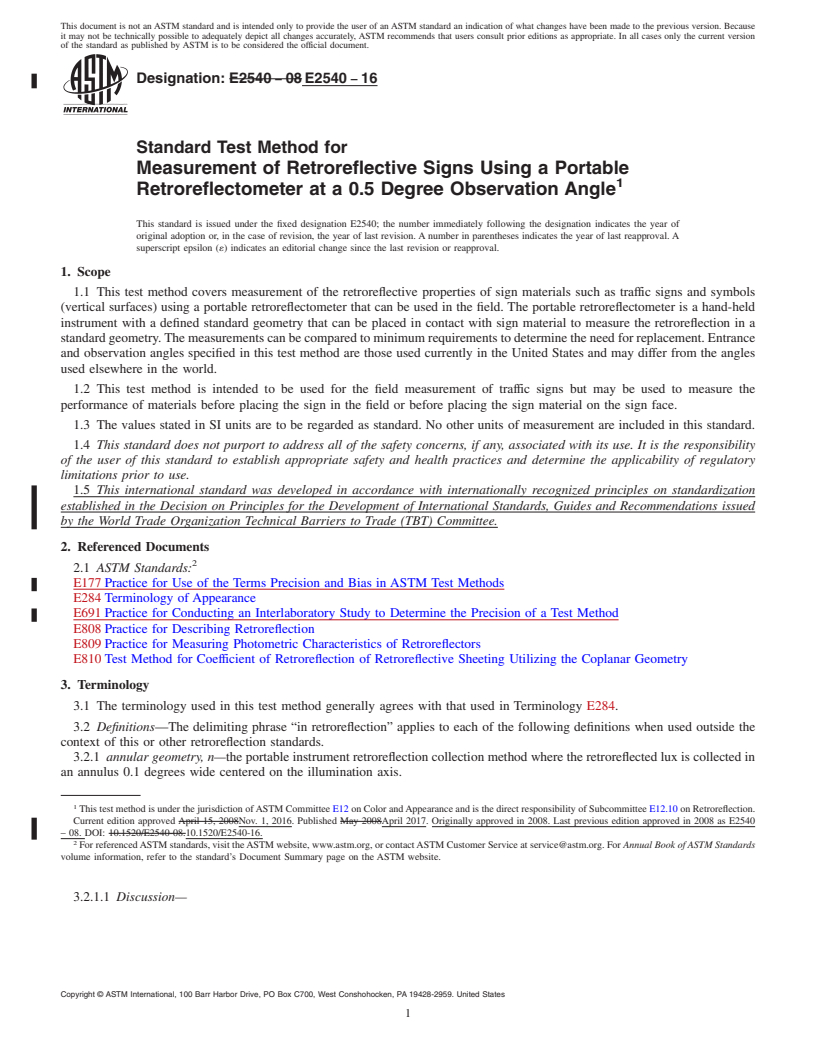
Designation: E2540 − 08 E2540 − 16
Standard Test Method for
Measurement of Retroreflective Signs Using a Portable
1
Retroreflectometer at a 0.5 Degree Observation Angle
This standard is issued under the fixed designation E2540; the number immediately following the designation indicates the year of
original adoption or, in the case of revision, the year of last revision. A number in parentheses indicates the year of last reapproval. A
superscript epsilon (´) indicates an editorial change since the last revision or reapproval.
1. Scope
1.1 This test method covers measurement of the retroreflective properties of sign materials such as traffic signs and symbols
(vertical surfaces) using a portable retroreflectometer that can be used in the field. The portable retroreflectometer is a hand-held
instrument with a defined standard geometry that can be placed in contact with sign material to measure the retroreflection in a
standard geometry. The measurements can be compared to minimum requirements to determine the need for replacement. Entrance
and observation angles specified in this test method are those used currently in the United States and may differ from the angles
used elsewhere in the world.
1.2 This test method is intended to be used for the field measurement of traffic signs but may be used to measure the
performance of materials before placing the sign in the field or before placing the sign material on the sign face.
1.3 The values stated in SI units are to be regarded as standard. No other units of measurement are included in this standard.
1.4 This standard does not purport to address all of the safety concerns, if any, associated with its use. It is the responsibility
of the user of this standard to establish appropriate safety and health practices and determine the applicability of regulatory
limitations prior to use.
1.5 This international standard was developed in accordance with internationally recognized principles on standardization
established in the Decision on Principles for the Development of International Standards, Guides and Recommendations issued
by the World Trade Organization Technical Barriers to Trade (TBT) Committee.
2. Referenced Documents
2
2.1 ASTM Standards:
E177 Practice for Use of the Terms Precision and Bias in ASTM Test Methods
E284 Terminology of Appearance
E691 Practice for Conducting an Interlaboratory Study to Determine the Precision of a Test Method
E808 Practice for Describing Retroreflection
E809 Practice for Measuring Photometric Characteristics of Retroreflectors
E810 Test Method for Coefficient of Retroreflection of Retroreflective Sheeting Utilizing the Coplanar Geometry
3. Terminology
3.1 The terminology used in this test method generally agrees with that used in Terminology E284.
3.2 Definitions—The delimiting phrase “in retroreflection” applies to each of the following definitions when used outside the
context of this or other retroreflection standards.
3.2.1 annular geometry, n—the portable instrument retroreflection collection method where the retroreflected lux is collected in
an annulus 0.1 degrees wide centered on the illumination axis.
1
This test method is under the jurisdiction of ASTM Committee E12 on Color and Appearance and is the direct responsibility of Subcommittee E12.10 on Retroreflection.
Current edition approved April 15, 2008Nov. 1, 2016. Published May 2008April 2017. Originally approved in 2008. Last previous edition approved in 2008 as E2540
– 08. DOI: 10.1520/E2540-08.10.1520/E2540-16.
2
For referenced ASTM standards, visit the ASTM website, www.astm.org, or contact ASTM Customer Service at service@astm.org. For Annual Book of ASTM Standards
volume information, refer to the standard’s Document Summary page on the ASTM website.
3.2.1.1 Discussion—
Copyright © ASTM International, 100 Barr Harbor Drive, PO Box C700, West Conshohocken, PA 19428-2959. United States
1
---------------------- Page: 1 ----------------------
E2540 − 16
The angle measured from the illumination axis to the circle which divides the annulus into equal areas corresponds to a specific
observation angle.
3.2.2 coeffıcient of retroreflection, R , n—of a plane retroreflecting surface, the ratio of the coefficient of luminous intensity (R )
A I
–1 –2
of a plane retroreflecting surface to its area (A), expressed in candelas per lux per square metre (cd · lx · m ).
3.2.3 datum axis, n—a designated half-line from the retroreflector center perpendicular to the retroreflector axis.
3.2.4 entrance angle, β, n—the angle between the illumination axis and the retroreflector
...


Questions, Comments and Discussion
Ask us and Technical Secretary will try to provide an answer. You can facilitate discussion about the standard in here.