ASTM F16-12
(Test Method)Standard Test Methods for Measuring Diameter or Thickness of Wire and Ribbon for Electronic Devices and Lamps
Standard Test Methods for Measuring Diameter or Thickness of Wire and Ribbon for Electronic Devices and Lamps
ABSTRACT
These test methods cover procedures for measuring the diameter or thickness of round and flat wire (ribbon) used in electronic devices and lamps. Anvils shall be used in determining the thickness. The flatness and parallelism of the wire shall be checked using a monochromatic light source, a small optical parallel, and a cylindrical master standard wire gage.
SIGNIFICANCE AND USE
The methods contained in this standard are intended primarily for referee use, for laboratory measuring, and for certifying size of standard samples used for checking other measuring equipment that may be agreed upon between the supplier and the purchaser.
SCOPE
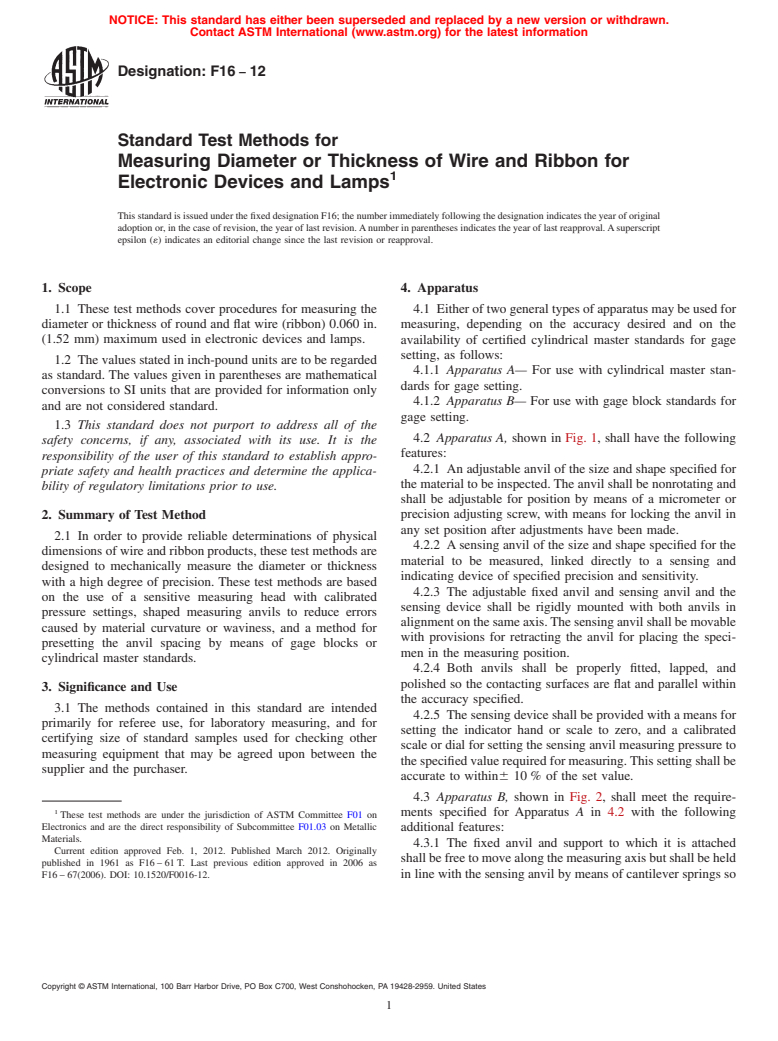
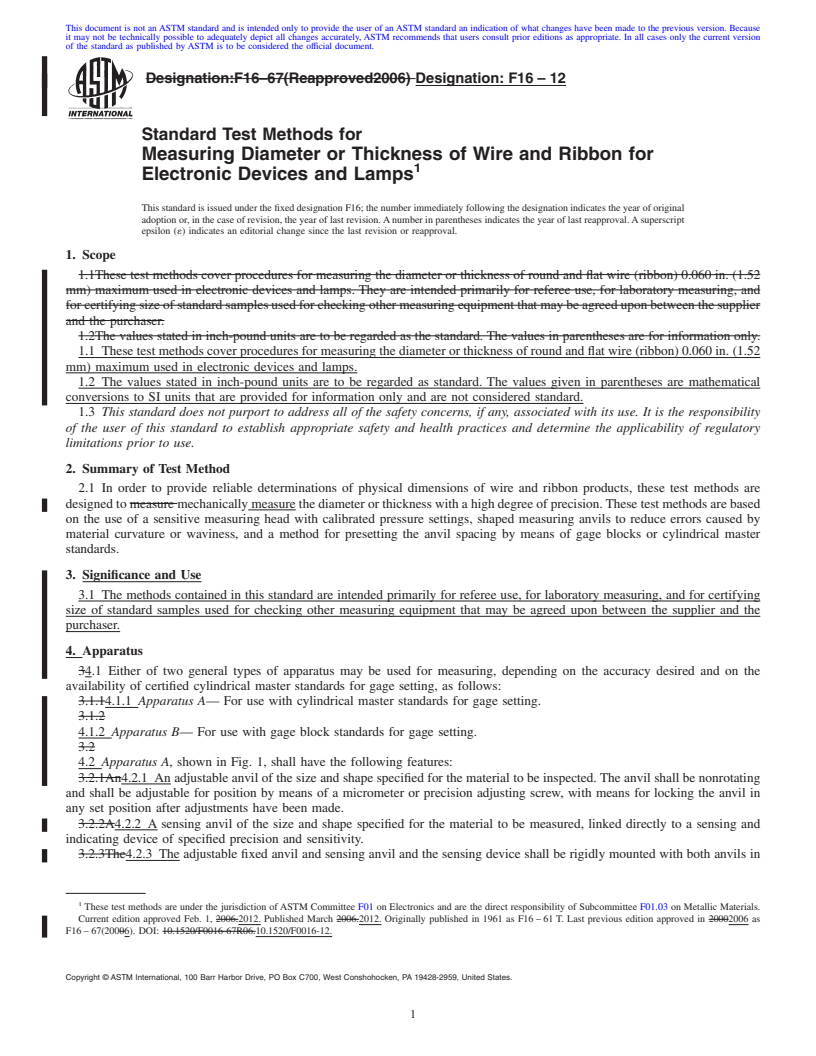
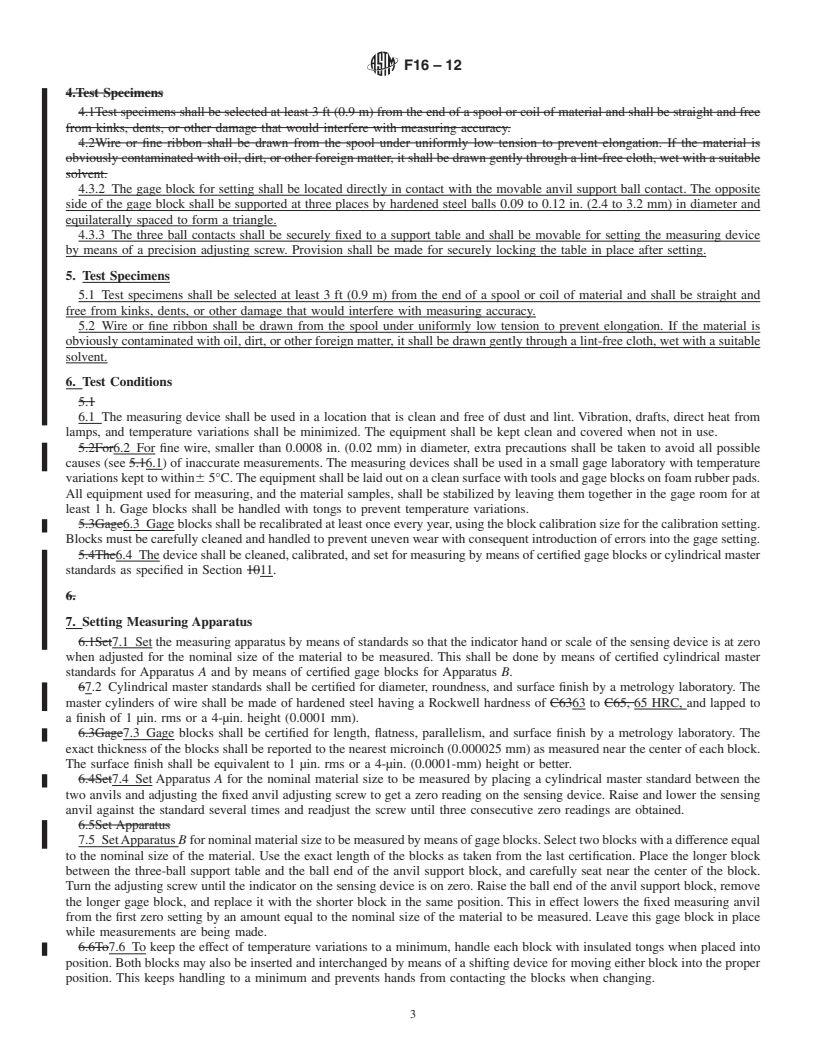
1.1 These test methods cover procedures for measuring the diameter or thickness of round and flat wire (ribbon) 0.060 in. (1.52 mm) maximum used in electronic devices and lamps.
1.2 The values stated in inch-pound units are to be regarded as standard. The values given in parentheses are mathematical conversions to SI units that are provided for information only and are not considered standard.
1.3 This standard does not purport to address all of the safety concerns, if any, associated with its use. It is the responsibility of the user of this standard to establish appropriate safety and health practices and determine the applicability of regulatory limitations prior to use.
General Information
Relations
Buy Standard
Standards Content (Sample)
NOTICE: This standard has either been superseded and replaced by a new version or withdrawn.
Contact ASTM International (www.astm.org) for the latest information
Designation: F16 − 12
Standard Test Methods for
Measuring Diameter or Thickness of Wire and Ribbon for
1
Electronic Devices and Lamps
This standard is issued under the fixed designation F16; the number immediately following the designation indicates the year of original
adoption or, in the case of revision, the year of last revision.Anumber in parentheses indicates the year of last reapproval.Asuperscript
epsilon (´) indicates an editorial change since the last revision or reapproval.
1. Scope 4. Apparatus
1.1 These test methods cover procedures for measuring the
4.1 Either of two general types of apparatus may be used for
diameter or thickness of round and flat wire (ribbon) 0.060 in. measuring, depending on the accuracy desired and on the
(1.52 mm) maximum used in electronic devices and lamps.
availability of certified cylindrical master standards for gage
setting, as follows:
1.2 The values stated in inch-pound units are to be regarded
4.1.1 Apparatus A— For use with cylindrical master stan-
as standard. The values given in parentheses are mathematical
dards for gage setting.
conversions to SI units that are provided for information only
4.1.2 Apparatus B— For use with gage block standards for
and are not considered standard.
gage setting.
1.3 This standard does not purport to address all of the
4.2 Apparatus A, shown in Fig. 1, shall have the following
safety concerns, if any, associated with its use. It is the
features:
responsibility of the user of this standard to establish appro-
4.2.1 An adjustable anvil of the size and shape specified for
priate safety and health practices and determine the applica-
the material to be inspected. The anvil shall be nonrotating and
bility of regulatory limitations prior to use.
shall be adjustable for position by means of a micrometer or
2. Summary of Test Method precision adjusting screw, with means for locking the anvil in
any set position after adjustments have been made.
2.1 In order to provide reliable determinations of physical
4.2.2 Asensing anvil of the size and shape specified for the
dimensions of wire and ribbon products, these test methods are
material to be measured, linked directly to a sensing and
designed to mechanically measure the diameter or thickness
indicating device of specified precision and sensitivity.
with a high degree of precision. These test methods are based
4.2.3 The adjustable fixed anvil and sensing anvil and the
on the use of a sensitive measuring head with calibrated
sensing device shall be rigidly mounted with both anvils in
pressure settings, shaped measuring anvils to reduce errors
alignmentonthesameaxis.Thesensinganvilshallbemovable
caused by material curvature or waviness, and a method for
with provisions for retracting the anvil for placing the speci-
presetting the anvil spacing by means of gage blocks or
men in the measuring position.
cylindrical master standards.
4.2.4 Both anvils shall be properly fitted, lapped, and
polished so the contacting surfaces are flat and parallel within
3. Significance and Use
the accuracy specified.
3.1 The methods contained in this standard are intended
4.2.5 The sensing device shall be provided with a means for
primarily for referee use, for laboratory measuring, and for
setting the indicator hand or scale to zero, and a calibrated
certifying size of standard samples used for checking other
scale or dial for setting the sensing anvil measuring pressure to
measuring equipment that may be agreed upon between the
thespecifiedvaluerequiredformeasuring.Thissettingshallbe
supplier and the purchaser.
accurate to within6 10 % of the set value.
4.3 Apparatus B, shown in Fig. 2, shall meet the require-
1
ments specified for Apparatus A in 4.2 with the following
These test methods are under the jurisdiction of ASTM Committee F01 on
Electronics and are the direct responsibility of Subcommittee F01.03 on Metallic
additional features:
Materials.
4.3.1 The fixed anvil and support to which it is attached
Current edition approved Feb. 1, 2012. Published March 2012. Originally
shallbefreetomovealongthemeasuringaxisbutshallbeheld
published in 1961 as F16 – 61 T. Last previous edition approved in 2006 as
in line with the sensing anvil by means of cantilever springs so
F16 – 67(2006). DOI: 10.1520/F0016-12.
Copyright © ASTM International, 100 Barr Harbor Drive, PO Box C700, West Conshohocken, PA 19428-2959. United States
1
---------------------- Page: 1 ----------------------
F16−12
and free from kinks, dents, or other damage that would
interfere with measuring accuracy.
5.2 Wire or fine ribbon shall be drawn from the spool under
uniformly low tension to prevent elongation. If the material is
obviously contaminated with oil, dirt, or other foreign matter,
it shall be drawn gently through a lint-free cloth, wet with a
suitable solvent.
6. Test Conditions
6.1 The m
...
This document is not an ASTM standard and is intended only to provide the user of an ASTM standard an indication of what changes have been made to the previous version. Because
it may not be technically possible to adequately depict all changes accurately, ASTM recommends that users consult prior editions as appropriate. In all cases only the current version
of the standard as published by ASTM is to be considered the official document.
Designation:F16–67(Reapproved2006) Designation:F16–12
Standard Test Methods for
Measuring Diameter or Thickness of Wire and Ribbon for
1
Electronic Devices and Lamps
This standard is issued under the fixed designation F16; the number immediately following the designation indicates the year of original
adoption or, in the case of revision, the year of last revision.Anumber in parentheses indicates the year of last reapproval.Asuperscript
epsilon (´) indicates an editorial change since the last revision or reapproval.
1. Scope
1.1These test methods cover procedures for measuring the diameter or thickness of round and flat wire (ribbon) 0.060 in. (1.52
mm) maximum used in electronic devices and lamps. They are intended primarily for referee use, for laboratory measuring, and
forcertifyingsizeofstandardsamplesusedforcheckingothermeasuringequipmentthatmaybeagreeduponbetweenthesupplier
and the purchaser.
1.2The values stated in inch-pound units are to be regarded as the standard. The values in parentheses are for information only.
1.1 These test methods cover procedures for measuring the diameter or thickness of round and flat wire (ribbon) 0.060 in. (1.52
mm) maximum used in electronic devices and lamps.
1.2 The values stated in inch-pound units are to be regarded as standard. The values given in parentheses are mathematical
conversions to SI units that are provided for information only and are not considered standard.
1.3 This standard does not purport to address all of the safety concerns, if any, associated with its use. It is the responsibility
of the user of this standard to establish appropriate safety and health practices and determine the applicability of regulatory
limitations prior to use.
2. Summary of Test Method
2.1 In order to provide reliable determinations of physical dimensions of wire and ribbon products, these test methods are
designed to measure mechanically measure the diameter or thickness with a high degree of precision.These test methods are based
on the use of a sensitive measuring head with calibrated pressure settings, shaped measuring anvils to reduce errors caused by
material curvature or waviness, and a method for presetting the anvil spacing by means of gage blocks or cylindrical master
standards.
3. Significance and Use
3.1 The methods contained in this standard are intended primarily for referee use, for laboratory measuring, and for certifying
size of standard samples used for checking other measuring equipment that may be agreed upon between the supplier and the
purchaser.
4. Apparatus
34.1 Either of two general types of apparatus may be used for measuring, depending on the accuracy desired and on the
availability of certified cylindrical master standards for gage setting, as follows:
3.1.14.1.1 Apparatus A— For use with cylindrical master standards for gage setting.
3.1.2
4.1.2 Apparatus B— For use with gage block standards for gage setting.
3.2
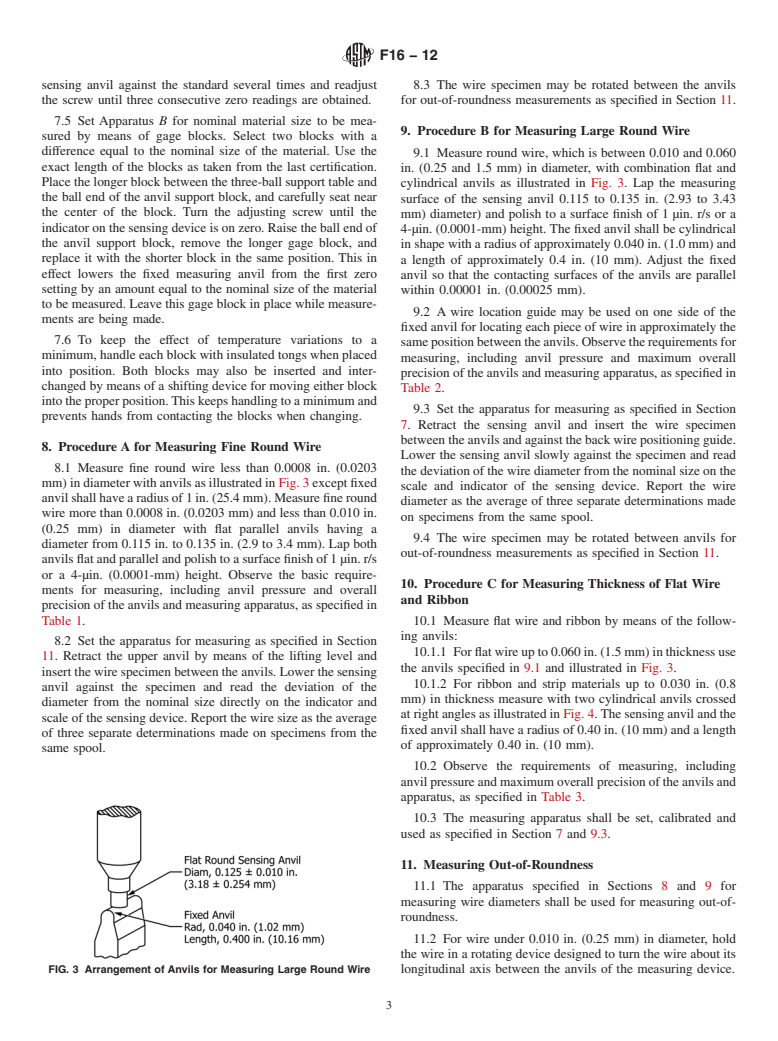
4.2 Apparatus A, shown in Fig. 1, shall have the following features:
3.2.1An4.2.1 An adjustable anvil of the size and shape specified for the material to be inspected. The anvil shall be nonrotating
and shall be adjustable for position by means of a micrometer or precision adjusting screw, with means for locking the anvil in
any set position after adjustments have been made.
3.2.2A4.2.2 A sensing anvil of the size and shape specified for the material to be measured, linked directly to a sensing and
indicating device of specified precision and sensitivity.
3.2.3The4.2.3 The adjustable fixed anvil and sensing anvil and the sensing device shall be rigidly mounted with both anvils in
1
These test methods are under the jurisdiction of ASTM Committee F01 on Electronics and are the direct responsibility of Subcommittee F01.03 on Metallic Materials.
Current edition approved Feb. 1, 2006.2012. Published March 2006.2012. Originally published in 1961 as F16 – 61 T. Last previous edition approved in 20002006 as
F16 – 67(20006). DOI: 10.1520/F0016-67R06.10.1520/F0016-12.
Copyright © ASTM International, 100 Barr Harbor Drive, PO Box C700, West Conshohocken, PA 19428-2959, United States.
1
---------------------- Page: 1 ----------------------
F16–12
FIG. 1 Measuring Apparatus A for Use with Cylindrical Master
Standards for Gage Setting
alignment on the same axis. The sensing anvil shall be movable with provisions for retracting the anvil for placing the specimen
in the measuring position.
34.2.4 Both anvils shall be properly fitted, lapped, and polished so the contacting surfaces are flat and parallel within the
accuracy sp
...


Questions, Comments and Discussion
Ask us and Technical Secretary will try to provide an answer. You can facilitate discussion about the standard in here.