ASTM E1256-10
(Test Method)Standard Test Methods for Radiation Thermometers (Single Waveband Type)
Standard Test Methods for Radiation Thermometers (Single Waveband Type)
SIGNIFICANCE AND USE
The purpose of these test methods is to establish consensus test methods by which both manufacturers and end users may make tests to establish the validity of the readings of their radiation thermometers. The test results can also serve as standard performance criteria for instrument evaluation or selection, or both.
The goal is to provide test methods that are reliable and can be performed by a sufficiently skilled end user or manufacturer in the hope that it will result in a better understanding of the operation of radiation thermometers and also promote improved communication between the manufacturers and the end users. A user without sufficient knowledge and experience should seek assistance from the equipment makers or other expert sources, such as those found at the National Institute of Standards and Technology in Gaithersburg, Maryland.
Use these test methods with the awareness that there are other parameters, particularly spectral range limits and temperature resolution, which impact the use and characterization of radiation thermometers for which test methods have not yet been developed.
Temperature resolution is the minimum simulated or actual change in target temperature that results in a usable change in output or indication, or both. It is usually expressed as a temperature differential or a percent of full-scale value, or both, and usually applies to value measured. The magnitude of the temperature resolution depends upon a combination of four factors: detector noise equivalent temperature difference (NETD), electronic signal processing, signal-to-noise characteristics (including amplification noise), and analog-to-digital conversion “granularity.”
Spectral range limits are the upper and lower limits to the wavelength band of radiant energy to which the instrument responds. These limits are generally expressed in micrometers (μm) and include the effects of all elements in the measuring optical path. At the spectral response limits, the transmi...
SCOPE
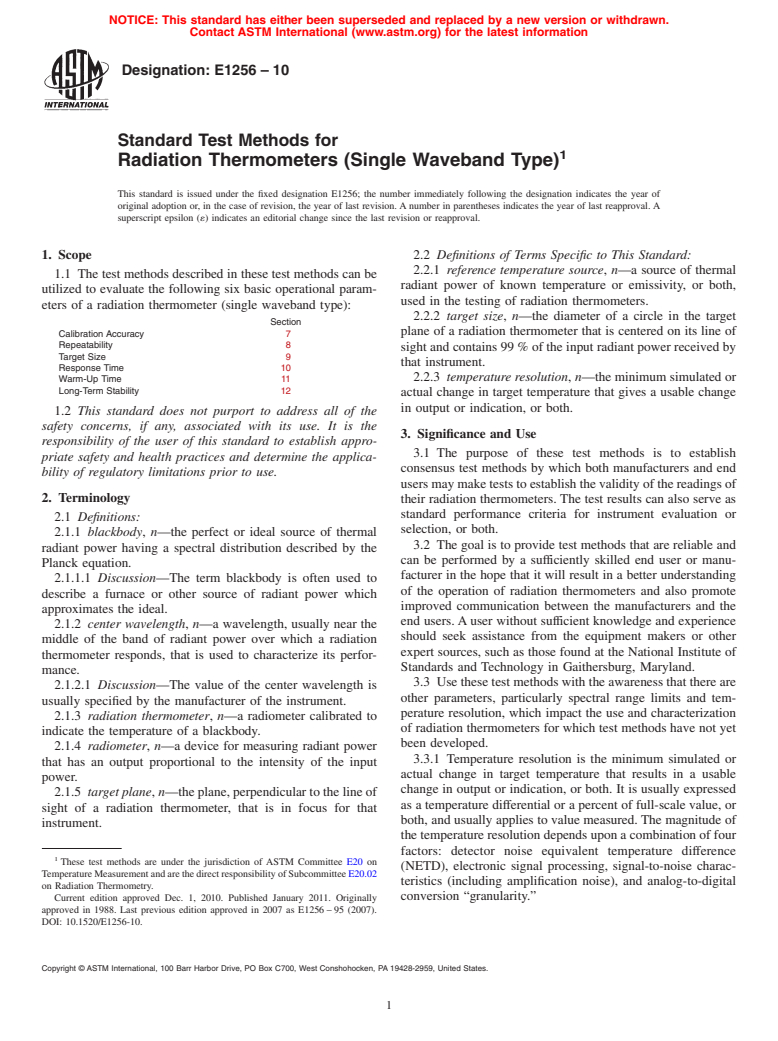
1.1 The test methods described in these test methods can be utilized to evaluate the following six basic operational parameters of a radiation thermometer (single waveband type):
General Information
Relations
Buy Standard
Standards Content (Sample)
NOTICE: This standard has either been superseded and replaced by a new version or withdrawn.
Contact ASTM International (www.astm.org) for the latest information
Designation:E1256–10
Standard Test Methods for
1
Radiation Thermometers (Single Waveband Type)
This standard is issued under the fixed designation E1256; the number immediately following the designation indicates the year of
original adoption or, in the case of revision, the year of last revision. A number in parentheses indicates the year of last reapproval. A
superscript epsilon (´) indicates an editorial change since the last revision or reapproval.
1. Scope 2.2 Definitions of Terms Specific to This Standard:
2.2.1 reference temperature source, n—a source of thermal
1.1 The test methods described in these test methods can be
radiant power of known temperature or emissivity, or both,
utilized to evaluate the following six basic operational param-
used in the testing of radiation thermometers.
eters of a radiation thermometer (single waveband type):
2.2.2 target size, n—the diameter of a circle in the target
Section
plane of a radiation thermometer that is centered on its line of
Calibration Accuracy 7
Repeatability 8
sight and contains 99 % of the input radiant power received by
Target Size 9
that instrument.
Response Time 10
2.2.3 temperature resolution, n—the minimum simulated or
Warm-Up Time 11
Long-Term Stability 12
actual change in target temperature that gives a usable change
in output or indication, or both.
1.2 This standard does not purport to address all of the
safety concerns, if any, associated with its use. It is the
3. Significance and Use
responsibility of the user of this standard to establish appro-
3.1 The purpose of these test methods is to establish
priate safety and health practices and determine the applica-
consensus test methods by which both manufacturers and end
bility of regulatory limitations prior to use.
users may make tests to establish the validity of the readings of
2. Terminology
their radiation thermometers. The test results can also serve as
standard performance criteria for instrument evaluation or
2.1 Definitions:
selection, or both.
2.1.1 blackbody, n—the perfect or ideal source of thermal
3.2 The goal is to provide test methods that are reliable and
radiant power having a spectral distribution described by the
can be performed by a sufficiently skilled end user or manu-
Planck equation.
facturer in the hope that it will result in a better understanding
2.1.1.1 Discussion—The term blackbody is often used to
of the operation of radiation thermometers and also promote
describe a furnace or other source of radiant power which
improved communication between the manufacturers and the
approximates the ideal.
end users. A user without sufficient knowledge and experience
2.1.2 center wavelength, n—a wavelength, usually near the
should seek assistance from the equipment makers or other
middle of the band of radiant power over which a radiation
expert sources, such as those found at the National Institute of
thermometer responds, that is used to characterize its perfor-
Standards and Technology in Gaithersburg, Maryland.
mance.
3.3 Use these test methods with the awareness that there are
2.1.2.1 Discussion—The value of the center wavelength is
other parameters, particularly spectral range limits and tem-
usually specified by the manufacturer of the instrument.
perature resolution, which impact the use and characterization
2.1.3 radiation thermometer, n—a radiometer calibrated to
of radiation thermometers for which test methods have not yet
indicate the temperature of a blackbody.
been developed.
2.1.4 radiometer, n—a device for measuring radiant power
3.3.1 Temperature resolution is the minimum simulated or
that has an output proportional to the intensity of the input
actual change in target temperature that results in a usable
power.
change in output or indication, or both. It is usually expressed
2.1.5 target plane, n—the plane, perpendicular to the line of
as a temperature differential or a percent of full-scale value, or
sight of a radiation thermometer, that is in focus for that
both, and usually applies to value measured. The magnitude of
instrument.
the temperature resolution depends upon a combination of four
factors: detector noise equivalent temperature difference
1
These test methods are under the jurisdiction of ASTM Committee E20 on
(NETD), electronic signal processing, signal-to-noise charac-
TemperatureMeasurementandarethedirectresponsibilityofSubcommitteeE20.02
teristics (including amplification noise), and analog-to-digital
on Radiation Thermometry.
conversion “granularity.”
Current edition approved Dec. 1, 2010. Published January 2011. Originally
approved in 1988. Last previous edition approved in 2007 as E1256 – 95 (2007).
DOI: 10.1520/E1256-10.
Copyright © ASTM International, 100 Barr Harbor Drive, PO Box C700, West Conshohocken, PA 19428-2959, United States.
1
---------------------- Page: 1 ---------
...
This document is not an ASTM standard and is intended only to provide the user of an ASTM standard an indication of what changes have been made to the previous version. Because
it may not be technically possible to adequately depict all changes accurately, ASTM recommends that users consult prior editions as appropriate. In all cases only the current version
of the standard as published by ASTM is to be considered the official document.
Designation:E1256–95 (Reapproved 2007) Designation:E1256–10
Standard Test Methods for
1
Radiation Thermometers (Single Waveband Type)
This standard is issued under the fixed designation E1256; the number immediately following the designation indicates the year of
original adoption or, in the case of revision, the year of last revision. A number in parentheses indicates the year of last reapproval. A
superscript epsilon (´) indicates an editorial change since the last revision or reapproval.
1. Scope
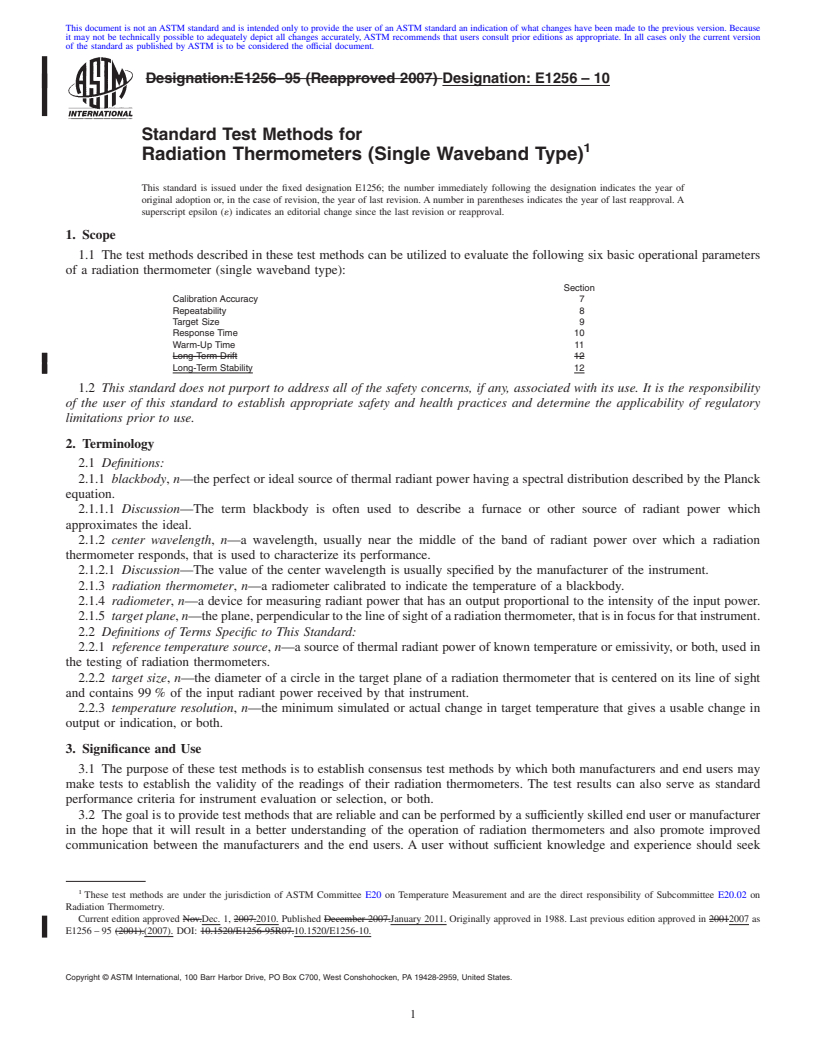
1.1 The test methods described in these test methods can be utilized to evaluate the following six basic operational parameters
of a radiation thermometer (single waveband type):
Section
Calibration Accuracy 7
Repeatability 8
Target Size 9
Response Time 10
Warm-Up Time 11
Long-Term Drift 12
Long-Term Stability 12
1.2 This standard does not purport to address all of the safety concerns, if any, associated with its use. It is the responsibility
of the user of this standard to establish appropriate safety and health practices and determine the applicability of regulatory
limitations prior to use.
2. Terminology
2.1 Definitions:
2.1.1 blackbody, n—the perfect or ideal source of thermal radiant power having a spectral distribution described by the Planck
equation.
2.1.1.1 Discussion—The term blackbody is often used to describe a furnace or other source of radiant power which
approximates the ideal.
2.1.2 center wavelength, n—a wavelength, usually near the middle of the band of radiant power over which a radiation
thermometer responds, that is used to characterize its performance.
2.1.2.1 Discussion—The value of the center wavelength is usually specified by the manufacturer of the instrument.
2.1.3 radiation thermometer, n—a radiometer calibrated to indicate the temperature of a blackbody.
2.1.4 radiometer, n—a device for measuring radiant power that has an output proportional to the intensity of the input power.
2.1.5 target plane, n—theplane,perpendiculartothelineofsightofaradiationthermometer,thatisinfocusforthatinstrument.
2.2 Definitions of Terms Specific to This Standard:
2.2.1 reference temperature source, n—a source of thermal radiant power of known temperature or emissivity, or both, used in
the testing of radiation thermometers.
2.2.2 target size, n—the diameter of a circle in the target plane of a radiation thermometer that is centered on its line of sight
and contains 99 % of the input radiant power received by that instrument.
2.2.3 temperature resolution, n—the minimum simulated or actual change in target temperature that gives a usable change in
output or indication, or both.
3. Significance and Use
3.1 The purpose of these test methods is to establish consensus test methods by which both manufacturers and end users may
make tests to establish the validity of the readings of their radiation thermometers. The test results can also serve as standard
performance criteria for instrument evaluation or selection, or both.
3.2 The goal is to provide test methods that are reliable and can be performed by a sufficiently skilled end user or manufacturer
in the hope that it will result in a better understanding of the operation of radiation thermometers and also promote improved
communication between the manufacturers and the end users. A user without sufficient knowledge and experience should seek
1
These test methods are under the jurisdiction of ASTM Committee E20 on Temperature Measurement and are the direct responsibility of Subcommittee E20.02 on
Radiation Thermometry.
Current edition approved Nov.Dec. 1, 2007.2010. Published December 2007.January 2011. Originally approved in 1988. Last previous edition approved in 20012007 as
E1256 – 95 (2001).(2007). DOI: 10.1520/E1256-95R07.10.1520/E1256-10.
Copyright © ASTM International, 100 Barr Harbor Drive, PO Box C700, West Conshohocken, PA 19428-2959, United States.
1
---------------------- Page: 1 ----------------------
E1256–10
assistance from the equipment makers or other expert sources, such as those found at the National Institute of Standards and
Technology in Gaithersburg, Maryland.
3.3 Use these test methods with the awareness that there are other parameters, particularly spectral responserange limits and
temperature resolution, which impact the use and characterization of radiation thermometers for which test methods have not yet
been developed.
3.3.1 Temperature resolution is the minimum simulated or actual change in target temperature that results in a usable change
in output or indication, or both. It is usually expressed
...


Questions, Comments and Discussion
Ask us and Technical Secretary will try to provide an answer. You can facilitate discussion about the standard in here.