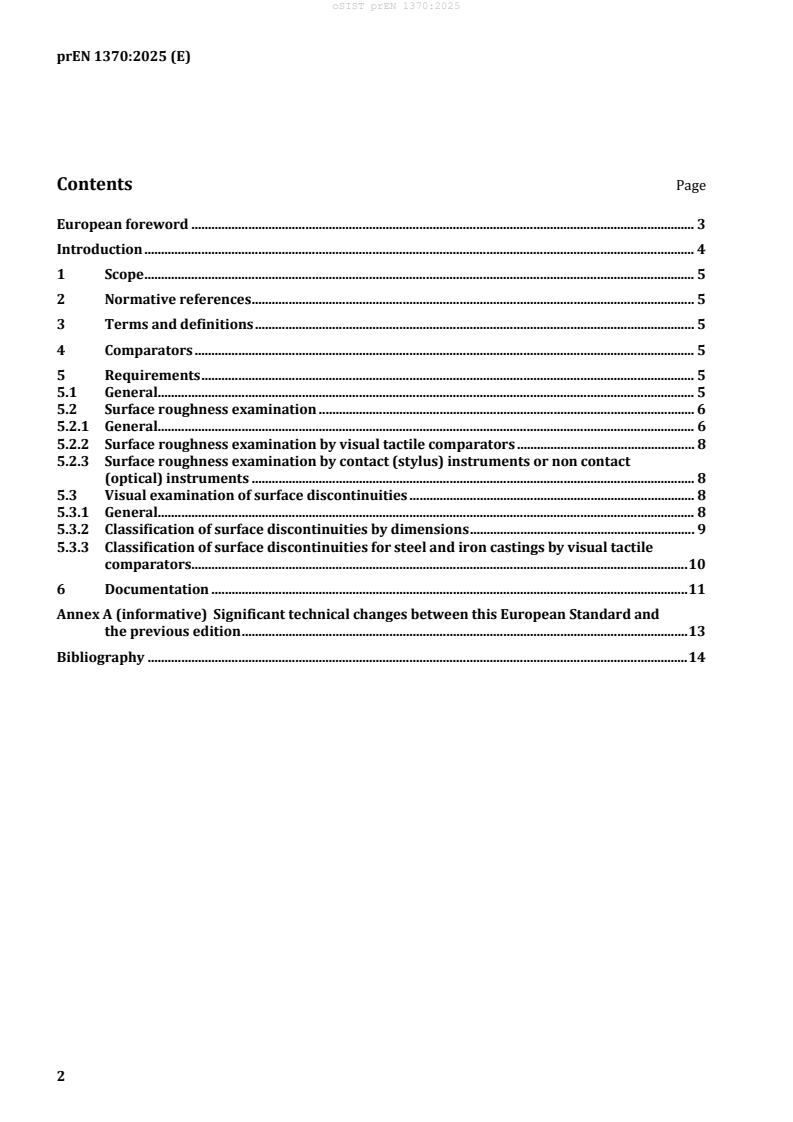
prEN 1370
(Main)Founding - Examination of surface condition
Founding - Examination of surface condition
This document specifies methods for the examination of surface condition (roughness and surface discontinuities) of castings.
This document is applicable to all cast metals and all casting processes except die casting.
Gießereiwesen - Bewertung des Oberflächenzustandes
Dieses Dokument legt Verfahren zur Untersuchung der Oberflächenqualität (Rauheit und Oberflächenungänzen) bei Gussstücken fest.
Dieses Dokument ist anwendbar auf alle Gussmetalle und alle Gießverfahren außer Druckguss.
Fonderie - Contrôle de l'état de surface
Le présent document spécifie les méthodes de contrôle de l’état de surface (rugosité et discontinuités de surface) des pièces moulées.
Le présent document est applicable à tous les produits moulés et à tous les procédés de moulage, à l’exception du moulage sous pression.
Livarstvo - Preiskave hrapavosti površine
General Information
- Status
- Not Published
- Publication Date
- 12-Aug-2026
- Technical Committee
- CEN/TC 190 - Foundry technology
- Drafting Committee
- CEN/TC 190/WG 11 - Surface inspection
- Current Stage
- 4599 - Dispatch of FV draft to CMC - Finalization for Vote
- Start Date
- 13-Feb-2026
- Due Date
- 26-Jan-2027
- Completion Date
- 13-Feb-2026
Relations
- Effective Date
- 02-Feb-2023
Overview
prEN 1370:2025 - "Founding - Examination of surface condition" (CEN draft) specifies methods to assess the surface condition of castings, covering both surface roughness and surface discontinuities. It applies to all cast metals and all casting processes except die casting. The draft standard updates and will supersede EN 1370:2011 and is intended for use by foundries, purchasers and inspection bodies to agree and verify surface quality requirements.
Key topics and technical requirements
- Scope and applicability: All cast metals and casting processes except die casting.
- Examination methods:
- Visual tactile comparators (preferred for cast surfaces): positive replicas representing as-cast, shot-blasted or ground finishes. Two widely used comparator sets are BNIF 359 (110 × 160 mm) and SCRATA (100 × 150 mm) including a precision SCRATA set for steel castings.
- Instrumental methods: contact (stylus) or non-contact (optical) instruments are allowed if agreed at ordering. Required measurement parameters (method, area, scanning dimensions, profile parameters and limits) must be specified in the purchase agreement.
- Surface roughness assessment:
- Use comparators held next to the casting under adequate lighting. Outcome is satisfactory if the casting is equal to or smoother than the comparator.
- Comparators and not photographs are the contractual reference, though photos may assist selection.
- Surface discontinuities:
- Visual inspection without optical aids under adequate lighting; surfaces must be clean of contaminants.
- Discontinuities are characterized by dimensions H (height/depth) and L (largest length) and are classified into severity levels VD1–VD8 (ranges of H and L are defined).
- For steel and iron castings, SCRATA comparators define categories (inclusions, gas porosities, laps/cold shuts, scabs, inserts, welds) with severity levels VC1–VC4 and a mapping to detectable discontinuities depending on surface roughness.
- Documentation:
- When agreed, the manufacturer shall keep a record and provide a report that includes at least the casting identification and the name/qualification of the examiner.
Practical applications
- Specification and verification of surface quality in production drawings and purchase contracts.
- Quality control in foundries for acceptance criteria of as-cast, fettled, shot-blasted or ground surfaces.
- Pre-inspection criteria for subsequent surface treatments (machining, coating, welding).
- Useful for acceptance checks on cast components used in mechanical, aesthetic, or surface-treatment-sensitive applications.
Who should use this standard
- Foundry production and quality engineers
- Purchasing and inspection personnel
- Third‑party testing laboratories
- Designers and process engineers specifying casting surface requirements
Related standards
- EN 1370:2011 (to be superseded)
- Comparator references: BNIF 359, SCRATA comparator sets (shorter and precision)
- EN 1559-3 (guidance for iron casting acceptance) and EN 13018 (visual examination principles) - referenced for guidance in the draft.
Keywords: prEN 1370, founding, surface condition, surface roughness, surface discontinuities, castings, comparators, visual tactile comparators, foundry inspection, CEN.
Get Certified
Connect with accredited certification bodies for this standard

Element Materials Technology
Materials testing and product certification.

BSMI (Bureau of Standards, Metrology and Inspection)
Taiwan's standards and inspection authority.

Inštitut za kovinske materiale in tehnologije
Institute of Metals and Technology. Materials testing, metallurgical analysis, NDT.
Sponsored listings
Frequently Asked Questions
prEN 1370 is a draft published by the European Committee for Standardization (CEN). Its full title is "Founding - Examination of surface condition". This standard covers: This document specifies methods for the examination of surface condition (roughness and surface discontinuities) of castings. This document is applicable to all cast metals and all casting processes except die casting.
This document specifies methods for the examination of surface condition (roughness and surface discontinuities) of castings. This document is applicable to all cast metals and all casting processes except die casting.
prEN 1370 is classified under the following ICS (International Classification for Standards) categories: 17.040.20 - Properties of surfaces; 77.180 - Equipment for the metallurgical industry. The ICS classification helps identify the subject area and facilitates finding related standards.
prEN 1370 has the following relationships with other standards: It is inter standard links to EN 1370:2011. Understanding these relationships helps ensure you are using the most current and applicable version of the standard.
prEN 1370 is available in PDF format for immediate download after purchase. The document can be added to your cart and obtained through the secure checkout process. Digital delivery ensures instant access to the complete standard document.
Standards Content (Sample)
SLOVENSKI STANDARD
01-oktober-2025
Livarstvo - Preiskave hrapavosti površine
Founding - Examination of surface condition
Gießereiwesen - Bewertung des Oberflächenzustandes
Fonderie - Contrôle de l'état de surface
Ta slovenski standard je istoveten z: prEN 1370
ICS:
17.040.20 Lastnosti površin Properties of surfaces
77.180 Oprema za metalurško Equipment for the
industrijo metallurgical industry
2003-01.Slovenski inštitut za standardizacijo. Razmnoževanje celote ali delov tega standarda ni dovoljeno.
DRAFT
EUROPEAN STANDARD
NORME EUROPÉENNE
EUROPÄISCHE NORM
July 2025
ICS 17.040.20; 77.180 Will supersede EN 1370:2011
English Version
Founding - Examination of surface condition
Fonderie - Contrôle de l'état de surface Gießereiwesen - Bewertung des Oberflächenzustandes
This draft European Standard is submitted to CEN members for enquiry. It has been drawn up by the Technical Committee
CEN/TC 190.
If this draft becomes a European Standard, CEN members are bound to comply with the CEN/CENELEC Internal Regulations
which stipulate the conditions for giving this European Standard the status of a national standard without any alteration.
This draft European Standard was established by CEN in three official versions (English, French, German). A version in any other
language made by translation under the responsibility of a CEN member into its own language and notified to the CEN-CENELEC
Management Centre has the same status as the official versions.
CEN members are the national standards bodies of Austria, Belgium, Bulgaria, Croatia, Cyprus, Czech Republic, Denmark, Estonia,
Finland, France, Germany, Greece, Hungary, Iceland, Ireland, Italy, Latvia, Lithuania, Luxembourg, Malta, Netherlands, Norway,
Poland, Portugal, Republic of North Macedonia, Romania, Serbia, Slovakia, Slovenia, Spain, Sweden, Switzerland, Türkiye and
United Kingdom.
Recipients of this draft are invited to submit, with their comments, notification of any relevant patent rights of which they are
aware and to provide supporting documentation.
Warning : This document is not a European Standard. It is distributed for review and comments. It is subject to change without
notice and shall not be referred to as a European Standard.
EUROPEAN COMMITTEE FOR STANDARDIZATION
COMITÉ EUROPÉEN DE NORMALISATION
EUROPÄISCHES KOMITEE FÜR NORMUNG
CEN-CENELEC Management Centre: Rue de la Science 23, B-1040 Brussels
© 2025 CEN All rights of exploitation in any form and by any means reserved Ref. No. prEN 1370:2025 E
worldwide for CEN national Members.
Contents Page
European foreword . 3
Introduction . 4
1 Scope . 5
2 Normative references . 5
3 Terms and definitions . 5
4 Comparators . 5
5 Requirements . 5
5.1 General. 5
5.2 Surface roughness examination . 6
5.2.1 General. 6
5.2.2 Surface roughness examination by visual tactile comparators . 8
5.2.3 Surface roughness examination by contact (stylus) instruments or non contact
(optical) instruments . 8
5.3 Visual examination of surface discontinuities . 8
5.3.1 General. 8
5.3.2 Classification of surface discontinuities by dimensions . 9
5.3.3 Classification of surface discontinuities for steel and iron castings by visual tactile
comparators. 10
6 Documentation . 11
Annex A (informative) Significant technical changes between this European Standard and
the previous edition . 13
Bibliography . 14
European foreword
This document (prEN 1370:2025) has been prepared by Technical Committee CEN/TC 190 “Foundry
technology”, the secretariat of which is held by DIN.
This document is currently submitted to the CEN Enquiry.
This document will supersede EN 1370:2011.
— Clause 2 and Clause 3 were added;
— modification of Table 4 for the discontinuities Laps and cold shuts and Inserts;
— editorial modifications.
Annex A provides details of significant technical changes between this European Standard and the
previous edition.
Introduction
The surface roughness of a casting is influenced by the manufacturing process (moulding, grinding,
finishing, etc.), the moulding materials used (sand, coating, etc.), the production equipment available and
the alloy cast.
Depending on the applications of the casting, the surface requirements are related to mechanical
loadings, appearance, surface treatment, etc.
Since cast surfaces do not exhibit the same cyclic character as machined surfaces it is difficult to evaluate
their roughness using conventional mechanical, optical, or pneumatic devices. Other optical/electronic
means are now available for measuring surface roughness of cast surfaces. For the ease of use, visual
tactile comparators are preferred.
Moreover, in order to take into account the irregularities on as-cast surfaces, ground surfaces or other
means of finishing of castings, comparators should have relatively large dimensions in order to make
them more reliable and their results repeatable and consistent.
Two sets of comparators are in widespread use:
— “BNIF 359 Recommandation technique du Bureau de Normalisation des Industries de la Fonderie.
Caractérisation d'états de surface des pièces moulées — Utilisation des échantillons types
de 110 × 160 mm”, available from CETIM, 44 avenue de la Division Leclerc, 92310 Sèvres, France [1];
— “SCRATA comparators for the definition of surface quality of steel and iron castings”, ASTM A 802
Shorter Set, available from Castings Technology International, Advanced Manufacturing Park, Brunel
Way, Rotherham, S60 5WG, South Yorkshire, United Kingdom [2].
A third set of comparators, for precision steel castings, is also available:
— “SCRATA surface comparators for the definition of surface texture of precision steel castings”,
precision set, available from Castings Technology International, Advanced Manufacturing Park,
Brunel Way, Rotherham, S60 5WG, South Yorkshire, United Kingdom [3].
This document also specifies 8 levels of surface imperfections based on maximum dimensions to be
detected by visual examination.
The SCRATA comparators shorter set [2], can also be used for the classification of surface discontinuities
on steel and iron castings.
BNIF N°359 comparators can be used for all cast metals.
100 mm × 150 mm for SCRATA comparators; 110 mm × 160 mm for BNIF comparators.
1 Scope
This document specifies methods for the examination of surface condition (roughness and surface
discontinuities) of castings.
This document is applicable to all cast metals and all casting processes except die casting.
2 Normative references
There are no normative references in this document.
3 Terms and definitions
No terms and definitions are listed in this document.
ISO and IEC maintain terminology databases for use in standardization at the following addresses:
— ISO Online browsing platform: available at https://www.iso.org/obp/
— IEC Electropedia: available at https://www.electropedia.org/
4 Comparators
The comparators are essentially positive replicas of actual casting surfaces: as-cast or after further
fettling treatment such as shot blasted or ground.
Full size photographs of the comparators can be used to assist in making a rapid evaluation of the overall
roughness of the comparators. These can give preliminary information for the appropriate selection of a
moulding or finishing process.
It is emphasized however that the comparators, and not the photographs, shall be used to form the basis
of an agreement between the manufacturer and the purchaser.
An overview and a comparison of the different categories and levels of the three sets of comparators are
given in Tables 1, 2 and 4.
5 Requirements
5.1 General
When examination of surface conditions is required, the following shall be as agreed at the time of
ordering:
— category and severity level required;
More than one severity level can be specified for different surfaces of the same casting. This shall be
clearly indicated on the drawing.
— any types of discontinuities which are unacceptable;
— areas of the castings which a
...


Questions, Comments and Discussion
Ask us and Technical Secretary will try to provide an answer. You can facilitate discussion about the standard in here.
Loading comments...