ISO/TR 23276:2020
(Main)Geometrical product specifications (GPS) — Surface texture: Profile method — Flowchart for PSm, RSm, WSm and Pc, Rc, Wc
Geometrical product specifications (GPS) — Surface texture: Profile method — Flowchart for PSm, RSm, WSm and Pc, Rc, Wc
This document provides an unambiguous calculation of parameters PSm, RSm, WSm and Pc, Rc, Wc, as defined in ISO 4287, by means of a flowchart.
Spécification géométrique des produits (GPS) - Etat de surface : Méthode du profil - Organigramme pour PSm, RSm, WSm et Pc, Rc, Wc
General Information
- Status
- Published
- Publication Date
- 20-Aug-2020
- Drafting Committee
- ISO/TC 213/WG 16 - Areal and profile surface texture
- Current Stage
- 9092 - International Standard to be revised
- Start Date
- 07-Nov-2025
- Completion Date
- 12-Feb-2026
Overview
ISO/TR 23276:2020 - "Geometrical product specifications (GPS) - Surface texture: Profile method - Flowchart for PSm, RSm, WSm and Pc, Rc, Wc" is a technical report that provides an unambiguous, algorithmic flowchart for computing feature parameters defined in ISO 4287. Its main purpose is to remove ambiguity in software implementations so that results for profile-based surface texture parameters are comparable across instruments and packages.
Key topics
- Scope: Defines a clear algorithmic procedure (flowchart) to calculate mean spacing and mean height of profile elements for primary, roughness and waviness profiles - specifically PSm, RSm, WSm (mean spacing) and Pc, Rc, Wc (mean height).
- Four-part flowchart:
- Part 1 - Detection of all profile peaks and valleys within the evaluation length.
- Part 2 - Peak height discrimination and valley depth discrimination to remove insignificant features.
- Part 3 - Merging adjacent remaining peaks or valleys per defined rules.
- Part 4 - Calculation of profile parameters (generic XSm, Xc), evaluated in both directions across the evaluation length.
- Thresholds and discriminators: Specifies noise-suppression thresholds O (0.01% of Pp/Rp/Wp or Pv/Rv/Wv) and minimum discriminations H (10% of Pp/Rp/Wp for peaks and 10% of Pv/Rv/Wv for valleys) as part of the decision logic.
- Terminology and variables: Uses ISO-aligned terms - profile, evaluation length, profile element, profile peak/valley, spacing, element height - and provides explicit variable definitions for algorithmic implementation.
- Origins: Flowchart extends crossing-the-line segmentation methods (Seewig and Scott) to produce a robust, unambiguous algorithm.
Applications
- Implementation of surface texture analysis in metrology software (ensures reproducible PSm/RSm/WSm and Pc/Rc/Wc values across packages).
- Quality control and acceptance testing in precision manufacturing where profile features (spacing, heights) affect function (sealing, friction, wear).
- Calibration and verification of contact (stylus) instruments and profilometers under ISO 3274 and related GPS practices.
- Research in tribology and surface engineering where consistent feature extraction is required.
Who should use this standard
- Metrologists, software developers for measurement systems, QA/QC engineers, laboratory managers, and standards specialists implementing or validating profile-based surface texture measurements.
Related standards
- ISO 4287 - Terms, definitions and surface texture parameters (primary reference for parameter definitions)
- ISO 3274 - Nominal characteristics of contact (stylus) instruments
- ISO 5807 - Flowchart documentation conventions
Keywords: ISO/TR 23276, surface texture, profile method, PSm, RSm, WSm, Pc, Rc, Wc, ISO 4287, flowchart, profile elements, roughness parameters, metrology.
Get Certified
Connect with accredited certification bodies for this standard

BSMI (Bureau of Standards, Metrology and Inspection)
Taiwan's standards and inspection authority.
Sponsored listings
Frequently Asked Questions
ISO/TR 23276:2020 is a technical report published by the International Organization for Standardization (ISO). Its full title is "Geometrical product specifications (GPS) — Surface texture: Profile method — Flowchart for PSm, RSm, WSm and Pc, Rc, Wc". This standard covers: This document provides an unambiguous calculation of parameters PSm, RSm, WSm and Pc, Rc, Wc, as defined in ISO 4287, by means of a flowchart.
This document provides an unambiguous calculation of parameters PSm, RSm, WSm and Pc, Rc, Wc, as defined in ISO 4287, by means of a flowchart.
ISO/TR 23276:2020 is classified under the following ICS (International Classification for Standards) categories: 17.040.40 - Geometrical Product Specification (GPS). The ICS classification helps identify the subject area and facilitates finding related standards.
ISO/TR 23276:2020 is available in PDF format for immediate download after purchase. The document can be added to your cart and obtained through the secure checkout process. Digital delivery ensures instant access to the complete standard document.
Standards Content (Sample)
TECHNICAL ISO/TR
REPORT 23276
First edition
2020-08
Geometrical product specifications
(GPS) — Surface texture: Profile
method — Flowchart for PSm, RSm,
WSm and Pc, Rc, Wc
Reference number
©
ISO 2020
© ISO 2020
All rights reserved. Unless otherwise specified, or required in the context of its implementation, no part of this publication may
be reproduced or utilized otherwise in any form or by any means, electronic or mechanical, including photocopying, or posting
on the internet or an intranet, without prior written permission. Permission can be requested from either ISO at the address
below or ISO’s member body in the country of the requester.
ISO copyright office
CP 401 • Ch. de Blandonnet 8
CH-1214 Vernier, Geneva
Phone: +41 22 749 01 11
Email: copyright@iso.org
Website: www.iso.org
Published in Switzerland
ii © ISO 2020 – All rights reserved
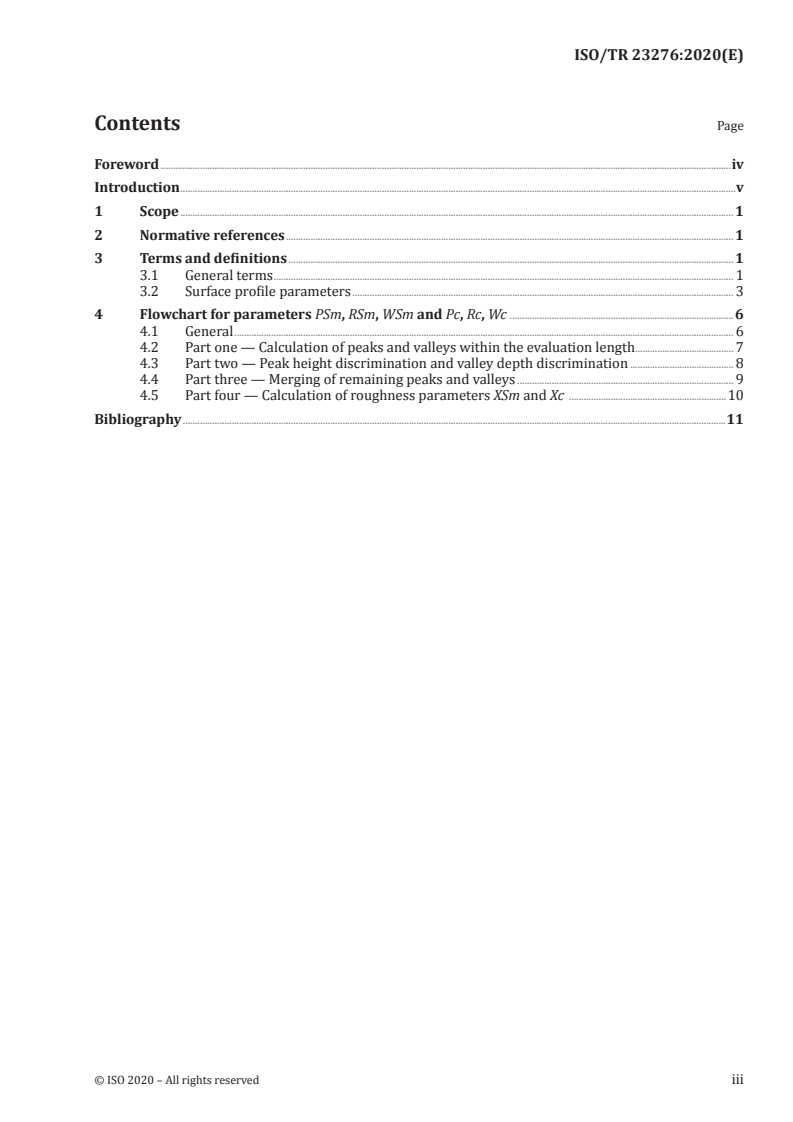
Contents Page
Foreword .iv
Introduction .v
1 Scope . 1
2 Normative references . 1
3 Terms and definitions . 1
3.1 General terms . 1
3.2 Surface profile parameters . 3
4 Flowchart for parameters PSm, RSm, WSm and Pc, Rc, Wc . 6
4.1 General . 6
4.2 Part one — Calculation of peaks and valleys within the evaluation length . 7
4.3 Part two — Peak height discrimination and valley depth discrimination . 8
4.4 Part three — Merging of remaining peaks and valleys . 9
4.5 Part four — Calculation of roughness parameters XSm and Xc .10
Bibliography .11
Foreword
ISO (the International Organization for Standardization) is a worldwide federation of national standards
bodies (ISO member bodies). The work of preparing International Standards is normally carried out
through ISO technical committees. Each member body interested in a subject for which a technical
committee has been established has the right to be represented on that committee. International
organizations, governmental and non-governmental, in liaison with ISO, also take part in the work.
ISO collaborates closely with the International Electrotechnical Commission (IEC) on all matters of
electrotechnical standardization.
The procedures used to develop this document and those intended for its further maintenance are
described in the ISO/IEC Directives, Part 1. In particular, the different approval criteria needed for the
different types of ISO documents should be noted. This document was drafted in accordance with the
editorial rules of the ISO/IEC Directives, Part 2 (see www .iso .org/ directives).
Attention is drawn to the possibility that some of the elements of this document may be the subject of
patent rights. ISO shall not be held responsible for identifying any or all such patent rights. Details of
any patent rights identified during the development of the document will be in the Introduction and/or
on the ISO list of patent declarations received (see www .iso .org/ patents).
Any trade name used in this document is information given for the convenience of users and does not
constitute an endorsement.
For an explanation of the voluntary nature of standards, the meaning of ISO specific terms and
expressions related to conformity assessment, as well as information about ISO's adherence to the
World Trade Organization (WTO) principles in the Technical Barriers to Trade (TBT), see www .iso .org/
iso/ foreword .html.
This document was prepared by Technical Committee ISO/TC 213, Dimensional and geometrical product
specifications and verification.
Any feedback or questions on this document should be directed to the user’s national standards body. A
complete listing of these bodies can be found at www .iso .org/ members .html.
iv © ISO 2020 – All rights reserved
Introduction
Feature characterization of rough surfaces is of growing interest in terms of a function-oriented
description of technical surfaces. A well-known set of feature parameters is the mean width and mean
height of profile elements defined in ISO 4287. Unfortunately, the definition given in ISO 4287 is
insufficient for an unambiguous implementation in a high-level programming language. Due to the lack
of a flowchart, results given by different software packages are not comparable. The main intention of
this document is to provide an unambiguous algorithm for feature parameters PSm , RSm , WSm and
Pc , Rc , Wc according to ISO 4287.
[5]
The flowchart defined in this document was developed by Seewig and Scott and represents an
[4]
extension of crossing the line segmentation proposed by Scott . The flowchart is based on new
knowledge gathered over the past 10 years.
TECHNICAL REPORT ISO/TR 23276:2020(E)
Geometrical product specifications (GPS) — Surface
texture: Profile method — Flowchart for PSm, RSm, WSm
and Pc, Rc, Wc
1 Scope
This document provides an unambiguous calculation of parameters PSm, RSm, WSm and Pc, Rc, Wc, as
defined in ISO 4287, by means of a flowchart.
2 Normative references
There are no normative references in this document.
3 Terms and definitions
For the purposes of this document, the following terms and definitions apply.
ISO and IEC maintain terminological databases for use in standardization at the following addresses:
— ISO Online browsing platform: available at https:// www .iso .org/ obp
— IEC Electropedia: available at http:// www .electropedia .org/
3.1 General terms
3.1.1
profile
set of ordered pairs xz, which describe the intersection of a surface with a specified plane
()
Note 1 to entry: For every point x on the X-axis, there is exactly one ordinate z. The relation between x and z is
given by a formula zf= ()x .
Note 2 to entry: Usually profiles have value pairs xz, above and below the X-axis.
()
Note 3 to entry: In surface metrology three profiles are defined. The primary profile, the roughness profile and
the waviness profile. Each profile corresponds to a specific lateral scale.
3.1.2
evaluation length
lm
length in the direction of the X-axis used for assessing the profile under evaluation
[SOURCE: ISO 4287:1997, 3.1.10, modified — symbol changed from ln and notes to entry removed.]
3.1.3
profile peak
outwardly directed (from material to surrounding medium) portion of the assessed profile connecting
two adjacent intersection points of the profile and the X-axis
3.1.4
profile peak height
normal distance between the X-axis and the highest ordinate of the profile peak
3.1.5
profile valley
inwardly directed (from surrounding medium to material) portion of the assessed profile connecting
two adjacent intersection points of the assessed profile and the X-axis
3.1.6
profile valley depth
normal distance between the X-axis and the lowest ordinate of the profile valley
3.1.7
profile element
profile peak/valley and the adjacent profile valley/peak within the evaluation length
Note 1 to entry: Profile elements are calculated from the beginning to the end of the evaluation length and
vice versa.
3.1.8
profile element height
sum of the profile peak height and the profile valley depth of a profile element
3.1.9
profile element spacing
distance on the X-axis between the beginning of two adjacent profile elements
Note 1 to entry: The positive or negative portion of the assessed profile at the beginning or end of the evaluation
length is considered as an imperfect profile element and is used for the determination of the profile element
spacing.
3.1.10
profile peak height discrimination
minimum height of profile peaks of the assessed profile which is taken into account
Note 1 to entry: The minimum height of profile peaks is 10 % of Pp for primary profile parameters, 10 % of Rp for
roughness profile parameters and 10 % of Wp for waviness
...


Questions, Comments and Discussion
Ask us and Technical Secretary will try to provide an answer. You can facilitate discussion about the standard in here.
Loading comments...