ISO 26146:2025
(Main)Corrosion of metals and alloys — Method for metallographic examination of samples after exposure to high-temperature corrosive environments
Corrosion of metals and alloys — Method for metallographic examination of samples after exposure to high-temperature corrosive environments
This document specifies the examination of samples that have been exposed to corrosive environments at high temperatures. This document specifies the classification, identification and thickness measurement of the corrosion layer that forms during exposure to corrosive environments at high temperatures.
Corrosion des métaux et alliages — Méthode d'étude métallographique d'échantillons soumis à des environnements corrosifs à haute température
General Information
- Status
- Published
- Publication Date
- 02-Jun-2025
- Technical Committee
- ISO/TC 156 - Corrosion of metals and alloys
- Drafting Committee
- ISO/TC 156 - Corrosion of metals and alloys
- Current Stage
- 6060 - International Standard published
- Start Date
- 03-Jun-2025
- Due Date
- 09-Jun-2025
- Completion Date
- 03-Jun-2025
Relations
- Effective Date
- 11-Jun-2022
Overview
ISO 26146:2025 - "Corrosion of metals and alloys - Method for metallographic examination of samples after exposure to high‑temperature corrosive environments" - defines a standardized metallographic procedure to classify, identify and measure corrosion layers formed during high‑temperature exposure. It covers sample preparation, cross‑sectioning, mounting, grinding/polishing, microscopic examination and thickness measurement of corrosion scales and related features.
Key topics and technical requirements
- Scope: Examination of samples exposed to high‑temperature corrosive environments; classification, identification and thickness measurement of corrosion layers.
- Terminology: Defines terms such as interdiffusion zone, outward/inward growing scale, external/internal scale, de‑alloyed zone, metal loss and defects (voids/cracks in corrosion layers).
- Measurement accuracy: Uncertainty at 95% confidence of ±5 µm or 5% of measured material loss (whichever is lesser). Measurement systems should be calibrated and traceable; precision of the measurement system target is ±1 µm.
- Microscopy and imaging: Use of metallographic optical microscopes with X–Y stages (typical magnifications ×100, ×400, ×1 000); digital microscopes with automatic X–Y stages and image analysis software are supported for stitching, measurement and evaluation.
- Specimen types & preparation: Typical geometries - rod, disc, block. Detailed procedures for sectioning, mounting (e.g., epoxy with vacuum impregnation to avoid gaps), grinding/polishing sequences (P100 → P1200, optional 1 µm diamond paste, colloidal silica) to preserve edge retention of corrosion layers. Overplating and specimen supports are permitted to minimize artefacts.
- Classification & evaluation: Methods to classify corrosion layers (external vs internal, grain‑boundary corrosion, de‑alloyed zones), identify layer composition and measure thickness and metal loss. Procedures include assessment of defects in layers.
- Quality control: Calibration against length standards at intervals ≤ 12 months; checks against secondary standards at start/end of measurement series.
Practical applications
- Quality control and acceptance testing of high‑temperature coatings, protective alloys and components used in power generation, petrochemical, aerospace and materials research.
- Failure analysis and root‑cause investigations of high‑temperature corrosion damage.
- Comparative testing of coatings/deposits (salts, ashes, molten metals) and evaluation of interdiffusion or internal corrosion beneath scales.
- Research labs and R&D assessing new alloys or protective systems under simulated service atmospheres.
Who should use this standard
- Corrosion engineers, metallurgists and materials scientists
- Testing and inspection laboratories conducting metallography after high‑temperature exposures
- OEMs and manufacturers of high‑temperature components and coatings
- Failure analysts and standards bodies specifying test and reporting requirements
Related standards
- ISO 8044 - Corrosion of metals and alloys - Vocabulary
- ISO 3611 and ISO 13385‑1 - Dimensional measuring equipment (micrometers, calipers)
Keywords: ISO 26146:2025, metallographic examination, high‑temperature corrosion, corrosion layer thickness, corrosion of metals, digital microscope, image analysis.
Get Certified
Connect with accredited certification bodies for this standard

Element Materials Technology
Materials testing and product certification.

Inštitut za kovinske materiale in tehnologije
Institute of Metals and Technology. Materials testing, metallurgical analysis, NDT.
Sponsored listings
Frequently Asked Questions
ISO 26146:2025 is a standard published by the International Organization for Standardization (ISO). Its full title is "Corrosion of metals and alloys — Method for metallographic examination of samples after exposure to high-temperature corrosive environments". This standard covers: This document specifies the examination of samples that have been exposed to corrosive environments at high temperatures. This document specifies the classification, identification and thickness measurement of the corrosion layer that forms during exposure to corrosive environments at high temperatures.
This document specifies the examination of samples that have been exposed to corrosive environments at high temperatures. This document specifies the classification, identification and thickness measurement of the corrosion layer that forms during exposure to corrosive environments at high temperatures.
ISO 26146:2025 is classified under the following ICS (International Classification for Standards) categories: 77.060 - Corrosion of metals. The ICS classification helps identify the subject area and facilitates finding related standards.
ISO 26146:2025 has the following relationships with other standards: It is inter standard links to ISO 26146:2012. Understanding these relationships helps ensure you are using the most current and applicable version of the standard.
ISO 26146:2025 is available in PDF format for immediate download after purchase. The document can be added to your cart and obtained through the secure checkout process. Digital delivery ensures instant access to the complete standard document.
Standards Content (Sample)
International
Standard
ISO 26146
Second edition
Corrosion of metals and alloys —
2025-06
Method for metallographic
examination of samples after
exposure to high-temperature
corrosive environments
Corrosion des métaux et alliages — Méthode d'étude
métallographique d'échantillons soumis à des environnements
corrosifs à haute température
Reference number
© ISO 2025
All rights reserved. Unless otherwise specified, or required in the context of its implementation, no part of this publication may
be reproduced or utilized otherwise in any form or by any means, electronic or mechanical, including photocopying, or posting on
the internet or an intranet, without prior written permission. Permission can be requested from either ISO at the address below
or ISO’s member body in the country of the requester.
ISO copyright office
CP 401 • Ch. de Blandonnet 8
CH-1214 Vernier, Geneva
Phone: +41 22 749 01 11
Email: copyright@iso.org
Website: www.iso.org
Published in Switzerland
ii
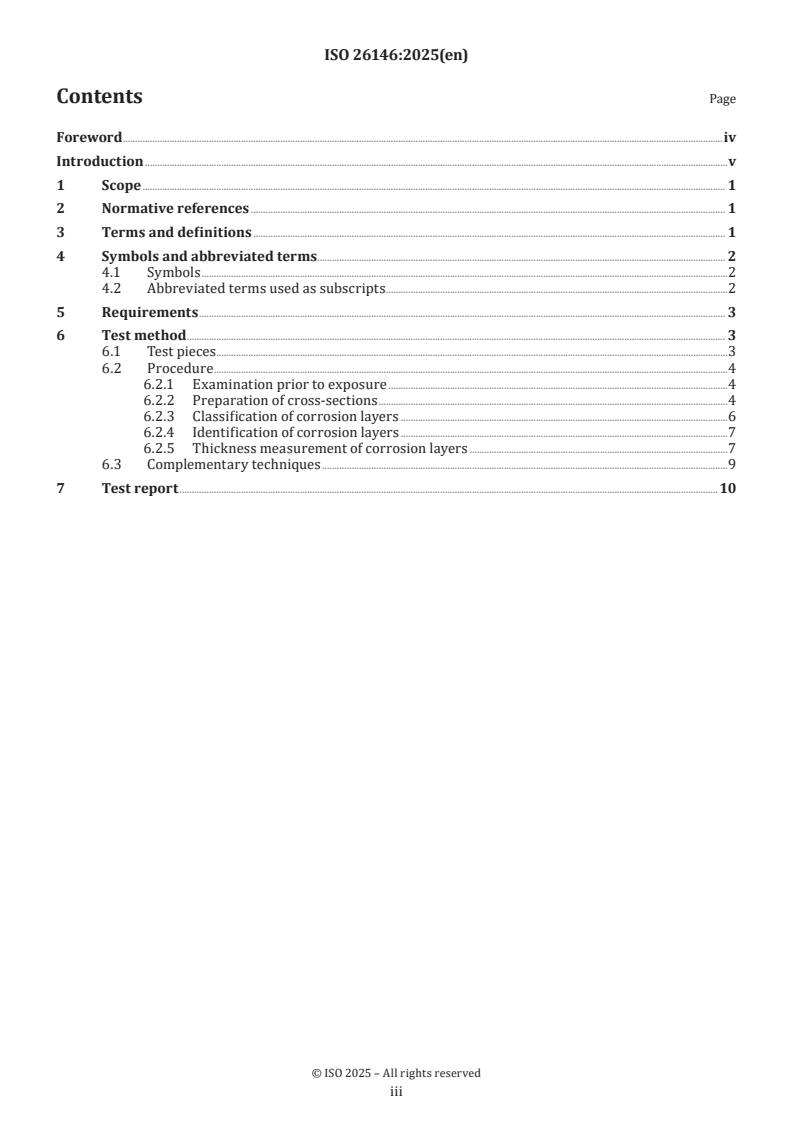
Contents Page
Foreword .iv
Introduction .v
1 Scope . 1
2 Normative references . 1
3 Terms and definitions . 1
4 Symbols and abbreviated terms. 2
4.1 Symbols .2
4.2 Abbreviated terms used as subscripts .2
5 Requirements . 3
6 Test method . 3
6.1 Test pieces . .3
6.2 Procedure .4
6.2.1 Examination prior to exposure .4
6.2.2 Preparation of cross-sections .4
6.2.3 Classification of corrosion layers .6
6.2.4 Identification of corrosion layers .7
6.2.5 Thickness measurement of corrosion layers .7
6.3 Complementary techniques .9
7 Test report .10
iii
Foreword
ISO (the International Organization for Standardization) is a worldwide federation of national standards
bodies (ISO member bodies). The work of preparing International Standards is normally carried out through
ISO technical committees. Each member body interested in a subject for which a technical committee
has been established has the right to be represented on that committee. International organizations,
governmental and non-governmental, in liaison with ISO, also take part in the work. ISO collaborates closely
with the International Electrotechnical Commission (IEC) on all matters of electrotechnical standardization.
The procedures used to develop this document and those intended for its further maintenance are described
in the ISO/IEC Directives, Part 1. In particular, the different approval criteria needed for the different types
of ISO document should be noted. This document was drafted in accordance with the editorial rules of the
ISO/IEC Directives, Part 2 (see www.iso.org/directives).
ISO draws attention to the possibility that the implementation of this document may involve the use of (a)
patent(s). ISO takes no position concerning the evidence, validity or applicability of any claimed patent
rights in respect thereof. As of the date of publication of this document, ISO had not received notice of (a)
patent(s) which may be required to implement this document. However, implementers are cautioned that
this may not represent the latest information, which may be obtained from the patent database available at
www.iso.org/patents. ISO shall not be held responsible for identifying any or all such patent rights.
Any trade name used in this document is information given for the convenience of users and does not
constitute an endorsement.
For an explanation of the voluntary nature of standards, the meaning of ISO specific terms and expressions
related to conformity assessment, as well as information about ISO's adherence to the World Trade
Organization (WTO) principles in the Technical Barriers to Trade (TBT), see www.iso.org/iso/foreword.html.
This document was prepared by Technical Committee ISO/TC 156, Corrosion of metals and alloys.
This second edition cancels and replaces the first edition (ISO 26146:2012), which has been technically
revised.
The main changes are as follows:
— the term "defect" has been added to Clause 3;
— the use of a digital microscope has been added to Clause 5;
— 6.2.2 has been expanded to include the processes for mounting, grinding and polishing;
— 6.2.5.3, on the evaluation of the defects of corrosion layers, has been added.
Any feedback or questions on this document should be directed to the user’s national standards body. A
complete listing of these bodies can be found at www.iso.org/members.html.
iv
Introduction
This document specifies a method for examining samples that have been exposed to corrosive conditions
at high temperatures in most industrial environments. However, there are several technical improvements
that are added for the following reasons:
— Analysing the defects in the corrosion layer after exposure to high temperatures is an important part of
metallographic examination.
— Image technology has developed rapidly, which means digital microscope and image analysis technologies
can be applied when inspecting corrosion in metals at high temperatures.
— More detailed and easy-to-implement procedures are necessary to facilitate testing.
v
International Standard ISO 26146:2025(en)
Corrosion of metals and alloys — Method for metallographic
examination of samples after exposure to high-temperature
corrosive environments
1 Scope
This document specifies the examination of samples that have been exposed to corrosive environments at
high temperatures.
This document specifies the classification, identification and thickness measurement of the corrosion layer
that forms during exposure to corrosive environments at high temperatures.
2 Normative references
The following documents are referred to in the text in such a way that some or all of their content constitutes
requirements of this document. For dated references, only the edition cited applies. For undated references,
the latest edition of the referenced document (including any amendments) applies.
ISO 3611, Geometrical product specifications (GPS) — Dimensional measuring equipment — Design and
metrological characteristics of micrometers for external measurements
ISO 8044, Corrosion of metals and alloys — Vocabulary
ISO 13385-1, Geometrical product specifications (GPS) — Dimensional measuring equipment — Part 1: Design
and metrological characteristics of callipers
3 Terms and definitions
For the purposes of this document, the terms and definitions given in ISO 8044 and the following apply.
ISO and IEC maintain terminology databases for use in standardization at the following addresses:
— ISO Online browsing platform: available at https:// www .iso .org/ obp
— IEC Electropedia: available at https:// www .electropedia .org/
3.1
original metal surface
superficial plane of sample to be tested before coating or exposure to the corrosive environment
Note 1 to entry: See 6.2.1.
3.2
interdiffusion zone
region around the original interface between coating and substrate that, during exposure, has changed
composition through diffusion processes between the coating and the substrate
3.3
deposit
chemically active liquid or solid substances that are placed in contact with or are deposited on the test piece
before and/or during exposure
EXAMPLE Salts, fly ashes, chars and molten metals.
3.4
outward growing corrosion scale
corrosion product that develops externally from the original metal or coating surface
3.5
inward growing corrosion scale
corrosion product that develops internally from the original metal or coating surface
3.6
external scale
total of outward and inward growing continuous corrosion scales
3.7
internal corrosion
corrosion products that form beneath any external scale
Note 1 to entry: Internal corrosion usually appears as discrete particles.
3.8
grain boundary corrosion
corrosion product that grows along boundaries between metal grains as a form of internal corrosion
3.9
de-alloyed zone
region beneath the corrosion scale(s) that exhibits a decrease in the concentration of scale-forming alloy
elements
Note 1 to entry: This can be manifested as the dissolution of precipitates originally present in the microstructure.
3.10
metal loss
distance between the original test piece surface and the boundary with unaffected alloy
3.11
remaining unaffected metal
uncorroded metallic parts of sample
3.12
defects
voids or cracks between or within corrosion layers, which can cause the corrosive medium to penetrate
easily or peel off
4 Symbols and abbreviated terms
4.1 Symbols
x thickness of individual layer
t substrate thickness
4.2 Abbreviated terms used as subscripts
The individual layers of x are identified by the following subscripts:
0 original metal surface
ml metal loss compared to original dimensions (metal loss)
rm remaining unaffected metal
5 Requirements
The measurement accuracy shall have an uncertainty at least at the 95 % confidence limit of ±5 µm or 5 %
of the measured material loss, whichever is the lesser for all errors, i.e. in terms of calibration, misalignment
(both in the vertical and horizontal directions) and measurement.
Measurements shall be carried out under a metallographic optical microscope with an X-Y moving stage,
and, preferably, a set of standard magnifications, e.g. ×100, ×400, and ×1 000. These vary depending upon the
extent of the attack. A digital microscope with an automatic X-Y moving stage is preferred. The measurement
system shall be to a precision of ±1 µm.
Image analysis software is an option to perform, for example, image stitching, measurement and analysis.
The measurement system shall be fully calibrated to include orthogonality, traceable to certified length
standards at intervals no greater than 12 months. The system shall be checked against secondary standards
at the beginning and end of each series of measurements.
6 Test method
6.1 Test pieces
The size(s) and shape(s) of the test pieces adopted are governed by the type and form of material received
from the various suppliers, e.g. wrought products (bar, rod, plate, strip) or cast products (sticks of varying
shapes).
Three basic forms of test piece are considered appropriate, i.e. rod, disc or block. These simple geometries
are easier to measure and hence less prone to errors.
Machine to
...


Questions, Comments and Discussion
Ask us and Technical Secretary will try to provide an answer. You can facilitate discussion about the standard in here.
Loading comments...