ISO 24585-2:2023
(Main)Graphic technology — Multispectral imaging measurement and colorimetric computation for graphic arts and industrial application — Part 2: Requirements for decorative surfaces
Graphic technology — Multispectral imaging measurement and colorimetric computation for graphic arts and industrial application — Part 2: Requirements for decorative surfaces
This document specifies requirements for multispectral imaging devices to measure and compare the decorative surfaces. Based on spatially resolved spectral measurement of reflecting surfaces, tristimulus images are computed. A metric is provided that reflects the visual closeness between a reference surface and a comparison surface using a single index called SIM_PDE. Recommendations are provided with regard to laboratory sample preparation. This document is not applicable to functional surfaces.
Technologie graphique — Mesure multispectrale et calcul colorimétrique pour les arts graphiques et les applications industrielles — Partie 2: Exigences pour les surfaces décoratives
General Information
- Status
- Published
- Publication Date
- 24-Sep-2023
- Technical Committee
- ISO/TC 130 - Graphic technology
- Drafting Committee
- ISO/TC 130 - Graphic technology
- Current Stage
- 6060 - International Standard published
- Start Date
- 25-Sep-2023
- Due Date
- 13-Dec-2024
- Completion Date
- 25-Sep-2023
Overview
ISO 24585-2:2023 - Graphic technology - Multispectral imaging measurement and colorimetric computation for graphic arts and industrial application - Part 2: Requirements for decorative surfaces - defines how to use multispectral imaging to measure, compute and compare the appearance of decorative printed surfaces. The standard specifies instrument, illumination, geometry and data requirements for spatially resolved spectral measurements that are converted to tristimulus images, and it introduces a single-image similarity metric, SIM_PDE, to quantify visual closeness between a reference and a test surface. It also gives recommendations for laboratory specimen preparation and backing.
Key topics and technical requirements
- Scope: Targets decorative surfaces (e.g., woodgrain-printed base papers) - not applicable to functional surfaces.
- Multispectral measurement:
- Mandatory wavelength measurement range 400–700 nm (recommended 380–780 nm).
- Minimum 7 spectral channels; spectral energy across the visible range must be sufficient for low noise.
- Instrument standardization and adjustment per manufacturer instructions; conformance testing recommended.
- Illumination & geometry:
- Continuous spectral power distribution across the visible range; UV-cut (M2) options noted.
- Measurement geometry 45°:0° (influx:efflux), with efflux optic normal to the specimen surface.
- Uniformity: assess at ≥100 evenly spaced positions; illuminance/luminance tolerances specified.
- Spatial resolution & imaging:
- Recommended spatial resolution ≥35 samples/cm; minimum 10 samples/cm horizontally and vertically.
- Shading correction and image storage requirements; tristimulus image computation from spectral data.
- Specimen preparation:
- Backing must be black or white conforming to ISO 13655; guidance and a checklist are provided (Annex A).
- Comparison & metrics:
- Defines SIM_PDE - a single-index measure of average colour difference for image similarity and process acceptance.
- Reporting & conformance:
- Data reporting requirements and conformance criteria included for consistent interoperability.
Practical applications and users
- Industries: decorative printing, wood-based panel manufacturing, laminate and flooring production, digital and conventional printing.
- Use cases: quality assurance, make-ready verification, reprint acceptance, process control, color looping (RIP corrections), dispute resolution.
- Primary users: press operators, QA labs, color scientists, instrumentation manufacturers, and systems integrators deploying inline multispectral imaging for production monitoring.
Related standards
- ISO 24585-1 (Part 1: Parameters and measurement methods)
- ISO 13655 (spectral measurement and colorimetric computation)
- ISO 12641-2, ISO 12647-2 (application guidance)
- ISO 28178 (data exchange formats)
- ISO 15790 (reference materials and calibration guidance)
Keywords: ISO 24585-2, multispectral imaging, decorative surfaces, SIM_PDE, tristimulus images, colorimetric computation, spectral measurement, graphic technology, specimen preparation, spatial resolution.
Buy Documents
ISO 24585-2:2023 - Graphic technology — Multispectral imaging measurement and colorimetric computation for graphic arts and industrial application — Part 2: Requirements for decorative surfaces Released:25. 09. 2023
Frequently Asked Questions
ISO 24585-2:2023 is a standard published by the International Organization for Standardization (ISO). Its full title is "Graphic technology — Multispectral imaging measurement and colorimetric computation for graphic arts and industrial application — Part 2: Requirements for decorative surfaces". This standard covers: This document specifies requirements for multispectral imaging devices to measure and compare the decorative surfaces. Based on spatially resolved spectral measurement of reflecting surfaces, tristimulus images are computed. A metric is provided that reflects the visual closeness between a reference surface and a comparison surface using a single index called SIM_PDE. Recommendations are provided with regard to laboratory sample preparation. This document is not applicable to functional surfaces.
This document specifies requirements for multispectral imaging devices to measure and compare the decorative surfaces. Based on spatially resolved spectral measurement of reflecting surfaces, tristimulus images are computed. A metric is provided that reflects the visual closeness between a reference surface and a comparison surface using a single index called SIM_PDE. Recommendations are provided with regard to laboratory sample preparation. This document is not applicable to functional surfaces.
ISO 24585-2:2023 is classified under the following ICS (International Classification for Standards) categories: 37.100.01 - Graphic technology in general. The ICS classification helps identify the subject area and facilitates finding related standards.
ISO 24585-2:2023 is available in PDF format for immediate download after purchase. The document can be added to your cart and obtained through the secure checkout process. Digital delivery ensures instant access to the complete standard document.
Standards Content (Sample)
INTERNATIONAL ISO
STANDARD 24585-2
First edition
2023-09
Graphic technology — Multispectral
imaging measurement and
colorimetric computation for graphic
arts and industrial application —
Part 2:
Requirements for decorative surfaces
Reference number
© ISO 2023
All rights reserved. Unless otherwise specified, or required in the context of its implementation, no part of this publication may
be reproduced or utilized otherwise in any form or by any means, electronic or mechanical, including photocopying, or posting on
the internet or an intranet, without prior written permission. Permission can be requested from either ISO at the address below
or ISO’s member body in the country of the requester.
ISO copyright office
CP 401 • Ch. de Blandonnet 8
CH-1214 Vernier, Geneva
Phone: +41 22 749 01 11
Email: copyright@iso.org
Website: www.iso.org
Published in Switzerland
ii
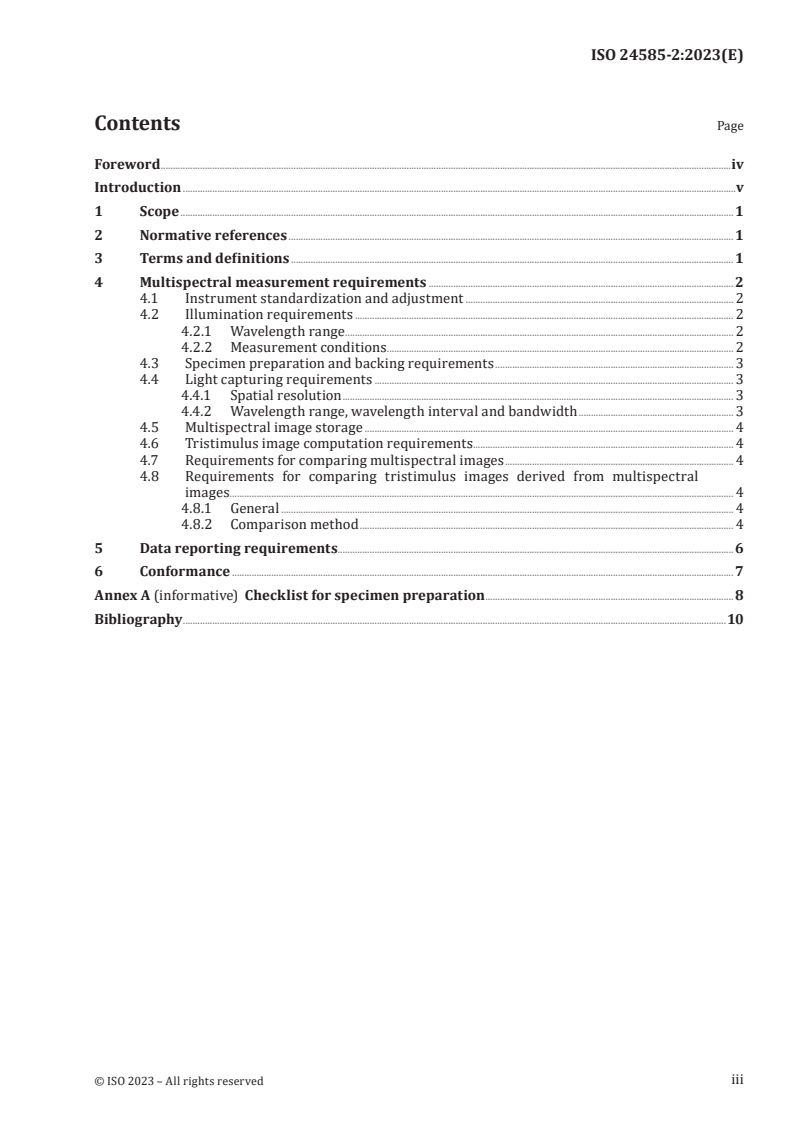
Contents Page
Foreword .iv
Introduction .v
1 Scope . 1
2 Normative references . 1
3 Terms and definitions . 1
4 Multispectral measurement requirements . 2
4.1 Instrument standardization and adjustment . 2
4.2 Illumination requirements . 2
4.2.1 Wavelength range . . 2
4.2.2 Measurement conditions . 2
4.3 Specimen preparation and backing requirements . 3
4.4 Light capturing requirements . 3
4.4.1 Spatial resolution . 3
4.4.2 Wavelength range, wavelength interval and bandwidth . 3
4.5 Multispectral image storage . 4
4.6 Tristimulus image computation requirements. 4
4.7 Requirements for comparing multispectral images . 4
4.8 Requirements for comparing tristimulus images derived from multispectral
images. 4
4.8.1 General . 4
4.8.2 Comparison method . 4
5 Data reporting requirements.6
6 Conformance . 7
Annex A (informative) Checklist for specimen preparation . 8
Bibliography .10
iii
Foreword
ISO (the International Organization for Standardization) is a worldwide federation of national standards
bodies (ISO member bodies). The work of preparing International Standards is normally carried out
through ISO technical committees. Each member body interested in a subject for which a technical
committee has been established has the right to be represented on that committee. International
organizations, governmental and non-governmental, in liaison with ISO, also take part in the work.
ISO collaborates closely with the International Electrotechnical Commission (IEC) on all matters of
electrotechnical standardization.
The procedures used to develop this document and those intended for its further maintenance are
described in the ISO/IEC Directives, Part 1. In particular, the different approval criteria needed for the
different types of ISO document should be noted. This document was drafted in accordance with the
editorial rules of the ISO/IEC Directives, Part 2 (see www.iso.org/directives).
ISO draws attention to the possibility that the implementation of this document may involve the use
of (a) patent(s). ISO takes no position concerning the evidence, validity or applicability of any claimed
patent rights in respect thereof. As of the date of publication of this document, ISO had not received
notice of (a) patent(s) which may be required to implement this document. However, implementers are
cautioned that this may not represent the latest information, which may be obtained from the patent
database available at www.iso.org/patents. ISO shall not be held responsible for identifying any or all
such patent rights.
Any trade name used in this document is information given for the convenience of users and does not
constitute an endorsement.
For an explanation of the voluntary nature of standards, the meaning of ISO specific terms and
expressions related to conformity assessment, as well as information about ISO's adherence to
the World Trade Organization (WTO) principles in the Technical Barriers to Trade (TBT), see
www.iso.org/iso/foreword.html.
This document was prepared by Technical Committee ISO/TC 130, Graphic technology.
A list of all parts in the ISO 24585 series can be found on the ISO website.
Any feedback or questions on this document should be directed to the user’s national standards body. A
complete listing of these bodies can be found at www.iso.org/members.html.
iv
Introduction
In the wood products industry, wood-based panels, for use as furniture or flooring components, are
prepared by impregnating a printed base paper with an artificial resin, and then laminating it to a
chipboard or fibreboard base by curing the resin using high temperature and pressure. In the decorative
printing industry, the base papers are often printed with a simulation like a woodgrain or other natural
material.
The assessment of the appearance of such prints during the make-ready and for re-prints have long
been done using trial and error. It is common to take a master pattern provided by a customer and
to reproduce it. The visual agreement between the master and the reproduction is normally carried
out by experienced personnel who visually compare the target and the production, under controlled
illumination conditions, using either D65- or D50-like illumination. The necessary changes to improve
[1]
the visual match were manual recipe updates in the ink kitchen in case of rotogravure printing or
manual adjustment of image artwork on calibrated monitors in case of digital printing.
Conventional point measurement devices are occasionally used to objectify the assessment, but their
field of view was too large to resolve fine detail and repositioning was also challenging. Such manual
and subjective methods gave satisfactory results for the production, but it has the following problems:
— it requires specially trained personnel requiring a long training phase;
— the results of the judgments change over time due to observer fatigue;
— the master aim changes its colours over time for many reasons; and
— the subjective assessment gives rise for debates in cases of dispute.
Multispectral imaging devices were introduced to wood lamination production around the year
[2] [3],[4]
2010 to improve both process control and quality assurance . First, the spatial resolved inline
capturing allowed for a pixel-by-pixel comparison between the master and the pertinent reproduction.
Given an appropriate image registration and spectral accuracy multispectral imaging systems allowed
for an objective evaluation of the image differences including aspects such as local contrast. Such a
comparison typically leads to two different outcomes. On the one hand, a single number index is
condensed to uniquely define the visual closeness, which eases communication with customer and the
agreement of tolerance schemas. On the other hand, the comparison of tristimulus images leads to a
plethora of individual colour difference vectors that can be adapted to the individual press technology
to provide guidance for process control and the ink formulation. In both cases, it reduces scads of
measurement data (spectra of each pixel in a revolution as measured over a full press run) down to a
digestible amount of human and process control information. A single point measurement system is not
[5]
able to provide this information . This objective assessment can be used for both conventional and
digital production of the final panels.
For digital printing presses, which are increasingly used in that industry, the spatial colour difference
can be used to alter the image data in the RIP while printing. This improves the visual closeness
noticeably and is sometimes called colour looping.
This document defines the requirements for multispectral imaging systems which are needed for the
use case of decorative lamination and includes the introduction of an image similarity index, termed
SIM_PDE.
Since the sample preparation has an impact on the final product, this document provides guidance
with respect to the laboratory preparation of samples, to allow interoperability in the development of
process automation in the assessment of the appearance of the print.
v
INTERNATIONAL STANDARD ISO 24585-2:2023(E)
Graphic technology — Multispectral imaging measurement
and colorimetric computation for graphic arts and
industrial application —
Part 2:
Requirements for decorative surfaces
1 Scope
This document specifies requirements for multispectral imaging devices to measure and compare
the decorative surfaces. Based on spatially resolved spectral measurement of reflecting surfaces,
tristimulus images are computed. A metric is provided that reflects the visual closeness between a
reference surface and a comparison surface using a single index called SIM_PDE. Recommendations are
provided with regard to laboratory sample preparation.
This document is not applicable to functional surfaces.
2 Normative references
The following documents are referred to in the text in such a way that some or all of their content
constitutes requirements of this document. For dated references, only the edition cited applies. For
undated references, the latest edition of the referenced document (including any amendments) applies.
ISO 13655, Graphic technology — Spectral measurement and colorimetric computation for graphic arts
images
ISO 24585-1, Graphic technology — Multispectral measurement and colorimetric computation for graphic
arts and industrial applications — Part 1 Parameters and measurement methods
ISO 28178, Graphic technology — Exchange format for colour and process control data using XML or ASCII
text
3 Terms and definitions
For the purposes of this document, the terms and definitions given in ISO 24585-1 and the following
apply.
ISO and IEC maintain terminology databases for use in standardization at the following addresses:
— ISO Online browsing platform: available at https:// www .iso .org/ obp
— IEC Electropedia: available at https:// www .electropedia .org/
3.1
decorative surfaces
base papers, printed with a simulation like a woodgrain or other design
Note 1 to entry: Decorative surfaces are usually created in the decorative printing industry. They show either
a uniform colour or a texture of some kind. Decorative surfaces are typically not showing a high level of
fluorescence.
3.2
specimen backing
material placed behind and in contact with the specimen during measurement
Note 1 to entry: This can be white, black or the same material as the specimen self.
3.3
SIM_PDE
index of similarity between a reference image and a test image based on the average colour difference
between two identically specified sets of patches
3.4
shading correction
method for adjusting intensity levels in a digital or electronic image, caused by non-uniformities in the
illuminating or detecting systems
[SOURCE: ISO 10934:2020, 3.2.44]
4 Multispectral measurement requirements
4.1 Instrument standardization and adjustment
The measurement device or system shall be standardized and possibly adjusted in accordance with its
manufacturer's instructions.
[6]
NOTE 1 ISO 15790 defines the use of a certified reference material (CRM) to check calibration of a
measurement system. It also provides additional information relating to the use of CRMs, the determination of
combined standard uncertainty and data reporting.
NOTE 2 Where multiple instruments are used for measurement, there can be differences in the resulting data
due to the individual characteristics of the instruments and variations in measurement conditions.
4.2 Illumination requirements
4.2.1 Wavelength range
The spectral power distribution shall have sufficient energy at all wavelengths in the range from
400 nm to 700 nm inclusive to make measurements with low noise.
4.2.2 Measurement conditions
The measurement area should be visually uniform. Within the reference plane the measurement area
shall be assessed at least at 100 equally spaced measurement positions. The illuminance or luminance
should be within 5 % of the average value and shall be within 25 % of the average value.
NOTE 1 The uniformity can be assessed by using an imaging luminance measurement device as described in
Reference [7].
NOTE 2 A shading correction is always applied to improve uniformity. In order to retain appropriate signal to
noise ratio, this compensation is restricted.
The spectral power distribution of the illumination shall be continuous across the visible range and
should exclude the radiant power at wavelengths below the visible spectrum. ISO 13655 describes one
way to achieve this by filtering the shorter wavelengths from a source that has radiant power at all
wavelengths in the range from 420 nm to at least 700 nm and is noted as M2, UV cut.
NOTE 3 Most specimens tested in this document do not show any significant amount of fluorescence, any
instrument source with low levels of light of shorter wavelengths will suffice, including incandescent sources and
LED sources that utilize only visible range LEDs and phosphors.
Departures from these nominal requirements shall be reported.
The measurement geometry of the imaging system shall be 45°:0° (influx: efflux). The efflux optics shall
be oriented along the normal to the surface of the substrate in the reference plane. The tolerances for
[8]
the efflux optics given in CIE 176 should be met at the centre of the field of view. Unidirectional or bi-
directional influx geometry may be used, though this is a departure from CIE 176.
While being measured the specimen shall lie on a flat surface in the reference plane, e.g., a roller for an
inline measurement system. The instrument reference plane and the specimen surface shall lie in the
same plane.
NOTE 4 Imaging systems inherently work with an area illuminated being larger than the measured area,
known as overfilling.
4.3 Specimen preparation and backing requirements
The specimen shall be backed by either a black or a white material that conforms to ISO 13655. Where
specimens being measured by reflection are not fully opaque, the backing used should be characterized
and the method shown in ISO 13655 or Reference [9] may be used to correct such measurements to a
white backing reference.
NOTE For guidance concerning which specimen backing material to use
...


Questions, Comments and Discussion
Ask us and Technical Secretary will try to provide an answer. You can facilitate discussion about the standard in here.
Loading comments...