ISO 12129-1:2024
(Main)Plain bearings — Tolerances — Part 1: Fits
Plain bearings — Tolerances — Part 1: Fits
This document specifies a system of fits applicable to metallic plain bearings used in general engineering for mean relative bearing clearances, ψm, of 0,56 ‰ up to 3,15 ‰. Other clearance ranges can be used depending upon the requirements in specific applications. This system of fits is not applicable to half-bearings and bushes which, due to their special characteristics, are not measured by diameter but by wall thickness, and which are dimensionally changed on assembly. It is not applicable to profile bore or tilting pad bearings, or to cases where specific tolerances have been established by consideration of the bearing performance at both extremes of clearance. This document is applicable preferably to bearings in rotating machines or transmissions, but it can be used similarly in other ranges of application.
Paliers lisses — Tolérances — Partie 1: Ajustements
General Information
- Status
- Published
- Publication Date
- 18-Dec-2024
- Technical Committee
- ISO/TC 123/SC 3 - Dimensions, tolerances and construction details
- Drafting Committee
- ISO/TC 123/SC 3 - Dimensions, tolerances and construction details
- Current Stage
- 6060 - International Standard published
- Start Date
- 19-Dec-2024
- Due Date
- 21-Sep-2024
- Completion Date
- 19-Dec-2024
Relations
- Effective Date
- 25-Mar-2023
Overview
ISO 12129-1:2024 - Plain bearings - Tolerances - Part 1: Fits specifies a system of fits for metallic plain (journal) bearings used in general engineering. It defines how to dimension and indicate shaft/bore fits to achieve target mean relative bearing clearances (ψm) in the range 0.56 ‰ to 3.15 ‰ (other ranges allowed for specific applications). The standard is intended primarily for bearings in rotating machines and transmissions but can be applied elsewhere. It excludes half‑bearings, bushes measured by wall thickness, profile bore and tilting‑pad bearings, and cases with bespoke clearance tolerances.
Key topics and requirements
- Mean relative bearing clearance (ψm): Defined as diametral clearance relative to nominal diameter (‰). Standard provides formulae and worked examples to calculate ψm from C and Dm.
- Prescribed ψm values: Standard lists preferred mean clearances: 0.56, 0.8, 1.12, 1.32, 1.6, 1.9, 2.24, 3.15 ‰.
- System of fits: Uses a normal fit system where the bearing bore fundamental deviation is H (per ISO 286‑2) and the shaft tolerance interval is correlated to give the intended ψm. The shaft tolerance interval is typically one IT grade smaller than the bore tolerance.
- Tolerance intervals & limit deviations: Tables provide limit deviations for shafts and tolerance intervals for bearing clearances across stepped nominal dimension ranges so that maximum deviation from ψm is controlled.
- Notation & symbols: Key symbols (C, D, ψ) and index usage are specified. Preferred form for fit indication example: ∅200 ψ1,12 (alternatives: ∅200 C1,12 or ∅200 (C 1,12)).
- Design considerations: When selecting ψm the standard recommends considering bearing material, load, speed, operating temperature, and required mechanical accuracy.
Applications
- Specifying shaft and bearing-bore fits for journal bearings in:
- Rotating machinery (motors, pumps, compressors)
- Gearbox and transmission design
- General engineering where controlled bearing clearance is critical to lubrication and performance
- Engineering drawings, procurement specifications, manufacturing tolerancing, and quality inspection of plain bearings.
Who should use this standard
- Mechanical designers and rotating‑equipment engineers
- Bearing and transmission manufacturers
- Metrology and quality‑control personnel
- CAD/drawing authors and procurement/specification writers requiring standardized fit notation
Related standards
- ISO 286‑1 / ISO 286‑2 (general ISO deviation and tolerance system) - ISO 12129‑1 references ISO 286‑2 for fundamental deviation H.
- Other parts of the ISO 12129 series (for complementary tolerancing and construction details) - see ISO catalogue for the full list.
Keywords: ISO 12129-1:2024, plain bearings tolerances, bearing fits, mean relative bearing clearance, ψm, shaft fit, limit deviations, tolerance intervals, rotating machines, transmissions.
Frequently Asked Questions
ISO 12129-1:2024 is a standard published by the International Organization for Standardization (ISO). Its full title is "Plain bearings — Tolerances — Part 1: Fits". This standard covers: This document specifies a system of fits applicable to metallic plain bearings used in general engineering for mean relative bearing clearances, ψm, of 0,56 ‰ up to 3,15 ‰. Other clearance ranges can be used depending upon the requirements in specific applications. This system of fits is not applicable to half-bearings and bushes which, due to their special characteristics, are not measured by diameter but by wall thickness, and which are dimensionally changed on assembly. It is not applicable to profile bore or tilting pad bearings, or to cases where specific tolerances have been established by consideration of the bearing performance at both extremes of clearance. This document is applicable preferably to bearings in rotating machines or transmissions, but it can be used similarly in other ranges of application.
This document specifies a system of fits applicable to metallic plain bearings used in general engineering for mean relative bearing clearances, ψm, of 0,56 ‰ up to 3,15 ‰. Other clearance ranges can be used depending upon the requirements in specific applications. This system of fits is not applicable to half-bearings and bushes which, due to their special characteristics, are not measured by diameter but by wall thickness, and which are dimensionally changed on assembly. It is not applicable to profile bore or tilting pad bearings, or to cases where specific tolerances have been established by consideration of the bearing performance at both extremes of clearance. This document is applicable preferably to bearings in rotating machines or transmissions, but it can be used similarly in other ranges of application.
ISO 12129-1:2024 is classified under the following ICS (International Classification for Standards) categories: 21.100.10 - Plain bearings. The ICS classification helps identify the subject area and facilitates finding related standards.
ISO 12129-1:2024 has the following relationships with other standards: It is inter standard links to ISO 12129-1:2019. Understanding these relationships helps ensure you are using the most current and applicable version of the standard.
ISO 12129-1:2024 is available in PDF format for immediate download after purchase. The document can be added to your cart and obtained through the secure checkout process. Digital delivery ensures instant access to the complete standard document.
Standards Content (Sample)
International
Standard
ISO 12129-1
Third edition
Plain bearings — Tolerances —
2024-12
Part 1:
Fits
Paliers lisses — Tolérances —
Partie 1: Ajustements
Reference number
© ISO 2024
All rights reserved. Unless otherwise specified, or required in the context of its implementation, no part of this publication may
be reproduced or utilized otherwise in any form or by any means, electronic or mechanical, including photocopying, or posting on
the internet or an intranet, without prior written permission. Permission can be requested from either ISO at the address below
or ISO’s member body in the country of the requester.
ISO copyright office
CP 401 • Ch. de Blandonnet 8
CH-1214 Vernier, Geneva
Phone: +41 22 749 01 11
Email: copyright@iso.org
Website: www.iso.org
Published in Switzerland
ii
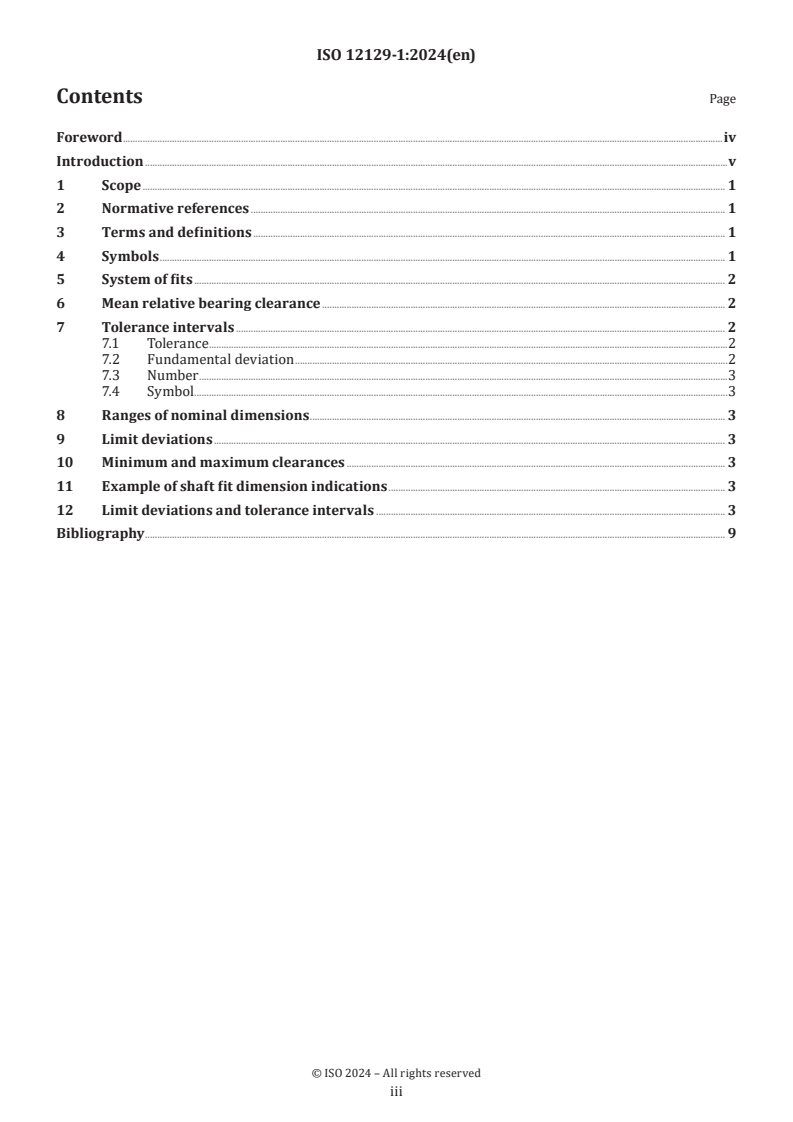
Contents Page
Foreword .iv
Introduction .v
1 Scope . 1
2 Normative references . 1
3 Terms and definitions . 1
4 Symbols . 1
5 System of fits . 2
6 Mean relative bearing clearance . 2
7 Tolerance intervals . 2
7.1 Tolerance .2
7.2 Fundamental deviation .2
7.3 Number .3
7.4 Symbol . .3
8 Ranges of nominal dimensions . 3
9 Limit deviations . 3
10 Minimum and maximum clearances . 3
11 Example of shaft fit dimension indications . 3
12 Limit deviations and tolerance intervals . 3
Bibliography . 9
iii
Foreword
ISO (the International Organization for Standardization) is a worldwide federation of national standards
bodies (ISO member bodies). The work of preparing International Standards is normally carried out through
ISO technical committees. Each member body interested in a subject for which a technical committee
has been established has the right to be represented on that committee. International organizations,
governmental and non-governmental, in liaison with ISO, also take part in the work. ISO collaborates closely
with the International Electrotechnical Commission (IEC) on all matters of electrotechnical standardization.
The procedures used to develop this document and those intended for its further maintenance are described
in the ISO/IEC Directives, Part 1. In particular, the different approval criteria needed for the different types
of ISO document should be noted. This document was drafted in accordance with the editorial rules of the
ISO/IEC Directives, Part 2 (see www.iso.org/directives).
ISO draws attention to the possibility that the implementation of this document may involve the use of (a)
patent(s). ISO takes no position concerning the evidence, validity or applicability of any claimed patent
rights in respect thereof. As of the date of publication of this document, ISO had not received notice of (a)
patent(s) which may be required to implement this document. However, implementers are cautioned that
this may not represent the latest information, which may be obtained from the patent database available at
www.iso.org/patents. ISO shall not be held responsible for identifying any or all such patent rights.
Any trade name used in this document is information given for the convenience of users and does not
constitute an endorsement.
For an explanation of the voluntary nature of standards, the meaning of ISO specific terms and expressions
related to conformity assessment, as well as information about ISO's adherence to the World Trade
Organization (WTO) principles in the Technical Barriers to Trade (TBT), see www.iso.org/iso/foreword.html.
This document was prepared by Technical Committee ISO/TC 123, Plain bearings, Subcommittee SC 3,
Dimensions, tolerances and construction details.
This third edition cancels and replaces the second edition (ISO 12129-1:2019), which has been technically
revised.
The main changes are as follows:
— Clause 4 “Symbols” has been added;
— Table 1 and Table 2 have been added, and the previous Table 1 and Table 2 have been renumbered Table 3
and Table 4;
— Table 3 and Table 4 have been corrected.
A list of all parts in the ISO 12129 series can be found on the ISO website.
Any feedback or questions on this document should be directed to the user’s national standards body. A
complete listing of these bodies can be found at www.iso.org/members.html.
iv
Introduction
This document has been established because it is not possible to use the ISO deviations given in ISO 286-1
and ISO 286-2 to develop clearance fits which correspond to the requirements of plain bearing engineering
for approximately uniform mean relative bearing clearances for all nominal size ranges.
v
International Standard ISO 12129-1:2024(en)
Plain bearings — Tolerances —
Part 1:
Fits
1 Scope
This document specifies a system of fits applicable to metallic plain bearings used in general engineering
for mean relative bearing clearances, ψ , of 0,56 ‰ up to 3,15 ‰. Other clearance ranges can be used
m
depending upon the requirements in specific applications.
This system of fits is not applicable to half-bearings and bushes which, due to their special characteristics,
are not measured by diameter but by wall thickness, and which are dimensionally changed on assembly.
It is not applicable to profile bore or tilting pad bearings, or to cases where specific tolerances have been
established by consideration of the bearing performance at both extremes of clearance.
This document is applicable preferably to bearings in rotating machines or transmissions, but it can be used
similarly in other ranges of application.
2 Normative references
There are no normative references in this document.
3 Terms and definitions
No terms and definitions are listed in this document.
ISO and IEC maintain terminology databases for use in standardization at the following addresses:
— ISO Online browsing platform: available at https:// www .iso .org/ obp
— IEC Electropedia: available at https:// www .electropedia .org/
4 Symbols
For the purposes of this documents, the symbols and indices given in Tables 1 and 2, respectively, apply.
Table 1 — Symbols
Symbol Description Unit
C Bearing clearance µm
C* Alternative symbol for ψ ‰
D Nominal dimension mm
ψ Relative bearing clearance ‰
Table 2 — Indices
Indice Description
D Diametral
m Mean value
max Maximum value
min Minimum value
5 System of fits
The system of fits specified in this document is a normal system of fits, in which the fundamental deviation H
of the bearing bore diameter is in accordance with ISO 286-2. The tolerance interval of the shaft is correlated
to correspond to the mean relative bearing clearance, ψ .
m
6 Mean relative bearing clearance
The mean relative bearing clearance, ψ , in per thousand (‰), of a range of nominal dimensions is given by
m
Formula (1):
C
D,m
ψ = (1)
m
D
m
C + C
D,maxD,min
C = (2)
D,m
EXAMPLE For the nominal dimension range from 250 mm to 280 mm, the arithmetic mean of the range of nominal
dimensions is given by
250 +280
D = =265 mm
m
For ψ = 1,6 ‰, Table 1 and Formula (2) lead to the mean bearing diametral clearance
m
0,,466 +0382
C = ==0,424 mm 424 μm
D,m
and to the mean relative bearing clearance
0,424
ψ = = 1,6 ‰
m
7 Tolerance intervals
7.1 Tolerance
The tolerance is chosen so that, for a uniform mean relative bearing clearance, ψ , in each case from the
m
minimum to the maximum range of nominal dimensions, an approximately uniform maximum deviation
from the relative bearing clearance within a tolerance interval is not exceeded. The lower limit is dictated by
economy and methods of production.
The tolerance interval of the shaft in each case is smaller by one IT grade (basic tolerance grade in accordance
with ISO 286-1) than the tolerance interval of the correlated bearing bore.
7.2 Fundamental deviation
The fundamental deviation is determined by the mean relative bearing clearance, ψ .
m
7.3 Number
Each of the following values of ψ , in per thousand, corresponds to one tolerance interval:
m
— 0,56;
— 0,8;
— 1,12;
— 1,32;
— 1,6;
— 1,9;
— 2,24;
— 3,15.
When determining the value of ψ , it is recommended to consider the bearing material, load and speed
m
conditions, environmental temperature, and required mechanical accuracy.
7.4 Symbol
The symbol for the mean relative bearing clearance is ψ . If Greek letters are not available, the symbol C*
m
may be used instead of the Greek letter ψ.
8 Ranges of nominal dimensions
The ranges of nominal dimensions are more closely stepped than in ISO 286-2 so that the maximum deviation
from the mean relative bearing clearance, ψ , can be more closely adhered to.
m
9 Limit deviations
The limit deviations for the shafts are given in Table 3.
10 Minimum and maximum clearances
...


Questions, Comments and Discussion
Ask us and Technical Secretary will try to provide an answer. You can facilitate discussion about the standard in here.
Loading comments...