ISO 8521:1998
(Main)Plastics piping systems — Glass-reinforced thermosetting plastics (GRP) pipes — Determination of the apparent initial circumferential tensile strength
Plastics piping systems — Glass-reinforced thermosetting plastics (GRP) pipes — Determination of the apparent initial circumferential tensile strength
Systèmes de canalisations en matières plastiques — Tubes en plastiques thermodurcissables renforcés de verre (PRV) — Détermination de la résistance en traction circonférencielle initiale apparente
General Information
- Status
- Withdrawn
- Publication Date
- 19-Dec-1998
- Withdrawal Date
- 19-Dec-1998
- Drafting Committee
- ISO/TC 138/SC 6/WG 1 - Methods of test
- Current Stage
- 9599 - Withdrawal of International Standard
- Start Date
- 06-Aug-2009
- Completion Date
- 14-Feb-2026
Relations
- Effective Date
- 15-Apr-2008
Get Certified
Connect with accredited certification bodies for this standard

Institut za varilstvo d.o.o. (Welding Institute)
Slovenia's leading welding institute since 1952. ISO 3834, EN 1090, pressure equipment certification, NDT personnel, welder qualification. Only IIW Au
Sponsored listings
Frequently Asked Questions
ISO 8521:1998 is a standard published by the International Organization for Standardization (ISO). Its full title is "Plastics piping systems — Glass-reinforced thermosetting plastics (GRP) pipes — Determination of the apparent initial circumferential tensile strength". This standard covers: Plastics piping systems — Glass-reinforced thermosetting plastics (GRP) pipes — Determination of the apparent initial circumferential tensile strength
Plastics piping systems — Glass-reinforced thermosetting plastics (GRP) pipes — Determination of the apparent initial circumferential tensile strength
ISO 8521:1998 is classified under the following ICS (International Classification for Standards) categories: 23.040.20 - Plastics pipes. The ICS classification helps identify the subject area and facilitates finding related standards.
ISO 8521:1998 has the following relationships with other standards: It is inter standard links to ISO 8521:2009. Understanding these relationships helps ensure you are using the most current and applicable version of the standard.
ISO 8521:1998 is available in PDF format for immediate download after purchase. The document can be added to your cart and obtained through the secure checkout process. Digital delivery ensures instant access to the complete standard document.
Standards Content (Sample)
INTERNATIONAL ISO
STANDARD 8521
First edition
1998-12-15
Plastics piping systems — Glass-reinforced
thermosetting plastics (GRP) pipes —
Determination of the apparent initial
circumferential tensile strength
Systèmes de canalisations en matières plastiques — Tubes en plastiques
thermodurcissables renforcés de verre (PRV) — Détermination de la
résistance en traction circonférencielle initiale apparente
A
Reference number
Foreword
ISO (the International Organization for Standardization) is a worldwide
federation of national standards bodies (ISO member bodies). The work of
preparing International Standards is normally carried out through ISO
technical committees. Each member body interested in a subject for which
a technical committee has been established has the right to be represented
on that committee. International organizations, governmental and non-
governmental, in liaison with ISO, also take part in the work. ISO
collaborates closely with the International Electrotechnical Commission
(IEC) on all matters of electrotechnical standardization.
Draft International Standards adopted by the technical committees are
circulated to the member bodies for voting. Publication as an International
Standard requires approval by at least 75 % of the member bodies casting
a vote.
International Standard ISO 8521 was prepared by Technical Committee
ISO/TC 138, Plastics pipes, fittings and valves for the transport of fluids,
Subcommittee SC 6, Reinforced plastics pipes and fittings for all
applications, in collaboration with CEN/TC 155, Plastics piping systems
and ducting systems.
This standard is one of a series of standards on test methods which
support standards for plastics piping systems and ducting systems.
© ISO 1998
All rights reserved. Unless otherwise specified, no part of this publication may be reproduced
or utilized in any form or by any means, electronic or mechanical, including photocopying and
microfilm, without permission in writing from the publisher.
International Organization for Standardization
Case postale 56 • CH-1211 Genève 20 • Switzerland
Internet iso@iso.ch
Printed in Switzerland
ii
INTERNATIONAL STANDARD © ISO ISO 8521:1998(E)
Plastics piping systems — Glass-reinforced thermosetting plastics
(GRP) pipes — Determination of the apparent initial circumferential
tensile strength
1 Scope
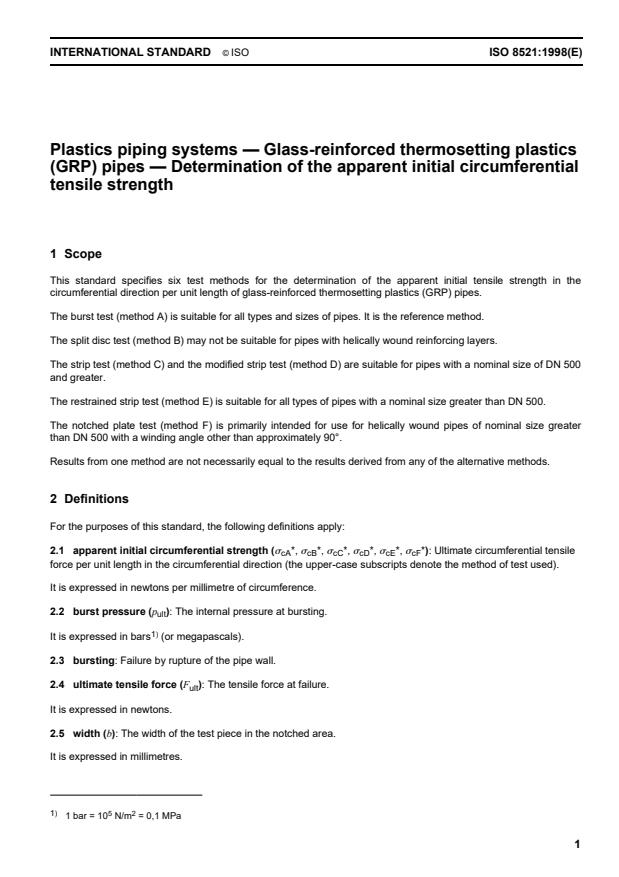
This standard specifies six test methods for the determination of the apparent initial tensile strength in the
circumferential direction per unit length of glass-reinforced thermosetting plastics (GRP) pipes.
The burst test (method A) is suitable for all types and sizes of pipes. It is the reference method.
The split disc test (method B) may not be suitable for pipes with helically wound reinforcing layers.
The strip test (method C) and the modified strip test (method D) are suitable for pipes with a nominal size of DN 500
and greater.
The restrained strip test (method E) is suitable for all types of pipes with a nominal size greater than DN 500.
The notched plate test (method F) is primarily intended for use for helically wound pipes of nominal size greater
than DN 500 with a winding angle other than approximately 90°.
Results from one method are not necessarily equal to the results derived from any of the alternative methods.
2 Definitions
For the purposes of this standard, the following definitions apply:
2.1 apparent initial circumferential strength (s *, s *, s *, s *, s *, s *): Ultimate circumferential tensile
cA cB cC cD cE cF
force per unit length in the circumferential direction (the upper-case subscripts denote the method of test used).
It is expressed in newtons per millimetre of circumference.
2.2 burst pressure (p ): The internal pressure at bursting.
ult
1)
It is expressed in bars (or megapascals).
2.3 bursting: Failure by rupture of the pipe wall.
2.4 ultimate tensile force (F ): The tensile force at failure.
ult
It is expressed in newtons.
2.5 width (b): The width of the test piece in the notched area.
It is expressed in millimetres.
1) 5 2
1 bar = 10 N/m = 0,1 MPa
© ISO
2.6 winding angle (q): The angle between the direction of the reinforcement and the longitudinal axis of the pipe.
It is expressed in degrees.
3 Principle
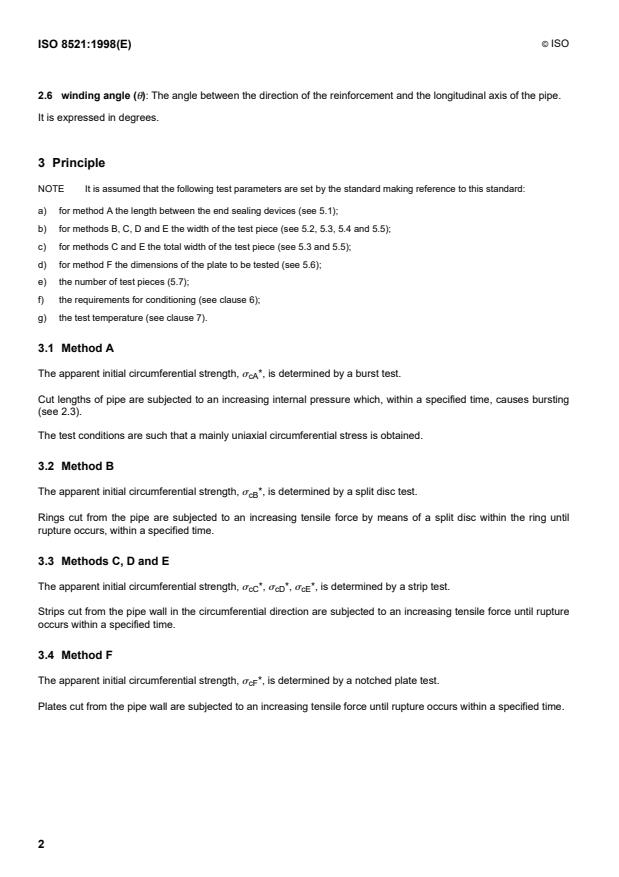
NOTE It is assumed that the following test parameters are set by the standard making reference to this standard:
a) for method A the length between the end sealing devices (see 5.1);
b) for methods B, C, D and E the width of the test piece (see 5.2, 5.3, 5.4 and 5.5);
c) for methods C and E the total width of the test piece (see 5.3 and 5.5);
d) for method F the dimensions of the plate to be tested (see 5.6);
e) the number of test pieces (5.7);
f) the requirements for conditioning (see clause 6);
g) the test temperature (see clause 7).
3.1 Method A
The apparent initial circumferential strength, s *, is determined by a burst test.
cA
Cut lengths of pipe are subjected to an increasing internal pressure which, within a specified time, causes bursting
(see 2.3).
The test conditions are such that a mainly uniaxial circumferential stress is obtained.
3.2 Method B
The apparent initial circumferential strength, s *, is determined by a split disc test.
cB
Rings cut from the pipe are subjected to an increasing tensile force by means of a split disc within the ring until
rupture occurs, within a specified time.
3.3 Methods C, D and E
The apparent initial circumferential strength, s *, s *, s *, is determined by a strip test.
cC cD cE
Strips cut from the pipe wall in the circumferential direction are subjected to an increasing tensile force until rupture
occurs within a specified time.
3.4 Method F
The apparent initial circumferential strength, s *, is determined by a notched plate test.
cF
Plates cut from the pipe wall are subjected to an increasing tensile force until rupture occurs within a specified time.
© ISO
4 Apparatus
4.1 For method A
4.1.1 Hydrostatic pressurizing system, for pipes of up to DN 500, capable of causing failure of the test piece
between 1 min and 3 min after commencing the pressurization. For nominal sizes greater than DN 500 the duration
of the test may have to be increased.
The pressurizing system shall prevent air entering the test piece during pressurization to failure.
4.1.2 Pressure measurement device, capable of measuring with an accuracy of – 2,0 % of the applied pressure.
4.1.3 End sealing devices for the test pieces, such that a mainly uniaxial state of stress in the circumferential
direction will be induced (i.e. type 1 or type 2 in figure 1).
4.1.4 Test piece support, to minimize deformation due to the weight of the test piece and its contents.
Key
1 End cap 5 End cap
2 Test piece 6 See 8.1.3 for this dimension
3 Tie bar carrying end thrust 7 Valid failure zone
4 Elastomeric seal L Length of test piece
Type 1: Testing with end thrust (external seals)
Type 2: Testing without end thrust (internal seals)
Figure 1 — Typical arrangement for pressure testing of pipes
© ISO
4.1.5 Flexible membrane (if used as a barrier system to prevent weeping), which does not reduce the stress in
the pipe wall by more than 1 %.
The flexible membrane may be of a different material from the pipe, e.g. elastomeric or thermoplastic sheet or a
flexible coating.
4.2 For method B
4.2.1 Test machine, of the type capable of producing a progressive separation of the split disc, incorporating the
following components:
a) a fixed or virtually fixed part;
b) a moveable part;
c) a drive mechanism capable of imparting a constant speed to the moving part so that rupture can be reached
between 1 min and 3 min after initial loading;
d) a load indicator capable of measuring the force applied. This shall be virtually free from inertia at the specified
rate of testing and shall indicate the force to an accuracy of within 1 % of the measured value.
4.2.2 Rigid split discs, as shown in figure 2, capable of making even contact with the internal diameter of the test
piece. The diameter of the two segments of the split disc shall be not less than 98 % of the internal diameter of the
pipe with which they are intended to be used.
Key
1 Direction of loading 3 Saddle
2 Toggle 4 Shear pins
Figure 2 — Typical arrangement for the split disc
© ISO
4.2.3 Dimension measurement devices, capable of measuring the necessary dimensions of the test piece (e.g.
length, wall thickness) to an accuracy of half the accuracy required in clause 8 measurements, e.g. measuring
accuracy – 0,1 mm requires a device accuracy of – 0,05 mm.
4.3 For method C
4.3.1 Test machine, of the type with constant separating speed, incorporating the following components:
a) A fixed, or virtually fixed, part with a grip to hold one end of a test piece.
b) A moveable part, incorporating a second grip to hold the other end of the test piece. The grips holding the ends
of the test piece shall do so as far as possible without slipping and/or crushing.
NOTE Grips which tighten automatically may be used.
The fixed and moving parts and their associated grips shall enable the test piece to be aligned when a force is
applied so that the axis of the test piece is coincident with that of the force.
c) A drive mechanism capable of imparting a constant speed to the moving part, so that failure can be reached
between 1 min and 3 min after initial loading.
d) A load indicator capable of measuring the force applied. The mechanism shall be virtually free from inertia lag
at the specified rate of testing and shall indicate the force with an accuracy of within 1 % of the measured
value.
4.3.2 Dimension measuring device(s), for measuring the widths, b and b , and the free length, l, of the test
tot
piece (see figure 5) to an accuracy of – 0,1 mm.
4.4 For method D
4.4.1 Test machine, conforming to 4.3.1.
4.4.2 Dimension measuring device(s), capable of measuring the width, b and the thickness, e, of the test piece
(see figure 6) to an accuracy of – 0,1 mm.
4.5 For method E
4.5.1 Test machine, conforming to 4.3.1.
4.5.2 Dimension measuring device(s), capable of measuring the widths, b and b , and the length, l, of the test
tot
piece (see figure 7) to an accuracy of – 0,1 mm.
4.5.3 Restraining fixture, that prevents the test piece bending. The radius of curvature of the support plate shall
be half the nominal size, DN, expressed in millimetres, – 5 %. An example of such a fixture is shown in figure 3.
© ISO
Key
1 Bolt
2 Clamping plate
3 Test piece
4 Pivot
5 Direction of loading
6 Adjustable distance
7 Radius = 0,5 external diameter
·
Figure 3 — Typical arrangement for restrained strip test with a split support
4.6 For method F
4.6.1 Test machine, conforming to 4.3.1.
4.6.2 Load indicator, capable of indicating the force applied to the test piece to an accuracy of – 1 % of the
indicated value.
4.6.3 Means of measuring the width, b, (see figure 8) of the neck of the test piece to an accuracy of – 0,1 mm
and the winding angle, q, to an accuracy of – 1°.
5 Test pieces
5.1 For method A
The test piece shall be a cut length of pipe whose length between the end sealing devices shall be as specified in
the referring standard.
© ISO
5.2 For method B
The test piece shall be a ring cut from a pipe and its dimensions shall conform to figure 4.
Key
1 Direction of loading 4 Width of test section (15 mm min.)
2 Angle approximately 80° 5 Width of test piece, b (25 mm min.)
3 Radius 10 mm min. 6 Wall thickness, e
Figure 4 — Test piece for split disc test
© ISO
The width of the test piece shall not exceed the width of the split disc.
The ends of the ring shall be smooth and perpendicular to the axis of the pipe.
5.3 For method C
The test pieces (see figure 5) shall be cut out of the pipe in the circumferential direction.
Key
1 l + 100 mm 7 b (25 mm min.)
2 b 8 Free slot width (between 1 mm and 5 mm)
tot
3 Cast resin end 9 5 mm
...


Questions, Comments and Discussion
Ask us and Technical Secretary will try to provide an answer. You can facilitate discussion about the standard in here.
Loading comments...