ISO 24497-2:2007
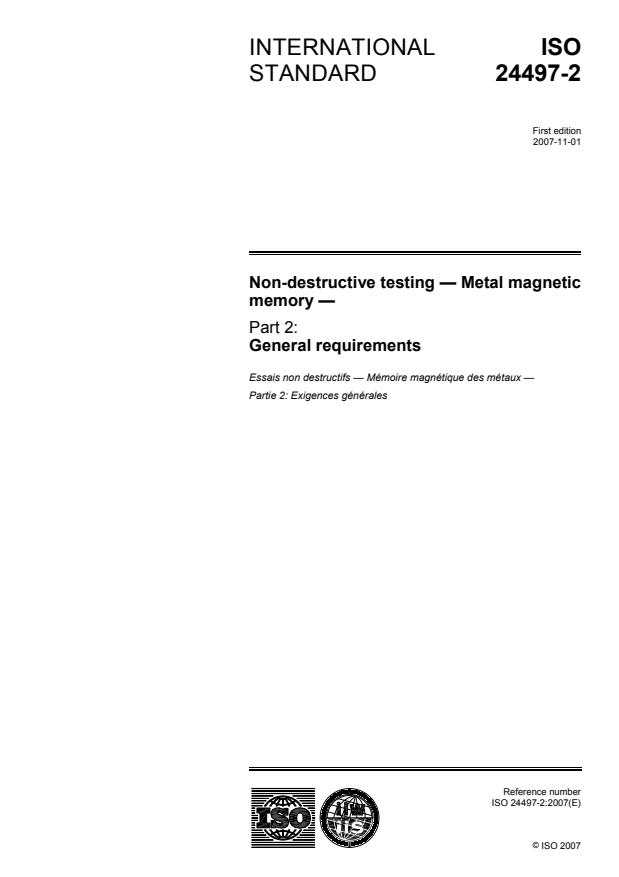
(Main)Non-destructive testing — Metal magnetic memory — Part 2: General requirements
Non-destructive testing — Metal magnetic memory — Part 2: General requirements
ISO 24497-2:2007 specifies general requirements for the application of the method of metal magnetic memory of components, units, equipment, and structures for various application purposes. It covers non-destructive testing.
Essais non destructifs — Mémoire magnétique des métaux — Partie 2: Exigences générales
General Information
- Status
- Withdrawn
- Publication Date
- 04-Nov-2007
- Withdrawal Date
- 04-Nov-2007
- Technical Committee
- IIW - International Institute of Welding
- Drafting Committee
- IIW - International Institute of Welding
- Parallel Committee
- ISO/TC 44 - Welding and allied processes
- Current Stage
- 9599 - Withdrawal of International Standard
- Start Date
- 11-Mar-2020
- Completion Date
- 12-Feb-2026
Relations
- Effective Date
- 23-Apr-2020
- Effective Date
- 13-Aug-2016
Get Certified
Connect with accredited certification bodies for this standard

National Aerospace and Defense Contractors Accreditation Program (NADCAP)
Global cooperative program for special process quality in aerospace.

CARES (UK Certification Authority for Reinforcing Steels)
UK certification for reinforcing steels and construction.

DVS-ZERT GmbH
German welding certification society.
Sponsored listings
Frequently Asked Questions
ISO 24497-2:2007 is a standard published by the International Organization for Standardization (ISO). Its full title is "Non-destructive testing — Metal magnetic memory — Part 2: General requirements". This standard covers: ISO 24497-2:2007 specifies general requirements for the application of the method of metal magnetic memory of components, units, equipment, and structures for various application purposes. It covers non-destructive testing.
ISO 24497-2:2007 specifies general requirements for the application of the method of metal magnetic memory of components, units, equipment, and structures for various application purposes. It covers non-destructive testing.
ISO 24497-2:2007 is classified under the following ICS (International Classification for Standards) categories: 25.160.40 - Welded joints and welds. The ICS classification helps identify the subject area and facilitates finding related standards.
ISO 24497-2:2007 has the following relationships with other standards: It is inter standard links to ISO 24497-1:2020, ISO 24497-2:2020. Understanding these relationships helps ensure you are using the most current and applicable version of the standard.
ISO 24497-2:2007 is available in PDF format for immediate download after purchase. The document can be added to your cart and obtained through the secure checkout process. Digital delivery ensures instant access to the complete standard document.
Standards Content (Sample)
INTERNATIONAL ISO
STANDARD 24497-2
First edition
2007-11-01
Non-destructive testing — Metal magnetic
memory —
Part 2:
General requirements
Essais non destructifs — Mémoire magnétique des métaux —
Partie 2: Exigences générales
Reference number
©
ISO 2007
PDF disclaimer
This PDF file may contain embedded typefaces. In accordance with Adobe's licensing policy, this file may be printed or viewed but
shall not be edited unless the typefaces which are embedded are licensed to and installed on the computer performing the editing. In
downloading this file, parties accept therein the responsibility of not infringing Adobe's licensing policy. The ISO Central Secretariat
accepts no liability in this area.
Adobe is a trademark of Adobe Systems Incorporated.
Details of the software products used to create this PDF file can be found in the General Info relative to the file; the PDF-creation
parameters were optimized for printing. Every care has been taken to ensure that the file is suitable for use by ISO member bodies. In
the unlikely event that a problem relating to it is found, please inform the Central Secretariat at the address given below.
© ISO 2007
All rights reserved. Unless otherwise specified, no part of this publication may be reproduced or utilized in any form or by any means,
electronic or mechanical, including photocopying and microfilm, without permission in writing from either ISO at the address below or
ISO's member body in the country of the requester.
ISO copyright office
Case postale 56 • CH-1211 Geneva 20
Tel. + 41 22 749 01 11
Fax + 41 22 749 09 47
E-mail copyright@iso.org
Web www.iso.org
Published in Switzerland
ii © ISO 2007 – All rights reserved
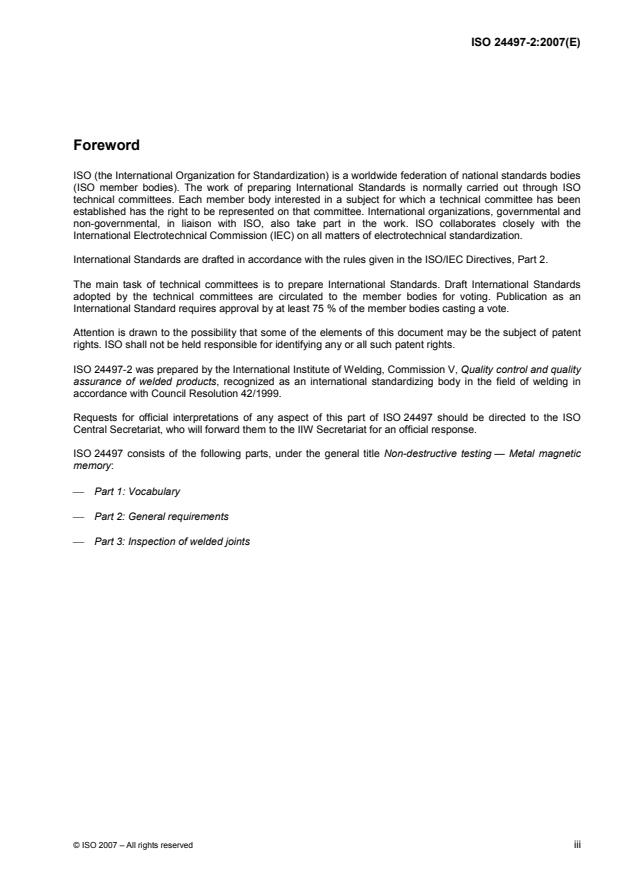
Foreword
ISO (the International Organization for Standardization) is a worldwide federation of national standards bodies
(ISO member bodies). The work of preparing International Standards is normally carried out through ISO
technical committees. Each member body interested in a subject for which a technical committee has been
established has the right to be represented on that committee. International organizations, governmental and
non-governmental, in liaison with ISO, also take part in the work. ISO collaborates closely with the
International Electrotechnical Commission (IEC) on all matters of electrotechnical standardization.
International Standards are drafted in accordance with the rules given in the ISO/IEC Directives, Part 2.
The main task of technical committees is to prepare International Standards. Draft International Standards
adopted by the technical committees are circulated to the member bodies for voting. Publication as an
International Standard requires approval by at least 75 % of the member bodies casting a vote.
Attention is drawn to the possibility that some of the elements of this document may be the subject of patent
rights. ISO shall not be held responsible for identifying any or all such patent rights.
ISO 24497-2 was prepared by the International Institute of Welding, Commission V, Quality control and quality
assurance of welded products, recognized as an international standardizing body in the field of welding in
accordance with Council Resolution 42/1999.
Requests for official interpretations of any aspect of this part of ISO 24497 should be directed to the ISO
Central Secretariat, who will forward them to the IIW Secretariat for an official response.
ISO 24497 consists of the following parts, under the general title Non-destructive testing — Metal magnetic
memory:
⎯ Part 1: Vocabulary
⎯ Part 2: General requirements
⎯ Part 3: Inspection of welded joints
INTERNATIONAL STANDARD ISO 24497-2:2007(E)
Non-destructive testing — Metal magnetic memory —
Part 2:
General requirements
1 Scope
This part of ISO 24497 specifies the general requirements for the application of the method of metal magnetic
memory of components, units, equipment, and structures for various application purposes. It covers
non-destructive testing.
The purposes of the method are the following.
⎯ Determination of heterogeneity of the stress/strain state of equipment and structures and revealing of
stress concentration zones as the main sources of damage.
⎯ Determination of locations to perform metal sampling in stress concentration zones for assessment of the
microstructural-mechanical state.
⎯ Early diagnostics of fatigue damage and evaluation of equipment and structure life.
⎯ Reduction of testing and material costs with its utilization in combination with conventional methods of
non-destructive testing.
⎯ Quality control of welded joints of various types and embodiment (including contact and spot welding).
⎯ Very quick sorting of new and used machine-building products by their microstructural heterogeneity.
2 Abbreviated terms
The following abbreviations are used in this part of ISO 24497:
⎯ IO: Inspection Object;
⎯ SMLF: Self-Magnetic-Leakage Field;
⎯ MMM: Metal Magnetic Memory;
⎯ NDT: Non-Destructive Testing;
⎯ SCZ: Stress Concentration Zone.
NOTE The Stress Concentration Zone (SCZ) is characterized by an abrupt local change of magnetization in the test
object. Under examination SCZ is indicated as an abrupt local change of the SMLF. SCZ is formed in places of defect
concentration, heterogeneity of metal microstructure; i.e., along welded joints or in zones of steady dislocation slip band
caused by static or cyclic loads.
3 General information
3.1 The MMM method refers to non-destructive magnetic-flux leakage testing by using magnetic-field-
sensitive probes, but with no active magnetization of the IO.
3.2 The MMM method is based on measurement and analysis of the distribution of self-magnetic-leakage
fields of metal components. Self-magnetic-leakage fields reflect the microstructural and technological history
of metal components, including welded joints. Natural magnetization formed in the Earth’s magnetic field
during the process of the product fabrication is used during testing. For the equipment in operation, the
magnetic memory appears in the irreversible change of the magnetization of the material in the direction of
maximal stresses due to working loads.
3.3 The MMM method determines SCZ, presence of imperfections, and heterogeneity of metal and welded
joints microstructures.
NOTE For components and machine-building products, SCZ in metal is conditioned by the technology of their
fabrication (fusion, forging, rolling, turning, press forming, thermal treatment, etc.).
3.4 For operating equipment in service, the MMM method gives the definition of SCZ specified by the
complex action of technological factors, the unit’s design philosophy, and operating loads.
3.5 The MMM method is used on products made of ferromagnetic and austenitic steels and alloys, and cast
iron with unlimited test sizes and thicknesses, including welded joints.
NOTE Austenitic steels can be inspected if their microstructure is sensitive for γ−α phase transformation under static
or cyclic loads.
3.6 The temperature range of the MMM method application is according to the normal and safe working
conditions of the operator (NDT inspector). Inspection tools shall be operable at temperatures from −20 °C
to +60 °C.
4 Requirements of the inspection object
4.1 During the application of the MMM method, equipment and structures are inspected both in the
in-service state (under load) and during maintenance (after removal of operating loads).
4.2 Surface dressing and preparation are not required. It is recommended to remove insulation. In
individual cases, non-magnetic insulation is allowed during inspection. The maximum permissible insulation
layer thickness shall be determined experimentally.
4.3 The range of metal thicknesses in inspection zones is specified in techniques used for this inspection
object.
4.4 The limiting factors for the application of the MMM method are the following:
⎯ artificial magnetization of the metal;
⎯ influence of foreign ferromagnetic products on the inspection object, near the inspection region of interest;
⎯ presence of the source of an external magnetic field or an electric-welding current flow near (closer
than 1 m) to the IO.
4.5 Acoustic noise from the IO and
...


Questions, Comments and Discussion
Ask us and Technical Secretary will try to provide an answer. You can facilitate discussion about the standard in here.
Loading comments...