SIST EN 13775-2:2004
(Main)Railway applications - Measuring of new and modified freight wagons - Part 2: Freight wagons with bogies
Railway applications - Measuring of new and modified freight wagons - Part 2: Freight wagons with bogies
This European Standard specifies requirements for measuring freight wagons with bogies. This ensures that the measuring processes are applied in accordance with uniform criteria. It applies to new and modified freight wagons with bogies. Provisions going beyond the scope of these requirements should be agreed upon by the contracting parties involved.
The measuring processes relate to the whole or parts of the underframes with or without add-ons if the geometrical structure does not permit anything else. Where appropriate, other measuring methods not specified here are necessary and should be specified in each individual case. This applies as appropriate to bogies.
Bahnanwendungen - Vermessung von Güterwagen beim Neubau und bei Umbauten - Teil 2: Güterwagen mit Drehgestellen
In dieser Europäischen Norm sind die Anforderungen für das Vermessen von Güterwagen mit Drehgestellen festgelegt. Durch diese wird sichergestellt, daß Meßvorgänge nach einheitlichen Kriterien ausgeführt werden. Sie gilt für neue und umgebaute Güterwagen mit Drehgestellen. Über diese Anforderungen dieser Norm hinausgehende Forderungen sind zwischen den Vertragspartnern zu vereinbaren. Durch das Vermessen ist festzustellen, ob die Abweichungen von den Nennmaßen innerhalb der in den Teilen 2 bis 6 dieser Normenreihe festgelegten Toleranzen liegen.
Applications ferroviaires - Mesure des wagons lors de leur construction et lors de modifications - Partie 2 : Wagons a bogies
La présente Norme européenne précise les exigences concernant les mesures sur les wagons à bogies, qui assurent que les opérations de mesure sont effectuées en fonction de critères unifiés. Elle est applicable aux wagons à bogies neufs ou modifiés. Les prescriptions allant au-delà du domaine d'application et de ses exigences doivent faire l'objet d'un contrat particulier entre les parties concernées.
Les opérations de mesure se rapportant aux châssis dans leur totalité, avec ou sans superstructure, ou à certaines parties de ceux-ci lorsque leur conception géométrique ne permet pas de faire autrement. Il y a lieu, le cas échéant, de procéder à des opérations de mesure supplémentaires, non prévues ici, qui doivent être déterminées au cas par cas. Tout cela est applicable, selon le contexte, aux bogies.
Železniške naprave– Merjenje novih in predelanih tovornih vagonov – 2.del: Tovorni vagoni s podstavnimi vozički
General Information
- Status
- Published
- Publication Date
- 31-May-2004
- Technical Committee
- IŽNP - Reilway applications
- Current Stage
- 6060 - National Implementation/Publication (Adopted Project)
- Start Date
- 01-Jun-2004
- Due Date
- 01-Jun-2004
- Completion Date
- 01-Jun-2004
Overview
EN 13775-2:2003 - "Railway applications - Measuring of new and modified freight wagons - Part 2: Freight wagons with bogies" (CEN) defines uniform measurement processes and acceptance criteria for freight wagon underframes with bogies. The standard ensures consistent geometric checks during manufacture, modification and final inspection to support safety, interoperability and quality assurance across European railways. It supplements the measuring principles of EN 13775-1 and is part of the EN 13775 series for freight wagon measurements.
Key topics and technical requirements
- Scope and preconditions
- Applies to new and modified freight wagons with bogies; measures whole or parts of underframes and applicable bogie features.
- Measurement work must follow the general principles in EN 13775-1.
- Reference geometry
- Definition and fixation of the main reference axis (centre line through underframe pivot centres) as the primary datum.
- Primary measurement processes
- Dimensional checks such as length over headstocks, distance between pivot centres, and differences in even overhangs.
- Squareness and straightness checks: headstocks, longitudinal members and buffer/coupler housings.
- Positional checks of coupler housing, friction plate mounting drilling patterns, buffer mounting centres and coupler centres.
- Flatness and distortion
- Flatness of underframe bolster and friction plate supports measured over defined lengths (e.g., z1 ≤ 2 mm over 500 mm).
- Distortion measurements in three-point support positions for welded underframes (specified tolerances for z9/z10).
- Tolerances and documentation
- Numerical tolerances are given for many items (examples: pivot centre distance ±8 mm, straightness y1: 5 mm). Deviations that could endanger operation must be agreed with contracting parties.
- A control sheet form (Annex A, normative) is provided for recording measurement results; Annex B contains terminology.
Practical applications and users
- Who uses it
- Wagon manufacturers, bogie suppliers, design engineers, acceptance inspectors, railway operators, maintenance organizations and conformity assessment bodies.
- When to apply
- During factory acceptance testing, post-modification verification, pre-delivery inspections and quality control of underframe and bogie geometry.
- Benefits
- Ensures interoperability, reduces field failures due to dimensional non-conformity, supports contractual acceptance criteria and harmonizes measurement methods across borders.
Related standards
- EN 13775-1:2003 - Measuring principles (normative reference)
- Other parts in the EN 13775 series: Parts 3–6 (freight wagons with 2 wheelsets, bogies with 2 or 3 wheelsets, tight-coupled wagons)
Keywords: EN 13775-2:2003, railway applications, measuring of freight wagons, freight wagons with bogies, CEN standard, underframe measurements, geometric tolerances, wagons inspection.
Frequently Asked Questions
SIST EN 13775-2:2004 is a standard published by the Slovenian Institute for Standardization (SIST). Its full title is "Railway applications - Measuring of new and modified freight wagons - Part 2: Freight wagons with bogies". This standard covers: This European Standard specifies requirements for measuring freight wagons with bogies. This ensures that the measuring processes are applied in accordance with uniform criteria. It applies to new and modified freight wagons with bogies. Provisions going beyond the scope of these requirements should be agreed upon by the contracting parties involved. The measuring processes relate to the whole or parts of the underframes with or without add-ons if the geometrical structure does not permit anything else. Where appropriate, other measuring methods not specified here are necessary and should be specified in each individual case. This applies as appropriate to bogies.
This European Standard specifies requirements for measuring freight wagons with bogies. This ensures that the measuring processes are applied in accordance with uniform criteria. It applies to new and modified freight wagons with bogies. Provisions going beyond the scope of these requirements should be agreed upon by the contracting parties involved. The measuring processes relate to the whole or parts of the underframes with or without add-ons if the geometrical structure does not permit anything else. Where appropriate, other measuring methods not specified here are necessary and should be specified in each individual case. This applies as appropriate to bogies.
SIST EN 13775-2:2004 is classified under the following ICS (International Classification for Standards) categories: 45.060.20 - Trailing stock. The ICS classification helps identify the subject area and facilitates finding related standards.
SIST EN 13775-2:2004 is associated with the following European legislation: EU Directives/Regulations: 93/38/EEC; Standardization Mandates: M/024. When a standard is cited in the Official Journal of the European Union, products manufactured in conformity with it benefit from a presumption of conformity with the essential requirements of the corresponding EU directive or regulation.
SIST EN 13775-2:2004 is available in PDF format for immediate download after purchase. The document can be added to your cart and obtained through the secure checkout process. Digital delivery ensures instant access to the complete standard document.
Standards Content (Sample)
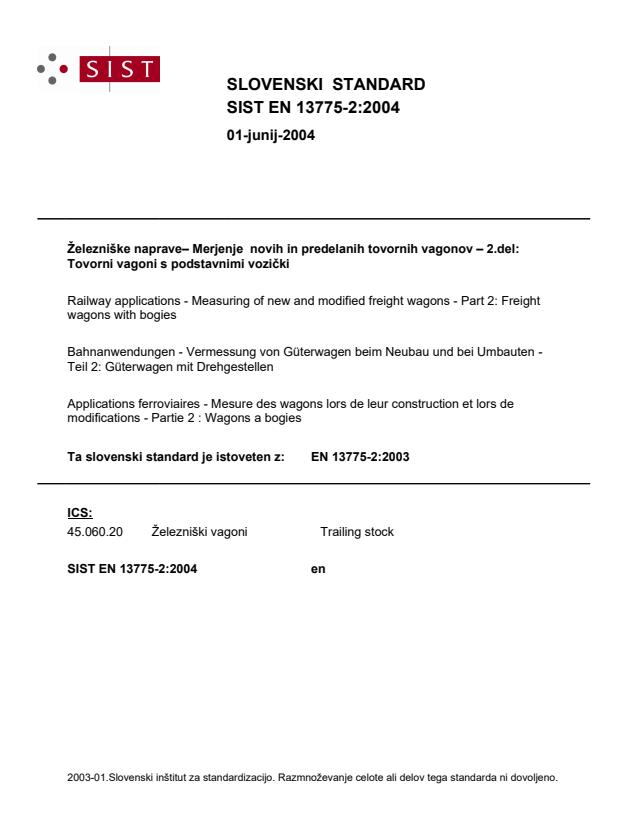
2003-01.Slovenski inštitut za standardizacijo. Razmnoževanje celote ali delov tega standarda ni dovoljeno.Bahnanwendungen - Vermessung von Güterwagen beim Neubau und bei Umbauten - Teil 2: Güterwagen mit DrehgestellenApplications ferroviaires - Mesure des wagons lors de leur construction et lors de modifications - Partie 2 : Wagons a bogiesRailway applications - Measuring of new and modified freight wagons - Part 2: Freight wagons with bogies45.060.20Železniški vagoniTrailing stockICS:Ta slovenski standard je istoveten z:EN 13775-2:2003SIST EN 13775-2:2004en01-junij-2004SIST EN 13775-2:2004SLOVENSKI
STANDARD
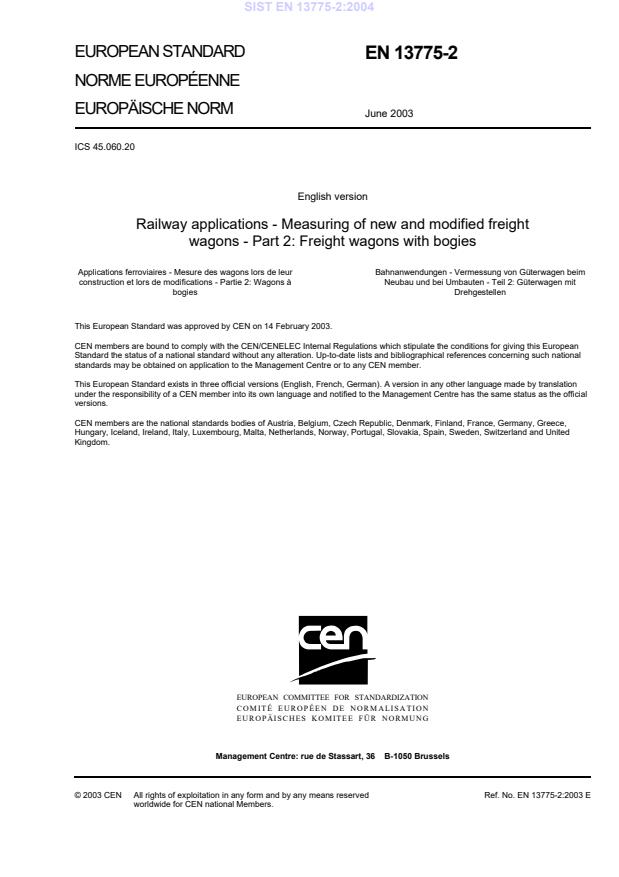
EUROPEAN STANDARDNORME EUROPÉENNEEUROPÄISCHE NORMEN 13775-2June 2003ICS 45.060.20English versionRailway applications - Measuring of new and modified freightwagons - Part 2: Freight wagons with bogiesApplications ferroviaires - Mesure des wagons lors de leurconstruction et lors de modifications - Partie 2: Wagons àbogiesBahnanwendungen - Vermessung von Güterwagen beimNeubau und bei Umbauten - Teil 2: Güterwagen mitDrehgestellenThis European Standard was approved by CEN on 14 February 2003.CEN members are bound to comply with the CEN/CENELEC Internal Regulations which stipulate the conditions for giving this EuropeanStandard the status of a national standard without any alteration. Up-to-date lists and bibliographical references concerning such nationalstandards may be obtained on application to the Management Centre or to any CEN member.This European Standard exists in three official versions (English, French, German). A version in any other language made by translationunder the responsibility of a CEN member into its own language and notified to the Management Centre has the same status as the officialversions.CEN members are the national standards bodies of Austria, Belgium, Czech Republic, Denmark, Finland, France, Germany, Greece,Hungary, Iceland, Ireland, Italy, Luxembourg, Malta, Netherlands, Norway, Portugal, Slovakia, Spain, Sweden, Switzerland and UnitedKingdom.EUROPEAN COMMITTEE FOR STANDARDIZATIONCOMITÉ EUROPÉEN DE NORMALISATIONEUROPÄISCHES KOMITEE FÜR NORMUNGManagement Centre: rue de Stassart, 36
B-1050 Brussels© 2003 CENAll rights of exploitation in any form and by any means reservedworldwide for CEN national Members.Ref. No. EN 13775-2:2003 ESIST EN 13775-2:2004
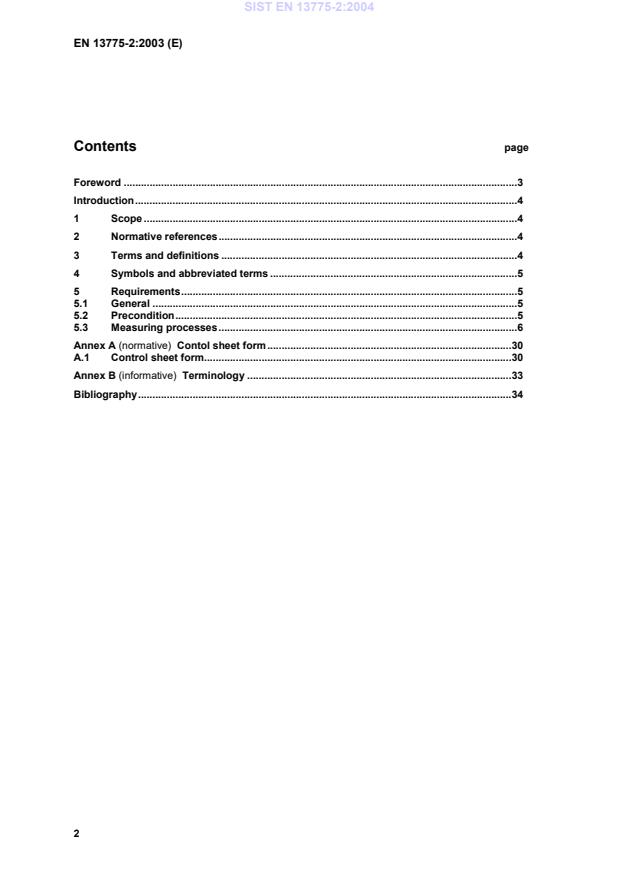
Contol sheet form.30A.1Control sheet form.30Annex B (informative)
Terminology.33Bibliography.34SIST EN 13775-2:2004
...


Questions, Comments and Discussion
Ask us and Technical Secretary will try to provide an answer. You can facilitate discussion about the standard in here.
Loading comments...