ASTM D3076-00
(Test Method)Standard Test Methods for Effective Crimping on Outside Crimped Valves of Aerosol Containers
Standard Test Methods for Effective Crimping on Outside Crimped Valves of Aerosol Containers
SCOPE
1.1 These test methods cover the effective crimping on outside crimped valves within the wide parameters of containers and valves available.
1.2 The test methods appear in the following order: SectionsOptical Comparator Test Method4 to 7Caliper Test Method8 to 12
1.3 This standard does not purport to address all of the safety concerns, if any, associated with its use. It is the responsibility of the user of this standard to establish appropriate safety and health practices and determine the applicability of regulatory limitations prior to use.
General Information
Relations
Standards Content (Sample)
NOTICE: This standard has either been superseded and replaced by a new version or withdrawn.
Contact ASTM International (www.astm.org) for the latest information
Designation: D 3076 – 00
Standard Test Methods for
Effective Crimping on Outside Crimped Valves of Aerosol
Containers
This standard is issued under the fixed designation D 3076; the number immediately following the designation indicates the year of
original adoption or, in the case of revision, the year of last revision. A number in parentheses indicates the year of last reapproval. A
superscript epsilon (e) indicates an editorial change since the last revision or reapproval.
1. Scope 5. Significance and Use
5.1 This test method provides information for the establish-
1.1 These test methods cover the effective crimping on
outside crimped valves within the wide parameters of contain- ment of quality control procedures on filling lines.
ers and valves available.
6. Apparatus
1.2 The test methods appear in the following order:
6.1 Optical Comparator.
Sections
6.2 Clamping Jig, fastened to the comparator bench.
Optical Comparator Test Method 4 to 7
6.3 Grinder, electric, small enough to be hand held.
Caliper Test Method 8 to 12
1.3 This standard does not purport to address all of the
7. Procedure
safety concerns, if any, associated with its use. It is the
7.1 Crimp a valve on an empty bottle with the line crimper
responsibility of the user of this standard to establish appro-
set at normal operation, and clamp the bottle in the jig on the
priate safety and health practices and determine the applica-
comparator bench.
bility of regulatory limitations prior to use.
7.2 Draw the projected, enlarged image on tracing paper.
2. Referenced Documents
NOTE 1—Grid ruled tracing paper makes the tracing much easier.
2.1 ASTM Standards:
7.3 Without disturbing the paper or bottle, cut a wedge out
D 996 Terminology of Packaging and Distribution Environ-
of the valve with the electric grinder, and remove the valve.
ments
7.4 Trace the projected image of the container alone on the
D 3064 Terminology Relating to Aerosol Products
same paper.
7.5 Measure the void between the two silhouettes (Fig. 1
3. Terminology
and Fig. 2). Subtract the dimensions (multiplied by the
3.1 General definitions for packaging and distribution envi-
enlargement factor of the essentially uncompressed compo-
ronments are found in Terminology D 996.
nentsofthevalve)fromthisvaluetoobtainthethicknessofthe
3.2 General definitions of terms relating to aerosol products
compressed gasket multipled by the enlargement factor, and
are found in D3064.
convert this reading into percent compression.
OPTICAL COMPARATOR TEST METHOD
CALIPER TEST METHOD
4. Summary of Test Method
8. Summary of Test Method
4.1 This test method involves drawing a projected, enlarged
8.1 This test method involves a measurement of the height
profile of the container and valve, then removing the valve and
of the uncrimped portion of the valve. The points between
drawingtheprojectedprofileofthecontainerfinish.Measuring
which the measurement is made are self-determining when the
the resultant void and subtracting the dimensions of the
calipers are held parallel to the side of the valve. Mean
essentially noncompressed components from this value results
dimensions are used in calculating the effective crimp height.
in the value representing the compressed thickness of the valve
9. Significance and Use
sealing gasket.
9.1 This test method provides information for the establish-
ment of quality control procedures on filling lines.
These test methods are under the jurisdiction of ASTM Committee D10 on
PackagingandarethedirectresponsibilityofSubcommitteeD 10.33onMechanical
10. Apparatus
Dispensers. These test methods were originally developed by the Chemical
Specialties Manufacturers Assn.
10.1 Calipers, vernier or dial.
Current edition approved Oct. 10, 2000. Published December 2000. Originally
published as D 3076 – 72. Last previous edition D 3076 – 94.
Annual Book of ASTM Standards, Vol 15.09.
Copyright © ASTM International, 100 Barr Harbor Drive, PO Box C700, West Conshohocken, PA 19428-2959, United States.
D 3076
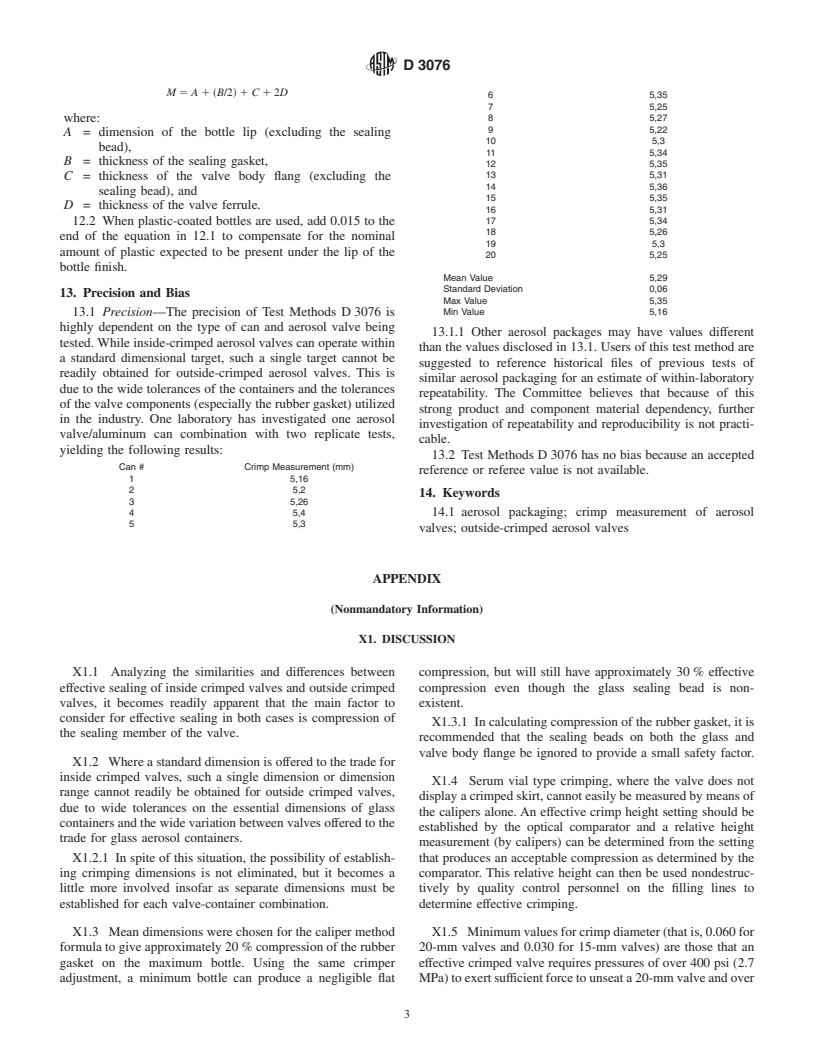
A—points between which effective crimp height measurement should be made (these points are self-determining when the calipers are held parallel to thesideofthe
valve).
B—points between which a relative measurement may be established for nondestructure quality control use from optical comparator data.
C—effective compression.
D—flat compression.
FIG. 1 Effective Crimp Height
A—representation of a plastic-coated bottle.
B—representation of an uncoated bottle.
NOTE 1—A and B represent points between which measurements should be made after drawing the projected profiles.
FIG. 2 Optical Comparator Profile
11. Procedure abrupt direction change. Letting the caliper find the point of
direction change naturally, will eliminate doubt about this
11.1 Select a filled bottle from the filling line at random.
measurement.
11.2 Mark off three points, 120° apart, on the valve ferrule,
11.5 Repeatthisprocessattheotherlocationsmarkedonthe
carefully avoiding areas where stake marks occur.
ferrule.
11.3 Holding the calipers parallel to the side of the valve,
11.6 Record a reasonable agreement between any two
place the inner jaw on the top of the valve.
readings as the effective crimp height (Fig. 1).
11.4 Slide the outer jaw up the valve skirt until it stops, due
11.7 Measure the diameter of the uncrimped portion of the
to the abrupt directional change in the skirt.
valve.Subtractthediameterofthecrimpedvalveskirtfromthe
11.4.1 In collect-crimped bottles a line appears at the top of
diameter of the uncrimped portion of the valve. Record this
the crimped skirt area. This is made by the top of the collect
value as the crimp diameter.
segment, and is the point at which direction changes abruptly
12. Calculation
and the caliper will hang up.
11.4.2 Roll-capped bottles will also produce this horizontal 12.1 Calculate the m
...


Questions, Comments and Discussion
Ask us and Technical Secretary will try to provide an answer. You can facilitate discussion about the standard in here.