ASTM D4567-03(2013)
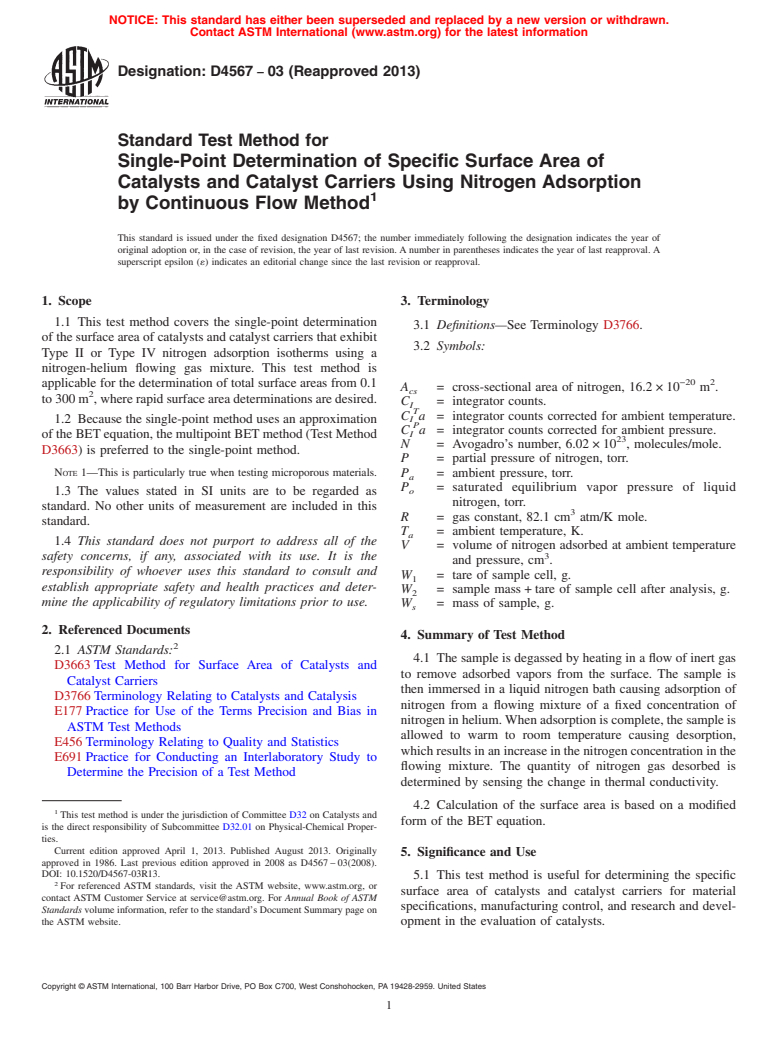
(Test Method)Standard Test Method for Single-Point Determination of Specific Surface Area of Catalysts and Catalyst Carriers Using Nitrogen Adsorption by Continuous Flow Method
Standard Test Method for Single-Point Determination of Specific Surface Area of Catalysts and Catalyst Carriers Using Nitrogen Adsorption by Continuous Flow Method
SIGNIFICANCE AND USE
5.1 This test method is useful for determining the specific surface area of catalysts and catalyst carriers for material specifications, manufacturing control, and research and development in the evaluation of catalysts.
SCOPE
1.1 This test method covers the single-point determination of the surface area of catalysts and catalyst carriers that exhibit Type II or Type IV nitrogen adsorption isotherms using a nitrogen-helium flowing gas mixture. This test method is applicable for the determination of total surface areas from 0.1 to 300 m2, where rapid surface area determinations are desired.
1.2 Because the single-point method uses an approximation of the BET equation, the multipoint BET method (Test Method D3663) is preferred to the single-point method.Note 1—This is particularly true when testing microporous materials.
1.3 The values stated in SI units are to be regarded as standard. No other units of measurement are included in this standard.
1.4 This standard does not purport to address all of the safety concerns, if any, associated with its use. It is the responsibility of whoever uses this standard to consult and establish appropriate safety and health practices and determine the applicability of regulatory limitations prior to use.
General Information
Relations
Standards Content (Sample)
NOTICE: This standard has either been superseded and replaced by a new version or withdrawn.
Contact ASTM International (www.astm.org) for the latest information
Designation:D4567 −03 (Reapproved 2013)
Standard Test Method for
Single-Point Determination of Specific Surface Area of
Catalysts and Catalyst Carriers Using Nitrogen Adsorption
by Continuous Flow Method
This standard is issued under the fixed designation D4567; the number immediately following the designation indicates the year of
original adoption or, in the case of revision, the year of last revision.Anumber in parentheses indicates the year of last reapproval.A
superscript epsilon (´) indicates an editorial change since the last revision or reapproval.
1. Scope 3. Terminology
1.1 This test method covers the single-point determination
3.1 Definitions—See Terminology D3766.
ofthesurfaceareaofcatalystsandcatalystcarriersthatexhibit
3.2 Symbols:
Type II or Type IV nitrogen adsorption isotherms using a
nitrogen-helium flowing gas mixture. This test method is
−20 2
applicable for the determination of total surface areas from 0.1
A = cross-sectional area of nitrogen, 16.2×10 m .
cs
to300m ,whererapidsurfaceareadeterminationsaredesired.
C = integrator counts.
I
T
C a = integrator counts corrected for ambient temperature.
1.2 Because the single-point method uses an approximation I
P
C a = integrator counts corrected for ambient pressure.
I
oftheBETequation,themultipointBETmethod(TestMethod
N = Avogadro’s number, 6.02×10 , molecules/mole.
D3663) is preferred to the single-point method.
P = partial pressure of nitrogen, torr.
NOTE 1—This is particularly true when testing microporous materials. P = ambient pressure, torr.
a
P = saturated equilibrium vapor pressure of liquid
o
1.3 The values stated in SI units are to be regarded as
nitrogen, torr.
standard. No other units of measurement are included in this
R = gas constant, 82.1 cm atm/K mole.
standard.
T = ambient temperature, K.
a
1.4 This standard does not purport to address all of the
V = volume of nitrogen adsorbed at ambient temperature
safety concerns, if any, associated with its use. It is the
and pressure, cm .
responsibility of whoever uses this standard to consult and
W = tare of sample cell, g.
establish appropriate safety and health practices and deter-
W = sample mass+tare of sample cell after analysis, g.
mine the applicability of regulatory limitations prior to use.
W = mass of sample, g.
s
2. Referenced Documents
4. Summary of Test Method
2.1 ASTM Standards:
4.1 Thesampleisdegassedbyheatinginaflowof inertgas
D3663Test Method for Surface Area of Catalysts and
to remove adsorbed vapors from the surface. The sample is
Catalyst Carriers
then immersed in a liquid nitrogen bath causing adsorption of
D3766Terminology Relating to Catalysts and Catalysis
nitrogen from a flowing mixture of a fixed concentration of
E177Practice for Use of the Terms Precision and Bias in
nitrogeninhelium.Whenadsorptioniscomplete,thesampleis
ASTM Test Methods
allowed to warm to room temperature causing desorption,
E456Terminology Relating to Quality and Statistics
whichresultsinanincreaseinthenitrogenconcentrationinthe
E691Practice for Conducting an Interlaboratory Study to
flowing mixture. The quantity of nitrogen gas desorbed is
Determine the Precision of a Test Method
determined by sensing the change in thermal conductivity.
4.2 Calculation of the surface area is based on a modified
This test method is under the jurisdiction of Committee D32 on Catalysts and
form of the BET equation.
is the direct responsibility of Subcommittee D32.01 on Physical-Chemical Proper-
ties.
Current edition approved April 1, 2013. Published August 2013. Originally
5. Significance and Use
approved in 1986. Last previous edition approved in 2008 as D4567–03(2008).
DOI: 10.1520/D4567-03R13.
5.1 This test method is useful for determining the specific
For referenced ASTM standards, visit the ASTM website, www.astm.org, or
surface area of catalysts and catalyst carriers for material
contact ASTM Customer Service at service@astm.org. For Annual Book of ASTM
specifications, manufacturing control, and research and devel-
Standards volume information, refer to the standard’s Document Summary page on
the ASTM website. opment in the evaluation of catalysts.
Copyright © ASTM International, 100 Barr Harbor Drive, PO Box C700, West Conshohocken, PA 19428-2959. United States
D4567−03 (2013)
FIG. 1 Apparatus
6. Apparatus 6.3 Dewar Flasks.
−7
6.1 AschematicdiagramoftheapparatusisshowninFig.1. 6.4 Laboratory Balance with 0.1 mg (10 kg) sensitivity.
The apparatus may be constructed of glass or metal tubing. It 3
6.5 Gas-Tight Syringe or Gas Sampling Loop, 1.00 cm .
has the following features:
6.1.1 Differential Flow Controller from the gas inlet valve
7. Reagents
toaflowcontrolvalvetoeliminatefluctuationsinthegasflow.
7.1 Liquid Nitrogen, of such purity that the saturated equi-
6.1.2 Two Thermal Conductivity Detectors—A reference
librium vapor pressure is not more than 20 torr above ambient
detector (A) to sense the nitrogen-helium gas mixture and a
pressure.
second detector (B) to sense changes in the gas mixture after
7.2 Cylinder, with pressure regulator, of high purity 30
flowingthroughthesamplecell.Thetwodetectorsareinitially
mole% nitrogen in helium equivalent to a relative pressure of
balanced to allow the detection of changes in the nitrogen
approximately 0.3, where the nitrogen concentration is known
concentration.
to within 0.1 mole%. Concentrations lower than 30 mole%
6.1.3 Flow-Through Sample Cells, of various volumes and
should be used for materials containing micropores, for
shapes depending on the application.
example, zeolites.
6.1.4 Two Equilibration Tubes selected by a selector valve,
between the sample cell and detector (B). The small volume
8. Calibration of the Apparatus
tube has a volume of approximately 20 cm and the large
8.1 If the gas mixture contains impurities, place a Dewar
volume tube has a 100 cm capacity to allow for temperature
flask containing liquid nitrogen around the cold trap.
andpressureequilibrationofawiderangeofvolumesofgases.
6.1.5 Flow Meter, to monitor the flow rate of the nitrogen-
8.2 Usingagas-tightsyringeinject1.00cm (orsomeother
helium mixture maintained at approximately 20 cm /min.
known volume) of air or nitrogen into the calibration septum.
6.1.6 Diffusion Baffle,topreventairfromdiffusingbackinto
The digital integrator should display 2.84 6 0.03 counts (see
the system during cooling of the sample.
11.3) for a 1.00-cm injection (or a proportional number of
6.1.7 BridgeBalanceMeter,todisplaybalanceorimbalance
counts for a different volume). If the counts are greater than
between detectors A and B.
2.84, increase the gas flow through the flow control valve. If
6.1.8 Digital Integrator, to measure the imbalance between
the counts are less than 2.84, decrease the gas flow and retest.
detectors A and B and display the surface area of the sample.
6.1.9 Septum or Fixed Loop,forinjectionofcalibrationgas. 9. Preparation of Sample
6.1.10 Degassing Station, for removal of adsorbed vapors
9.1 Weigh to 0.0001 g a clean, dry empty samp
...


Questions, Comments and Discussion
Ask us and Technical Secretary will try to provide an answer. You can facilitate discussion about the standard in here.