ISO 7801:2024
(Main)Metallic materials — Wire — Reverse bend test
Metallic materials — Wire — Reverse bend test
This document specifies a method for determining the ability of metallic wire of diameter or characteristic dimension from 0,3 mm to 10 mm to undergo plastic deformation during reverse bend test. The range of applicable diameters or characteristic dimensions is more precisely specified in the relevant product standard.
Matériaux métalliques — Fils — Essai de pliage alterné
La présente Norme internationale spécifie la méthode de détermination de l'aptitude des fils métalliques, de diamètre ou d'épaisseur de 0,3 à 10 mm inclus, à supporter la déformation plastique imposée par un pliage alterné. Les fourchettes de diamètres ou d'épaisseurs auxquelles s'applique la présente Norme internationale sont précisées de façon plus exacte dans les normes de produits.
General Information
- Status
- Published
- Publication Date
- 05-Nov-2024
- Technical Committee
- ISO/TC 164/SC 2 - Ductility testing
- Drafting Committee
- ISO/TC 164/SC 2 - Ductility testing
- Current Stage
- 6060 - International Standard published
- Start Date
- 06-Nov-2024
- Due Date
- 11-Oct-2024
- Completion Date
- 06-Nov-2024
Relations
- Effective Date
- 09-Feb-2026
- Effective Date
- 09-Feb-2026
- Effective Date
- 09-Feb-2026
- Effective Date
- 06-Jun-2022
Overview
ISO 7801:2024 - Metallic materials - Wire - Reverse bend test defines a standardized method for assessing the ability of metallic wire (diameter or characteristic dimension from 0.3 mm to 10 mm) to undergo plastic deformation when subjected to repeated reverse bending. The second edition updates testing symbols, typical cross‑sections (round, shaped, clad), support radii and procedural rules to ensure reproducible ductility and fatigue‑related evaluations for wire products.
Key topics and technical requirements
- Scope: Applies to metallic wires with nominal diameters/characteristic dimensions between 0.3 mm and 10 mm; specific ranges can be refined in relevant product standards.
- Test principle: Repeated bending through 90° in alternating directions over cylindrical supports; each bend is counted and the number of reverse bends (Nb) is recorded.
- Equipment and geometry: Machine must conform to Figure 2 and the parameter tables. For round wires, Table 1 prescribes support radius (r), guide hole diameter (dg), distance L, and top‑edge offset y by wire size. Annex A provides support radii for shaped steel wires (Z, H, T types).
- Procedure details:
- Insert and grip the straightened test piece; bending arm pivots 90° alternately.
- Rate of bending: uniform, without shock, not exceeding one bend per second.
- Ambient testing: generally 10 °C to 35 °C; controlled testing at (23 ± 5) °C when required.
- To maintain contact, a tensile force up to 2% of nominal tensile strength may be applied (unless otherwise agreed).
- End criteria: Test continues until the specified number of bends in the product standard is reached or until complete fracture. Crack detection is not required as the default stopping criterion; visible cracking may be used if specified.
- Reporting: Test reports must reference ISO 7801:2024 and include identification, nominal diameter/characteristic dimension, preparation method, testing conditions (r, F, etc.), ending criterion and Nb.
Applications and users
- Who uses it: wire manufacturers, materials testing laboratories, quality control/assurance teams, product standards writers, R&D engineers, and procurement/inspection authorities.
- Why use it: To evaluate ductility, bend‑fatigue performance, and integrity of round, shaped and clad wires for static and dynamic applications (e.g., springs, electrical conductors, fasteners, coated/clad products). Results support acceptance criteria, supplier qualification, and material selection.
Related standards
- Product‑specific standards will typically reference ISO 7801:2024 for applicable diameter ranges and detailed acceptance criteria.
- Prepared by ISO/TC 164/SC 2 (Mechanical testing of metals - Ductility testing); replaces ISO 7801:1984.
Keywords: ISO 7801:2024, reverse bend test, metallic wire testing, wire ductility, cylindrical supports, shaped wire, round wire, clad wire, test parameters.
Get Certified
Connect with accredited certification bodies for this standard

Element Materials Technology
Materials testing and product certification.

Inštitut za kovinske materiale in tehnologije
Institute of Metals and Technology. Materials testing, metallurgical analysis, NDT.
Sponsored listings
Frequently Asked Questions
ISO 7801:2024 is a standard published by the International Organization for Standardization (ISO). Its full title is "Metallic materials — Wire — Reverse bend test". This standard covers: This document specifies a method for determining the ability of metallic wire of diameter or characteristic dimension from 0,3 mm to 10 mm to undergo plastic deformation during reverse bend test. The range of applicable diameters or characteristic dimensions is more precisely specified in the relevant product standard.
This document specifies a method for determining the ability of metallic wire of diameter or characteristic dimension from 0,3 mm to 10 mm to undergo plastic deformation during reverse bend test. The range of applicable diameters or characteristic dimensions is more precisely specified in the relevant product standard.
ISO 7801:2024 is classified under the following ICS (International Classification for Standards) categories: 77.040.10 - Mechanical testing of metals. The ICS classification helps identify the subject area and facilitates finding related standards.
ISO 7801:2024 has the following relationships with other standards: It is inter standard links to EN ISO 15630-3:2025, EN 4800-004:2025, EN 4700-004:2025, ISO 7801:1984. Understanding these relationships helps ensure you are using the most current and applicable version of the standard.
ISO 7801:2024 is available in PDF format for immediate download after purchase. The document can be added to your cart and obtained through the secure checkout process. Digital delivery ensures instant access to the complete standard document.
Standards Content (Sample)
International
Standard
ISO 7801
Second edition
Metallic materials — Wire —
2024-11
Reverse bend test
Matériaux métalliques — Fils — Essai de pliage alterné
Reference number
© ISO 2024
All rights reserved. Unless otherwise specified, or required in the context of its implementation, no part of this publication may
be reproduced or utilized otherwise in any form or by any means, electronic or mechanical, including photocopying, or posting on
the internet or an intranet, without prior written permission. Permission can be requested from either ISO at the address below
or ISO’s member body in the country of the requester.
ISO copyright office
CP 401 • Ch. de Blandonnet 8
CH-1214 Vernier, Geneva
Phone: +41 22 749 01 11
Email: copyright@iso.org
Website: www.iso.org
Published in Switzerland
ii
Contents Page
Foreword .iv
1 Scope . 1
2 Normative references . 1
3 Terms and definitions . 1
4 Symbols . 1
5 Principle . 2
6 Testing equipment . 3
6.1 General .3
6.2 Cylindrical supports and gripping faces .3
6.3 Bending arm and guide .3
7 Test piece . 4
8 Procedure . 4
9 Test report . 5
Annex A (normative) Testing parameter during reverse bend test for shaped steel wires . 7
Annex B (informative) Examples of devices applying force to test pieces . 8
Bibliography . 9
iii
Foreword
ISO (the International Organization for Standardization) is a worldwide federation of national standards
bodies (ISO member bodies). The work of preparing International Standards is normally carried out through
ISO technical committees. Each member body interested in a subject for which a technical committee
has been established has the right to be represented on that committee. International organizations,
governmental and non-governmental, in liaison with ISO, also take part in the work. ISO collaborates closely
with the International Electrotechnical Commission (IEC) on all matters of electrotechnical standardization.
The procedures used to develop this document and those intended for its further maintenance are described
in the ISO/IEC Directives, Part 1. In particular, the different approval criteria needed for the different types
of ISO document should be noted. This document was drafted in accordance with the editorial rules of the
ISO/IEC Directives, Part 2 (see www.iso.org/directives).
ISO draws attention to the possibility that the implementation of this document may involve the use of (a)
patent(s). ISO takes no position concerning the evidence, validity or applicability of any claimed patent
rights in respect thereof. As of the date of publication of this document, ISO had not received notice of (a)
patent(s) which may be required to implement this document. However, implementers are cautioned that
this may not represent the latest information, which may be obtained from the patent database available at
www.iso.org/patents. ISO shall not be held responsible for identifying any or all such patent rights.
Any trade name used in this document is information given for the convenience of users and does not
constitute an endorsement.
For an explanation of the voluntary nature of standards, the meaning of ISO specific terms and expressions
related to conformity assessment, as well as information about ISO's adherence to the World Trade
Organization (WTO) principles in the Technical Barriers to Trade (TBT), see www.iso.org/iso/foreword.html.
This document was prepared by Technical Committee ISO/TC 164, Mechanical testing of metals, Subcommittee
SC 2, Ductility testing.
This second edition cancels and replaces the first edition (ISO 7801:1984), which has been technically
revised.
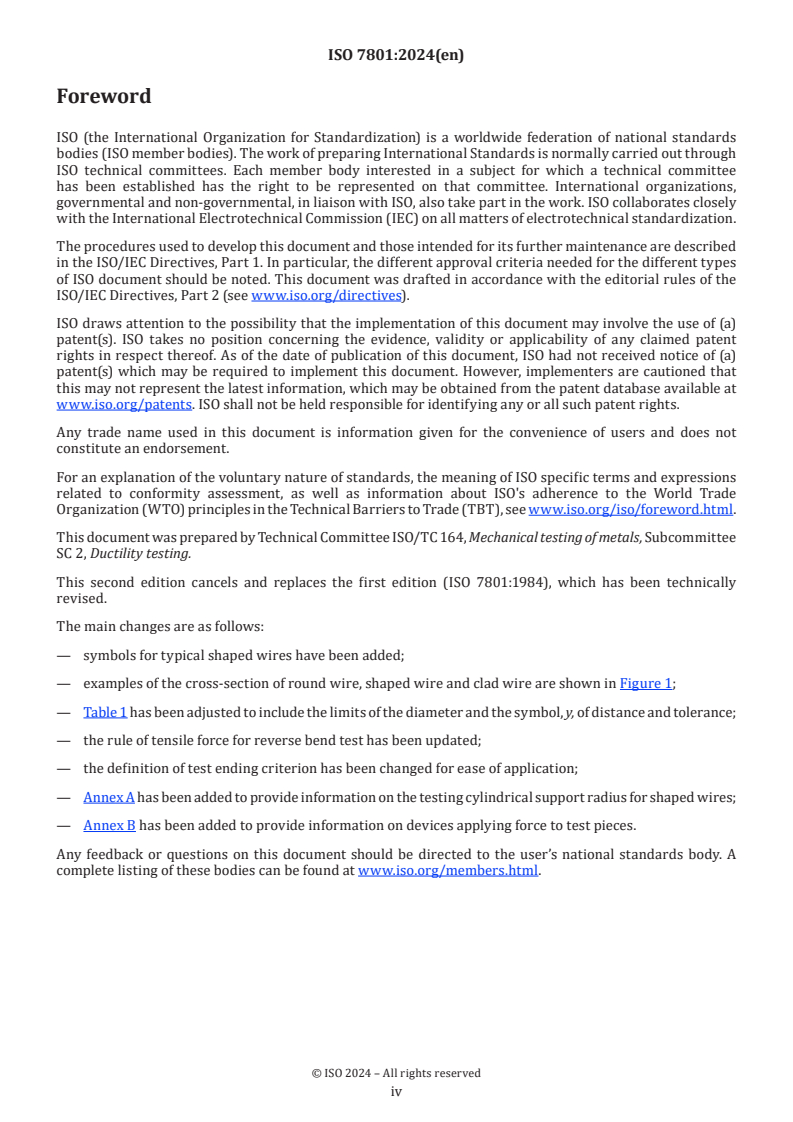
The main changes are as follows:
— symbols for typical shaped wires have been added;
— examples of the cross-section of round wire, shaped wire and clad wire are shown in Figure 1;
— Table 1 has been adjusted to include the limits of the diameter and the symbol, y, of distance and tolerance;
— the rule of tensile force for reverse bend test has been updated;
— the definition of test ending criterion has been changed for ease of application;
— Annex A has been added to provide information on the testing cylindrical support radius for shaped wires;
— Annex B has been added to provide information on devices applying force to test pieces.
Any feedback or questions on this document should be directed to the user’s national standards body. A
complete listing of these bodies can be found at www.iso.org/members.html.
iv
International Standard ISO 7801:2024(en)
Metallic materials — Wire — Reverse bend test
1 Scope
This document specifies a method for determining the ability of metallic wire of diameter or characteristic
dimension from 0,3 mm to 10 mm to undergo plastic deformation during reverse bend test.
The range of applicable diameters or characteristic dimensions is more precisely specified in the relevant
product standard.
2 Normative references
There are no normative references in this document.
3 Terms and definitions
No terms and definitions are listed in this document.
ISO and IEC maintain terminology databases for use in standardization at the following addresses:
— ISO Online browsing platform: available at https:// www .iso .org/ obp
— IEC Electropedia: available at https:// www .electropedia .org/
4 Symbols
The symbols and designations used in reverse bend test of round wires and shaped wires are shown in
Figure 1.
d diameter of a round wire (if clad wire, it means outer diameter) mm
d diameter of guide hole mm
g
F applied tension force N
characteristic dimension for a shaped wire (e.g. the characteristic dimension for some shaped
h mm
wires is the height of the cross-section and is usually specified in the relevant standard)
L distance from the top tangential plane of cylindrical supports to the bottom face of guide mm
N number of reverse bends —
b
r radius of cylindrical supports mm
distance from a plane, defined by the axes of the cylindrical supports, to the top edge of
y mm
gripping faces
a) Type of round b) Type of round wire c) Type of shaped d) Type of shaped e) Type of shaped
wire with two or more wire, not round wire, not round wire, not round
different materials cross-section cross-section cross-section
made by cladding
Figure 1 — Typical cross-sections of wires
5 Principle
The reverse bend test consists of repeated bending, through 90° in opposite directions, of a tested piece at
one end, each bend being over a cylindrical support of a specified radius shown in Figure 2.
Key
1 test piece 5 cylindrical supports A and B
2 bending arm 6 gripping faces of supports
3 guide 7 supports
4 pivoting axis of the bending arm 8 top edge of the gripping faces
Figure 2 — Principle of reverse bend test
6 Testing equipment
6.1 General
The testing machine shall be constructed so as to conform with the principles indicated in Figure 2 and the
essential dimensions for round wires given in Table 1 as well as those for shaped wires given in Table A.1
and Table A.2; the number of reverse bends shall be recorded.
Table 1 — Testing parameters in reverse bend test for round wires
Dimensions and tolerances in millimetres
Nominal diameter Radius of cylindrical Diameter of Distance and
Distance
a
of wires support and tolerance guide hole tolerance
d r L d y
...


Questions, Comments and Discussion
Ask us and Technical Secretary will try to provide an answer. You can facilitate discussion about the standard in here.
Loading comments...