ASTM E2846-14
(Guide)Standard Guide for Thermocouple Verification
Standard Guide for Thermocouple Verification
SIGNIFICANCE AND USE
5.1 These verification tests may be performed by users or calibrators of thermocouples. The methods are useful for both new and used thermocouples. They provide a means to assess the accuracy with which a thermocouple is capable of measuring temperature.
5.2 Results from these tests may be used to determine whether to use or discard a thermocouple. If the thermocouple is subsequently used, the test results may be included in the measurement uncertainty budget. In many circumstances, the results of in situ verifications may be used to recalibrate a used thermocouple. Laboratory measurements, on the other hand, may be used only to verify the original thermocouple calibration or to determine the uncertainty of temperature measurements with the tested thermocouple. Laboratory measurements generally do not suffice to determine the emf-versus-temperature response of a thermocouple found to be inhomogeneous.
SCOPE
1.1 This guide describes tests that may be applied to new or previously used thermocouples for the purpose of verification. Some of the tests perform a suitable verification by themselves, but many tests merely alert the user to serious problems if the thermocouple fails the test. Some of the tests examine inhomogeneity and others detect wire or measuring-junction breakage. For Style U mineral-insulated metal-sheathed (MIMS) thermocouples with ungrounded measuring junctions, this guide includes tests that examine the electrical isolation of the sheath as well as sheath deterioration.
1.2 The first set of tests involves measurement verifications designed to be performed while the thermocouple is in its usage environment. The second set is composed of electrical tests and visual inspections designed to evaluate the functionality of the thermocouple; these tests may be performed either in house or in a calibration laboratory. The third set is made up of homogeneity tests designed to be performed in a calibration laboratory. Some of the tests provide simple methods to identify some, but not all, defective thermocouples, and alone do not suffice to verify a used thermocouple. They may need to be complemented by other tests for a complete verification.
1.3 The reader of this guide should decide which of the described tests need to be performed. This decision is dependent on whether the reader uses thermocouples for temperature measurement or performs thermocouple calibrations in a laboratory. For users of thermocouples, it is recommended that appropriate tests from the first and second sets be performed initially, as they provide immediate on-site verification of the thermocouples. The appropriateness of a test is dependent upon the user’s temperature measurement uncertainty requirements. Some tests may have lower uncertainties in their verification measurements than others. If these tests do not clearly determine the suitability of the thermocouples, they should be sent to a calibration laboratory for performing appropriate tests from the third set, which give the most complete information on the thermocouple homogeneity. For those who perform thermocouple calibrations in a laboratory, it is recommended that appropriate tests from the second and third sets be performed prior to calibration. The appropriateness of a test is dependent on the calibration laboratory’s capability and convenience for performing the test, as well as the characteristics of the unit under test (UUT).
1.4 This guide may be used for base metal and noble metal thermocouples. Some of the methods covered may apply to refractory metal thermocouples but caution is advised as suitable reference devices at high temperatures may not be readily available.
1.5 This guide may involve hazardous materials, operations and equipment. This standard does not purport to address all of the safety concerns, if any, associated with its use. It is the responsibility of the user of this standard to establish appropriate safety ...
General Information
Relations
Standards Content (Sample)
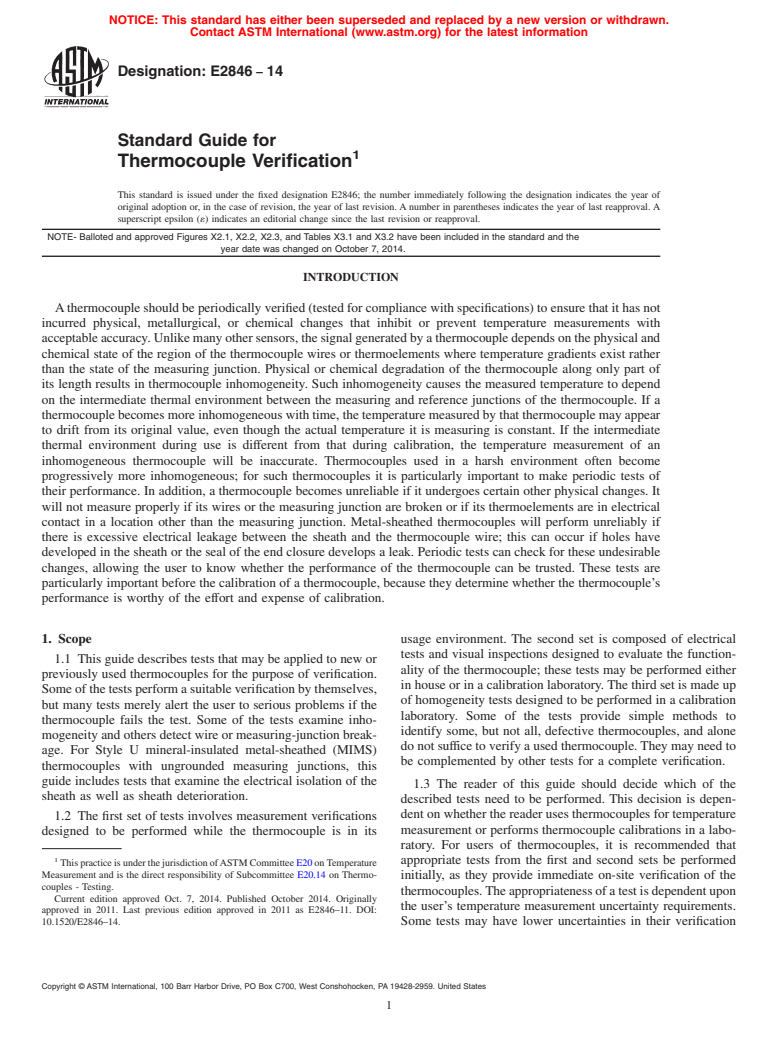
NOTICE: This standard has either been superseded and replaced by a new version or withdrawn.
Contact ASTM International (www.astm.org) for the latest information
Designation:E2846 −14
Standard Guide for
1
Thermocouple Verification
This standard is issued under the fixed designation E2846; the number immediately following the designation indicates the year of
original adoption or, in the case of revision, the year of last revision.Anumber in parentheses indicates the year of last reapproval.A
superscript epsilon (´) indicates an editorial change since the last revision or reapproval.
NOTE- Balloted and approved Figures X2.1, X2.2, X2.3, and Tables X3.1 and X3.2 have been included in the standard and the
year date was changed on October 7, 2014.
INTRODUCTION
Athermocoupleshouldbeperiodicallyverified(testedforcompliancewithspecifications)toensurethatithasnot
incurred physical, metallurgical, or chemical changes that inhibit or prevent temperature measurements with
acceptableaccuracy.Unlikemanyothersensors,thesignalgeneratedbyathermocoupledependsonthephysicaland
chemical state of the region of the thermocouple wires or thermoelements where temperature gradients exist rather
than the state of the measuring junction. Physical or chemical degradation of the thermocouple along only part of
its length results in thermocouple inhomogeneity. Such inhomogeneity causes the measured temperature to depend
on the intermediate thermal environment between the measuring and reference junctions of the thermocouple. If a
thermocouplebecomesmoreinhomogeneouswithtime,thetemperaturemeasuredbythatthermocouplemayappear
to drift from its original value, even though the actual temperature it is measuring is constant. If the intermediate
thermal environment during use is different from that during calibration, the temperature measurement of an
inhomogeneous thermocouple will be inaccurate. Thermocouples used in a harsh environment often become
progressively more inhomogeneous; for such thermocouples it is particularly important to make periodic tests of
their performance. In addition, a thermocouple becomes unreliable if it undergoes certain other physical changes. It
will not measure properly if its wires or the measuring junction are broken or if its thermoelements are in electrical
contact in a location other than the measuring junction. Metal-sheathed thermocouples will perform unreliably if
there is excessive electrical leakage between the sheath and the thermocouple wire; this can occur if holes have
developed in the sheath or the seal of the end closure develops a leak. Periodic tests can check for these undesirable
changes, allowing the user to know whether the performance of the thermocouple can be trusted. These tests are
particularly important before the calibration of a thermocouple, because they determine whether the thermocouple’s
performance is worthy of the effort and expense of calibration.
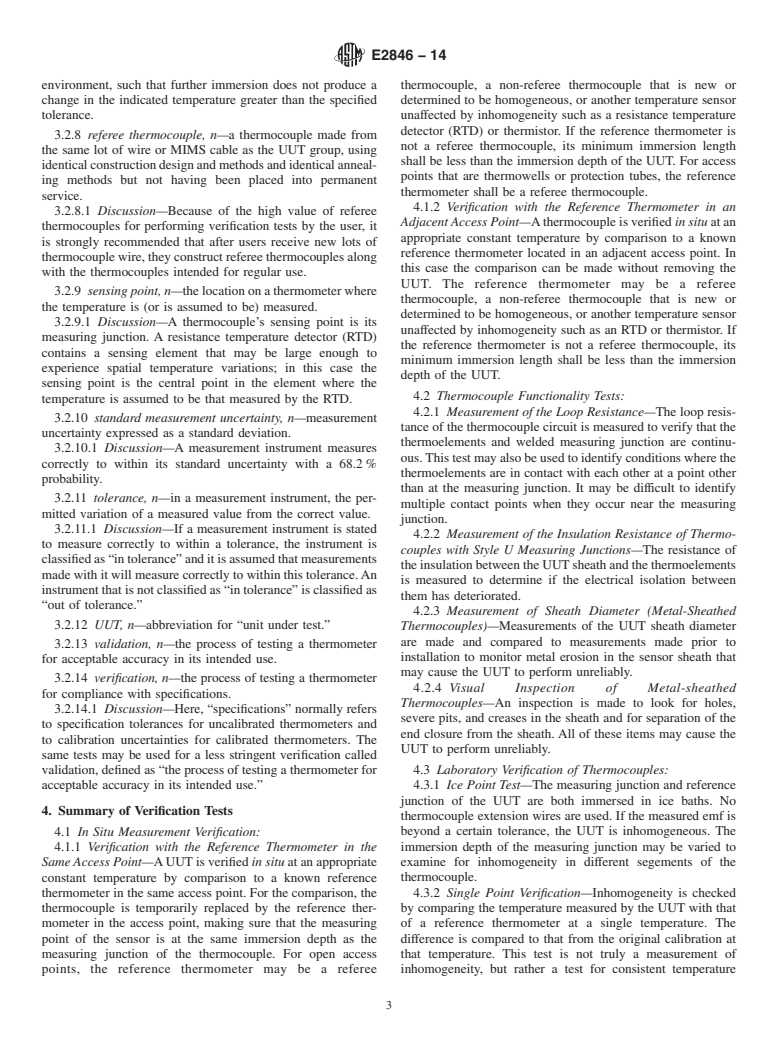
1. Scope usage environment. The second set is composed of electrical
tests and visual inspections designed to evaluate the function-
1.1 This guide describes tests that may be applied to new or
ality of the thermocouple; these tests may be performed either
previously used thermocouples for the purpose of verification.
inhouseorinacalibrationlaboratory.Thethirdsetismadeup
Someofthetestsperformasuitableverificationbythemselves,
of homogeneity tests designed to be performed in a calibration
but many tests merely alert the user to serious problems if the
laboratory. Some of the tests provide simple methods to
thermocouple fails the test. Some of the tests examine inho-
identify some, but not all, defective thermocouples, and alone
mogeneityandothersdetectwireormeasuring-junctionbreak-
donotsufficetoverifyausedthermocouple.Theymayneedto
age. For Style U mineral-insulated metal-sheathed (MIMS)
be complemented by other tests for a complete verification.
thermocouples with ungrounded measuring junctions, this
guide includes tests that examine the electrical isolation of the
1.3 The reader of this guide should decide which of the
sheath as well as sheath deterioration.
described tests need to be performed. This decision is depen-
dentonwhetherthereaderusesthermocouplesfortemperature
1.2 The first set of tests involves measurement verifications
measurement or performs thermocouple calibrations in a labo-
designed to be performed while the thermocouple is in its
ratory. For users of thermocouples, it is recommended that
1
appropriate tests from the first and second sets be performed
ThispracticeisunderthejurisdictionofASTMCommitteeE20onTemperature
Measurement and is the direct responsibility of Subcommittee E20.14 on Thermo-
initially, as they provide immediate on-site verification of the
couples - Testing.
thermocouples.Theappropriatenessofatestisdependentupon
Current edition approved Oct. 7, 2014. Published October 2014. Originally
the user’s temperature measurement uncertainty requirements.
approved in 2011. Last previous edition approved in 2011 as
...
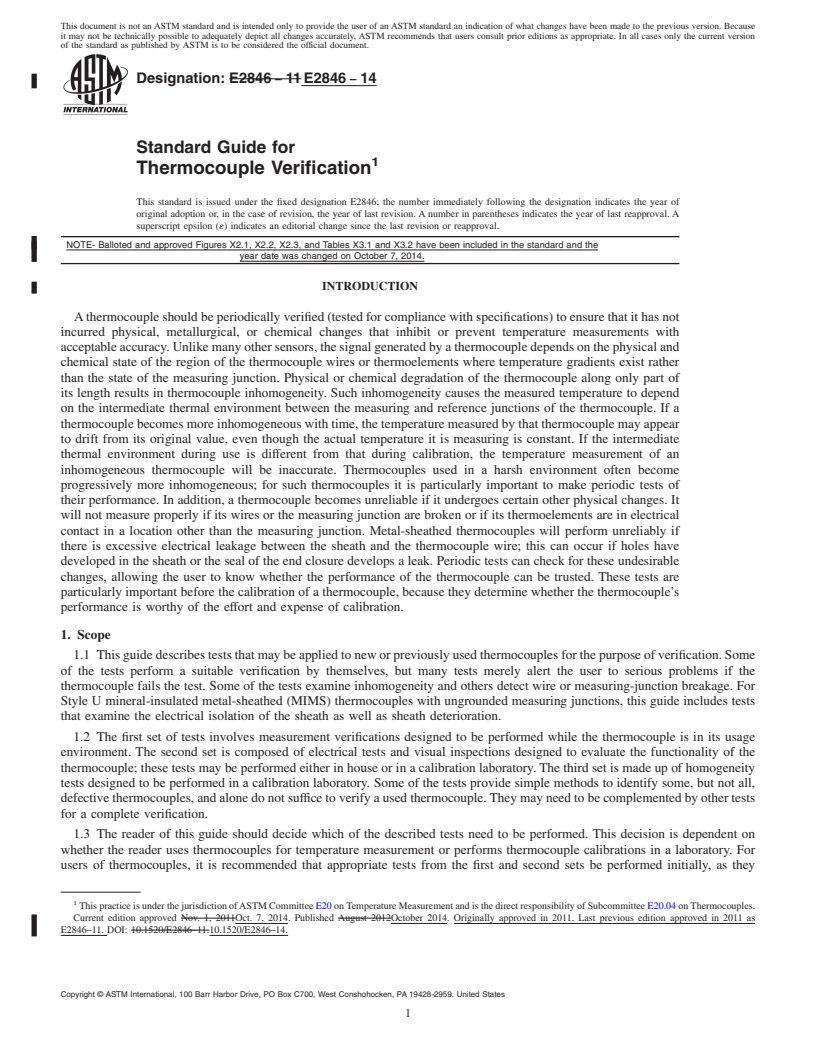
This document is not an ASTM standard and is intended only to provide the user of an ASTM standard an indication of what changes have been made to the previous version. Because
it may not be technically possible to adequately depict all changes accurately, ASTM recommends that users consult prior editions as appropriate. In all cases only the current version
of the standard as published by ASTM is to be considered the official document.
Designation: E2846 − 11 E2846 − 14
Standard Guide for
1
Thermocouple Verification
This standard is issued under the fixed designation E2846; the number immediately following the designation indicates the year of
original adoption or, in the case of revision, the year of last revision. A number in parentheses indicates the year of last reapproval. A
superscript epsilon (´) indicates an editorial change since the last revision or reapproval.
NOTE- Balloted and approved Figures X2.1, X2.2, X2.3, and Tables X3.1 and X3.2 have been included in the standard and the
year date was changed on October 7, 2014.
INTRODUCTION
A thermocouple should be periodically verified (tested for compliance with specifications) to ensure that it has not
incurred physical, metallurgical, or chemical changes that inhibit or prevent temperature measurements with
acceptable accuracy. Unlike many other sensors, the signal generated by a thermocouple depends on the physical and
chemical state of the region of the thermocouple wires or thermoelements where temperature gradients exist rather
than the state of the measuring junction. Physical or chemical degradation of the thermocouple along only part of
its length results in thermocouple inhomogeneity. Such inhomogeneity causes the measured temperature to depend
on the intermediate thermal environment between the measuring and reference junctions of the thermocouple. If a
thermocouple becomes more inhomogeneous with time, the temperature measured by that thermocouple may appear
to drift from its original value, even though the actual temperature it is measuring is constant. If the intermediate
thermal environment during use is different from that during calibration, the temperature measurement of an
inhomogeneous thermocouple will be inaccurate. Thermocouples used in a harsh environment often become
progressively more inhomogeneous; for such thermocouples it is particularly important to make periodic tests of
their performance. In addition, a thermocouple becomes unreliable if it undergoes certain other physical changes. It
will not measure properly if its wires or the measuring junction are broken or if its thermoelements are in electrical
contact in a location other than the measuring junction. Metal-sheathed thermocouples will perform unreliably if
there is excessive electrical leakage between the sheath and the thermocouple wire; this can occur if holes have
developed in the sheath or the seal of the end closure develops a leak. Periodic tests can check for these undesirable
changes, allowing the user to know whether the performance of the thermocouple can be trusted. These tests are
particularly important before the calibration of a thermocouple, because they determine whether the thermocouple’s
performance is worthy of the effort and expense of calibration.
1. Scope
1.1 This guide describes tests that may be applied to new or previously used thermocouples for the purpose of verification. Some
of the tests perform a suitable verification by themselves, but many tests merely alert the user to serious problems if the
thermocouple fails the test. Some of the tests examine inhomogeneity and others detect wire or measuring-junction breakage. For
Style U mineral-insulated metal-sheathed (MIMS) thermocouples with ungrounded measuring junctions, this guide includes tests
that examine the electrical isolation of the sheath as well as sheath deterioration.
1.2 The first set of tests involves measurement verifications designed to be performed while the thermocouple is in its usage
environment. The second set is composed of electrical tests and visual inspections designed to evaluate the functionality of the
thermocouple; these tests may be performed either in house or in a calibration laboratory. The third set is made up of homogeneity
tests designed to be performed in a calibration laboratory. Some of the tests provide simple methods to identify some, but not all,
defective thermocouples, and alone do not suffice to verify a used thermocouple. They may need to be complemented by other tests
for a complete verification.
1.3 The reader of this guide should decide which of the described tests need to be performed. This decision is dependent on
whether the reader uses thermocouples for temperature measurement or performs thermocouple calibrations in a laboratory. For
users of thermocouples, it is recommended that appropriate tests from the first and second sets be performed initially, as they
1
This practice is under the jurisdiction of ASTM Committee E20 on Temperature Measu
...


Questions, Comments and Discussion
Ask us and Technical Secretary will try to provide an answer. You can facilitate discussion about the standard in here.