ASTM F410-08(2017)
(Test Method)Standard Test Method for Wear Layer Thickness of Resilient Floor Coverings by Optical Measurement
Standard Test Method for Wear Layer Thickness of Resilient Floor Coverings by Optical Measurement
SIGNIFICANCE AND USE
3.1 This test method is applicable for wear layers with a minimum thickness of 0.001 in. (0.02 mm) to a maximum thickness of 0.1 in. (2.54 mm), where measurements within 0.0005 in. or 0.01 mm are tolerable.
SCOPE
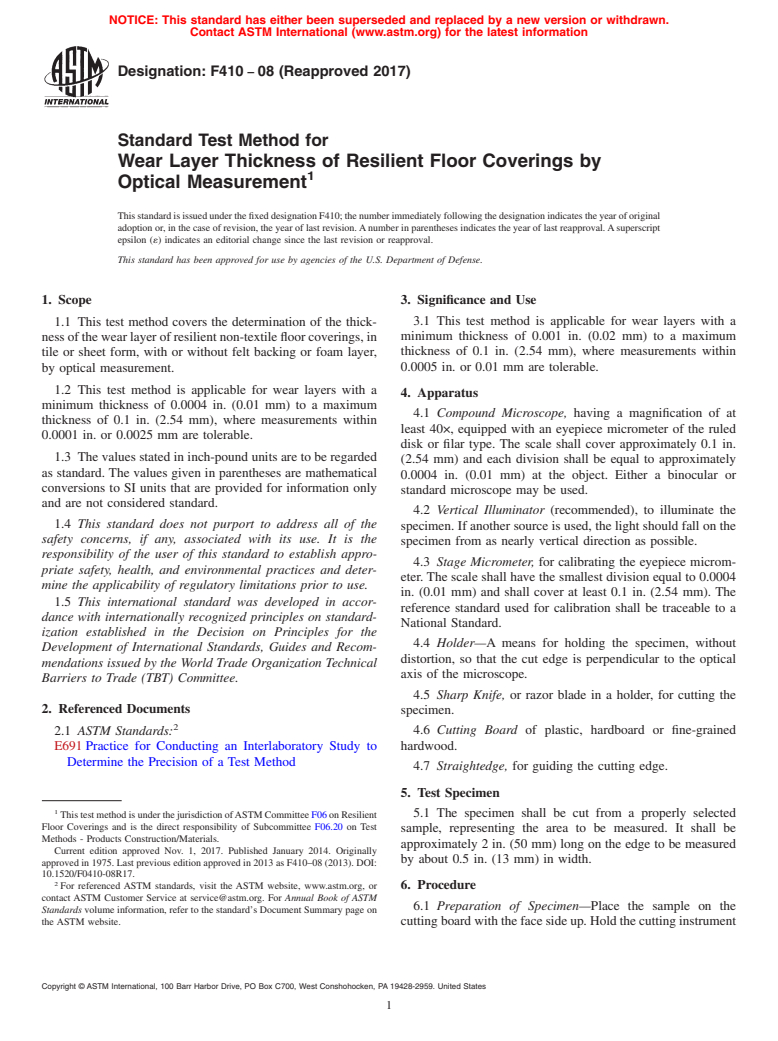
1.1 This test method covers the determination of the thickness of the wear layer of resilient non-textile floor coverings, in tile or sheet form, with or without felt backing or foam layer, by optical measurement.
1.2 This test method is applicable for wear layers with a minimum thickness of 0.0004 in. (0.01 mm) to a maximum thickness of 0.1 in. (2.54 mm), where measurements within 0.0001 in. or 0.0025 mm are tolerable.
1.3 The values stated in inch-pound units are to be regarded as standard. The values given in parentheses are mathematical conversions to SI units that are provided for information only and are not considered standard.
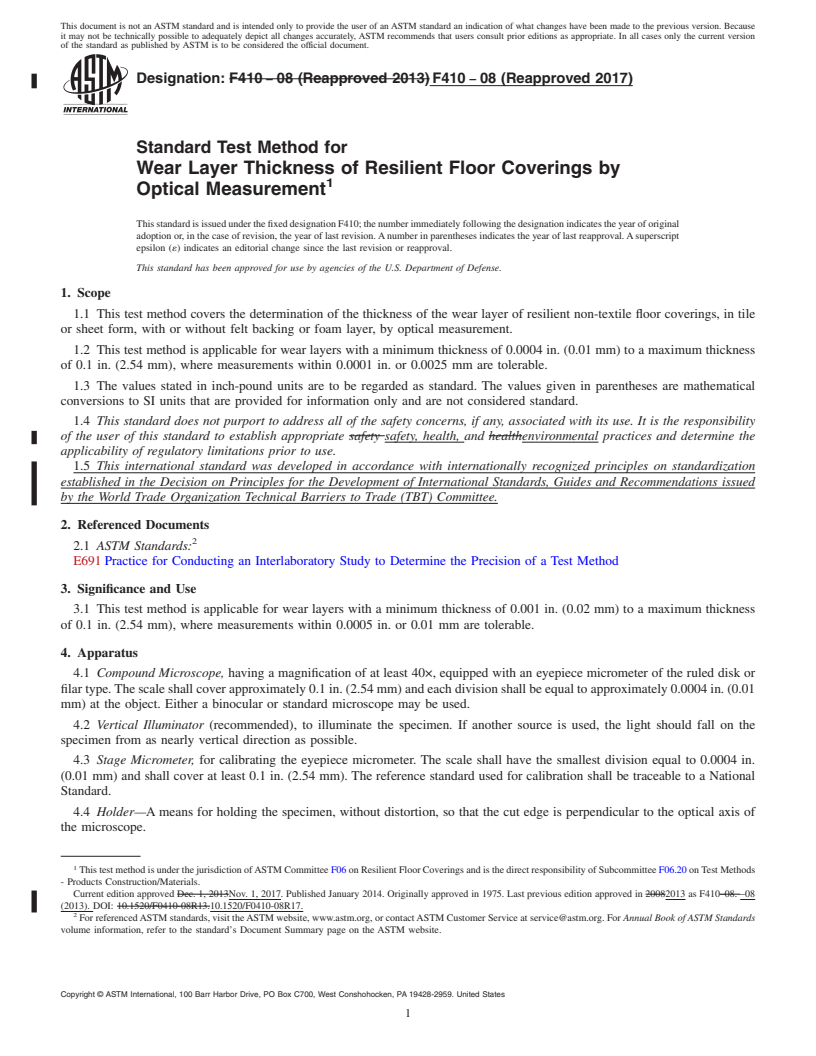
1.4 This standard does not purport to address all of the safety concerns, if any, associated with its use. It is the responsibility of the user of this standard to establish appropriate safety, health, and environmental practices and determine the applicability of regulatory limitations prior to use.
1.5 This international standard was developed in accordance with internationally recognized principles on standardization established in the Decision on Principles for the Development of International Standards, Guides and Recommendations issued by the World Trade Organization Technical Barriers to Trade (TBT) Committee.
General Information
Buy Standard
Standards Content (Sample)
NOTICE: This standard has either been superseded and replaced by a new version or withdrawn.
Contact ASTM International (www.astm.org) for the latest information
Designation: F410 − 08 (Reapproved 2017)
Standard Test Method for
Wear Layer Thickness of Resilient Floor Coverings by
1
Optical Measurement
ThisstandardisissuedunderthefixeddesignationF410;thenumberimmediatelyfollowingthedesignationindicatestheyearoforiginal
adoptionor,inthecaseofrevision,theyearoflastrevision.Anumberinparenthesesindicatestheyearoflastreapproval.Asuperscript
epsilon (´) indicates an editorial change since the last revision or reapproval.
This standard has been approved for use by agencies of the U.S. Department of Defense.
1. Scope 3. Significance and Use
3.1 This test method is applicable for wear layers with a
1.1 This test method covers the determination of the thick-
minimum thickness of 0.001 in. (0.02 mm) to a maximum
nessofthewearlayerofresilientnon-textilefloorcoverings,in
thickness of 0.1 in. (2.54 mm), where measurements within
tile or sheet form, with or without felt backing or foam layer,
0.0005 in. or 0.01 mm are tolerable.
by optical measurement.
1.2 This test method is applicable for wear layers with a
4. Apparatus
minimum thickness of 0.0004 in. (0.01 mm) to a maximum
4.1 Compound Microscope, having a magnification of at
thickness of 0.1 in. (2.54 mm), where measurements within
least 40×, equipped with an eyepiece micrometer of the ruled
0.0001 in. or 0.0025 mm are tolerable.
disk or filar type. The scale shall cover approximately 0.1 in.
1.3 The values stated in inch-pound units are to be regarded
(2.54 mm) and each division shall be equal to approximately
as standard. The values given in parentheses are mathematical
0.0004 in. (0.01 mm) at the object. Either a binocular or
conversions to SI units that are provided for information only
standard microscope may be used.
and are not considered standard.
4.2 Vertical Illuminator (recommended), to illuminate the
1.4 This standard does not purport to address all of the
specimen. If another source is used, the light should fall on the
safety concerns, if any, associated with its use. It is the
specimen from as nearly vertical direction as possible.
responsibility of the user of this standard to establish appro-
4.3 Stage Micrometer, for calibrating the eyepiece microm-
priate safety, health, and environmental practices and deter-
eter. The scale shall have the smallest division equal to 0.0004
mine the applicability of regulatory limitations prior to use.
in. (0.01 mm) and shall cover at least 0.1 in. (2.54 mm). The
1.5 This international standard was developed in accor-
reference standard used for calibration shall be traceable to a
dance with internationally recognized principles on standard-
National Standard.
ization established in the Decision on Principles for the
4.4 Holder—A means for holding the specimen, without
Development of International Standards, Guides and Recom-
distortion, so that the cut edge is perpendicular to the optical
mendations issued by the World Trade Organization Technical
axis of the microscope.
Barriers to Trade (TBT) Committee.
4.5 Sharp Knife, or razor blade in a holder, for cutting the
2. Referenced Documents
specimen.
2
4.6 Cutting Board of plastic, hardboard or fine-grained
2.1 ASTM Standards:
hardwood.
E691Practice for Conducting an Interlaboratory Study to
Determine the Precision of a Test Method
4.7 Straightedge, for guiding the cutting edge.
5. Test Specimen
1
ThistestmethodisunderthejurisdictionofASTMCommitteeF06onResilient 5.1 The specimen shall be cut from a properly selected
Floor Coverings and is the direct responsibility of Subcommittee F06.20 on Test
sample, representing the area to be measured. It shall be
Methods - Products Construction/Materials.
approximately 2 in. (50 mm) long on the edge to be measured
Current edition approved Nov. 1, 2017. Published January 2014. Originally
by about 0.5 in. (13 mm) in width.
approved in 1975. Last previous edition approved in 2013 as F410–08 (2013). DOI:
10.1520/F0410-08R17.
2
For referenced ASTM standards, visit the ASTM website, www.astm.org, or 6. Procedure
contact ASTM Customer Service at service@astm.org. For Annual Book of ASTM
6.1 Preparation of Specimen—Place the sample on the
Standards volume information, refer to the standard’s Document Summary page on
the ASTM website. cuttingboardwiththefacesideup.Holdthecuttinginstrument
Copyright © ASTM International, 100 Barr Harbor Drive, PO Box C700, West Conshohocken, PA 19428-2959. United States
1
---------------------- Page: 1 ----------------------
F410 − 08 (2017)
TABLE 1 Precision
so that the plane of the blade is perpendicular to the face of the
A B C D E
sample. The cutting edge of the blade should be at an angle to Materials Average Sr SR r R
Material A 18.2147 0.5340 1.0808 1.4952 3.0261
the horizontal that produces a clean cut. It is essential that the
Material B 19.5567 1.2854 1.3938 3.5992 3.9028
cut is perpendicular to th
...
This document is not an ASTM standard and is intended only to provide the user of an ASTM standard an indication of what changes have been made to the previous version. Because
it may not be technically possible to adequately depict all changes accurately, ASTM recommends that users consult prior editions as appropriate. In all cases only the current version
of the standard as published by ASTM is to be considered the official document.
Designation: F410 − 08 (Reapproved 2013) F410 − 08 (Reapproved 2017)
Standard Test Method for
Wear Layer Thickness of Resilient Floor Coverings by
1
Optical Measurement
This standard is issued under the fixed designation F410; the number immediately following the designation indicates the year of original
adoption or, in the case of revision, the year of last revision. A number in parentheses indicates the year of last reapproval. A superscript
epsilon (´) indicates an editorial change since the last revision or reapproval.
This standard has been approved for use by agencies of the U.S. Department of Defense.
1. Scope
1.1 This test method covers the determination of the thickness of the wear layer of resilient non-textile floor coverings, in tile
or sheet form, with or without felt backing or foam layer, by optical measurement.
1.2 This test method is applicable for wear layers with a minimum thickness of 0.0004 in. (0.01 mm) to a maximum thickness
of 0.1 in. (2.54 mm), where measurements within 0.0001 in. or 0.0025 mm are tolerable.
1.3 The values stated in inch-pound units are to be regarded as standard. The values given in parentheses are mathematical
conversions to SI units that are provided for information only and are not considered standard.
1.4 This standard does not purport to address all of the safety concerns, if any, associated with its use. It is the responsibility
of the user of this standard to establish appropriate safety safety, health, and healthenvironmental practices and determine the
applicability of regulatory limitations prior to use.
1.5 This international standard was developed in accordance with internationally recognized principles on standardization
established in the Decision on Principles for the Development of International Standards, Guides and Recommendations issued
by the World Trade Organization Technical Barriers to Trade (TBT) Committee.
2. Referenced Documents
2
2.1 ASTM Standards:
E691 Practice for Conducting an Interlaboratory Study to Determine the Precision of a Test Method
3. Significance and Use
3.1 This test method is applicable for wear layers with a minimum thickness of 0.001 in. (0.02 mm) to a maximum thickness
of 0.1 in. (2.54 mm), where measurements within 0.0005 in. or 0.01 mm are tolerable.
4. Apparatus
4.1 Compound Microscope, having a magnification of at least 40×, equipped with an eyepiece micrometer of the ruled disk or
filar type. The scale shall cover approximately 0.1 in. (2.54 mm) and each division shall be equal to approximately 0.0004 in. (0.01
mm) at the object. Either a binocular or standard microscope may be used.
4.2 Vertical Illuminator (recommended), to illuminate the specimen. If another source is used, the light should fall on the
specimen from as nearly vertical direction as possible.
4.3 Stage Micrometer, for calibrating the eyepiece micrometer. The scale shall have the smallest division equal to 0.0004 in.
(0.01 mm) and shall cover at least 0.1 in. (2.54 mm). The reference standard used for calibration shall be traceable to a National
Standard.
4.4 Holder—A means for holding the specimen, without distortion, so that the cut edge is perpendicular to the optical axis of
the microscope.
1
This test method is under the jurisdiction of ASTM Committee F06 on Resilient Floor Coverings and is the direct responsibility of Subcommittee F06.20 on Test Methods
- Products Construction/Materials.
Current edition approved Dec. 1, 2013Nov. 1, 2017. Published January 2014. Originally approved in 1975. Last previous edition approved in 20082013 as F410–08. –08
(2013). DOI: 10.1520/F0410-08R13.10.1520/F0410-08R17.
2
For referenced ASTM standards, visit the ASTM website, www.astm.org, or contact ASTM Customer Service at service@astm.org. For Annual Book of ASTM Standards
volume information, refer to the standard’s Document Summary page on the ASTM website.
Copyright © ASTM International, 100 Barr Harbor Drive, PO Box C700, West Conshohocken, PA 19428-2959. United States
1
---------------------- Page: 1 ----------------------
F410 − 08 (2017)
4.5 Sharp Knife, or razor blade in a holder, for cutting the specimen.
4.6 Cutting Board of plastic, hardboard or fine-grained hardwood.
4.7 Straightedge, for guiding the cutting edge.
5. Test Specimen
5.1 The specimen shall be cut from a properly selected sample, representing the area to be measured. It shall be approximately
2 in. (50 mm) long on the edge to be measured by about 0.5 in. (13 mm) in width.
6. Procedure
6.1 Preparation of Specimen—Place the sample on the cutting board wi
...


Questions, Comments and Discussion
Ask us and Technical Secretary will try to provide an answer. You can facilitate discussion about the standard in here.