ASTM B636-84(2001)
(Test Method)Standard Test Method for Measurement of Internal Stress of Plated Metallic Coatings with the Spiral Contractometer
Standard Test Method for Measurement of Internal Stress of Plated Metallic Coatings with the Spiral Contractometer
SCOPE
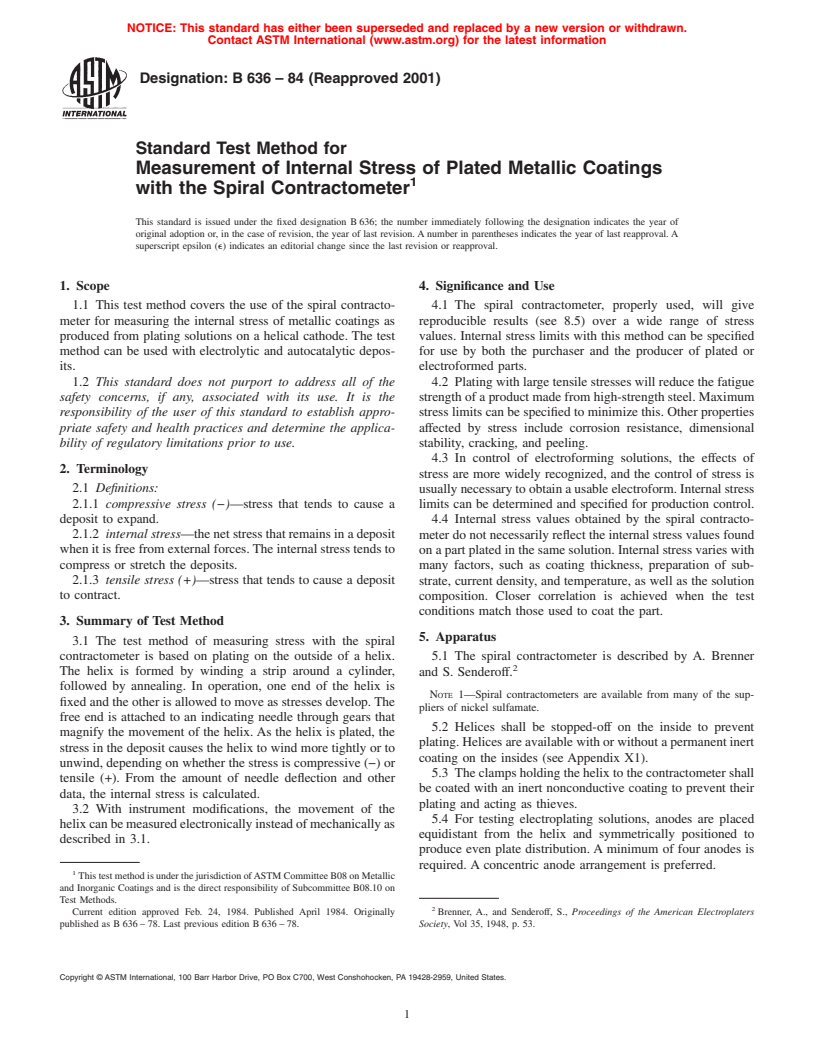
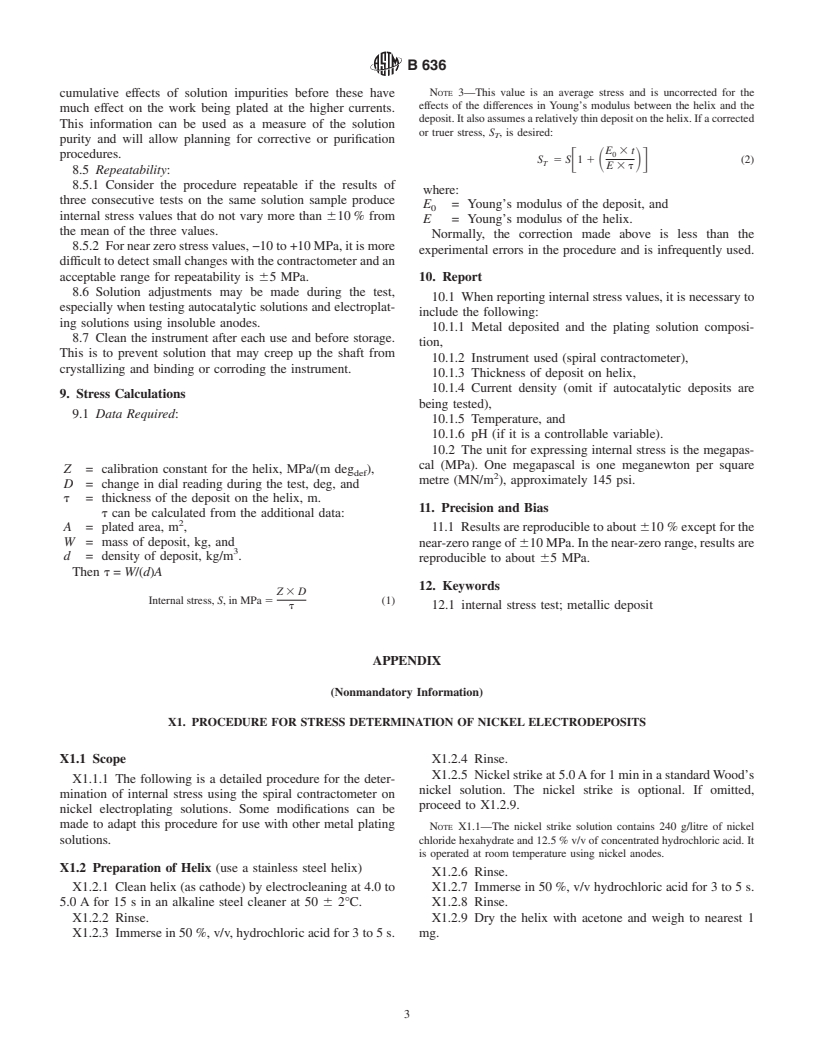
1.1 This test method covers the use of the spiral contractometer for measuring the internal stress of metallic coatings as produced from plating solutions on a helical cathode. The test method can be used with electrolytic and autocatalytic deposits.
1.2 This standard does not purport to address all of the safety problems, if any, associated with its use. It is the responsibility of the user of this standard to establish appropriate safety and health practices and determine the applicability of regulatory limitations prior to use.
General Information
Relations
Standards Content (Sample)
NOTICE: This standard has either been superseded and replaced by a new version or withdrawn.
Contact ASTM International (www.astm.org) for the latest information
Designation:B636–84 (Reapproved 2001)
Standard Test Method for
Measurement of Internal Stress of Plated Metallic Coatings
with the Spiral Contractometer
This standard is issued under the fixed designation B636; the number immediately following the designation indicates the year of
original adoption or, in the case of revision, the year of last revision.Anumber in parentheses indicates the year of last reapproval.A
superscript epsilon (e) indicates an editorial change since the last revision or reapproval.
1. Scope 4. Significance and Use
1.1 This test method covers the use of the spiral contracto- 4.1 The spiral contractometer, properly used, will give
meter for measuring the internal stress of metallic coatings as reproducible results (see 8.5) over a wide range of stress
produced from plating solutions on a helical cathode. The test values. Internal stress limits with this method can be specified
method can be used with electrolytic and autocatalytic depos- for use by both the purchaser and the producer of plated or
its. electroformed parts.
1.2 This standard does not purport to address all of the 4.2 Platingwithlargetensilestresseswillreducethefatigue
safety concerns, if any, associated with its use. It is the strengthofaproductmadefromhigh-strengthsteel.Maximum
responsibility of the user of this standard to establish appro- stresslimitscanbespecifiedtominimizethis.Otherproperties
priate safety and health practices and determine the applica- affected by stress include corrosion resistance, dimensional
bility of regulatory limitations prior to use. stability, cracking, and peeling.
4.3 In control of electroforming solutions, the effects of
2. Terminology
stress are more widely recognized, and the control of stress is
2.1 Definitions: usuallynecessarytoobtainausableelectroform.Internalstress
2.1.1 compressive stress (−)—stress that tends to cause a
limits can be determined and specified for production control.
deposit to expand. 4.4 Internal stress values obtained by the spiral contracto-
2.1.2 internal stress—thenetstressthatremainsinadeposit
meterdonotnecessarilyreflecttheinternalstressvaluesfound
whenitisfreefromexternalforces.Theinternalstresstendsto onapartplatedinthesamesolution.Internalstressvarieswith
compress or stretch the deposits.
many factors, such as coating thickness, preparation of sub-
2.1.3 tensile stress (+)—stress that tends to cause a deposit
strate, current density, and temperature, as well as the solution
to contract. composition. Closer correlation is achieved when the test
conditions match those used to coat the part.
3. Summary of Test Method
5. Apparatus
3.1 The test method of measuring stress with the spiral
contractometer is based on plating on the outside of a helix.
5.1 The spiral contractometer is described by A. Brenner
The helix is formed by winding a strip around a cylinder, and S. Senderoff.
followed by annealing. In operation, one end of the helix is
NOTE 1—Spiral contractometers are available from many of the sup-
fixedandtheotherisallowedtomoveasstressesdevelop.The
pliers of nickel sulfamate.
free end is attached to an indicating needle through gears that
5.2 Helices shall be stopped-off on the inside to prevent
magnify the movement of the helix.As the helix is plated, the
plating.Helicesareavailablewithorwithoutapermanentinert
stress in the deposit causes the helix to wind more tightly or to
coating on the insides (see Appendix X1).
unwind, depending on whether the stress is compressive (−) or
5.3 Theclampsholdingthehelixtothecontractometershall
tensile (+). From the amount of needle deflection and other
be coated with an inert nonconductive coating to prevent their
data, the internal stress is calculated.
plating and acting as thieves.
3.2 With instrument modifications, the movement of the
5.4 For testing electroplating solutions, anodes are placed
helixcanbemeasuredelectronicallyinsteadofmechanicallyas
equidistant from the helix and symmetrically positioned to
described in 3.1.
produce even plate distribution. A minimum of four anodes is
required. A concentric anode arrangement is preferred.
ThistestmethodisunderthejurisdictionofASTMCommitteeB08onMetallic
and Inorganic Coatings and is the direct responsibility of Subcommittee B08.10 on
Test Methods.
Current edition approved Feb. 24, 1984. Published April 1984. Originally Brenner, A., and Senderoff, S., Proceedings of the American Electroplaters
published as B636–78. Last previous edition B636–78. Society, Vol 35, 1948, p. 53.
Copyright © ASTM International, 100 Barr Harbor Drive, PO Box C700, West Conshohocken, PA 19428-2959, United States.
B636
5.5 Laboratory tests on electroplating solutions shall utilize 6.5 Arelationship between the surface area to be plated and
at least 3.7 L of solution.A4-L beaker with an annular anode the volume of autocatalytic plating solutions exists that may
arrangement is convenient. Use of this volume or larger will affect the character of the deposit. In testing autocatalytic
minimize solution changes due to electrolysis during the test. plating solutions, the ratio of plated surface area to the volume
5.6 Laboratory tests on autocatalytic plating solutions are of solution that is normally used in the plating tank shall be
doneina1-L,tall-formbeaker.Obviously,noanodesareused. maintained. When using proprietary solutions, the supplier’s
recommendation shall be followed.
6. Factors Affecting Accuracy
7. Calibration
6.1 Variations in the preparation of the helix may cause
7.1 Calibrate the instrument as directed in the manufactur-
substantial variations in results.
er’s instructions.
6.1.1 Stop-off material shall be applied properly to the
7.2 The frequency of calibration will vary with use and
interior of the helix. The stop-off material shall be thin and
extent of attack on the helices from the chemical stripping.
flexible to permit the helix to move freely during the test. A
When visible attack is noted, discard the helix.
coating weight of less than 50 mg/dm is satisfactory.
7.3 The calibration procedure consists essentially of deter-
NOTE 2—The inside must be stopped-off with some inert, flexible
mining the force required per degree of dial deflection. A
coating. One acceptable stop-off material is “Microstop.” One part of
known mass is suspended over a small pulley on a lever arm
“Microstop” is diluted with two parts of acetone before use. Any nickel
with the helix mounted in place. The degree of deflection is
deposited on the inside of the helix will exhibit an opposing effect.
read from the dial. The data required for the calibration
6.1.2 Helices that have been permanently coated on the
calculations as expressed in metric units are as follows:
inside with TFE-fluorocarbon may give variable results when
testing near-zero stresses.
6.1.3 Cleaning variations and surface preparation of the w = mass used in calibrating, kg,
helix before the test can produce varying results. For example, a = length of lever arm, m,
p = pitch of helix, m,
electrocleaning of the helix shall always be cathodic and
t = thickness of the strip used to make the helix, m,
controlled with respect to current, time, and temperature.
deg = degree deflection; difference in dial readings
def
Anodic cleaning at this stage can give wide variations. Abra-
caused by mass,
sive cleaning of the helix and the use of etchants shall be
g = 9.8 m/s (acceleration of free fall), and
avoided.
MPa
Z =
6.1.4 Very thin deposits of less than about 3 µm are
calibration constant of the helix
S D
mdeg
def
influenced more by the surface conditions and preparation of
where
the helix than are thicker deposits.
2~w!~a!~g!
6.2 Internal stress varies with current density used in elec- Z 5 3 10
p~t!deg
def
troplating. The variation is not predictable and depends on the
metal being deposited, impurities or additives, and the current
8. Procedure
density range under consideration. It is important that the
8.1 The procedure will vary with the solution being tested.
current be measured and controlled closely throughout the
Follow the instructions given by the supplier carefully. Varia-
stress test.Variations in currents shall be held to less than 2%.
tions in the procedure can produce variations in results. Give
6.3 Because the temperature of the plating solution may
appropriate attention to the factors in Section 6. A detailed
affect the internal stress, it shall be maintained within 2°C
procedurefornickelplatingsolutionsappearsinAppendixX1.
during the test. The initial rest point of the indicator and the
8.2 Position the spiral contractometer in electroplating so-
final rest point are both taken at the operating temperature of
lutions so that it is equidistant from the anodes. Position the
the plating solution to eliminate thermal stresses.
anodesonatleastfoursideswhentheyareusedinaproduction
6.4 The solution composition shall not vary during the test.
tank or use a concentric anode arrangement. Do not place the
Usually,iftherepeatabilitytestsin8.5aremet,thesolutioncan
spiral contractometer between the tank anodes and the work
be assumed to be unchanged during the test runs. Conversely,
being plated in a production tank. A separate ammeter and
when the repeatability tests are not met, the plating solution
cur
...


Questions, Comments and Discussion
Ask us and Technical Secretary will try to provide an answer. You can facilitate discussion about the standard in here.