ASTM D6991-17
(Test Method)Standard Test Method for Measurements of Internal Stresses in Organic Coatings by Cantilever (Beam) Method
Standard Test Method for Measurements of Internal Stresses in Organic Coatings by Cantilever (Beam) Method
SIGNIFICANCE AND USE
5.1 Stresses in coatings arise as a result of their shrinkage or expansion if expected movements are prevented by coating adhesion to its substrate.
5.2 There are several causes leading to arrival of stresses in the coatings: film formation (cross-linking, solvent evaporation, etc.); differences in thermal expansion coefficients between coating and substrate; humidity and water absorption; environmental effects (ultraviolet radiation, temperature and humidity), and others.
5.3 Knowledge of the internal stresses in coatings is very important because they may effect coating performance and service life. If the internal stress exceeds the tensile strength of the film, cracks are formed. If stress exceeds adhesion between coating and substrate, it will reduce adhesion and can lead to delamination of coatings. Quantitative information about stresses in coatings can be useful in coating formulation and recommendations for their application and use.
5.4 This method has been found useful for air-dry industrial organic coatings but the applicability has not yet been assessed for thin coatings (thickness
SCOPE
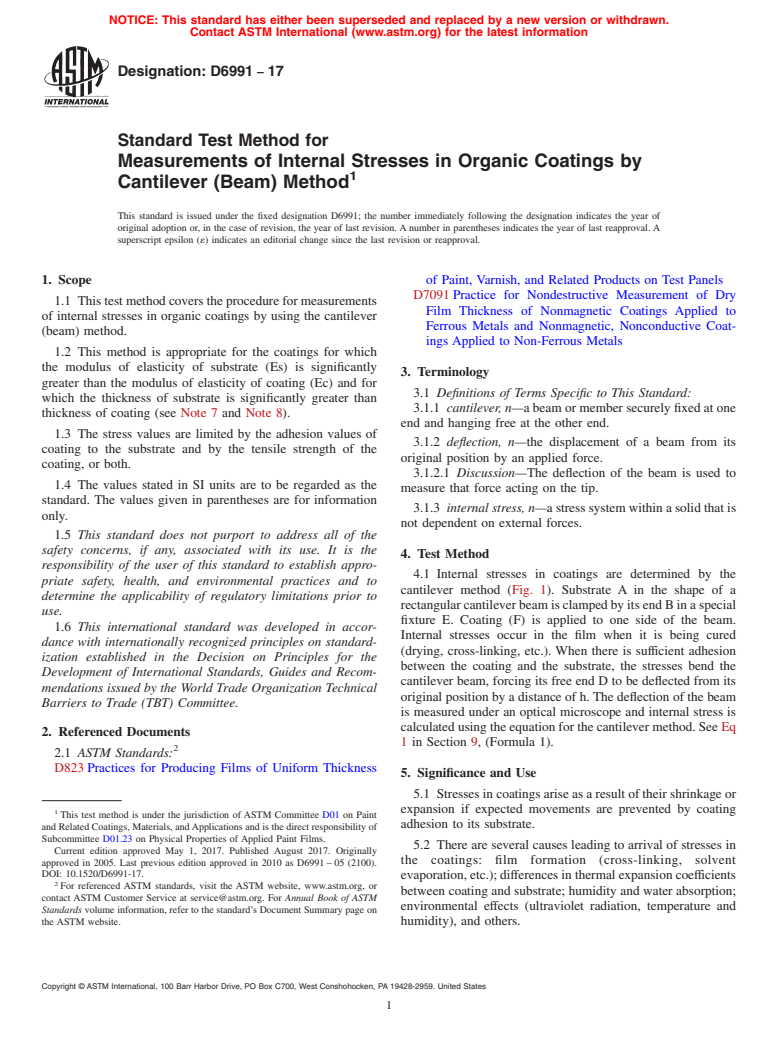
1.1 This test method covers the procedure for measurements of internal stresses in organic coatings by using the cantilever (beam) method.
1.2 This method is appropriate for the coatings for which the modulus of elasticity of substrate (Es) is significantly greater than the modulus of elasticity of coating (Ec) and for which the thickness of substrate is significantly greater than thickness of coating (see Note 7 and Note 8).
1.3 The stress values are limited by the adhesion values of coating to the substrate and by the tensile strength of the coating, or both.
1.4 The values stated in SI units are to be regarded as the standard. The values given in parentheses are for information only.
1.5 This standard does not purport to address all of the safety concerns, if any, associated with its use. It is the responsibility of the user of this standard to establish appropriate safety, health, and environmental practices and to determine the applicability of regulatory limitations prior to use.
1.6 This international standard was developed in accordance with internationally recognized principles on standardization established in the Decision on Principles for the Development of International Standards, Guides and Recommendations issued by the World Trade Organization Technical Barriers to Trade (TBT) Committee.
General Information
Relations
Buy Standard
Standards Content (Sample)
NOTICE: This standard has either been superseded and replaced by a new version or withdrawn.
Contact ASTM International (www.astm.org) for the latest information
Designation: D6991 − 17
Standard Test Method for
Measurements of Internal Stresses in Organic Coatings by
1
Cantilever (Beam) Method
This standard is issued under the fixed designation D6991; the number immediately following the designation indicates the year of
original adoption or, in the case of revision, the year of last revision. A number in parentheses indicates the year of last reapproval. A
superscript epsilon (´) indicates an editorial change since the last revision or reapproval.
1. Scope of Paint, Varnish, and Related Products on Test Panels
D7091 Practice for Nondestructive Measurement of Dry
1.1 Thistestmethodcoverstheprocedureformeasurements
Film Thickness of Nonmagnetic Coatings Applied to
of internal stresses in organic coatings by using the cantilever
Ferrous Metals and Nonmagnetic, Nonconductive Coat-
(beam) method.
ings Applied to Non-Ferrous Metals
1.2 This method is appropriate for the coatings for which
the modulus of elasticity of substrate (Es) is significantly
3. Terminology
greater than the modulus of elasticity of coating (Ec) and for
3.1 Definitions of Terms Specific to This Standard:
which the thickness of substrate is significantly greater than
3.1.1 cantilever, n—a beam or member securely fixed at one
thickness of coating (see Note 7 and Note 8).
end and hanging free at the other end.
1.3 The stress values are limited by the adhesion values of
3.1.2 deflection, n—the displacement of a beam from its
coating to the substrate and by the tensile strength of the
original position by an applied force.
coating, or both.
3.1.2.1 Discussion—The deflection of the beam is used to
1.4 The values stated in SI units are to be regarded as the
measure that force acting on the tip.
standard. The values given in parentheses are for information
3.1.3 internal stress, n—astresssystemwithinasolidthatis
only.
not dependent on external forces.
1.5 This standard does not purport to address all of the
safety concerns, if any, associated with its use. It is the
4. Test Method
responsibility of the user of this standard to establish appro-
4.1 Internal stresses in coatings are determined by the
priate safety, health, and environmental practices and to
cantilever method (Fig. 1). Substrate A in the shape of a
determine the applicability of regulatory limitations prior to
rectangularcantileverbeamisclampedbyitsendBinaspecial
use.
fixture E. Coating (F) is applied to one side of the beam.
1.6 This international standard was developed in accor-
Internal stresses occur in the film when it is being cured
dance with internationally recognized principles on standard-
(drying, cross-linking, etc.). When there is sufficient adhesion
ization established in the Decision on Principles for the
between the coating and the substrate, the stresses bend the
Development of International Standards, Guides and Recom-
cantilever beam, forcing its free end D to be deflected from its
mendations issued by the World Trade Organization Technical
original position by a distance of h. The deflection of the beam
Barriers to Trade (TBT) Committee.
is measured under an optical microscope and internal stress is
calculated using the equation for the cantilever method. See Eq
2. Referenced Documents
1 in Section 9, (Formula 1).
2
2.1 ASTM Standards:
D823 Practices for Producing Films of Uniform Thickness
5. Significance and Use
5.1 Stressesincoatingsariseasaresultoftheirshrinkageor
expansion if expected movements are prevented by coating
1
This test method is under the jurisdiction of ASTM Committee D01 on Paint
adhesion to its substrate.
and Related Coatings, Materials, andApplications and is the direct responsibility of
Subcommittee D01.23 on Physical Properties of Applied Paint Films.
5.2 There are several causes leading to arrival of stresses in
Current edition approved May 1, 2017. Published August 2017. Originally
the coatings: film formation (cross-linking, solvent
approved in 2005. Last previous edition approved in 2010 as D6991 – 05 (2100).
DOI: 10.1520/D6991-17.
evaporation,etc.);differencesinthermalexpansioncoefficients
2
For referenced ASTM standards, visit the ASTM website, www.astm.org, or
between coating and substrate; humidity and water absorption;
contact ASTM Customer Service at service@astm.org. For Annual Book of ASTM
environmental effects (ultraviolet radiation, temperature and
Standards volume information, refer to the standard’s Document Summary page on
the ASTM website. humidity), and others.
Copyright © ASTM International, 100 Barr Harbor Drive, PO Box C700, West Conshohocken, PA 19428-2959. United States
1
---------------------- Page: 1 ----------------------
D6991 − 17
A- Cantilever beam (substrate)
B- Beam end clamped in Fixture E
c- Coating thickness
D- Free end deflected under stress
E- Fixture
F- Coating
G- Width of beam
h- Deflection
L- Distance between the
...
This document is not an ASTM standard and is intended only to provide the user of an ASTM standard an indication of what changes have been made to the previous version. Because
it may not be technically possible to adequately depict all changes accurately, ASTM recommends that users consult prior editions as appropriate. In all cases only the current version
of the standard as published by ASTM is to be considered the official document.
Designation: D6991 − 05 (Reapproved 2010) D6991 − 17
Standard Test Method for
Measurements of Internal Stresses in Organic Coatings by
1
Cantilever (Beam) Method
This standard is issued under the fixed designation D6991; the number immediately following the designation indicates the year of
original adoption or, in the case of revision, the year of last revision. A number in parentheses indicates the year of last reapproval. A
superscript epsilon (´) indicates an editorial change since the last revision or reapproval.
1. Scope
1.1 This test method covers the procedure for measurements of internal stresses in organic coatings by using the cantilever
(beam) method.
1.2 This method is appropriate for the coatings for which the modulus of elasticity of substrate (Es) is significantly greater than
the modulus of elasticity of coating (Ec) and for which the thickness of substrate is significantly greater than thickness of coating
(see Note 47 and Note 58).
1.3 The stress values are limited by the adhesion values of coating to the substrate and by the tensile strength of the coating,
or both.
1.4 The values stated in SI units are to be regarded as the standard. The values given in parentheses are for information only.
1.5 This standard does not purport to address all of the safety concerns, if any, associated with its use. It is the responsibility
of the user of this standard to establish appropriate safety safety, health, and healthenvironmental practices and to determine the
applicability of regulatory limitations prior to use.
1.6 This international standard was developed in accordance with internationally recognized principles on standardization
established in the Decision on Principles for the Development of International Standards, Guides and Recommendations issued
by the World Trade Organization Technical Barriers to Trade (TBT) Committee.
2. Referenced Documents
2
2.1 ASTM Standards:
D823 Practices for Producing Films of Uniform Thickness of Paint, Varnish, and Related Products on Test Panels
D1186D7091 Test Methods Practice for Nondestructive Measurement of Dry Film Thickness of Nonmagnetic Coatings Applied
to a Ferrous BaseFerrous Metals and Nonmagnetic, Nonconductive Coatings Applied to Non-Ferrous Metals (Withdrawn
2006)
D1400 Test Method for Nondestructive Measurement of Dry Film Thickness of Nonconductive Coatings Applied to a
3
Nonferrous Metal Base (Withdrawn 2006)
3. Terminology
3.1 Definitions of Terms Specific to This Standard:
3.1.1 cantilever, n—a beam or member securely fixed at one end and hanging free at the other end.
3.1.2 deflection, n—the displacement of a beam from its original position by an applied force.
1
This test method is under the jurisdiction of ASTM Committee D01 on Paint and Related Coatings, Materials, and Applications and is the direct responsibility of
Subcommittee D01.23 on Physical Properties of Applied Paint Films.
Current edition approved Dec. 1, 2010May 1, 2017. Published December 2010August 2017. Originally approved in 2005. Last previous edition approved in 20052010
as D6991 – 05.D6991 – 05 (2100). DOI: 10.1520/D6991-05R10.10.1520/D6991-17.
2
For referenced ASTM standards, visit the ASTM website, www.astm.org, or contact ASTM Customer Service at service@astm.org. For Annual Book of ASTM Standards
volume information, refer to the standard’s Document Summary page on the ASTM website.
3.1.2.1 Discussion—
The deflection of the beam is used to measure that force acting on the tip.
3.1.3 internal stress, n—a stress system within a solid that is not dependent on external forces.
Copyright © ASTM International, 100 Barr Harbor Drive, PO Box C700, West Conshohocken, PA 19428-2959. United States
1
---------------------- Page: 1 ----------------------
D6991 − 17
4. Test Method
4.1 Internal stresses in coatings are determined by the cantilever method (Fig. 1). Substrate A in the shape of a rectangular
cantilever beam is clamped by its end B in a special fixture E. Coating (F) is applied to one side of the beam. Internal stresses occur
in the film when it is being cured (drying, cross-linking, etc.). When there is sufficient adhesion between the coating and the
substrate, the stresses bend the cantilever beam, forcing its free end D to be deflected from its original position by a distance of
h. The deflection of the beam is measured under an optical microscope and internal stress is calculated using the equation for the
cantilever method. See Eq 1 in Section 9, (Formula 1).
5. Significance and Use
5.1 Stresses in coatings arise as a result of their shri
...


Questions, Comments and Discussion
Ask us and Technical Secretary will try to provide an answer. You can facilitate discussion about the standard in here.