ASTM E2108-10
(Practice)Standard Practice for Calibration of the Electron Binding-Energy Scale of an X-Ray Photoelectron Spectrometer
Standard Practice for Calibration of the Electron Binding-Energy Scale of an X-Ray Photoelectron Spectrometer
SIGNIFICANCE AND USE
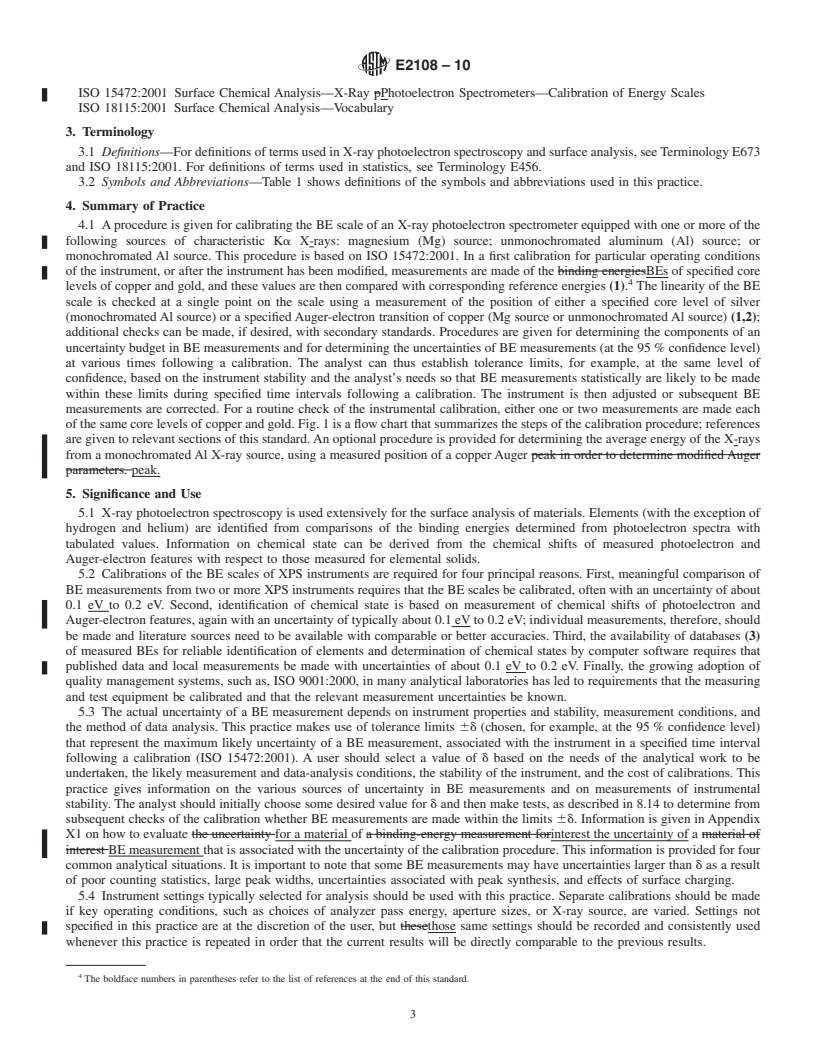
X-ray photoelectron spectroscopy is used extensively for the surface analysis of materials. Elements (with the exception of hydrogen and helium) are identified from comparisons of the binding energies determined from photoelectron spectra with tabulated values. Information on chemical state can be derived from the chemical shifts of measured photoelectron and Auger-electron features with respect to those measured for elemental solids.
Calibrations of the BE scales of XPS instruments are required for four principal reasons. First, meaningful comparison of BE measurements from two or more XPS instruments requires that the BE scales be calibrated, often with an uncertainty of about 0.1 eV to 0.2 eV. Second, identification of chemical state is based on measurement of chemical shifts of photoelectron and Auger-electron features, again with an uncertainty of typically about 0.1 eV to 0.2 eV; individual measurements, therefore, should be made and literature sources need to be available with comparable or better accuracies. Third, the availability of databases (3) of measured BEs for reliable identification of elements and determination of chemical states by computer software requires that published data and local measurements be made with uncertainties of about 0.1 eV to 0.2 eV. Finally, the growing adoption of quality management systems, such as, ISO 9001:2000, in many analytical laboratories has led to requirements that the measuring and test equipment be calibrated and that the relevant measurement uncertainties be known.
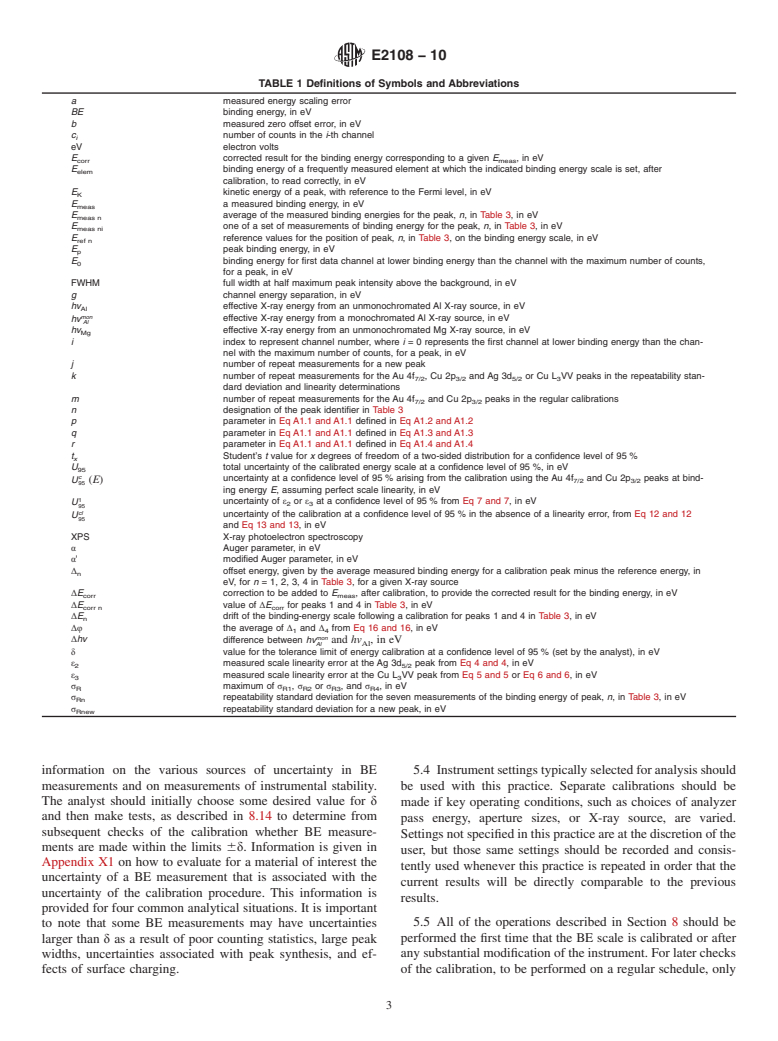
The actual uncertainty of a BE measurement depends on instrument properties and stability, measurement conditions, and the method of data analysis. This practice makes use of tolerance limits ±δ (chosen, for example, at the 95 % confidence level) that represent the maximum likely uncertainty of a BE measurement, associated with the instrument in a specified time interval following a calibration (ISO 15472:2001). A user should select a value of δ ba...
SCOPE
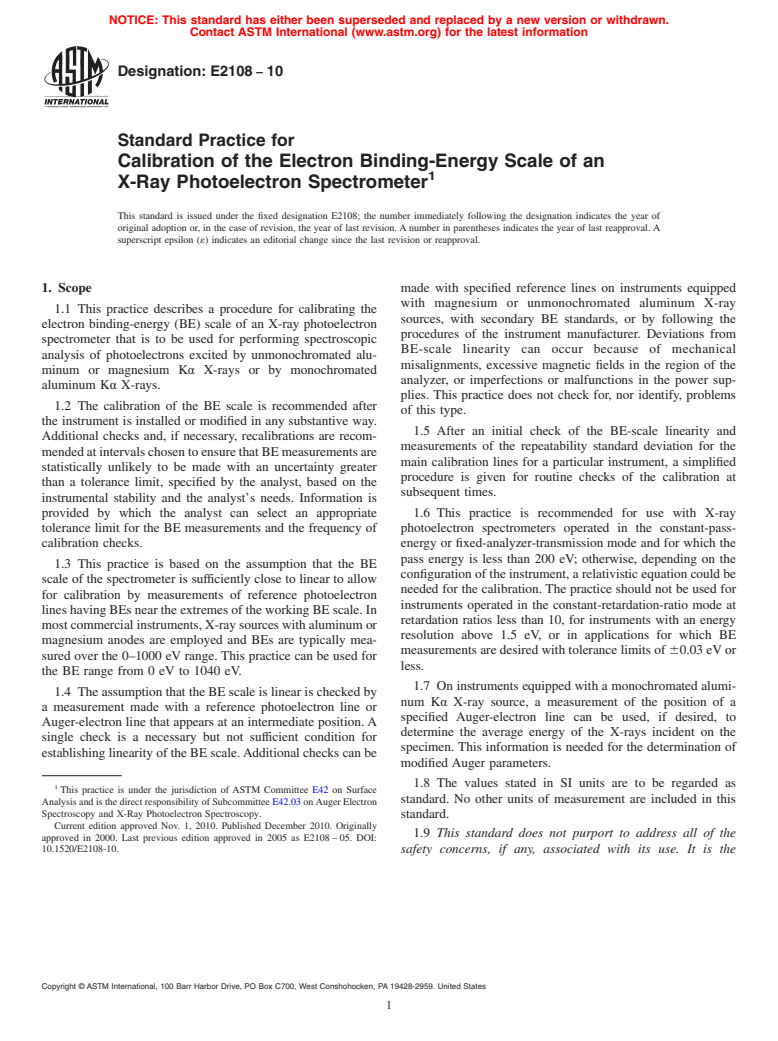
1.1 This practice describes a procedure for calibrating the electron binding-energy (BE) scale of an X-ray photoelectron spectrometer that is to be used for performing spectroscopic analysis of photoelectrons excited by unmonochromated aluminum or magnesium Kα X-rays or by monochromated aluminum Kα X-rays.
1.2 The calibration of the BE scale is recommended after the instrument is installed or modified in any substantive way. Additional checks and, if necessary, recalibrations are recommended at intervals chosen to ensure that BE measurements are statistically unlikely to be made with an uncertainty greater than a tolerance limit, specified by the analyst, based on the instrumental stability and the analyst's needs. Information is provided by which the analyst can select an appropriate tolerance limit for the BE measurements and the frequency of calibration checks.
1.3 This practice is based on the assumption that the BE scale of the spectrometer is sufficiently close to linear to allow for calibration by measurements of reference photoelectron lines having BEs near the extremes of the working BE scale. In most commercial instruments, X-ray sources with aluminum or magnesium anodes are employed and BEs are typically measured over the 0–1000 eV range. This practice can be used for the BE range from 0 eV to 1040 eV.
1.4 The assumption that the BE scale is linear is checked by a measurement made with a reference photoelectron line or Auger-electron line that appears at an intermediate position. A single check is a necessary but not sufficient condition for establishing linearity of the BE scale. Additional checks can be made with specified reference lines on instruments equipped with magnesium or unmonochromated aluminum X-ray sources, with secondary BE standards, or by following the procedures of the instrument manufacturer. Deviations from BE-scale linearity can occur because of mechanical misalignments, excessive ma...
General Information
Relations
Buy Standard
Standards Content (Sample)
NOTICE: This standard has either been superseded and replaced by a new version or withdrawn.
Contact ASTM International (www.astm.org) for the latest information
Designation: E2108 − 10
Standard Practice for
Calibration of the Electron Binding-Energy Scale of an
1
X-Ray Photoelectron Spectrometer
This standard is issued under the fixed designation E2108; the number immediately following the designation indicates the year of
original adoption or, in the case of revision, the year of last revision.Anumber in parentheses indicates the year of last reapproval.A
superscript epsilon (´) indicates an editorial change since the last revision or reapproval.
1. Scope made with specified reference lines on instruments equipped
with magnesium or unmonochromated aluminum X-ray
1.1 This practice describes a procedure for calibrating the
sources, with secondary BE standards, or by following the
electron binding-energy (BE) scale of an X-ray photoelectron
procedures of the instrument manufacturer. Deviations from
spectrometer that is to be used for performing spectroscopic
BE-scale linearity can occur because of mechanical
analysis of photoelectrons excited by unmonochromated alu-
misalignments, excessive magnetic fields in the region of the
minum or magnesium Kα X-rays or by monochromated
analyzer, or imperfections or malfunctions in the power sup-
aluminum Kα X-rays.
plies. This practice does not check for, nor identify, problems
1.2 The calibration of the BE scale is recommended after
of this type.
the instrument is installed or modified in any substantive way.
1.5 After an initial check of the BE-scale linearity and
Additional checks and, if necessary, recalibrations are recom-
measurements of the repeatability standard deviation for the
mendedatintervalschosentoensurethatBEmeasurementsare
main calibration lines for a particular instrument, a simplified
statistically unlikely to be made with an uncertainty greater
procedure is given for routine checks of the calibration at
than a tolerance limit, specified by the analyst, based on the
subsequent times.
instrumental stability and the analyst’s needs. Information is
provided by which the analyst can select an appropriate 1.6 This practice is recommended for use with X-ray
tolerance limit for the BE measurements and the frequency of photoelectron spectrometers operated in the constant-pass-
calibration checks. energy or fixed-analyzer-transmission mode and for which the
pass energy is less than 200 eV; otherwise, depending on the
1.3 This practice is based on the assumption that the BE
configurationoftheinstrument,arelativisticequationcouldbe
scale of the spectrometer is sufficiently close to linear to allow
needed for the calibration. The practice should not be used for
for calibration by measurements of reference photoelectron
instruments operated in the constant-retardation-ratio mode at
lineshavingBEsneartheextremesoftheworkingBEscale.In
retardation ratios less than 10, for instruments with an energy
mostcommercialinstruments,X-raysourceswithaluminumor
resolution above 1.5 eV, or in applications for which BE
magnesium anodes are employed and BEs are typically mea-
measurementsaredesiredwithtolerancelimitsof 60.03eVor
sured over the 0–1000 eV range. This practice can be used for
less.
the BE range from 0 eV to 1040 eV.
1.7 On instruments equipped with a monochromated alumi-
1.4 TheassumptionthattheBEscaleislinearischeckedby
num Kα X-ray source, a measurement of the position of a
a measurement made with a reference photoelectron line or
specified Auger-electron line can be used, if desired, to
Auger-electron line that appears at an intermediate position.A
determine the average energy of the X-rays incident on the
single check is a necessary but not sufficient condition for
specimen. This information is needed for the determination of
establishinglinearityoftheBEscale.Additionalcheckscanbe
modified Auger parameters.
1.8 The values stated in SI units are to be regarded as
1
This practice is under the jurisdiction of ASTM Committee E42 on Surface
standard. No other units of measurement are included in this
AnalysisandisthedirectresponsibilityofSubcommitteeE42.03onAugerElectron
Spectroscopy and X-Ray Photoelectron Spectroscopy.
standard.
Current edition approved Nov. 1, 2010. Published December 2010. Originally
1.9 This standard does not purport to address all of the
approved in 2000. Last previous edition approved in 2005 as E2108–05. DOI:
10.1520/E2108-10. safety concerns, if any, associated with its use. It is the
Copyright © ASTM International, 100 Barr Harbor Drive, PO Box C700, West Conshohocken, PA 19428-2959. United States
1
---------------------- Page: 1 ----------------------
E2108 − 10
responsibility of the user of this standard to establish appro- with secondary standards. Procedures are given for determin-
priate safety and health practices and determine the applica- ing the components of an uncertainty budget in BE measure-
bility of regulatory limitations prior to
...
This document is not anASTM standard and is intended only to provide the user of anASTM standard an indication of what changes have been made to the previous version. Because
it may not be technically possible to adequately depict all changes accurately, ASTM recommends that users consult prior editions as appropriate. In all cases only the current version
of the standard as published by ASTM is to be considered the official document.
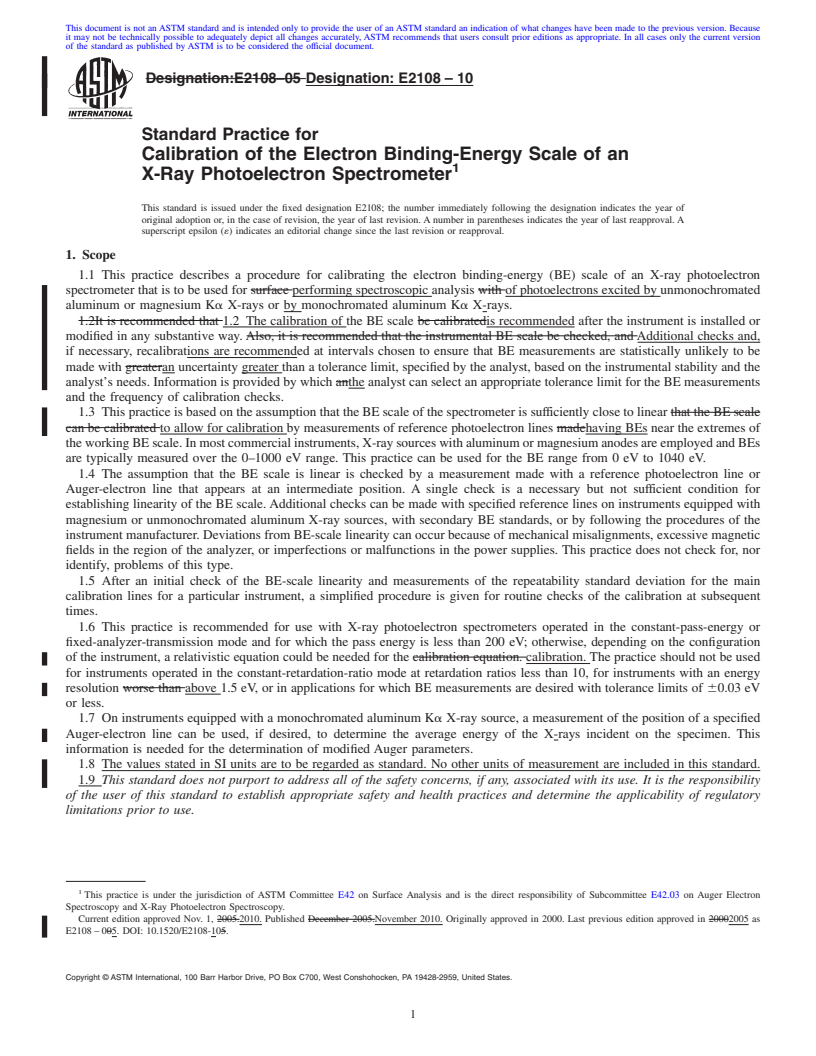
Designation:E2108–05 Designation: E2108 – 10
Standard Practice for
Calibration of the Electron Binding-Energy Scale of an
1
X-Ray Photoelectron Spectrometer
This standard is issued under the fixed designation E2108; the number immediately following the designation indicates the year of
original adoption or, in the case of revision, the year of last revision.Anumber in parentheses indicates the year of last reapproval.A
superscript epsilon (´) indicates an editorial change since the last revision or reapproval.
1. Scope
1.1 This practice describes a procedure for calibrating the electron binding-energy (BE) scale of an X-ray photoelectron
spectrometer that is to be used for surface performing spectroscopic analysis with of photoelectrons excited by unmonochromated
aluminum or magnesium Ka X-rays or by monochromated aluminum Ka X-rays.
1.2It is recommended that 1.2 The calibration of the BE scale be calibratedis recommended after the instrument is installed or
modified in any substantive way.Also, it is recommended that the instrumental BE scale be checked, andAdditional checks and,
if necessary, recalibrations are recommended at intervals chosen to ensure that BE measurements are statistically unlikely to be
made with greateran uncertainty greater than a tolerance limit, specified by the analyst, based on the instrumental stability and the
analyst’sneeds.InformationisprovidedbywhichantheanalystcanselectanappropriatetolerancelimitfortheBEmeasurements
and the frequency of calibration checks.
1.3 ThispracticeisbasedontheassumptionthattheBEscaleofthespectrometerissufficientlyclosetolinearthattheBEscale
can be calibrated to allow for calibration by measurements of reference photoelectron lines madehaving BEs near the extremes of
theworkingBEscale.Inmostcommercialinstruments,X-raysourceswithaluminumormagnesiumanodesareemployedandBEs
are typically measured over the 0–1000 eV range. This practice can be used for the BE range from 0 eV to 1040 eV.
1.4 The assumption that the BE scale is linear is checked by a measurement made with a reference photoelectron line or
Auger-electron line that appears at an intermediate position. A single check is a necessary but not sufficient condition for
establishing linearity of the BE scale.Additional checks can be made with specified reference lines on instruments equipped with
magnesium or unmonochromated aluminum X-ray sources, with secondary BE standards, or by following the procedures of the
instrument manufacturer. Deviations from BE-scale linearity can occur because of mechanical misalignments, excessive magnetic
fields in the region of the analyzer, or imperfections or malfunctions in the power supplies. This practice does not check for, nor
identify, problems of this type.
1.5 After an initial check of the BE-scale linearity and measurements of the repeatability standard deviation for the main
calibration lines for a particular instrument, a simplified procedure is given for routine checks of the calibration at subsequent
times.
1.6 This practice is recommended for use with X-ray photoelectron spectrometers operated in the constant-pass-energy or
fixed-analyzer-transmission mode and for which the pass energy is less than 200 eV; otherwise, depending on the configuration
of the instrument, a relativistic equation could be needed for the calibration equation. calibration.The practice should not be used
for instruments operated in the constant-retardation-ratio mode at retardation ratios less than 10, for instruments with an energy
resolution worse than above 1.5 eV, or in applications for which BE measurements are desired with tolerance limits of 60.03 eV
or less.
1.7 On instruments equipped with a monochromated aluminum Ka X-ray source, a measurement of the position of a specified
Auger-electron line can be used, if desired, to determine the average energy of the X-rays incident on the specimen. This
information is needed for the determination of modified Auger parameters.
1.8 The values stated in SI units are to be regarded as standard. No other units of measurement are included in this standard.
1.9 This standard does not purport to address all of the safety concerns, if any, associated with its use. It is the responsibility
of the user of this standard to establish appropriate safety and health practices and determine the applicability of regulatory
limitations prior to use.
1
This practice is under the jurisdiction of ASTM Committee E42 on Surface Analysis and is the direct responsibility of Subcommittee E42.03 on Auger Electron
Spectroscopy and X-R
...


Questions, Comments and Discussion
Ask us and Technical Secretary will try to provide an answer. You can facilitate discussion about the standard in here.