ASTM F319-09
(Practice)Standard Practice for Polarized Light Detection of Flaws in Aerospace Transparency Heating Elements
Standard Practice for Polarized Light Detection of Flaws in Aerospace Transparency Heating Elements
SIGNIFICANCE AND USE
This practice is useful as a screening basis for acceptance or rejection of transparencies during manufacturing so that units with identifiable flaws will not be carried to final inspection for rejection at that time.
This practice may also be employed as a go-no go technique for acceptance or rejection of the finished product.
This practice is simple, inexpensive, and effective. Flaws identified by this practice, as with other optical methods, are limited to those that produce temperature gradients when electrically powered. Any other type of flaw, such as minor scratches parallel to the direction of electrical flow, are not detectable.
SCOPE
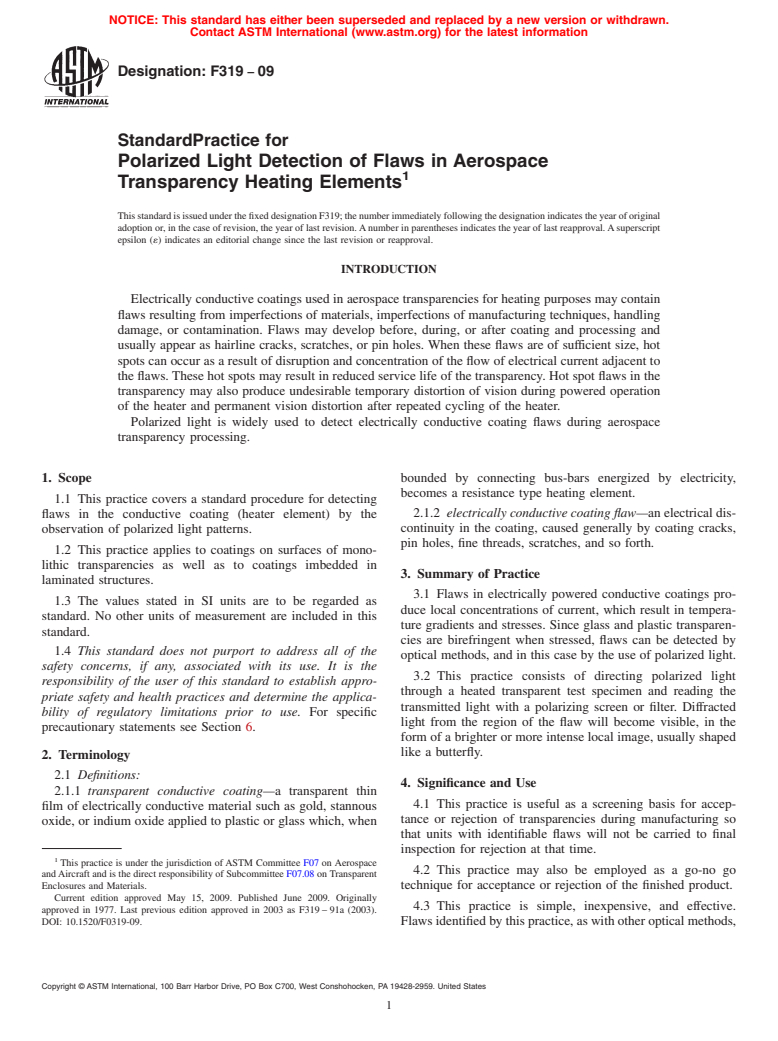
1.1 This practice covers a standard procedure for detecting flaws in the conductive coating (heater element) by the observation of polarized light patterns.
1.2 This practice applies to coatings on surfaces of monolithic transparencies as well as to coatings imbedded in laminated structures.
1.3 The values stated in SI units are to be regarded as standard. No other units of measurement are included in this standard.
1.4 This standard does not purport to address all of the safety concerns, if any, associated with its use. It is the responsibility of the user of this standard to establish appropriate safety and health practices and determine the applicability of regulatory limitations prior to use. For specific precautionary statements see Section 6.
General Information
Relations
Buy Standard
Standards Content (Sample)
NOTICE: This standard has either been superseded and replaced by a new version or withdrawn.
Contact ASTM International (www.astm.org) for the latest information
Designation: F319 − 09
StandardPractice for
Polarized Light Detection of Flaws in Aerospace
1
Transparency Heating Elements
ThisstandardisissuedunderthefixeddesignationF319;thenumberimmediatelyfollowingthedesignationindicatestheyearoforiginal
adoption or, in the case of revision, the year of last revision.Anumber in parentheses indicates the year of last reapproval.Asuperscript
epsilon (´) indicates an editorial change since the last revision or reapproval.
INTRODUCTION
Electrically conductive coatings used in aerospace transparencies for heating purposes may contain
flaws resulting from imperfections of materials, imperfections of manufacturing techniques, handling
damage, or contamination. Flaws may develop before, during, or after coating and processing and
usually appear as hairline cracks, scratches, or pin holes. When these flaws are of sufficient size, hot
spots can occur as a result of disruption and concentration of the flow of electrical current adjacent to
the flaws. These hot spots may result in reduced service life of the transparency. Hot spot flaws in the
transparency may also produce undesirable temporary distortion of vision during powered operation
of the heater and permanent vision distortion after repeated cycling of the heater.
Polarized light is widely used to detect electrically conductive coating flaws during aerospace
transparency processing.
1. Scope bounded by connecting bus-bars energized by electricity,
becomes a resistance type heating element.
1.1 This practice covers a standard procedure for detecting
2.1.2 electrically conductive coating flaw—an electrical dis-
flaws in the conductive coating (heater element) by the
continuity in the coating, caused generally by coating cracks,
observation of polarized light patterns.
pin holes, fine threads, scratches, and so forth.
1.2 This practice applies to coatings on surfaces of mono-
lithic transparencies as well as to coatings imbedded in
3. Summary of Practice
laminated structures.
3.1 Flaws in electrically powered conductive coatings pro-
1.3 The values stated in SI units are to be regarded as
duce local concentrations of current, which result in tempera-
standard. No other units of measurement are included in this
ture gradients and stresses. Since glass and plastic transparen-
standard.
cies are birefringent when stressed, flaws can be detected by
1.4 This standard does not purport to address all of the
optical methods, and in this case by the use of polarized light.
safety concerns, if any, associated with its use. It is the
3.2 This practice consists of directing polarized light
responsibility of the user of this standard to establish appro-
through a heated transparent test specimen and reading the
priate safety and health practices and determine the applica-
transmitted light with a polarizing screen or filter. Diffracted
bility of regulatory limitations prior to use. For specific
light from the region of the flaw will become visible, in the
precautionary statements see Section 6.
form of a brighter or more intense local image, usually shaped
like a butterfly.
2. Terminology
2.1 Definitions:
4. Significance and Use
2.1.1 transparent conductive coating—a transparent thin
4.1 This practice is useful as a screening basis for accep-
film of electrically conductive material such as gold, stannous
tance or rejection of transparencies during manufacturing so
oxide, or indium oxide applied to plastic or glass which, when
that units with identifiable flaws will not be carried to final
inspection for rejection at that time.
1
This practice is under the jurisdiction of ASTM Committee F07 on Aerospace
4.2 This practice may also be employed as a go-no go
andAircraft and is the direct responsibility of Subcommittee F07.08 on Transparent
Enclosures and Materials. technique for acceptance or rejection of the finished product.
Current edition approved May 15, 2009. Published June 2009. Originally
4.3 This practice is simple, inexpensive, and effective.
approved in 1977. Last previous edition approved in 2003 as F319 – 91a (2003).
DOI: 10.1520/F0319-09. Flaws identified by this practice, as with other optical methods,
Copyright © ASTM International, 100 Barr Harbor Drive, PO Box C700, West Conshohocken, PA 19428-2959. United States
1
---------------------- Page: 1 ----------------------
F319 − 09
are limited to those that produce temperature gradients when normal to the location being viewed. Since specimen size and
electrically powered. Any other type of flaw, such as minor curvature vary considerably, a dimensionally fixed standard is
scratches parallel to the direction of electrical flow, are not not given.
detectable.
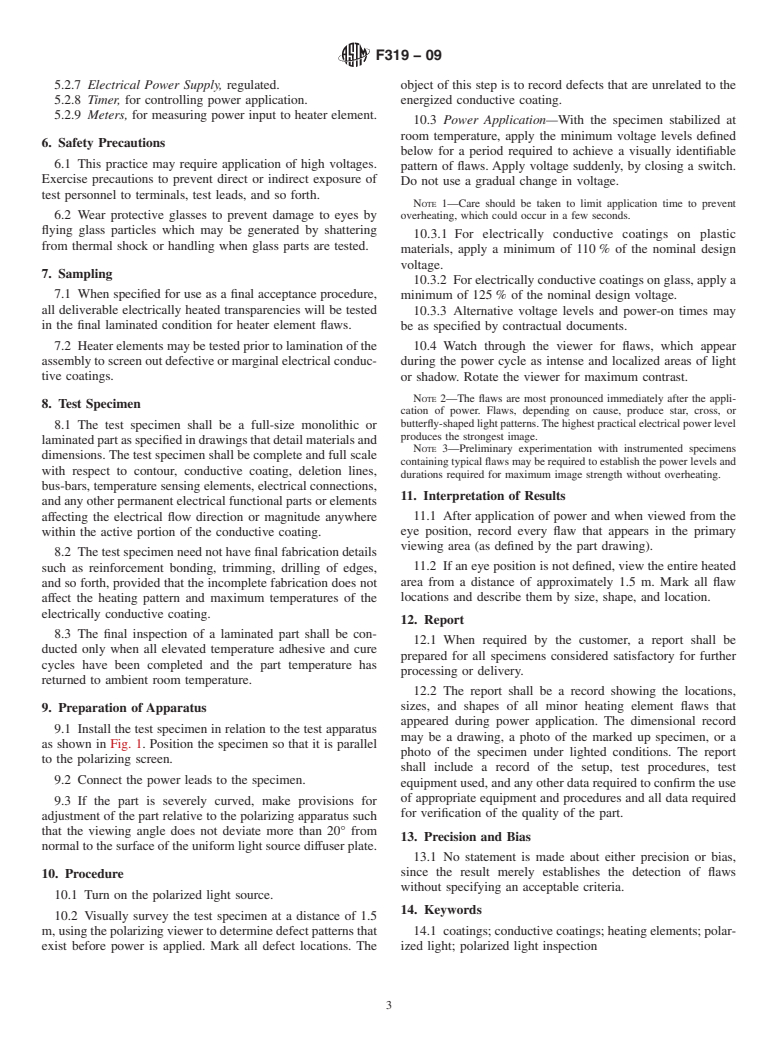
5.2 The apparatus, in the order of assembly, consists of the
following:
5. Apparatus
5.2.1 Uniform Light Source, such as a bank of fluorescent
5.1 Theelementsoftheapparatusaredetailedbel
...
This document is not an ASTM standard and is intended only to provide the user of an ASTM standard an indication of what changes have been made to the previous version. Because
it may not be technically possible to adequately depict all changes accurately, ASTM recommends that users consult prior editions as appropriate. In all cases only the current version
of the standard as published by ASTM is to be considered the official document.
Designation:F319–91a (Reapproved 2003) Designation:F319–09
Standard Practice for
Polarized Light Detection of Flaws in Aerospace
1
Transparency Heating Elements
This standard is issued under the fixed designation F 319; the number immediately following the designation indicates the year of
original adoption or, in the case of revision, the year of last revision. A number in parentheses indicates the year of last reapproval. A
superscript epsilon (´) indicates an editorial change since the last revision or reapproval.
INTRODUCTION
Electrically conductive coatings used in aerospace transparencies for heating purposes may contain
flaws resulting from imperfections of materials, imperfections of manufacturing techniques, handling
damage, or contamination. Flaws may develop before, during, or after coating and processing and
usually appear as hairline cracks, scratches, or pin holes. When these flaws are of sufficient size, hot
spots can occur as a result of disruption and concentration of the flow of electrical current adjacent to
the flaws. These hot spots may result in reduced service life of the transparency. Hot spot flaws in the
transparency may also produce undesirable temporary distortion of vision during powered operation
of the heater and permanent vision distortion after repeated cycling of the heater.
Polarized light is widely used to detect electrically conductive coating flaws during aerospace
transparency processing.
1. Scope
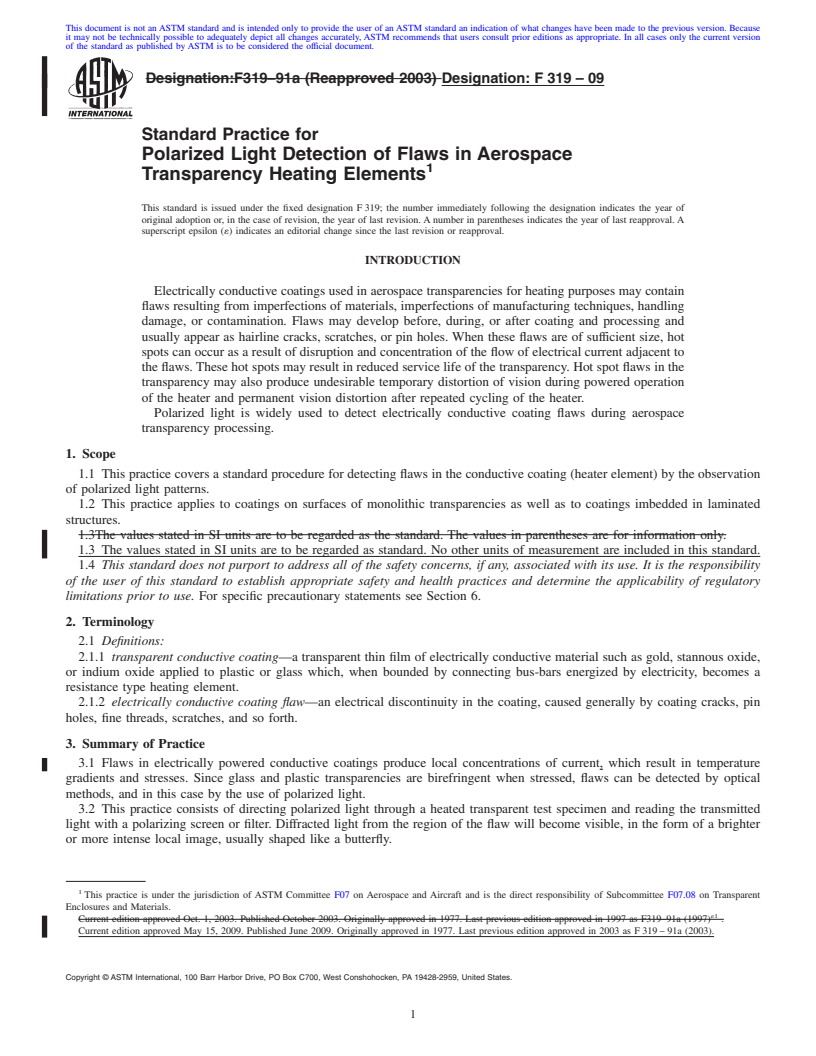
1.1 This practice covers a standard procedure for detecting flaws in the conductive coating (heater element) by the observation
of polarized light patterns.
1.2 This practice applies to coatings on surfaces of monolithic transparencies as well as to coatings imbedded in laminated
structures.
1.3The values stated in SI units are to be regarded as the standard. The values in parentheses are for information only.
1.3 The values stated in SI units are to be regarded as standard. No other units of measurement are included in this standard.
1.4 This standard does not purport to address all of the safety concerns, if any, associated with its use. It is the responsibility
of the user of this standard to establish appropriate safety and health practices and determine the applicability of regulatory
limitations prior to use. For specific precautionary statements see Section 6.
2. Terminology
2.1 Definitions:
2.1.1 transparent conductive coating—a transparent thin film of electrically conductive material such as gold, stannous oxide,
or indium oxide applied to plastic or glass which, when bounded by connecting bus-bars energized by electricity, becomes a
resistance type heating element.
2.1.2 electrically conductive coating flaw—an electrical discontinuity in the coating, caused generally by coating cracks, pin
holes, fine threads, scratches, and so forth.
3. Summary of Practice
3.1 Flaws in electrically powered conductive coatings produce local concentrations of current, which result in temperature
gradients and stresses. Since glass and plastic transparencies are birefringent when stressed, flaws can be detected by optical
methods, and in this case by the use of polarized light.
3.2 This practice consists of directing polarized light through a heated transparent test specimen and reading the transmitted
light with a polarizing screen or filter. Diffracted light from the region of the flaw will become visible, in the form of a brighter
or more intense local image, usually shaped like a butterfly.
1
This practice is under the jurisdiction of ASTM Committee F07 on Aerospace and Aircraft and is the direct responsibility of Subcommittee F07.08 on Transparent
Enclosures and Materials.
´1
Current edition approved Oct. 1, 2003. Published October 2003. Originally approved in 1977. Last previous edition approved in 1997 as F319–91a (1997) .
Current edition approved May 15, 2009. Published June 2009. Originally approved in 1977. Last previous edition approved in 2003 as F 319 – 91a (2003).
Copyright © ASTM International, 100 Barr Harbor Drive, PO Box C700, West Conshohocken, PA 19428-2959, United States.
1
---------------------- Page: 1 ----------------------
F319–09
4. Significance and Use
4.1 This practice is useful as a screening basis for acceptance or rejection of transparencies during manufacturing so that units
with identifiable flaws will not be carried to final inspection for rejection at that time.
4.2 This practice may also be employed as a go-no go technique for acceptance or rejection of the finished product.
4.3This practice is simple, inexpensive, and effective. Fl
...


Questions, Comments and Discussion
Ask us and Technical Secretary will try to provide an answer. You can facilitate discussion about the standard in here.