ISO 20290-3:2019
(Main)Aggregates for concrete — Test methods for mechanical and physical properties — Part 3: Determination of aggregate crushing value (ACV)
Aggregates for concrete — Test methods for mechanical and physical properties — Part 3: Determination of aggregate crushing value (ACV)
This document gives the determination of aggregate crushing value (ACV) of aggregates. This gives a relative measure of the resistance of the aggregate crushing under the gradually applied compressive load. The method is applicable to aggregates passing a 14,0 mm test sieve and retained on a 10,0 mm test sieve. For other size fractions, a recommended method is described in Annex A. The aggregate size fraction taken for this test can also be as per the relevant national standards. NOTE Minor variations in grading divisions can be allowed in respective national standards. The method is not suitable for testing aggregates with an aggregate crushing value higher than 30. In such cases, the method described in ISO 20290-4 is applicable.
Granulats pour béton — Méthodes d'essai relatives aux propriétés mécaniques et physiques — Partie 3: Détermination de la valeur de concassage des granulats (ACV)
General Information
- Status
- Published
- Publication Date
- 25-Nov-2019
- Technical Committee
- ISO/TC 71/SC 1 - Test methods for concrete
- Drafting Committee
- ISO/TC 71/SC 1/WG 4 - Test methods for aggregates
- Current Stage
- 9093 - International Standard confirmed
- Start Date
- 10-Nov-2025
- Completion Date
- 12-Feb-2026
Relations
- Effective Date
- 11-Oct-2014
- Effective Date
- 11-Oct-2014
- Effective Date
- 11-Oct-2014
- Effective Date
- 11-Oct-2014
Overview
ISO 20290-3:2019 specifies a laboratory test method for determining the Aggregate Crushing Value (ACV) of coarse aggregates for concrete. The ACV provides a relative measure of an aggregate’s resistance to crushing under a gradually applied compressive load. The standard is primarily applicable to aggregates passing a 14.0 mm test sieve and retained on a 10.0 mm test sieve; Annex A gives recommendations for other size fractions. The method is not intended for aggregates with ACV > 30 (see ISO 20290-4 in such cases).
Key topics and technical requirements
- Scope and intent: Measure resistance of aggregates to crushing using a standard compaction and compressive loading regime to produce a percentage of fines.
- Specimen size and grading: Default size fraction is 14.0 mm to 10.0 mm; other fractions covered in Annex A or by national standards.
- Apparatus:
- Compression testing machine capable of up to 500 kN and achieving 400 kN in 10 min ± 30 s.
- Steel cylinder and freely moving plunger (nominal 150 mm internal diameter) with defined dimensional tolerances.
- Tamping rod (16 ± 1 mm diameter), cylindrical measure, test sieves (14.0 mm, 10.0 mm and 2.36 mm compliant with ISO 565), oven (105 ± 5 °C), balance, rubber mallet and brush.
- Procedure highlights:
- Prepare three specimens of the designated size fraction; compact in three layers with 25 strokes per layer using the tamping rod.
- Apply compressive load to reach 400 kN in ~10 minutes; recover crushed material and sieve on 2.36 mm.
- Calculate ACV = (mass passing 2.36 mm / total specimen mass) × 100 (expressed to 1 decimal).
- Repeat and average results; rules provided for repeat tests if variability exceeds specified limits.
- Limitations: Not suitable for aggregates with ACV > 30; use ISO 20290-4 for such materials.
Applications and users
- Practical uses:
- Quality control of coarse aggregates for concrete and pavement materials.
- Comparative assessment of aggregate crushing resistance for material selection.
- Input to mix design and performance specifications where aggregate strength and durability matter.
- Primary users:
- Materials and testing laboratories, concrete and asphalt producers, quarry operators, civil engineers, specifications authors and standards bodies.
Related standards
- ISO 565 - Test sieves (referenced for sieve compliance)
- ISO 20290 series - other parts cover related mechanical and physical property tests (see ISO 20290-4 for high-ACV materials)
Keywords: ISO 20290-3:2019, aggregate crushing value, ACV, aggregates for concrete, test methods, 14 mm sieve, 10 mm sieve, compression testing machine, 2.36 mm sieve, Annex A.
Get Certified
Connect with accredited certification bodies for this standard

ICC Evaluation Service
Building products evaluation and certification.

QAI Laboratories
Building and construction product testing and certification.

Aboma Certification B.V.
Specialized in construction, metal, and transport sectors.
Sponsored listings
Frequently Asked Questions
ISO 20290-3:2019 is a standard published by the International Organization for Standardization (ISO). Its full title is "Aggregates for concrete — Test methods for mechanical and physical properties — Part 3: Determination of aggregate crushing value (ACV)". This standard covers: This document gives the determination of aggregate crushing value (ACV) of aggregates. This gives a relative measure of the resistance of the aggregate crushing under the gradually applied compressive load. The method is applicable to aggregates passing a 14,0 mm test sieve and retained on a 10,0 mm test sieve. For other size fractions, a recommended method is described in Annex A. The aggregate size fraction taken for this test can also be as per the relevant national standards. NOTE Minor variations in grading divisions can be allowed in respective national standards. The method is not suitable for testing aggregates with an aggregate crushing value higher than 30. In such cases, the method described in ISO 20290-4 is applicable.
This document gives the determination of aggregate crushing value (ACV) of aggregates. This gives a relative measure of the resistance of the aggregate crushing under the gradually applied compressive load. The method is applicable to aggregates passing a 14,0 mm test sieve and retained on a 10,0 mm test sieve. For other size fractions, a recommended method is described in Annex A. The aggregate size fraction taken for this test can also be as per the relevant national standards. NOTE Minor variations in grading divisions can be allowed in respective national standards. The method is not suitable for testing aggregates with an aggregate crushing value higher than 30. In such cases, the method described in ISO 20290-4 is applicable.
ISO 20290-3:2019 is classified under the following ICS (International Classification for Standards) categories: 91.100.30 - Concrete and concrete products. The ICS classification helps identify the subject area and facilitates finding related standards.
ISO 20290-3:2019 has the following relationships with other standards: It is inter standard links to ISO 6783:1982, ISO 7033:1987, ISO 6782:1982, ISO 6274:1982. Understanding these relationships helps ensure you are using the most current and applicable version of the standard.
ISO 20290-3:2019 is available in PDF format for immediate download after purchase. The document can be added to your cart and obtained through the secure checkout process. Digital delivery ensures instant access to the complete standard document.
Standards Content (Sample)
INTERNATIONAL ISO
STANDARD 20290-3
First edition
2019-11
Aggregates for concrete — Test
methods for mechanical and physical
properties —
Part 3:
Determination of aggregate crushing
value (ACV)
Granulats pour béton — Méthodes d'essai relatives aux propriétés
mécaniques et physiques —
Partie 3: Partie 3: Détermination de la valeur de concassage des
granulats (ACV)
Reference number
©
ISO 2019
© ISO 2019
All rights reserved. Unless otherwise specified, or required in the context of its implementation, no part of this publication may
be reproduced or utilized otherwise in any form or by any means, electronic or mechanical, including photocopying, or posting
on the internet or an intranet, without prior written permission. Permission can be requested from either ISO at the address
below or ISO’s member body in the country of the requester.
ISO copyright office
CP 401 • Ch. de Blandonnet 8
CH-1214 Vernier, Geneva
Phone: +41 22 749 01 11
Fax: +41 22 749 09 47
Email: copyright@iso.org
Website: www.iso.org
Published in Switzerland
ii © ISO 2019 – All rights reserved
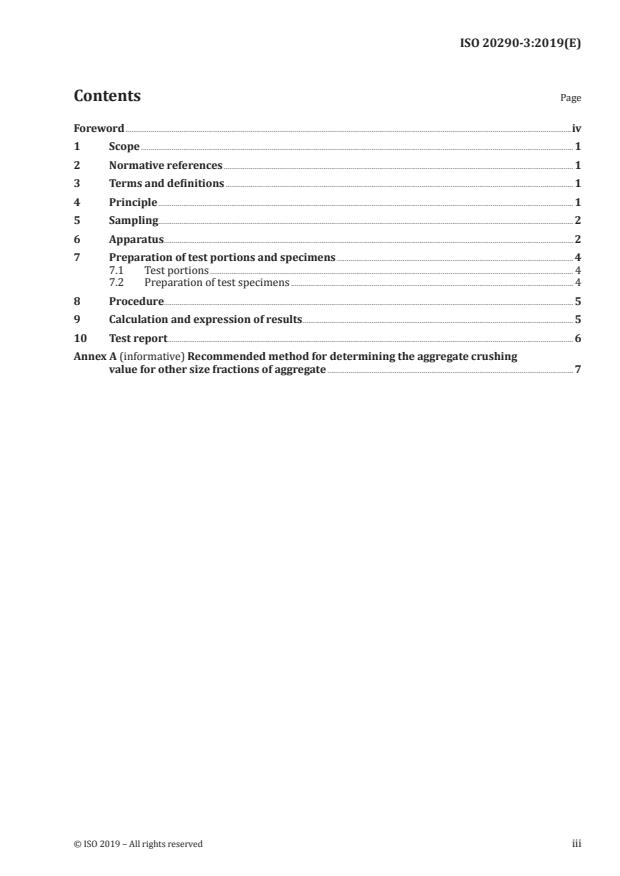
Contents Page
Foreword .iv
1 Scope . 1
2 Normative references . 1
3 Terms and definitions . 1
4 Principle . 1
5 Sampling . 2
6 Apparatus . 2
7 Preparation of test portions and specimens . 4
7.1 Test portions . 4
7.2 Preparation of test specimens . 4
8 Procedure. 5
9 Calculation and expression of results . 5
10 Test report . 6
Annex A (informative) Recommended method for determining the aggregate crushing
value for other size fractions of aggregate . 7
Foreword
ISO (the International Organization for Standardization) is a worldwide federation of national standards
bodies (ISO member bodies). The work of preparing International Standards is normally carried out
through ISO technical committees. Each member body interested in a subject for which a technical
committee has been established has the right to be represented on that committee. International
organizations, governmental and non-governmental, in liaison with ISO, also take part in the work.
ISO collaborates closely with the International Electrotechnical Commission (IEC) on all matters of
electrotechnical standardization.
The procedures used to develop this document and those intended for its further maintenance are
described in the ISO/IEC Directives, Part 1. In particular, the different approval criteria needed for the
different types of ISO documents should be noted. This document was drafted in accordance with the
editorial rules of the ISO/IEC Directives, Part 2 (see www .iso .org/ directives).
Attention is drawn to the possibility that some of the elements of this document may be the subject of
patent rights. ISO shall not be held responsible for identifying any or all such patent rights. Details of
any patent rights identified during the development of the document will be in the Introduction and/or
on the ISO list of patent declarations received (see www .iso .org/ patents).
Any trade name used in this document is information given for the convenience of users and does not
constitute an endorsement.
For an explanation of the voluntary nature of standards, the meaning of ISO specific terms and
expressions related to conformity assessment, as well as information about ISO's adherence to the
World Trade Organization (WTO) principles in the Technical Barriers to Trade (TBT) see www .iso .org/
iso/ foreword .html.
This document was prepared by Technical Committee ISO/TC 71, Concrete, reinforced concrete and pre-
stressed concrete, Subcommittee SC 1, Test methods for concrete.
Any feedback or questions on this document should be directed to the user’s national standards body. A
complete listing of these bodies can be found at www .iso .org/ members .html.
A list of all parts in the ISO 20290 series can be found on the ISO website.
iv © ISO 2019 – All rights reserved
INTERNATIONAL STANDARD ISO 20290-3:2019(E)
Aggregates for concrete — Test methods for mechanical
and physical properties —
Part 3:
Determination of aggregate crushing value (ACV)
1 Scope
This document gives the determination of aggregate crushing value (ACV) of aggregates. This
gives a relative measure of the resistance of the aggregate crushing under the gradually applied
compressive load.
The method is applicable to aggregates passing a 14,0 mm test sieve and retained on a 10,0 mm test
sieve. For other size fractions, a recommended method is described in Annex A. The aggregate size
fraction taken for this test can also be as per the relevant national standards.
NOTE Minor variations in grading divisions can be allowed in respective national standards.
The method is not suitable for testing aggregates with an aggregate crushing value higher than 30. In
such cases, the method described in ISO 20290-4 is applicable.
2 Normative references
The following documents are referred to in the text in such a way that some or all of their content
constitutes requirements of this document. For dated references, only the edition cited applies. For
undated references, the latest edition of the referenced document (including any amendments) applies.
ISO 565, Test sieves — Metal wire cloth, perforated metal plate and electroformed sheet — Nominal sizes
of openings
3 Terms and definitions
For the purposes of this document, the following terms and definitions apply.
ISO and IEC maintain terminological databases for use in standardization at the following addresses:
— ISO Online browsing platform: available at https:// www .iso .org/ obp
— IEC Electropedia: available at http:// www .electropedia .org/
3.1
aggregate crushing value
ACV
percentage to the first decimal place, of the mass of fines formed to the total mass of the test specimen
4 Principle
A test sample of aggregates is compacted in a specified manner into a steel cylinder fitted with a freely
moving plunger. The sample is then subjected to a standard loading regime applied through the plunger.
This action crushes the aggregate to a degree which is dependent on the crushing resistance of the
material, which is assessed by a sieving test on the crushed specimen and is taken as a measure of the ACV.
5 Sampling
The sample used for the test (the laboratory sample) shall be as per Clause 7.
NOTE National standards can also exist regarding the sampling.
6 Apparatus
6.1 Compression testing machine, capable of applying any force up to 500 kN and which can be
operated to give a uniform rate of loading so that the required force (400 kN) is reached in 10 min
(see 8.2).
NOTE National standards can also exist regarding the requirements of the compression testing machine.
6.2 Steel cylinder and plunger, with an open-ended steel cylinder of nominal 150 mm internal
diameter and with plunger and base plate as per Figure 1 and Table 1.
Table 1 — Principal dimensions of cylinder and plunger apparatus
Component Dimensions (see Figure 1) Nominal 150 mm Nominal 75 mm internal
internal dimeter of diameter of cylinder
cylinder
(see Annex A)
mm
mm
Cylinder Internal diameter, D 154 ± 0,5 78,0 ± 0,5
c
Internal depth, h 125 to 140 70,0 to 85,0
c
Minimum wall thickness, d 16,0 8,0
c
Plunger Diameter of piston, D 152 ± 0,5 76,0 ± 0,5
p
Diameter of stem, D >95 to ≤D >45 to ≤D
s p p
Overall length of piston plus stem, L 100 to 115 60,0 to 80,0
p
Minimum depth of piston, h not less than 25,0 not less than 19,0
p
Diameter of hole, D 20,0 ± 0,1 10,0 ± 0,1
h
Baseplate Minimum thickness, d 10 10
b
Length of each side of square, L 200 to 230 110 to 115
b
2 © ISO 2019 – All rights reserved
NOTE See Table 1.
Figure 1 — Outline form of cylinder and plunger for aggregate crushing value test.
The surfaces in contact with the aggregate shall be machined and maintained in a smooth condition
and preferably case hardened.
6.3 Tamping rod, made out of straight iron or steel bar of circular cross-section, diameter of
(16 ± 1) mm and (600 ± 5) mm long, with both end semi-spherical.
6.4 Balance, of at least 3 kg capacity, readable to 1 g.
6.5 Cylindrical metal measure, for measuring the sample, of sufficient rigidity to retain its form under
rough usage and having an internal diameter of (115 ± 1) mm and an internal depth of (180 ± 1) mm.
6.6 Test sieves, with square-hole perforated plate of sizes 14,0 mm and 10,0 mm and a woven wire
2,36
...


Questions, Comments and Discussion
Ask us and Technical Secretary will try to provide an answer. You can facilitate discussion about the standard in here.
Loading comments...