ISO/FDIS 21771-2
(Main)Cylindrical involute gears and gear pairs — Part 2: Calculation and measurement of tooth thickness and backlash
Cylindrical involute gears and gear pairs — Part 2: Calculation and measurement of tooth thickness and backlash
This standard establishes the calculation procedures for determining specification limits for external and internal cylindrical involute gearing with constant gear ratio when the desired tooth thickness is known. This standard also shows the relationships between backlash and the tooth thickness, centre distance, and tooth deviations in a pinion and gear mesh.
Roues et engrenages cylindriques en développante de cercle — Partie 2: Calcul et mesurage de l'épaisseur de dent et du jeu de battement
General Information
Buy Standard
Standards Content (Sample)
FINAL DRAFT
International
Standard
ISO/TC 60
Cylindrical involute gears and gear
Secretariat: ANSI
pairs —
Voting begins on:
2025-05-21
Part 2:
Calculation and measurement of
Voting terminates on:
2025-07-16
tooth thickness and backlash
Roues et engrenages cylindriques en développante de cercle —
Partie 2: Calcul et mesurage de l'épaisseur de dent et du jeu de
battement
RECIPIENTS OF THIS DRAFT ARE INVITED TO SUBMIT,
WITH THEIR COMMENTS, NOTIFICATION OF ANY
RELEVANT PATENT RIGHTS OF WHICH THEY ARE AWARE
AND TO PROVIDE SUPPOR TING DOCUMENTATION.
IN ADDITION TO THEIR EVALUATION AS
BEING ACCEPTABLE FOR INDUSTRIAL, TECHNO-
LOGICAL, COMMERCIAL AND USER PURPOSES, DRAFT
INTERNATIONAL STANDARDS MAY ON OCCASION HAVE
TO BE CONSIDERED IN THE LIGHT OF THEIR POTENTIAL
TO BECOME STAN DARDS TO WHICH REFERENCE MAY BE
MADE IN NATIONAL REGULATIONS.
Reference number
FINAL DRAFT
International
Standard
ISO/TC 60
Cylindrical involute gears and
Secretariat: ANSI
gear pairs —
Voting begins on:
Part 2: 2025-05-21
Calculation and measurement of
Voting terminates on:
2025-07-16
tooth thickness and backlash
Roues et engrenages cylindriques en développante de cercle —
Partie 2: Calcul et mesurage de l'épaisseur de dent et du jeu de
battement
RECIPIENTS OF THIS DRAFT ARE INVITED TO SUBMIT,
WITH THEIR COMMENTS, NOTIFICATION OF ANY
RELEVANT PATENT RIGHTS OF WHICH THEY ARE AWARE
AND TO PROVIDE SUPPOR TING DOCUMENTATION.
© ISO 2025
IN ADDITION TO THEIR EVALUATION AS
All rights reserved. Unless otherwise specified, or required in the context of its implementation, no part of this publication may
BEING ACCEPTABLE FOR INDUSTRIAL, TECHNO-
LOGICAL, COMMERCIAL AND USER PURPOSES, DRAFT
be reproduced or utilized otherwise in any form or by any means, electronic or mechanical, including photocopying, or posting on
INTERNATIONAL STANDARDS MAY ON OCCASION HAVE
the internet or an intranet, without prior written permission. Permission can be requested from either ISO at the address below
TO BE CONSIDERED IN THE LIGHT OF THEIR POTENTIAL
or ISO’s member body in the country of the requester.
TO BECOME STAN DARDS TO WHICH REFERENCE MAY BE
MADE IN NATIONAL REGULATIONS.
ISO copyright office
CP 401 • Ch. de Blandonnet 8
CH-1214 Vernier, Geneva
Phone: +41 22 749 01 11
Email: copyright@iso.org
Website: www.iso.org
Published in Switzerland Reference number
ii
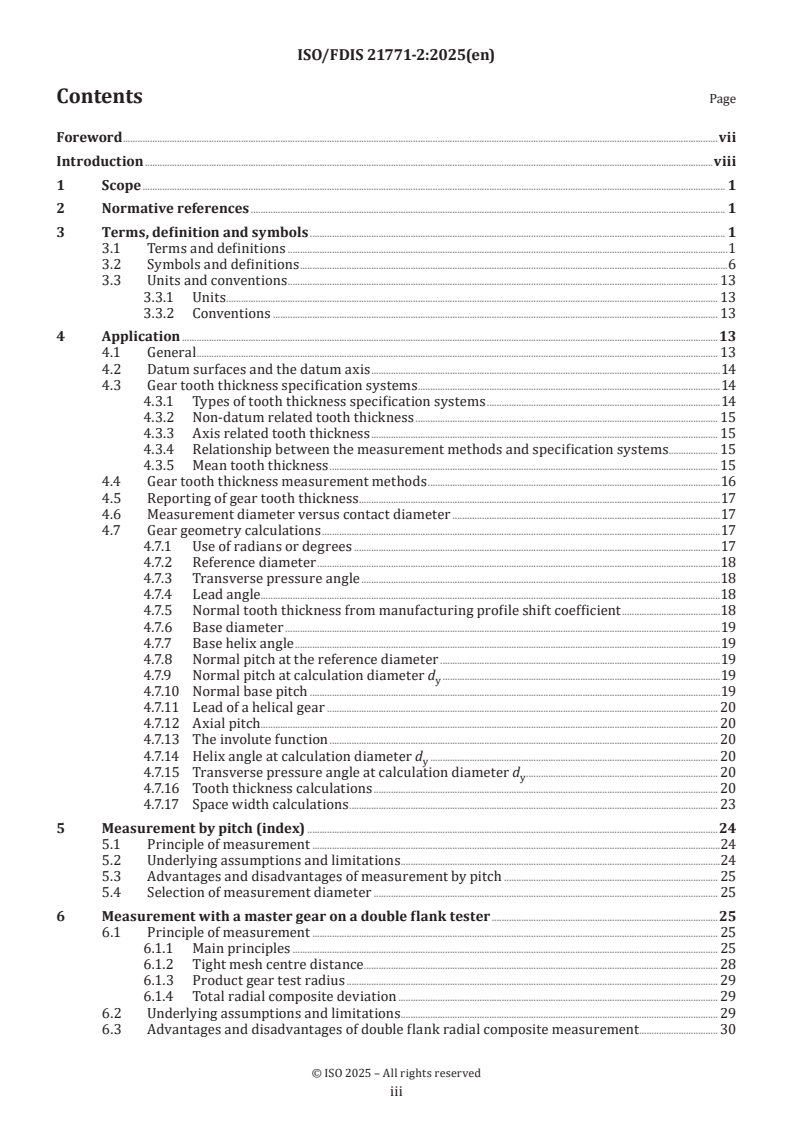
Contents Page
Foreword .vii
Introduction .viii
1 Scope . 1
2 Normative references . 1
3 Terms, definition and symbols . 1
3.1 Terms and definitions .1
3.2 Symbols and definitions .6
3.3 Units and conventions . 13
3.3.1 Units . . 13
3.3.2 Conventions . 13
4 Application .13
4.1 General . 13
4.2 Datum surfaces and the datum axis .14
4.3 Gear tooth thickness specification systems .14
4.3.1 Types of tooth thickness specification systems .14
4.3.2 Non-datum related tooth thickness . 15
4.3.3 Axis related tooth thickness . 15
4.3.4 Relationship between the measurement methods and specification systems . 15
4.3.5 Mean tooth thickness . 15
4.4 Gear tooth thickness measurement methods .16
4.5 Reporting of gear tooth thickness .17
4.6 Measurement diameter versus contact diameter .17
4.7 Gear geometry calculations .17
4.7.1 Use of radians or degrees .17
4.7.2 Reference diameter .18
4.7.3 Transverse pressure angle .18
4.7.4 Lead angle . .18
4.7.5 Normal tooth thickness from manufacturing profile shift coefficient .18
4.7.6 Base diameter .19
4.7.7 Base helix angle .19
4.7.8 Normal pitch at the reference diameter .19
4.7.9 Normal pitch at calculation diameter d .19
y
4.7.10 Normal base pitch .19
4.7.11 Lead of a helical gear . 20
4.7.12 Axial pitch . . 20
4.7.13 The involute function . 20
4.7.14 Helix angle at calculation diameter d . 20
y
4.7.15 Transverse pressure angle at calculation diameter d . 20
y
4.7.16 Tooth thickness calculations . 20
4.7.17 Space width calculations . 23
5 Measurement by pitch (index) .24
5.1 Principle of measurement .24
5.2 Underlying assumptions and limitations .24
5.3 Advantages and disadvantages of measurement by pitch . 25
5.4 Selection of measurement diameter . 25
6 Measurement with a master gear on a double flank tester .25
6.1 Principle of measurement . 25
6.1.1 Main principles . 25
6.1.2 Tight mesh centre distance . . 28
6.1.3 Product gear test radius . 29
6.1.4 Total radial composite deviation . 29
6.2 Underlying assumptions and limitations . 29
6.3 Advantages and disadvantages of double flank radial composite measurement . 30
iii
6.4 Master gear design considerations . 30
6.4.1 Criteria for proper meshing . 30
6.4.2 Additional recommendations .31
6.5 Skew angle for double flank testing .32
6.5.1 General .32
6.5.2 Skew angle for parallel axis gear pairs.32
6.5.3 Skew angle for crossed axis gear pairs .32
6.6 Calculation of tight mesh centre distance limits for crossed axis gears . 34
6.6.1 Preliminary calculations . 34
6.6.2 Tight mesh centre distance limits for crossed axis gears . 34
6.7 Tight mesh centre distance limits for parallel axis gears: . 35
6.7.1 General . 35
6.7.2 For the non-datum related system: .
...
ISO/DISFDIS 21771-2.2:2025(en)
ISO/TC 60
Secretariat: ANSI
Date: 2025-02-1805-06
Cylindrical involute gears and gear pairs — —
Part 2:
Calculation and measurement of tooth thickness and backlash
EngrenagesRoues et engrenages cylindriques en développante de cercle - —
Partie 2: Calcul et Mesuremesurage de l’épaisseurl'épaisseur de dent et du jeu de battement
FDIS stage
ISO/DISFDIS 21771-2:2024(E2025(en)
All rights reserved. Unless otherwise specified, or required in the context of its implementation, no part of this publication
may be reproduced or utilized otherwise in any form or by any means, electronic or mechanical, including photocopying,
or posting on the internet or an intranet, without prior written permission. Permission can be requested from either ISO
at the address below or ISO’s member body in the country of the requester.
ISO copyright office
CP 401 • Ch. de Blandonnet 8
CH-1214 Vernier, Geneva
Phone: + 41 22 749 01 11
EmailE-mail: copyright@iso.org
Website: www.iso.org
Published in Switzerland
2 © ISO 2024 – All rights reserved
ii
ISO/DISFDIS 21771-2.2:2025(en)
Contents
Foreword . Error! Bookmark not defined.
Introduction . Error! Bookmark not defined.
1 Scope . Error! Bookmark not defined.
2 Normative references . Error! Bookmark not defined.
3 Terms, definition and symbols . Error! Bookmark not defined.
3.1 Terms and definitions . Error! Bookmark not defined.
3.2 Symbols and definitions . Error! Bookmark not defined.
3.3 Units and conventions . Error! Bookmark not defined.
4 Application . Error! Bookmark not defined.
4.1 General . Error! Bookmark not defined.
4.2 Datum surfaces and the datum axis . Error! Bookmark not defined.
4.3 Gear tooth thickness specification systems . Error! Bookmark not defined.
4.4 Gear tooth thickness measurement methods . Error! Bookmark not defined.
4.5 Reporting of gear tooth thickness . Error! Bookmark not defined.
4.6 Measurement diameter versus contact diameter . Error! Bookmark not defined.
4.7 Gear geometry calculations . Error! Bookmark not defined.
5 Measurement by pitch (index) . Error! Bookmark not defined.
5.1 Principle of measurement . Error! Bookmark not defined.
5.2 Underlying assumptions and limitations . Error! Bookmark not defined.
5.3 Advantages and disadvantages of measurement by pitch . Error! Bookmark not defined.
5.4 Selection of measurement diameter . Error! Bookmark not defined.
6 Measurement with a master gear on a double flank tester . Error! Bookmark not defined.
6.1 Principle of measurement . Error! Bookmark not defined.
6.2 Underlying assumptions and limitations . Error! Bookmark not defined.
6.3 Advantages and disadvantages of double flank radial composite measurement . Error!
Bookmark not defined.
6.4 Master gear design considerations . Error! Bookmark not defined.
6.5 Skew angle for double flank testing . Error! Bookmark not defined.
6.6 Calculation of tight mesh centre distance limits for crossed axis gearsError! Bookmark not
defined.
6.7 Tight mesh centre distance limits for parallel axis gears: . Error! Bookmark not defined.
6.8 Product gear test radius limits from tight mesh centre distance limitsError! Bookmark not
defined.
6.9 Axis related normal tooth thickness from double flank test results . Error! Bookmark not
defined.
7 Measurement with a master gear on a single flank tester . Error! Bookmark not defined.
7.1 Principle of measurement . Error! Bookmark not defined.
7.2 Underlying assumptions and limitations . Error! Bookmark not defined.
7.3 Advantages and disadvantages of single flank composite measurementError! Bookmark not
defined.
7.4 Master gear design considerations . Error! Bookmark not defined.
7.5 Axis related tooth thickness from single flank test results . Error! Bookmark not defined.
8 Span measurement . Error! Bookmark not defined.
8.1 Principle of measurement . Error! Bookmark not defined.
8.2 Underlying assumptions and limitations . Error! Bookmark not defined.
8.3 Advantages and disadvantages of span measurement . Error! Bookmark not defined.
8.4 Span measurement limits . Error! Bookmark not defined.
8.5 Number of teeth spanned . Error! Bookmark not defined.
iii
ISO/DISFDIS 21771-2:2024(E2025(en)
8.6 Angle of rock. Error! Bookmark not defined.
8.7 Tooth thickness from span measurement . Error! Bookmark not defined.
8.8 Measurement diameter . Error! Bookmark not defined.
9 Measurement using three ball span device . Error! Bookmark not defined.
9.1 Principle of measurement . Error! Bookmark not defined.
9.2 Underlying assumptions and limitations . Error! Bookmark not defined.
9.3 Advantages and disadvantages of three ball span device measurementError! Bookmark not
defined.
9.4 Number of teeth spanned . Error! Bookmark not defined.
9.5 Selection of the ball diameter . Error! Bookmark not defined.
9.6 Calculations with specified ball diameter . Error! Bookmark not defined.
9.7 Normal tooth thickness from a measurement using a three ball span deviceError! Bookmark
not defined.
10 Measurement over or between balls or pins . Error! Bookmark not defined.
10.1 Principle of measurement . Error! Bookmark not defined.
10.2 Underlying assumptions and limitations . Error! Bookmark not defined.
10.3 Advantages and disadvantages of over balls or pins measurement Error! Bookmark not
defined.
10.4 Selection of the ball or pin diameter . Error! Bookmark not defined.
10.5 Calculations with specified ball or pin diameter (symmetric pressure angles) . Error!
Bookmark not defined.
10.6 Gears with asymmetric pressure angles . Error! Bookmark not defined.
10.7 Measurement over one ball or pin . Error! Bookmark not defined.
10.8 Measurement over two balls or pins . Error! Bookmark not defined.
10.9 Two pin transverse measurement on helical gear, odd number of teethError! Bookmark
not defined.
10.10 Free pin measurement over two pins, helical gear, odd number of teethError! Bookmark
not defined.
10.11 Transverse plane measurement method over three balls or pins. Error! Bookmark not
defined.
10.12 Axial plane three pin method . Error! Bookmark not defined.
11 Measurement with measuring blocks . Error! Bookmark not defined.
11.1 Principle of measurement . Error! Bookmark not defined.
11.2 Underlying assumptions and limitations . Error! Bookmark not defined.
11.3 Advantages and disadvantages of using blocks . Error! Bookmark not defined.
11.4 Measuring block sets . Error! Bookmark not defined.
11.5 Measurement limits for blocks . Error! Bookmark not defined.
11.6 Tooth thickness from block measurements . Error! Bookmark not defined.
12 Chordal measurement . Error! Bookmark not defined.
12.1 General. Error! Bookmark not defined.
12.2 Measurements with a gear tooth calliper (in the normal plane) . Error! Bookmark not
defined.
12.3 Chordal measurement with an optical device (in the transverse plane)Error! Bookmark
not defined.
12.4 Chordal measurement with a coordinate measurement machine . Error! Bookmark not
defined.
13 Backlash in parallel axis and crossed axis gear pairs . Error! Bookmark not defined.
13.1 General. Error! Bookmark not defined.
13.2 Factors that influence backlash . Error! Bookmark not defined.
4 © ISO 2024 – All rights reserved
iv
ISO/DISFDIS 21771-2.2:2025(en)
13.3 Backlash for parallel axis gears in the axis related system . Error! Bookmark not defined.
13.4 Backlash for parallel axis gears in the non-datum related system . Error! Bookmark not
defined.
13.5 Backlash in crossed axis gears . Error! Bookmark not defined.
13.6 Other potential influences on backlash . Error! Bookmark not defined.
13.7 Ways to express backlash . Error! Bookmark not defined.
13.8 Variations in backlash . Error! Bookmark not defined.
(informative) Tooth thickness measurement using analytical machines . Error! Bookmark not
defined.
(informative) Establishing tooth thickness specifications in the non-datum related systemError!
Bookmark not defined.
(informative) Establishing tooth thickness specifications in the axis related system . Error!
Bookmark not defined.
(informative) Calculation method for the inverse involute functionError! Bookmark not defined.
(informative) Example calculations . Error! Bookmark not defined.
Bibliography . Error! Bookmark not defined.
Foreword . v
iii
1 Scope . 1
2 Normative references . 1
3 Terms, symbols, and definitions . 1
3.1 Terms and definitions . 1
3.1.1 Backlash . 8
3.1.2 Ball . 8
3.1.3 Addendum, ha . 9
3.1.4 Chordal addendum, h . 9
cy
3.1.5 Chordal radius, r . 9
cy
3.1.6 Datum axis . 9
3.1.7 Tip involute limit diameter, d . 10
La
3.1.8 Root involute limit diameter, dLf . 10
3.1.9 Working pitch diameter .
...


Questions, Comments and Discussion
Ask us and Technical Secretary will try to provide an answer. You can facilitate discussion about the standard in here.