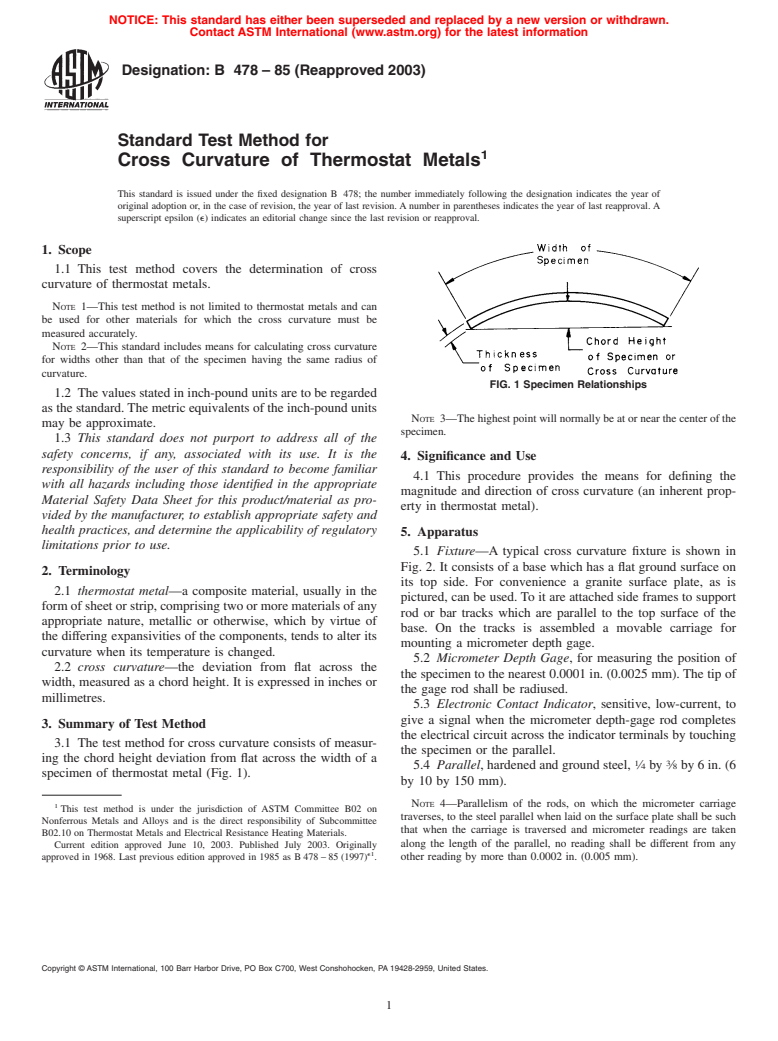
ASTM B478-85(2003)
(Test Method)Standard Test Method for Cross Curvature of Thermostat Metals
Standard Test Method for Cross Curvature of Thermostat Metals
SIGNIFICANCE AND USE
This procedure provides the means for defining the magnitude and direction of cross curvature (an inherent property in thermostat metal).
SCOPE
1.1 This test method covers the determination of cross curvature of thermostat metals.
Note 1—This test method is not limited to thermostat metals and can be used for other materials for which the cross curvature must be measured accurately.
Note 2—This standard includes means for calculating cross curvature for widths other than that of the specimen having the same radius of curvature.
1.2 The values stated in inch-pound units are to be regarded as the standard. The metric equivalents of the inch-pound units may be approximate.
1.3 This standard does not purport to address all of the safety concerns, if any, associated with its use. It is the responsibility of the user of this standard to become familiar with all hazards including those identified in the appropriate Material Safety Data Sheet for this product/material as provided by the manufacturer, to establish appropriate safety and health practices, and determine the applicability of regulatory limitations prior to use.
General Information
Relations
Standards Content (Sample)
NOTICE: This standard has either been superseded and replaced by a new version or withdrawn.
Contact ASTM International (www.astm.org) for the latest information
Designation:B 478–85(Reapproved2003)
Standard Test Method for
Cross Curvature of Thermostat Metals
This standard is issued under the fixed designation B 478; the number immediately following the designation indicates the year of
original adoption or, in the case of revision, the year of last revision.Anumber in parentheses indicates the year of last reapproval.A
superscript epsilon (e) indicates an editorial change since the last revision or reapproval.
1. Scope
1.1 This test method covers the determination of cross
curvature of thermostat metals.
NOTE 1—This test method is not limited to thermostat metals and can
be used for other materials for which the cross curvature must be
measured accurately.
NOTE 2—This standard includes means for calculating cross curvature
for widths other than that of the specimen having the same radius of
curvature.
FIG. 1 Specimen Relationships
1.2 The values stated in inch-pound units are to be regarded
as the standard.The metric equivalents of the inch-pound units
NOTE 3—The highest point will normally be at or near the center of the
may be approximate.
specimen.
1.3 This standard does not purport to address all of the
safety concerns, if any, associated with its use. It is the
4. Significance and Use
responsibility of the user of this standard to become familiar
4.1 This procedure provides the means for defining the
with all hazards including those identified in the appropriate
magnitude and direction of cross curvature (an inherent prop-
Material Safety Data Sheet for this product/material as pro-
erty in thermostat metal).
vided by the manufacturer, to establish appropriate safety and
health practices, and determine the applicability of regulatory
5. Apparatus
limitations prior to use.
5.1 Fixture—A typical cross curvature fixture is shown in
Fig. 2. It consists of a base which has a flat ground surface on
2. Terminology
its top side. For convenience a granite surface plate, as is
2.1 thermostat metal—a composite material, usually in the
pictured, can be used. To it are attached side frames to support
formofsheetorstrip,comprisingtwoormorematerialsofany
rod or bar tracks which are parallel to the top surface of the
appropriate nature, metallic or otherwise, which by virtue of
base. On the tracks is assembled a movable carriage for
the differing expansivities of the components, tends to alter its
mounting a micrometer depth gage.
curvature when its temperature is changed.
5.2 Micrometer Depth Gage, for measuring the position of
2.2 cross curvature—the deviation from flat across the
the specimen to the nearest 0.0001 in. (0.0025 mm).The tip of
width, measured as a chord height. It is expressed in inches or
the gage rod shall be radiused.
millimetres.
5.3 Electronic Contact Indicator, sensitive, low-current, to
give a signal when the micrometer depth-gage rod completes
3. Summary of Test Method
the electrical circuit across the indicator terminals by touching
3.1 The test method for cross curvature consists of measur-
the specimen or the parallel.
ing the chord height deviation from flat across the width of a
1 3
5.4 Parallel, hardened and ground steel, ⁄4 by ⁄8 by 6 in. (6
specimen of thermostat metal (Fig. 1).
by 10 by 150 mm).
NOTE 4—Parallelism of the rods, on which the micrometer carriage
This test method is under the jurisdiction of ASTM Committee B02 on
traverses, to the steel parallel when laid on the surface plate shall be such
Nonferrous Metals and Alloys and is the direct responsibility of Subcommittee
that when the carriage is traversed and micrometer readings are taken
B02.10 on Thermostat Metals and Electrical Resistance Heating Materials.
along the length of the parallel, no reading shall be different from any
Current edition approved June 10, 2003. Published July 2003. Originally
e1
approved in 1968. Last previous edition approved in 1985 as B478–85(1997) . other reading by more than 0.0002 in. (0.005 mm).
Copyright © ASTM International, 100 Barr Harbor Drive, PO Box C700, West Conshohocken, PA 19428-2959, United States.
B 478–85 (2003)
FIG. 2 A Typical Design of Apparatus
6. Sampling specimen and determine its thickness within 60.0001 in.
(60.0025 mm) by means of micrometer calipers having
6.1 The method of sampling shall be mutually agreed upon
radiused anvils. Take all measurements at a temperature of 75
between the manufacturer and the purchaser.
61°F(24 60.5°C)withsufficienttimeallowedforthesample
7. Preparation of Sample for Measurement to have reached
...


Questions, Comments and Discussion
Ask us and Technical Secretary will try to provide an answer. You can facilitate discussion about the standard in here.