ASTM B574-99a
(Specification)Spec for Low-Carbon Nickel-Molybdenum-Chromium, Low-Carbon Nickel-Chromium-Molybdenum, Low-Carbon Nickel-Molybdenum-Chromium-Tantalum, Low-Carbon Nickel-Chromium-Molybdenum-Copper, Low-Carbon Nickel-Chromium-Molybdenum-Tungsten Alloy Rod
Spec for Low-Carbon Nickel-Molybdenum-Chromium, Low-Carbon Nickel-Chromium-Molybdenum, Low-Carbon Nickel-Molybdenum-Chromium-Tantalum, Low-Carbon Nickel-Chromium-Molybdenum-Copper, Low-Carbon Nickel-Chromium-Molybdenum-Tungsten Alloy Rod
SCOPE
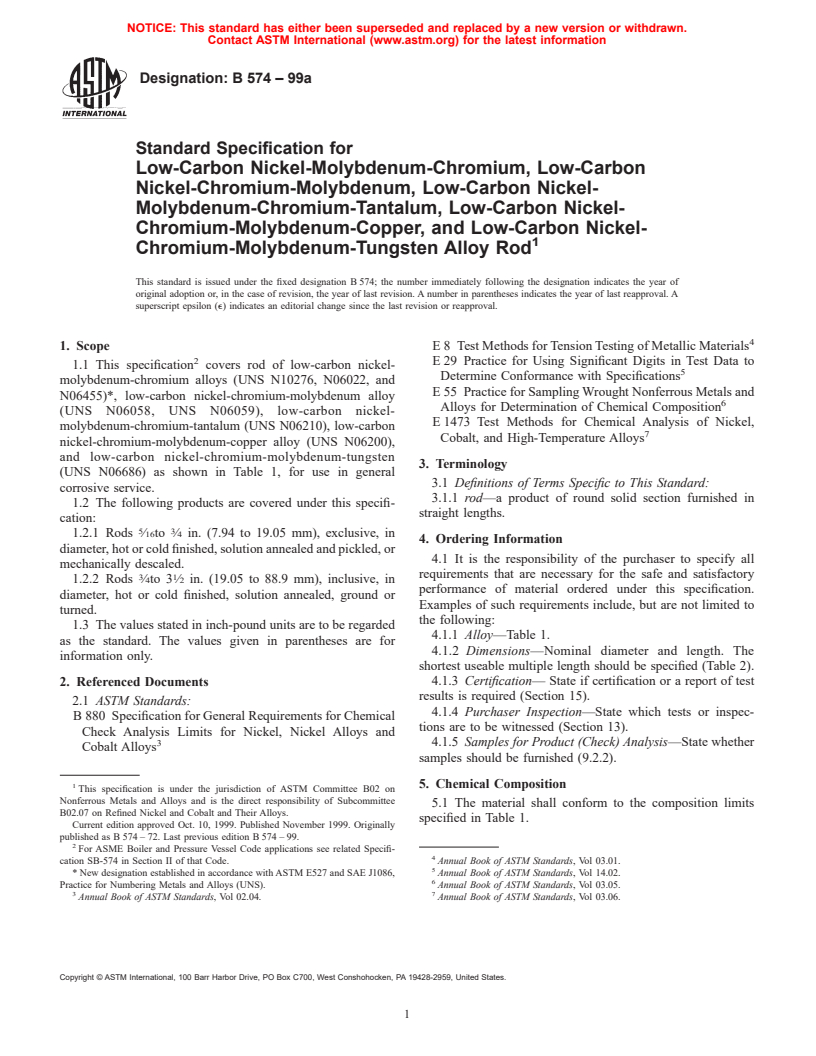
1.1 This specification covers rod of low-carbon nickel-molybdenum-chromium alloys (UNS N10276, N06022, and N06455)*, low-carbon nickel-chromium-molybdenum alloy (UNS N06059), and low-carbon nickel-chromium-molybdenum-tungsten (UNS N06686) as shown in Table 1, for use in general corrosive service.
1.2 The following products are covered under this specification:
1.2.1 Rods 5/16 to 3/4 in. (7.94 to 19.05 mm), exclusive, in diameter, hot or cold finished, solution annealed and pickled, or mechanically descaled.
1.2.2 Rods 3/4 to 3 1/2 in. (19.05 to 88.9 mm), inclusive, in diameter, hot or cold finished, solution annealed, ground or turned.
1.3 The values stated in inch-pound units are to be regarded as the standard. The values given in parentheses are for information only.
General Information
Relations
Buy Standard
Standards Content (Sample)
NOTICE: This standard has either been superseded and replaced by a new version or withdrawn.
Contact ASTM International (www.astm.org) for the latest information
Designation: B 574 – 99a
Standard Specification for
Low-Carbon Nickel-Molybdenum-Chromium, Low-Carbon
Nickel-Chromium-Molybdenum, Low-Carbon Nickel-
Molybdenum-Chromium-Tantalum, Low-Carbon Nickel-
Chromium-Molybdenum-Copper, and Low-Carbon Nickel-
Chromium-Molybdenum-Tungsten Alloy Rod
This standard is issued under the fixed designation B 574; the number immediately following the designation indicates the year of
original adoption or, in the case of revision, the year of last revision. A number in parentheses indicates the year of last reapproval. A
superscript epsilon (e) indicates an editorial change since the last revision or reapproval.
1. Scope E 8 Test Methods for Tension Testing of Metallic Materials
2 E 29 Practice for Using Significant Digits in Test Data to
1.1 This specification covers rod of low-carbon nickel-
Determine Conformance with Specifications
molybdenum-chromium alloys (UNS N10276, N06022, and
E 55 Practice for Sampling Wrought Nonferrous Metals and
N06455)*, low-carbon nickel-chromium-molybdenum alloy
Alloys for Determination of Chemical Composition
(UNS N06058, UNS N06059), low-carbon nickel-
E 1473 Test Methods for Chemical Analysis of Nickel,
molybdenum-chromium-tantalum (UNS N06210), low-carbon
Cobalt, and High-Temperature Alloys
nickel-chromium-molybdenum-copper alloy (UNS N06200),
and low-carbon nickel-chromium-molybdenum-tungsten
3. Terminology
(UNS N06686) as shown in Table 1, for use in general
3.1 Definitions of Terms Specific to This Standard:
corrosive service.
3.1.1 rod—a product of round solid section furnished in
1.2 The following products are covered under this specifi-
straight lengths.
cation:
5 3
1.2.1 Rods ⁄16to ⁄4 in. (7.94 to 19.05 mm), exclusive, in
4. Ordering Information
diameter, hot or cold finished, solution annealed and pickled, or
4.1 It is the responsibility of the purchaser to specify all
mechanically descaled.
requirements that are necessary for the safe and satisfactory
3 1
1.2.2 Rods ⁄4to 3 ⁄2 in. (19.05 to 88.9 mm), inclusive, in
performance of material ordered under this specification.
diameter, hot or cold finished, solution annealed, ground or
Examples of such requirements include, but are not limited to
turned.
the following:
1.3 The values stated in inch-pound units are to be regarded
4.1.1 Alloy—Table 1.
as the standard. The values given in parentheses are for
4.1.2 Dimensions—Nominal diameter and length. The
information only.
shortest useable multiple length should be specified (Table 2).
4.1.3 Certification— State if certification or a report of test
2. Referenced Documents
results is required (Section 15).
2.1 ASTM Standards:
4.1.4 Purchaser Inspection—State which tests or inspec-
B 880 Specification for General Requirements for Chemical
tions are to be witnessed (Section 13).
Check Analysis Limits for Nickel, Nickel Alloys and
3 4.1.5 Samples for Product (Check) Analysis—State whether
Cobalt Alloys
samples should be furnished (9.2.2).
5. Chemical Composition
This specification is under the jurisdiction of ASTM Committee B02 on
Nonferrous Metals and Alloys and is the direct responsibility of Subcommittee
5.1 The material shall conform to the composition limits
B02.07 on Refined Nickel and Cobalt and Their Alloys.
specified in Table 1.
Current edition approved Oct. 10, 1999. Published November 1999. Originally
published as B 574 – 72. Last previous edition B 574 – 99.
For ASME Boiler and Pressure Vessel Code applications see related Specifi-
cation SB-574 in Section II of that Code. Annual Book of ASTM Standards, Vol 03.01.
* New designation established in accordance with ASTM E527 and SAE J1086, Annual Book of ASTM Standards, Vol 14.02.
Practice for Numbering Metals and Alloys (UNS). Annual Book of ASTM Standards, Vol 03.05.
3 7
Annual Book of ASTM Standards, Vol 02.04. Annual Book of ASTM Standards, Vol 03.06.
Copyright © ASTM International, 100 Barr Harbor Drive, PO Box C700, West Conshohocken, PA 19428-2959, United States.
B 574
TABLE 1 Chemical Requirements
Composition Limits, %
Element
Alloy N10276 Alloy N06022 Alloy N06455 Alloy N06059 Alloy N06058 Alloy N06200 Alloy N06210 Alloy N06686
Molybdenum 15.0–17.0 12.5–14.5 14.0–17.0 15.0–16.5 19.0 - 21.0 15.0–17.0 18.0–20.0 15.0-17.0
Chromium 14.5–16.5 20.0–22.5 14.0–18.0 22.0–24.0 20.0- 23.0 22.0–24.0 18.0–20.0 19.0-23.0
Iron 4.0–7.0 2.0–6.0 3.0 max 1.5, max 1.5, max 3.0 max 1.0 max 5.0 max
Tungsten 3.0–4.5 2.5–3.5 . . 0.3 max . . 3.0-4.4
Cobalt, max 2.5 2.5 2.0 0.3 0.3 max 2.0 max 1.0 .
Carbon, max 0.010 0.015 0.015 0.010 0.010 0.010 0.015 0.010
Silicon, max 0.08 0.08 0.08 0.10 0.10 0.08 0.08 0.08
Manganese, max 1.0 0.50 1.0 0.5 0.5 0.5 0.5 0.75
Vanadium, max 0.35 0.35 . . . . 0.35 .
Phosphorus, max 0.04 0.02 0.04 0.015 0.015 0.025 0.02 0.04
Sulfur, max 0.03 0.02 0.03 0.010 0.010 0.010 0.02 0.02
Titanium . . 0.7 max . . . . 0.02-0.25
A A A A A A
Nickel remainder remainder remainder Bal Bal remainder remainder remainder
Aluminum . . . 0.1–0.4 0.40 max 0.50 max . .
Copper . . . 0.50 max 0.50 max 1.3–1.9 . .
Tantalum . . . . . . 1.5–2.2 .
A
See 12.1.1.
TABLE 2 Permissible Variations in Diameter and Out-of-Roundness of Finished Rods
Permissible Variations, in. (mm)
Specified Diameter, in. (mm) Diameder
Out of Roundness, max
+−
⁄16Hot-Finished, Annealed, and Descaled Rods
5 7
⁄16– ⁄16(7.94–11.11), incl 0.012 (0.30) 0.012 (0.30) 0.018 (0.46)
7 5
Over ⁄16 – ⁄8(11.11–15.87), incl 0.014 (0.36) 0.014 (0.36) 0.020 (0.51)
5 3
Over ⁄8– ⁄4 (15.87–19.05), excl 0.016 (0.41) 0.016 (0.41) 0.024 (0.61)
Hot-Finished, Annealed, and Ground or Turned Rods
3 1
⁄4–3 ⁄2 (19.05–88.9), incl 0.010 (0.25) 0 0.008 (0.20)
5.2 If a product (check) analysis is made by the purchaser, 7.3.1 As-finished (Annealed and Descaled)—For diameters
5 11
the material shall conform to the product (check) analysis of ⁄16to ⁄16 in. (7.94 to 17.46 mm) inclusive, an allowance of
variations per B 880. ⁄16in. (1.59 mm) on the diameter should be made for finish
machining.
6. Mechanical Properties and Other Requirements
7.4 Length:
6.1 The mechanical properties of the material at room 7.4.1 Unless multiple, nominal, or cut lengths are specified,
temperature shall conform to those shown in Table 3. random mill lengths shall be furnished.
7.4.2 The permissible variations in length of multiple,
7. Dimensions and Permissible Variations
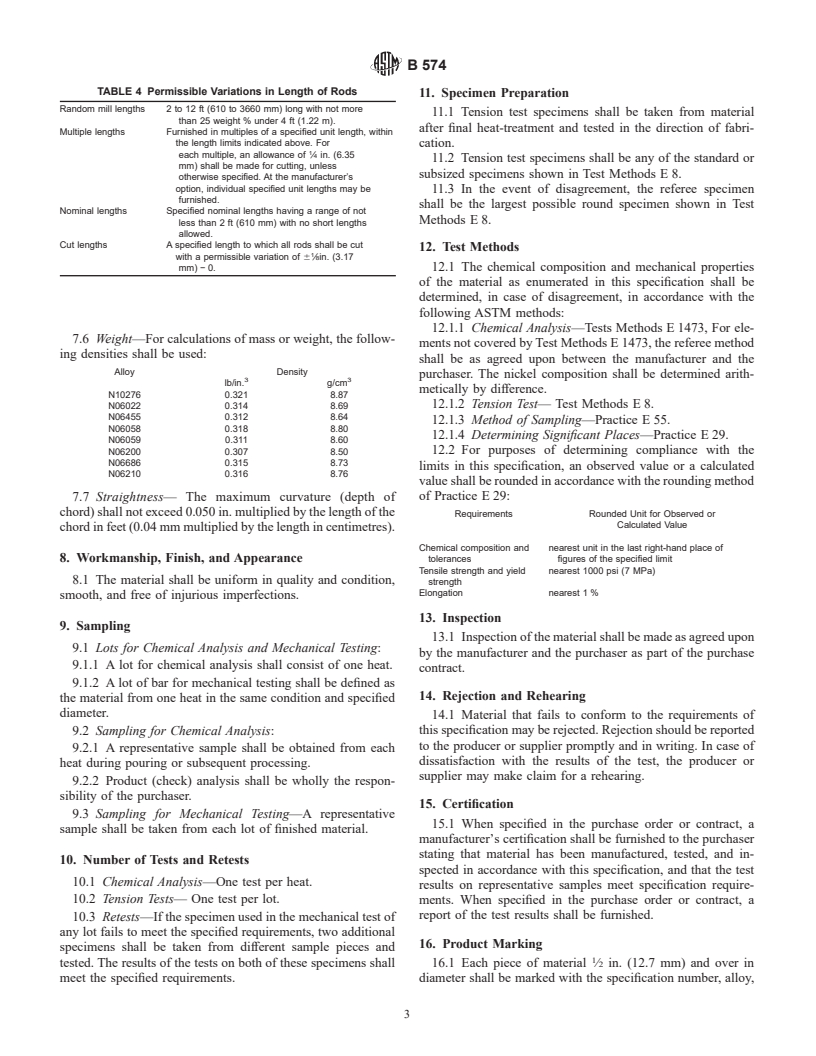
nominal, or cut length rod shall be as prescribed in Table 4.
7.1 Diameter—The permissible variations from the speci- Where rods are ordered in multiple lengths, a ⁄4-in. (6.35-mm)
fied diameter shall be as prescribed in Table 2. length addition shall be allowed for each uncut multiple length.
7.2 Out of Roundness— The permissible variation in round- 7.5 Ends:
ness shall be as prescribed in Table 2. 7.5.1 Rods ordered to random or nominal lengths shall be
7.3 Machining Allowances—When the surfaces of finished furnished with either cropped or sawed ends.
material are to be machined, the following allowances are 7.5.2 Rods ordered to cut lengths shall be furnished with
suggested for normal machining operations. square sawcut or machined ends.
TABLE 3 Mechanical Property Requirements
Elongation in 2 in.
Yield Strength (0.2 % Offset), min, psi
A
...


Questions, Comments and Discussion
Ask us and Technical Secretary will try to provide an answer. You can facilitate discussion about the standard in here.