ASTM D4622-86(1993)
(Test Method)Standard Test Method for Rock Mass Monitoring Using Inclinometers (Withdrawn 2000)
Standard Test Method for Rock Mass Monitoring Using Inclinometers (Withdrawn 2000)
SCOPE
1.1 This test method describes the use of inclinometers for rock mass monitoring, lists some available instruments, outlines operating techniques and maintenance requirements, and presents data reduction formulas.
1.2 This standard may involve hazardous materials, operations, and equipment. This standard does not purport to address all of the safety problems associated with its use. It is the responsibility of the user of this standard to establish appropriate safety and health practices and determine the applicability of regulatory limitations prior to use.
General Information
Standards Content (Sample)
NOTICE: This standard has either been superseded and replaced by a new version or discontinued.
Contact ASTM International (www.astm.org) for the latest information.
Designation: D 4622 – 86 (Reapproved 1993)
AMERICAN SOCIETY FOR TESTING AND MATERIALS
100 Barr Harbor Dr., West Conshohocken, PA 19428
Reprinted from the Annual Book of ASTM Standards. Copyright ASTM
Standard Test Method for
Rock Mass Monitoring Using Inclinometers
This standard is issued under the fixed designation D 4622; the number immediately following the designation indicates the year of
original adoption or, in the case of revision, the year of last revision. A number in parentheses indicates the year of last reapproval. A
superscript epsilon (e) indicates an editorial change since the last revision or reapproval.
1. Scope ers’ specifications to determine the limitations of the particular
instrument being used.) Extend the hole at least 15 ft (4.5 m)
1.1 This test method describes the use of inclinometers for
beyond the zone of expected movement into soil or rock in
rock mass monitoring, lists some available instruments, out-
which no movement is anticipated. Make allowance for loss of
lines operating techniques and maintenance requirements, and
the bottom 5 ft (1.5 m) of the hole where sediment accumula-
presents data reduction formulas.
tion may occur. Hold casing in place with a sand backfill or a
1.2 This standard does not purport to address all of the
weak cement grout. Check casings over 50 ft (15 m) deep for
safety problems, if any, associated with its use. It is the
twist (spiraling of the interior grooves) using commercially
responsibility of the user of this standard to establish appro-
available equipment, since some of the casings may be
priate safety and health practices and determine the applica-
received with a built-in twist which would cause considerable
bility of regulatory limitations prior to use.
error in observations.
2. Significance and Use 4.1.2 Inclinometer casings are commonly installed in either
5 or 10-ft (1.5 or 3.0-m) lengths and are available in either
2.1 An inclinometer is a device for measuring the deviations
plastic or aluminum. Plastic casing joints are glued. Aluminum
perpendicular to the axis of a borehole. Deviations can be
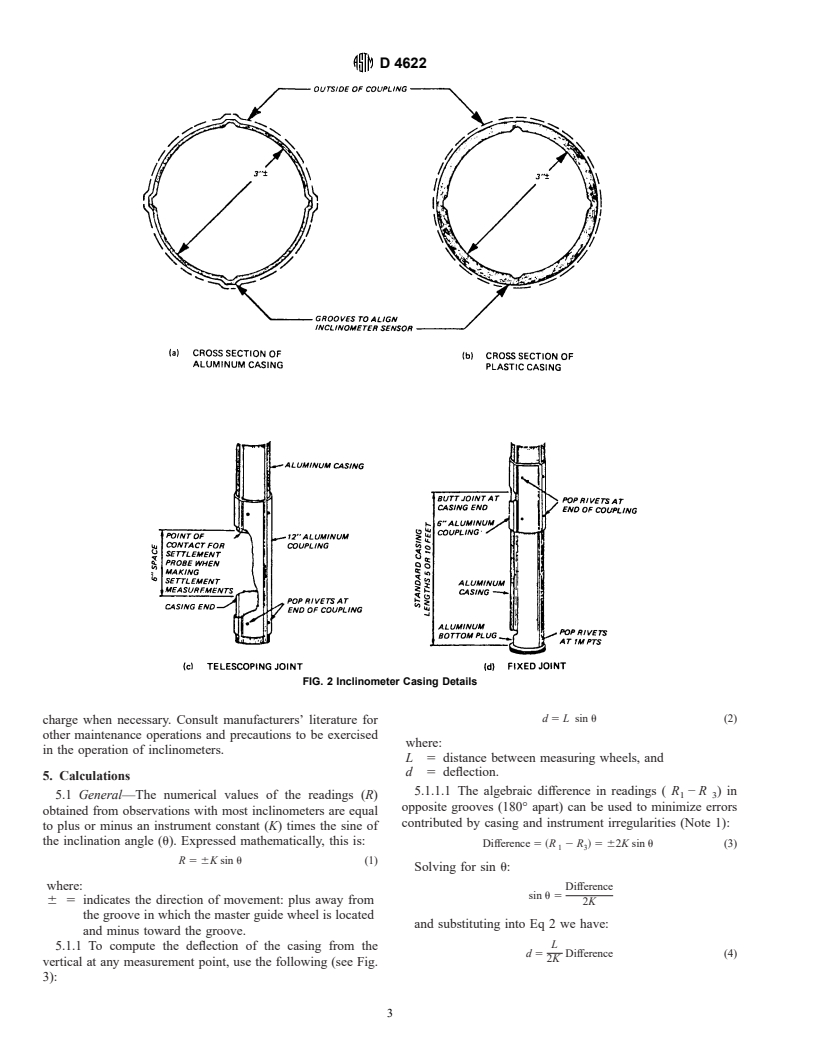
casings are coupled with aluminum couplings and riveted (see
converted to displacements by trigonometric functions. Suc-
Fig. 2). Complete the installed casing using left and right twist
cessive measurements enable the determination of the depth,
in a compensating manner so that the grooves generally are in
magnitude, and rate of lateral movement of an unstable slope.
the same azimuth from top to bottom. For casings over 50 ft
3. Apparatus
(15 m), consider metal saddles with steel cable support for
reducing twisting. Take care to ensure that all joints are sealed
3.1 Probe-Type Inclinometer—Many types of inclinometers
since leakage can introduce fines into grooves and cause errors
are available; however, the most commonly used is the probe
in readings or plug the casings. Joints can be sealed with
type. This type consists of a control box and a probe attached
caulking and taped. Greater installation details can be obtained
to a cable which is lowered into a flexible casing in a borehole.
from manufacturers’ literature or from other sources.
In some probes, a cantilevered pendulum with resistance strain
4.1.3 Whether to use plastic or aluminum casing depends on
gages, vibrating wire, or inductive transducers is used to
the situation and the method used. Plastic casing can be
measure cantilever deflection. Other probes use the Wheat-
damaged if exposed to sunlight.
stone bridge principle, the servo accelerometer principle, or a
4.2 Observations:
differential transformer. The probe generally requires a special
4.2.1 Make initial observations after allowing sufficient time
flexible casing with four interior grooves spaced at 90°. The
for the grout around the casing to set or for the backfill to settle
electrical output from the probe is measured at the control box
where sand or gravel is used. Since computation of all
and converted to visual display, punched or magnetic tape, or
displacements is based on the position of the casing when
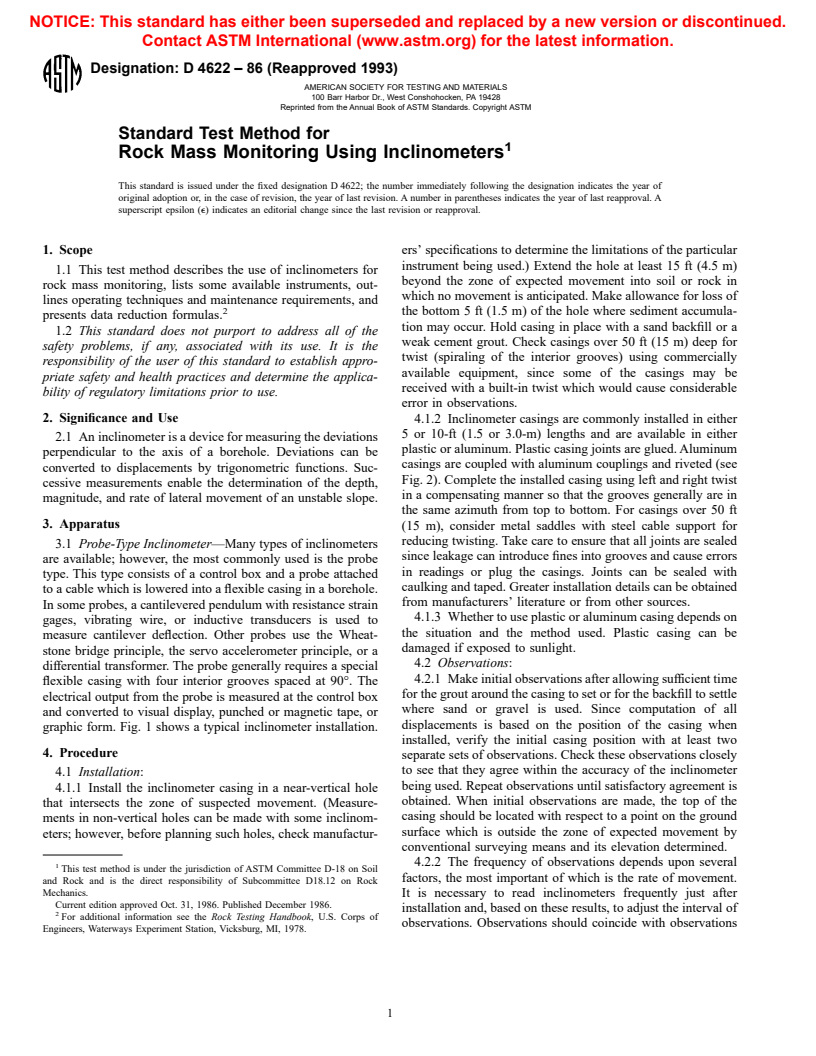
graphic form. Fig. 1 shows a typical inclinometer installation.
installed, verify the initial casing position with at least two
4. Procedure
separate sets of observations. Check these observations closely
to see that they agree within the accuracy of the inclinometer
4.1 Installation:
being used. Repeat observations until satisfactory agreement is
4.1.1 Install the inclinometer casing in a near-vertical hole
obtained. When initial observations are made, the top of the
that intersects the zone of suspected movement. (Measure-
casing should be located with respect to a point on the ground
ments in non-vertical holes can be made with some inclinom-
surface which is outside the zone of expected movement by
eters; however, before planning such holes, check manufactur-
conventional surveying means and its elevation determined.
4.2.2 The frequency of observations depends upon several
This test method is under the jurisdiction of ASTM Committee D-18 on Soil
factors, the most important of which is the rate of movement.
and Rock and is the direct responsibility of Subcommittee D18.12 on Rock
Mechanics.
It is necessary to read inclinometers frequently just after
Current edition approved Oct. 31, 1986. Published December 1986.
installation and, based on these results, to adjust the interval of
For additional information see the Rock Testing Handbook, U.S. Corps of
observations. Observations should coincide with observations
Engineers, Waterways Experiment Station, Vicksburg, MI, 1978.
D 4622
FIG. 1 Typical Inclinometer Installation
of other instrumentation, such as extensometers, piezometers, readings to the top of the hole. Repeat this procedure until four
settlement devices, precipitation gages, movement surveys, sets of readings are obtained; two readings for each pair of
and the like. grooves. Make a field check by comparing the value of the sum
4.2.3 The procedure for obtaining readings with various of each set of readings (opposite grooves) and the mean of all
inclinometers may vary slightly; consult manufacturers’ litera- sets of readings for the length of the casing. When variations
ture for the current procedure for a particular instrument. greater than specified by the manufacturer are found, relocate
However, the general procedure consists of lowering the the inclinometer at that depth and take an additional reading.
inclinometer to the bottom of the borehole and beginning the Take care to ensure that readings are obtained at the same
readings, always ensuring that the inclinometer is lowered to depths eac
...


Questions, Comments and Discussion
Ask us and Technical Secretary will try to provide an answer. You can facilitate discussion about the standard in here.