ASTM F970-07(2011)
(Test Method)Standard Test Method for Static Load Limit
Standard Test Method for Static Load Limit
SIGNIFICANCE AND USE
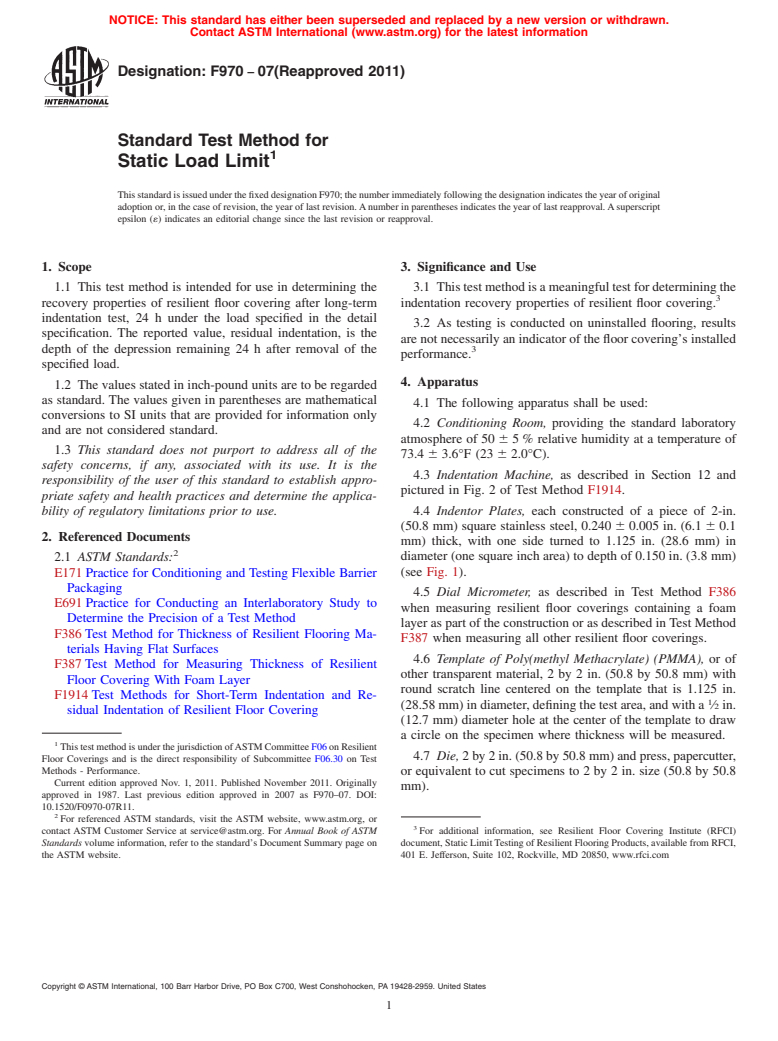
This test method is a meaningful test for determining the indentation recovery properties of resilient floor covering.3
As testing is conducted on uninstalled flooring, results are not necessarily an indicator of the floor covering’installed performance.3
SCOPE
1.1 This test method is intended for use in determining the recovery properties of resilient floor covering after long-term indentation test, 24 h under the load specified in the detail specification. The reported value, residual indentation, is the depth of the depression remaining 24 h after removal of the specified load.
1.2 This standard does not purport to address all of the safety concerns, if any, associated with its use. It is the responsibility of the user of this standard to establish appropriate safety and health practices and determine the applicability of regulatory limitations prior to use.
General Information
Relations
Standards Content (Sample)
NOTICE: This standard has either been superseded and replaced by a new version or withdrawn.
Contact ASTM International (www.astm.org) for the latest information
Designation: F970 − 07(Reapproved 2011)
Standard Test Method for
Static Load Limit
ThisstandardisissuedunderthefixeddesignationF970;thenumberimmediatelyfollowingthedesignationindicatestheyearoforiginal
adoption or, in the case of revision, the year of last revision.Anumber in parentheses indicates the year of last reapproval.Asuperscript
epsilon (´) indicates an editorial change since the last revision or reapproval.
1. Scope 3. Significance and Use
1.1 This test method is intended for use in determining the 3.1 Thistestmethodisameaningfultestfordeterminingthe
recovery properties of resilient floor covering after long-term indentation recovery properties of resilient floor covering.
indentation test, 24 h under the load specified in the detail
3.2 As testing is conducted on uninstalled flooring, results
specification. The reported value, residual indentation, is the
are not necessarily an indicator of the floor covering’s installed
depth of the depression remaining 24 h after removal of the 3
performance.
specified load.
4. Apparatus
1.2 The values stated in inch-pound units are to be regarded
as standard. The values given in parentheses are mathematical
4.1 The following apparatus shall be used:
conversions to SI units that are provided for information only
4.2 Conditioning Room, providing the standard laboratory
and are not considered standard.
atmosphere of 50 6 5 % relative humidity at a temperature of
1.3 This standard does not purport to address all of the
73.4 6 3.6°F (23 6 2.0°C).
safety concerns, if any, associated with its use. It is the
4.3 Indentation Machine, as described in Section 12 and
responsibility of the user of this standard to establish appro-
pictured in Fig. 2 of Test Method F1914.
priate safety and health practices and determine the applica-
bility of regulatory limitations prior to use. 4.4 Indentor Plates, each constructed of a piece of 2-in.
(50.8 mm) square stainless steel, 0.240 6 0.005 in. (6.1 6 0.1
2. Referenced Documents
mm) thick, with one side turned to 1.125 in. (28.6 mm) in
diameter (one square inch area) to depth of 0.150 in. (3.8 mm)
2.1 ASTM Standards:
E171 Practice for Conditioning and Testing Flexible Barrier (see Fig. 1).
Packaging
4.5 Dial Micrometer, as described in Test Method F386
E691 Practice for Conducting an Interlaboratory Study to
when measuring resilient floor coverings containing a foam
Determine the Precision of a Test Method
layer as part of the construction or as described in Test Method
F386 Test Method for Thickness of Resilient Flooring Ma-
F387 when measuring all other resilient floor coverings.
terials Having Flat Surfaces
4.6 Template of Poly(methyl Methacrylate) (PMMA), or of
F387 Test Method for Measuring Thickness of Resilient
other transparent material, 2 by 2 in. (50.8 by 50.8 mm) with
Floor Covering With Foam Layer
round scratch line centered on the template that is 1.125 in.
F1914 Test Methods for Short-Term Indentation and Re-
(28.58 mm) in diameter, defining the test area, and with a ⁄2 in.
sidual Indentation of Resilient Floor Covering
(12.7 mm) diameter hole at the center of the template to draw
a circle on the specimen where thickness will be measured.
ThistestmethodisunderthejurisdictionofASTMCommitteeF06onResilient
4.7 Die, 2 by 2 in. (50.8 by 50.8 mm) and press, papercutter,
Floor Coverings and is the direct responsibility of Subcommittee F06.30 on Test
Methods - Performance. or equivalent to cut specimens to 2 by 2 in. size (50.8 by 50.8
Current edition approved Nov. 1, 2011. Published November 2011. Originally
mm).
approved in 1987. Last previous edition approved in 2007 as F970–07. DOI:
10.1520/F0970-07R11.
For referenced ASTM standards, visit the ASTM website, www.astm.org, or
contact ASTM Customer Service at service@astm.org. For Annual Book of ASTM For additional information, see Resilient Floor Covering Institute (RFCI)
Standards volume information, refer to the standard’s Document Summary page on document, Static LimitTesting of Resilient Flooring Products, available from RFCI,
the ASTM website. 401 E. Jefferson, Suite 102, Rockville, MD 20850, www.rfci.com
Copyright ©ASTM International, 100 Barr Harbor Drive, PO Box C700, West Conshohocken, PA19428-2959. United States
F970 − 07 (2011)
7.3 Stack the remaining specimens and indentor plates as
shown in Fig. 2. Place as many specimen/indentor plate sets
under the indentation machine plunger as will fit.
7.4 Square the stack of specimen/indentor plate sets and
then center the stack under the plunger of the indentation
machine.
7.5 Check all clearances to be sure that the plunger and
major load shaft with weight platform and weights will be free
to move down without restriction as the height of the stack of
NOTE 1—All dimensions are in inches. Tolerance is 60.005 in. (60.1
specimens diminishes during test. If necessary, place a metal
mm).
spacer above or below the plunger, and adjust the position of
Metric Equivalents:
the collar on the plunger that supports a dial indicator (not used
Inches Millimetres
for static load test) to ensure adequate clearances during test.
2.000 50.8
1.125 28.6
7.6 Apply the load according to the detail specification (75,
0.240 6.1
125, 175, or 250 lb) by lowering gently, without impact.
0.150 3.8
0.090 2.3
7.7 Remove the load after 24 6 0.25 h and separate the
specimens from the indentor plates. Place the specimens
FIG. 1 Indentor Plates for Static Load Limit Test
individually on a horizontal surface with the wear layer up or
on edge in a slide box to recover .
4.8 Optional—Open box without spring clips for 2 by 2 in. 7.8 Allow specimens to recover for 24 6 0.25 h. Measure
(50.8 by 50.8 mm) photographic slides, or equivalent, to
the final thickness at the same point used to determine initial
separate specimens during conditioning and recovery periods. thickness. Record the value to the nearest 0.001 in (0.025 mm)
as T .
5. Sampling, Test Specimens and Test Units
8. Calculation
5.1 The specimens shall be 2 by 2 in. (50.8 by 50.8 mm).
The test unit shall consist of three specimens. 8.1 Calculate the residual indentation for each specimen as
follows:
5.2 The central one square inch test area of each specimen
Residual indentation 5 T 2 T (1)
should be free of mortar lines or other embossing lines, if
1 2
where:
possible. If not possible, the largest flat, raised area should be
centered on the specimen.
T = initial thickness of uncompressed specimens, and
5.3 If the sample is nubble embossed, the specimen should
T = thickness of the specimen after the 24 h recovery
be cut so that a nub is at the center of the specimen where the
period.
specimen will be measured.
9. Report
5.4 A circle slightly larger than the 0.250 in. (6.3
...


Questions, Comments and Discussion
Ask us and Technical Secretary will try to provide an answer. You can facilitate discussion about the standard in here.