ASTM F373-13(2017)
(Test Method)Standard Test Method for Embossed Depth of Resilient Floor Coverings
Standard Test Method for Embossed Depth of Resilient Floor Coverings
SIGNIFICANCE AND USE
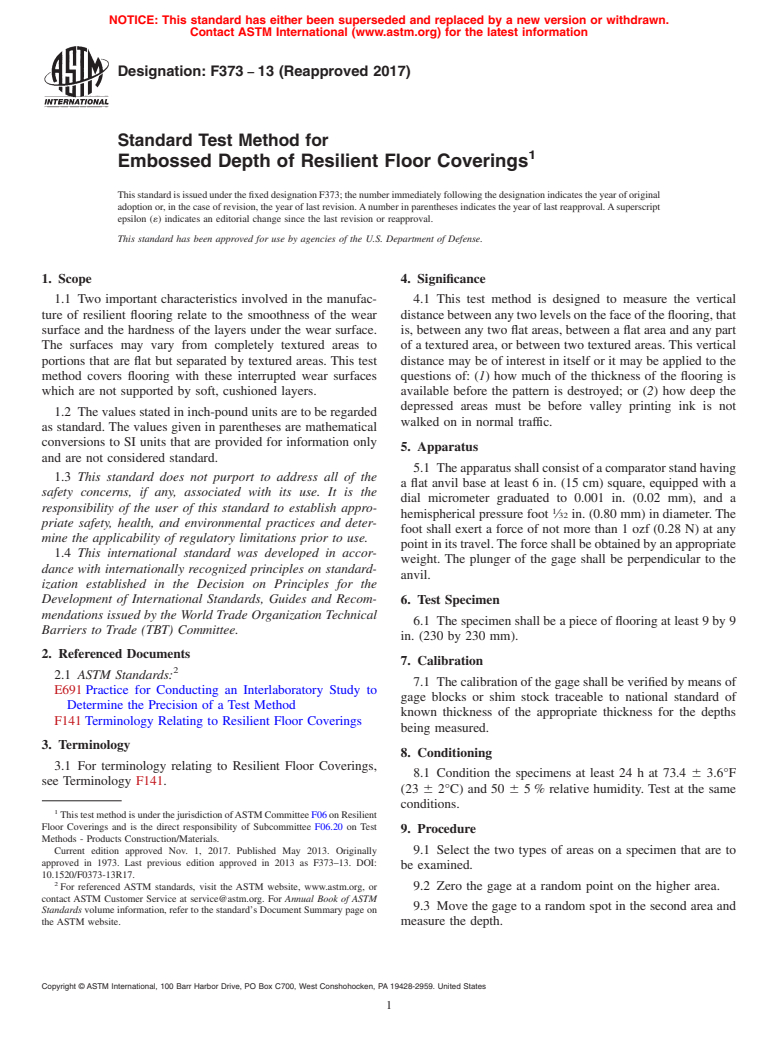
4.1 This test method is designed to measure the vertical distance between any two levels on the face of the flooring, that is, between any two flat areas, between a flat area and any part of a textured area, or between two textured areas. This vertical distance may be of interest in itself or it may be applied to the questions of: (1) how much of the thickness of the flooring is available before the pattern is destroyed; or (2) how deep the depressed areas must be before valley printing ink is not walked on in normal traffic.
SCOPE
1.1 Two important characteristics involved in the manufacture of resilient flooring relate to the smoothness of the wear surface and the hardness of the layers under the wear surface. The surfaces may vary from completely textured areas to portions that are flat but separated by textured areas. This test method covers flooring with these interrupted wear surfaces which are not supported by soft, cushioned layers.
1.2 The values stated in inch-pound units are to be regarded as standard. The values given in parentheses are mathematical conversions to SI units that are provided for information only and are not considered standard.
1.3 This standard does not purport to address all of the safety concerns, if any, associated with its use. It is the responsibility of the user of this standard to establish appropriate safety, health, and environmental practices and determine the applicability of regulatory limitations prior to use.
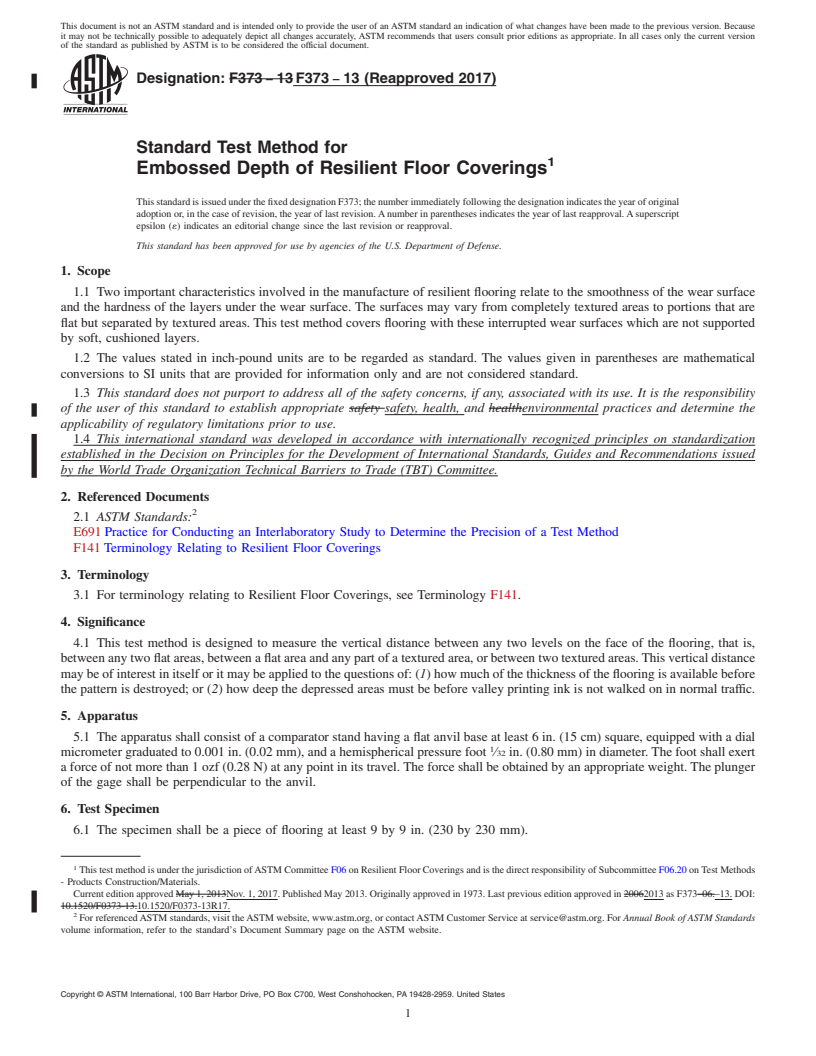
1.4 This international standard was developed in accordance with internationally recognized principles on standardization established in the Decision on Principles for the Development of International Standards, Guides and Recommendations issued by the World Trade Organization Technical Barriers to Trade (TBT) Committee.
General Information
Buy Standard
Standards Content (Sample)
NOTICE: This standard has either been superseded and replaced by a new version or withdrawn.
Contact ASTM International (www.astm.org) for the latest information
Designation: F373 − 13 (Reapproved 2017)
Standard Test Method for
1
Embossed Depth of Resilient Floor Coverings
ThisstandardisissuedunderthefixeddesignationF373;thenumberimmediatelyfollowingthedesignationindicatestheyearoforiginal
adoption or, in the case of revision, the year of last revision.Anumber in parentheses indicates the year of last reapproval.Asuperscript
epsilon (´) indicates an editorial change since the last revision or reapproval.
This standard has been approved for use by agencies of the U.S. Department of Defense.
1. Scope 4. Significance
1.1 Two important characteristics involved in the manufac- 4.1 This test method is designed to measure the vertical
ture of resilient flooring relate to the smoothness of the wear distancebetweenanytwolevelsonthefaceoftheflooring,that
surface and the hardness of the layers under the wear surface. is, between any two flat areas, between a flat area and any part
The surfaces may vary from completely textured areas to of a textured area, or between two textured areas. This vertical
portions that are flat but separated by textured areas. This test distance may be of interest in itself or it may be applied to the
method covers flooring with these interrupted wear surfaces questions of: (1) how much of the thickness of the flooring is
which are not supported by soft, cushioned layers. available before the pattern is destroyed; or (2) how deep the
depressed areas must be before valley printing ink is not
1.2 The values stated in inch-pound units are to be regarded
walked on in normal traffic.
as standard. The values given in parentheses are mathematical
conversions to SI units that are provided for information only
5. Apparatus
and are not considered standard.
5.1 Theapparatusshallconsistofacomparatorstandhaving
1.3 This standard does not purport to address all of the
a flat anvil base at least 6 in. (15 cm) square, equipped with a
safety concerns, if any, associated with its use. It is the
dial micrometer graduated to 0.001 in. (0.02 mm), and a
responsibility of the user of this standard to establish appro-
1
hemispherical pressure foot ⁄32 in. (0.80 mm) in diameter. The
priate safety, health, and environmental practices and deter-
foot shall exert a force of not more than 1 ozf (0.28 N) at any
mine the applicability of regulatory limitations prior to use.
point in its travel.The force shall be obtained by an appropriate
1.4 This international standard was developed in accor-
weight. The plunger of the gage shall be perpendicular to the
dance with internationally recognized principles on standard-
anvil.
ization established in the Decision on Principles for the
Development of International Standards, Guides and Recom-
6. Test Specimen
mendations issued by the World Trade Organization Technical
6.1 The specimen shall be a piece of flooring at least 9 by 9
Barriers to Trade (TBT) Committee.
in. (230 by 230 mm).
2. Referenced Documents
7. Calibration
2
2.1 ASTM Standards:
7.1 The calibration of the gage shall be verified by means of
E691 Practice for Conducting an Interlaboratory Study to
gage blocks or shim stock traceable to national standard of
Determine the Precision of a Test Method
known thickness of the appropriate thickness for the depths
F141 Terminology Relating to Resilient Floor Coverings
being measured.
3. Terminology
8. Conditioning
3.1 For terminology relating to Resilient Floor Coverings,
8.1 Condition the specimens at least 24 h at 73.4 6 3.6°F
see Terminology F141.
(23 6 2°C) and 50 6 5 % relative humidity. Test at the same
conditions.
1
This test method is under the jurisdiction ofASTM Committee F06 on Resilient
Floor Coverings and is the direct responsibility of Subcommittee F06.20 on Test
9. Procedure
Methods - Products Construction/Materials.
Current edition approved Nov. 1, 2017. Published May 2013. Originally 9.1 Select the two types of areas on a specimen that are to
approved in 1973. Last previous edition approved in 2013 as F373–13. DOI:
be examined.
10.1520/F0373-13R17.
2
For referenced ASTM standards, visit the ASTM website, www.astm.org, or 9.2 Zero the gage at a random point on the higher area.
contact ASTM Customer Service at service@astm.org. For Annual Book of ASTM
9.3 Move the gage to a random spot in the second area and
Standards volume information, refer to the standard’s Document Summary page on
the ASTM website. measure the depth.
Copyright © ASTM International, 100 Barr Harbor Drive, PO Box C700, West Conshohocken, PA 19428-2959. United States
1
---------------------- Page: 1 ----------------------
F373 − 13 (2017)
A B C D E
9.4 When measuring on a nominally flat wearing surface, do
Materials Average Sr SR r R
not place the tip close to a built-up shoulder area around a
Material A 14.07 2.05 2.51 5.74 7.02
Material B 17.47 2.25 2.48 6.30 6.95
depressed spot; such a shoulder
...
This document is not an ASTM standard and is intended only to provide the user of an ASTM standard an indication of what changes have been made to the previous version. Because
it may not be technically possible to adequately depict all changes accurately, ASTM recommends that users consult prior editions as appropriate. In all cases only the current version
of the standard as published by ASTM is to be considered the official document.
Designation: F373 − 13 F373 − 13 (Reapproved 2017)
Standard Test Method for
1
Embossed Depth of Resilient Floor Coverings
This standard is issued under the fixed designation F373; the number immediately following the designation indicates the year of original
adoption or, in the case of revision, the year of last revision. A number in parentheses indicates the year of last reapproval. A superscript
epsilon (´) indicates an editorial change since the last revision or reapproval.
This standard has been approved for use by agencies of the U.S. Department of Defense.
1. Scope
1.1 Two important characteristics involved in the manufacture of resilient flooring relate to the smoothness of the wear surface
and the hardness of the layers under the wear surface. The surfaces may vary from completely textured areas to portions that are
flat but separated by textured areas. This test method covers flooring with these interrupted wear surfaces which are not supported
by soft, cushioned layers.
1.2 The values stated in inch-pound units are to be regarded as standard. The values given in parentheses are mathematical
conversions to SI units that are provided for information only and are not considered standard.
1.3 This standard does not purport to address all of the safety concerns, if any, associated with its use. It is the responsibility
of the user of this standard to establish appropriate safety safety, health, and healthenvironmental practices and determine the
applicability of regulatory limitations prior to use.
1.4 This international standard was developed in accordance with internationally recognized principles on standardization
established in the Decision on Principles for the Development of International Standards, Guides and Recommendations issued
by the World Trade Organization Technical Barriers to Trade (TBT) Committee.
2. Referenced Documents
2
2.1 ASTM Standards:
E691 Practice for Conducting an Interlaboratory Study to Determine the Precision of a Test Method
F141 Terminology Relating to Resilient Floor Coverings
3. Terminology
3.1 For terminology relating to Resilient Floor Coverings, see Terminology F141.
4. Significance
4.1 This test method is designed to measure the vertical distance between any two levels on the face of the flooring, that is,
between any two flat areas, between a flat area and any part of a textured area, or between two textured areas. This vertical distance
may be of interest in itself or it may be applied to the questions of: (1) how much of the thickness of the flooring is available before
the pattern is destroyed; or (2) how deep the depressed areas must be before valley printing ink is not walked on in normal traffic.
5. Apparatus
5.1 The apparatus shall consist of a comparator stand having a flat anvil base at least 6 in. (15 cm) square, equipped with a dial
1
micrometer graduated to 0.001 in. (0.02 mm), and a hemispherical pressure foot ⁄32 in. (0.80 mm) in diameter. The foot shall exert
a force of not more than 1 ozf (0.28 N) at any point in its travel. The force shall be obtained by an appropriate weight. The plunger
of the gage shall be perpendicular to the anvil.
6. Test Specimen
6.1 The specimen shall be a piece of flooring at least 9 by 9 in. (230 by 230 mm).
1
This test method is under the jurisdiction of ASTM Committee F06 on Resilient Floor Coverings and is the direct responsibility of Subcommittee F06.20 on Test Methods
- Products Construction/Materials.
Current edition approved May 1, 2013Nov. 1, 2017. Published May 2013. Originally approved in 1973. Last previous edition approved in 20062013 as F373–06.–13. DOI:
10.1520/F0373-13.10.1520/F0373-13R17.
2
For referenced ASTM standards, visit the ASTM website, www.astm.org, or contact ASTM Customer Service at service@astm.org. For Annual Book of ASTM Standards
volume information, refer to the standard’s Document Summary page on the ASTM website.
Copyright © ASTM International, 100 Barr Harbor Drive, PO Box C700, West Conshohocken, PA 19428-2959. United States
1
---------------------- Page: 1 ----------------------
F373 − 13 (2017)
7. Calibration
7.1 The calibration of the gage shall be verified by means of gage blocks or shim stock traceable to national standard of known
thickness of the appropriate thickness for the depths being measured.
8. Conditioning
8.1 Condition the specimens at least 24 h at 73.4 6 3.6°F (23 6 2°C) and 50 6 5 % relative humidity. Test at the same
conditions.
9. Procedure
9.1 Select the two types of areas on a specimen that are to be examined.
9.2 Zero the gage at a ran
...


Questions, Comments and Discussion
Ask us and Technical Secretary will try to provide an answer. You can facilitate discussion about the standard in here.