ASTM B588-88(2010)
(Test Method)Standard Test Method for Measurement of Thickness of Transparent or Opaque Coatings by Double-Beam Interference Microscope Technique (Withdrawn 2016)
Standard Test Method for Measurement of Thickness of Transparent or Opaque Coatings by Double-Beam Interference Microscope Technique (Withdrawn 2016)
SIGNIFICANCE AND USE
The thickness of a coating is often critical to its performance.
For some coating-substrate combinations, the interference microscope method is a reliable method for measuring coating thickness.
This test method is suitable for specification acceptance.
SCOPE
1.1 This test method covers the measurement of the thickness of transparent metal oxide and metallic coatings by utilizing a double-beam interference microscope.
1.2 The test method requires that the specimen surface or surfaces be sufficiently mirrorlike to form recognizable fringes.
1.3 This test method can be used nondestructively to measure 1 to 10μ m thick transparent coatings, such as anodic coatings on aluminum. The test method is used destructively for 0.1 to 10 μm thick opaque coatings by stripping a portion of the coating and measuring the step height between the coating and the exposed substrate. The stripping method can also be used to measure 0.2 to 10 μm thick anodic coatings on aluminum.
1.4 The test method is usable as a reference method for the measurement of the thickness of the anodic film on aluminum or of metallic coatings when the technique includes complete stripping of a portion of the coating without attack of the substrate. For anodic films on aluminum, the thickness must be greater than 0.4 μm; the uncertainty can be as great as 0.2 μm. For metallic coatings, the thickness must be greater than 0.25 μm; the uncertainty can be as great as 0.1 μm.
1.5 The values stated in SI units are to be regarded as standard. No other units of measurement are included in this standard.
1.6 This standard does not purport to address all of the safety concerns, if any, associated with its use. It is the responsibility of the user of this standard to establish appropriate safety and health practices and determine the applicability of regulatory limitations prior to use.
WITHDRAWN RATIONALE
Formerly under the jurisdiction of Committee B08 on Metallic and Inorganic Coatings, this test method was withdrawn in November 2016. This standard is being withdrawn without replacement due to its limited use by industry.
General Information
Relations
Standards Content (Sample)
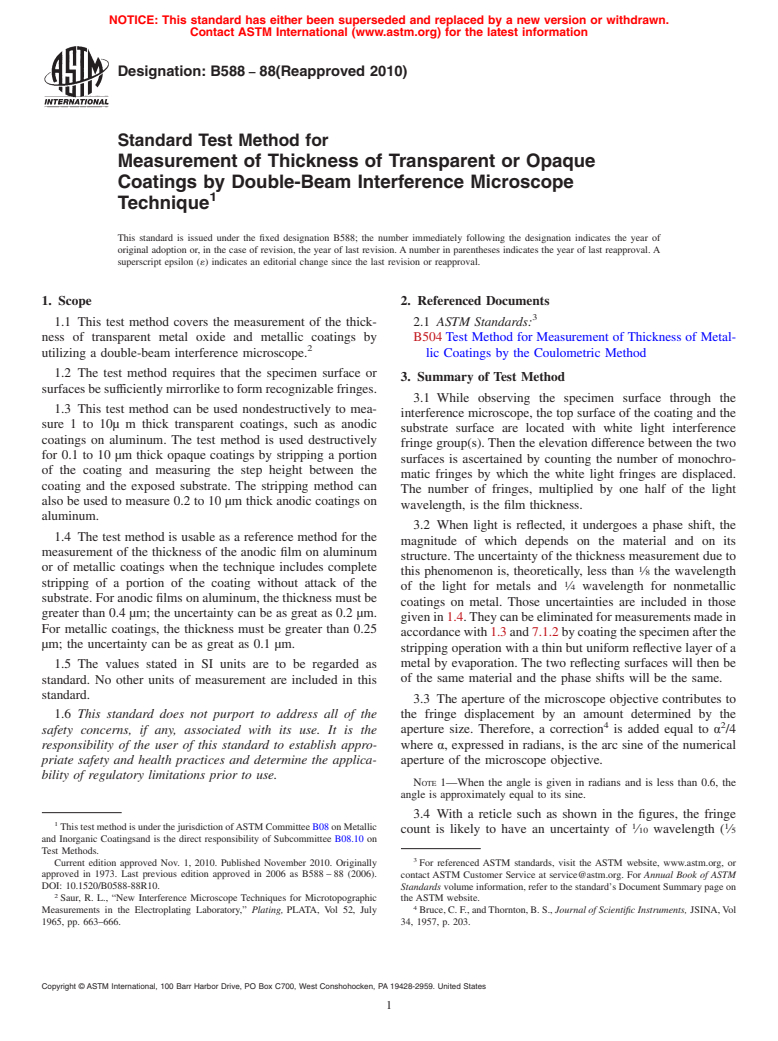
NOTICE: This standard has either been superseded and replaced by a new version or withdrawn.
Contact ASTM International (www.astm.org) for the latest information
Designation: B588 − 88(Reapproved 2010)
Standard Test Method for
Measurement of Thickness of Transparent or Opaque
Coatings by Double-Beam Interference Microscope
1
Technique
This standard is issued under the fixed designation B588; the number immediately following the designation indicates the year of
original adoption or, in the case of revision, the year of last revision. A number in parentheses indicates the year of last reapproval. A
superscript epsilon (´) indicates an editorial change since the last revision or reapproval.
1. Scope 2. Referenced Documents
3
1.1 This test method covers the measurement of the thick- 2.1 ASTM Standards:
ness of transparent metal oxide and metallic coatings by B504 Test Method for Measurement of Thickness of Metal-
2
utilizing a double-beam interference microscope. lic Coatings by the Coulometric Method
1.2 The test method requires that the specimen surface or
3. Summary of Test Method
surfacesbesufficientlymirrorliketoformrecognizablefringes.
3.1 While observing the specimen surface through the
1.3 This test method can be used nondestructively to mea-
interference microscope, the top surface of the coating and the
sure 1 to 10µ m thick transparent coatings, such as anodic
substrate surface are located with white light interference
coatings on aluminum. The test method is used destructively
fringe group(s). Then the elevation difference between the two
for 0.1 to 10 µm thick opaque coatings by stripping a portion
surfaces is ascertained by counting the number of monochro-
of the coating and measuring the step height between the
matic fringes by which the white light fringes are displaced.
coating and the exposed substrate. The stripping method can
The number of fringes, multiplied by one half of the light
also be used to measure 0.2 to 10 µm thick anodic coatings on
wavelength, is the film thickness.
aluminum.
3.2 When light is reflected, it undergoes a phase shift, the
1.4 The test method is usable as a reference method for the
magnitude of which depends on the material and on its
measurement of the thickness of the anodic film on aluminum
structure. The uncertainty of the thickness measurement due to
or of metallic coatings when the technique includes complete 1
this phenomenon is, theoretically, less than ⁄8 the wavelength
stripping of a portion of the coating without attack of the 1
of the light for metals and ⁄4 wavelength for nonmetallic
substrate. For anodic films on aluminum, the thickness must be
coatings on metal. Those uncertainties are included in those
greater than 0.4 µm; the uncertainty can be as great as 0.2 µm.
givenin1.4.Theycanbeeliminatedformeasurementsmadein
For metallic coatings, the thickness must be greater than 0.25
accordancewith1.3and7.1.2bycoatingthespecimenafterthe
µm; the uncertainty can be as great as 0.1 µm.
stripping operation with a thin but uniform reflective layer of a
metal by evaporation. The two reflecting surfaces will then be
1.5 The values stated in SI units are to be regarded as
of the same material and the phase shifts will be the same.
standard. No other units of measurement are included in this
standard.
3.3 The aperture of the microscope objective contributes to
1.6 This standard does not purport to address all of the the fringe displacement by an amount determined by the
4 2
safety concerns, if any, associated with its use. It is the aperture size. Therefore, a correction is added equal to α /4
responsibility of the user of this standard to establish appro- where α, expressed in radians, is the arc sine of the numerical
priate safety and health practices and determine the applica- aperture of the microscope objective.
bility of regulatory limitations prior to use.
NOTE 1—When the angle is given in radians and is less than 0.6, the
angle is approximately equal to its sine.
3.4 With a reticle such as shown in the figures, the fringe
1
This test method is under the jurisdiction ofASTM Committee B08 on Metallic 1 1
count is likely to have an uncertainty of ⁄10 wavelength ( ⁄5
and Inorganic Coatingsand is the direct responsibility of Subcommittee B08.10 on
Test Methods.
3
Current edition approved Nov. 1, 2010. Published November 2010. Originally For referenced ASTM standards, visit the ASTM website, www.astm.org, or
approved in 1973. Last previous edition approved in 2006 as B588 – 88 (2006). contact ASTM Customer Service at service@astm.org. For Annual Book of ASTM
DOI: 10.1520/B0588-88R10. Standards volume information, refer to the standard’s Document Summary page on
2
Saur, R. L., “New Interference Microscope Techniques for Microtopographic the ASTM website.
4
Measurements in the Electroplating Laboratory,” Plating, PLATA, Vol 52, July Bruce, C. F., andThornton, B. S., Journal of Scientific Instruments, JSINA,Vol
1965, pp. 663–666. 34, 1957, p. 203.
Copyright © ASTM Internat
...


Questions, Comments and Discussion
Ask us and Technical Secretary will try to provide an answer. You can facilitate discussion about the standard in here.