ASTM D6595-16
(Test Method)Standard Test Method for Determination of Wear Metals and Contaminants in Used Lubricating Oils or Used Hydraulic Fluids by Rotating Disc Electrode Atomic Emission Spectrometry
Standard Test Method for Determination of Wear Metals and Contaminants in Used Lubricating Oils or Used Hydraulic Fluids by Rotating Disc Electrode Atomic Emission Spectrometry
SIGNIFICANCE AND USE
5.1 Used Lubricating Oil—The determination of debris in used oil is a key diagnostic method practiced in machine condition monitoring programs. The presence or increase in concentration of specific wear metals can be indicative of the early stages of wear if there are baseline concentration data for comparison. A marked increase in contaminant elements can be indicative of foreign materials in the lubricants, such as antifreeze or sand, which may lead to wear or lubricant degradation. The test method identifies the metals and their concentration so that trends relative to time or distance can be established and corrective action can be taken prior to more serious or catastrophic failure.
SCOPE
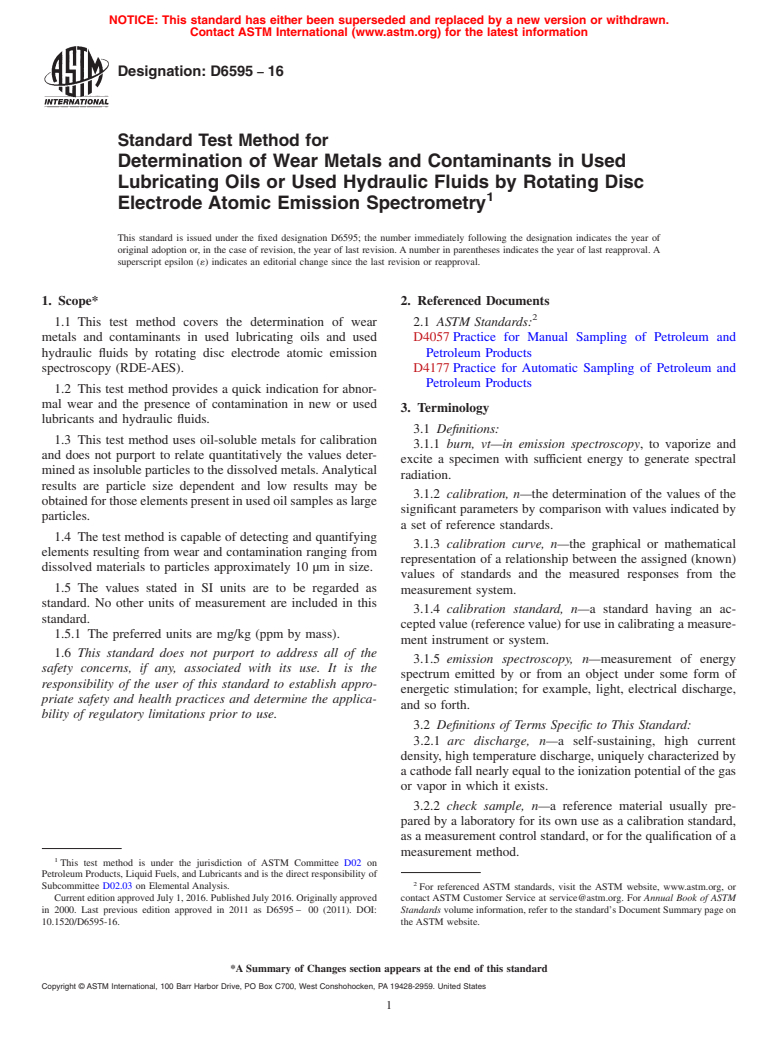
1.1 This test method covers the determination of wear metals and contaminants in used lubricating oils and used hydraulic fluids by rotating disc electrode atomic emission spectroscopy (RDE-AES).
1.2 This test method provides a quick indication for abnormal wear and the presence of contamination in new or used lubricants and hydraulic fluids.
1.3 This test method uses oil-soluble metals for calibration and does not purport to relate quantitatively the values determined as insoluble particles to the dissolved metals. Analytical results are particle size dependent and low results may be obtained for those elements present in used oil samples as large particles.
1.4 The test method is capable of detecting and quantifying elements resulting from wear and contamination ranging from dissolved materials to particles approximately 10 μm in size.
1.5 The values stated in SI units are to be regarded as standard. No other units of measurement are included in this standard.
1.5.1 The preferred units are mg/kg (ppm by mass).
1.6 This standard does not purport to address all of the safety concerns, if any, associated with its use. It is the responsibility of the user of this standard to establish appropriate safety and health practices and determine the applicability of regulatory limitations prior to use.
General Information
Relations
Buy Standard
Standards Content (Sample)
NOTICE: This standard has either been superseded and replaced by a new version or withdrawn.
Contact ASTM International (www.astm.org) for the latest information
Designation: D6595 − 16
Standard Test Method for
Determination of Wear Metals and Contaminants in Used
Lubricating Oils or Used Hydraulic Fluids by Rotating Disc
1
Electrode Atomic Emission Spectrometry
This standard is issued under the fixed designation D6595; the number immediately following the designation indicates the year of
original adoption or, in the case of revision, the year of last revision. A number in parentheses indicates the year of last reapproval. A
superscript epsilon (´) indicates an editorial change since the last revision or reapproval.
1. Scope* 2. Referenced Documents
2
1.1 This test method covers the determination of wear 2.1 ASTM Standards:
metals and contaminants in used lubricating oils and used D4057 Practice for Manual Sampling of Petroleum and
hydraulic fluids by rotating disc electrode atomic emission Petroleum Products
spectroscopy (RDE-AES). D4177 Practice for Automatic Sampling of Petroleum and
Petroleum Products
1.2 This test method provides a quick indication for abnor-
mal wear and the presence of contamination in new or used
3. Terminology
lubricants and hydraulic fluids.
3.1 Definitions:
1.3 This test method uses oil-soluble metals for calibration
3.1.1 burn, vt—in emission spectroscopy, to vaporize and
and does not purport to relate quantitatively the values deter-
excite a specimen with sufficient energy to generate spectral
mined as insoluble particles to the dissolved metals.Analytical
radiation.
results are particle size dependent and low results may be
3.1.2 calibration, n—the determination of the values of the
obtainedforthoseelementspresentinusedoilsamplesaslarge
significant parameters by comparison with values indicated by
particles.
a set of reference standards.
1.4 The test method is capable of detecting and quantifying
3.1.3 calibration curve, n—the graphical or mathematical
elements resulting from wear and contamination ranging from
representation of a relationship between the assigned (known)
dissolved materials to particles approximately 10 µm in size.
values of standards and the measured responses from the
1.5 The values stated in SI units are to be regarded as
measurement system.
standard. No other units of measurement are included in this
3.1.4 calibration standard, n—a standard having an ac-
standard.
cepted value (reference value) for use in calibrating a measure-
1.5.1 The preferred units are mg/kg (ppm by mass).
ment instrument or system.
1.6 This standard does not purport to address all of the
3.1.5 emission spectroscopy, n—measurement of energy
safety concerns, if any, associated with its use. It is the
spectrum emitted by or from an object under some form of
responsibility of the user of this standard to establish appro-
energetic stimulation; for example, light, electrical discharge,
priate safety and health practices and determine the applica-
and so forth.
bility of regulatory limitations prior to use.
3.2 Definitions of Terms Specific to This Standard:
3.2.1 arc discharge, n—a self-sustaining, high current
density, high temperature discharge, uniquely characterized by
a cathode fall nearly equal to the ionization potential of the gas
or vapor in which it exists.
3.2.2 check sample, n—a reference material usually pre-
pared by a laboratory for its own use as a calibration standard,
as a measurement control standard, or for the qualification of a
measurement method.
1
This test method is under the jurisdiction of ASTM Committee D02 on
Petroleum Products, Liquid Fuels, and Lubricants and is the direct responsibility of
2
Subcommittee D02.03 on Elemental Analysis. For referenced ASTM standards, visit the ASTM website, www.astm.org, or
Current edition approved July 1, 2016. Published July 2016. Originally approved contact ASTM Customer Service at service@astm.org. For Annual Book of ASTM
in 2000. Last previous edition approved in 2011 as D6595 – 00 (2011). DOI: Standards volume information, refer to the standard’s Document Summary page on
10.1520/D6595-16. the ASTM website.
*A Summary of Changes section appears at the end of this standard
Copyright © ASTM International, 100 Barr Harbor Drive, PO Box C700, West Conshohocken, PA 19428-2959. United States
1
---------------------- Page: 1 ----------------------
D6595 − 16
3.2.3 contaminant, n—material in an oil sample that may during factory calibration. A background correction system,
cause abnormal wear or lubricant degradation. which subtracts unwanted intensities on either side of the
spectral line, shall also be used for this purpose. When spectral
3.2.4 counter electrode, n—either of two graphite electrodes
interferencescannotbeavoidedwithspectrallineselectionand
in an atomic emission spectrometer across which an arc or
backgroundcorrection,thenecessarycorrectionsshallbemade
spark is generated.
using the computer software supplied by th
...
This document is not an ASTM standard and is intended only to provide the user of an ASTM standard an indication of what changes have been made to the previous version. Because
it may not be technically possible to adequately depict all changes accurately, ASTM recommends that users consult prior editions as appropriate. In all cases only the current version
of the standard as published by ASTM is to be considered the official document.
Designation: D6595 − 00 (Reapproved 2011) D6595 − 16
Standard Test Method for
Determination of Wear Metals and Contaminants in Used
Lubricating Oils or Used Hydraulic Fluids by Rotating Disc
1
Electrode Atomic Emission Spectrometry
This standard is issued under the fixed designation D6595; the number immediately following the designation indicates the year of
original adoption or, in the case of revision, the year of last revision. A number in parentheses indicates the year of last reapproval. A
superscript epsilon (´) indicates an editorial change since the last revision or reapproval.
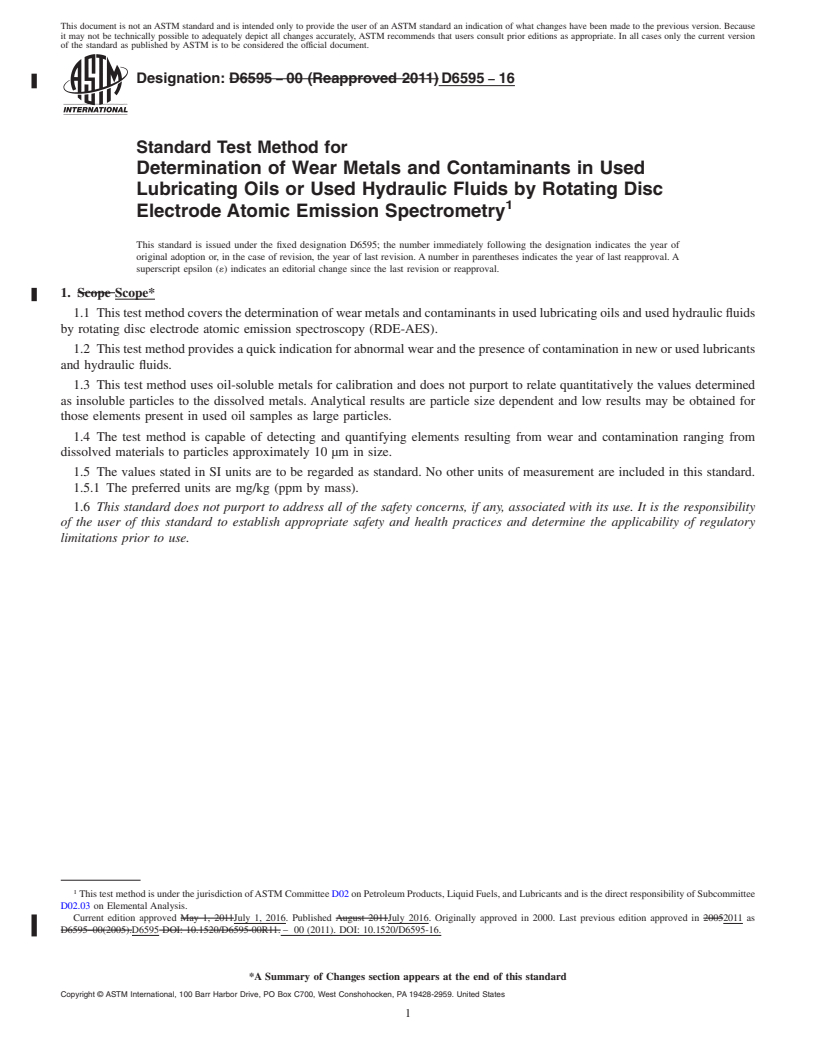
1. Scope Scope*
1.1 This test method covers the determination of wear metals and contaminants in used lubricating oils and used hydraulic fluids
by rotating disc electrode atomic emission spectroscopy (RDE-AES).
1.2 This test method provides a quick indication for abnormal wear and the presence of contamination in new or used lubricants
and hydraulic fluids.
1.3 This test method uses oil-soluble metals for calibration and does not purport to relate quantitatively the values determined
as insoluble particles to the dissolved metals. Analytical results are particle size dependent and low results may be obtained for
those elements present in used oil samples as large particles.
1.4 The test method is capable of detecting and quantifying elements resulting from wear and contamination ranging from
dissolved materials to particles approximately 10 μm in size.
1.5 The values stated in SI units are to be regarded as standard. No other units of measurement are included in this standard.
1.5.1 The preferred units are mg/kg (ppm by mass).
1.6 This standard does not purport to address all of the safety concerns, if any, associated with its use. It is the responsibility
of the user of this standard to establish appropriate safety and health practices and determine the applicability of regulatory
limitations prior to use.
1
This test method is under the jurisdiction of ASTM Committee D02 on Petroleum Products, Liquid Fuels, and Lubricants and is the direct responsibility of Subcommittee
D02.03 on Elemental Analysis.
Current edition approved May 1, 2011July 1, 2016. Published August 2011July 2016. Originally approved in 2000. Last previous edition approved in 20052011 as
D6595–00(2005).D6595 DOI: 10.1520/D6595-00R11. – 00 (2011). DOI: 10.1520/D6595-16.
*A Summary of Changes section appears at the end of this standard
Copyright © ASTM International, 100 Barr Harbor Drive, PO Box C700, West Conshohocken, PA 19428-2959. United States
1
---------------------- Page: 1 ----------------------
D6595 − 16
2. Referenced Documents
2
2.1 ASTM Standards:
D4057 Practice for Manual Sampling of Petroleum and Petroleum Products
D4177 Practice for Automatic Sampling of Petroleum and Petroleum Products
3. Terminology
3.1 Definitions:
3.1.1 burn, vt—in emission spectroscopy, to vaporize and excite a specimen with sufficient energy to generate spectral radiation.
3.1.2 calibration, n—the determination of the values of the significant parameters by comparison with values indicated by a set
of reference standards.
3.1.3 calibration curve, n—the graphical or mathematical representation of a relationship between the assigned (known) values
of standards and the measured responses from the measurement system.
3.1.4 calibration standard, n—a standard having an accepted value (reference value) for use in calibrating a measurement
instrument or system.
3.1.5 emission spectroscopy, n—measurement of energy spectrum emitted by or from an object under some form of energetic
stimulation; for example, light, electrical discharge, and so forth.
3.2 Definitions of Terms Specific to This Standard:
3.2.1 arc discharge, n—a self-sustaining, high current density, high temperature discharge, uniquely characterized by a cathode
fall nearly equal to the ionization potential of the gas or vapor in which it exists.
3.2.2 check sample, n—a reference material usually prepared by a laboratory for its own use as a calibration standard, as a
measurement control standard, or for the qualification of a measurement method.
3.2.3 contaminant, n—material in an oil sample that may cause abnormal wear or lubricant degradation.
3.2.4 counter electrode, n—either of two graphite electrodes in an atomic emission spectrometer across which an arc or spark
is generated.
3.2.5 graphite disc electrode, n—a soft form of the element carbon manufactured into the shape of a disc for use as a counter
electrode in arc/spark spectrometers for oil analysis.
3.2.6 graphite rod electrod
...


Questions, Comments and Discussion
Ask us and Technical Secretary will try to provide an answer. You can facilitate discussion about the standard in here.